Watch the video below OR scroll down to view the steps listed out instead.
TABLE OF CONTENTS
Video Tutorial:
Step By Step Guide:
Canvas Part 1
1. Navigate to your Canvas (Instructure) account
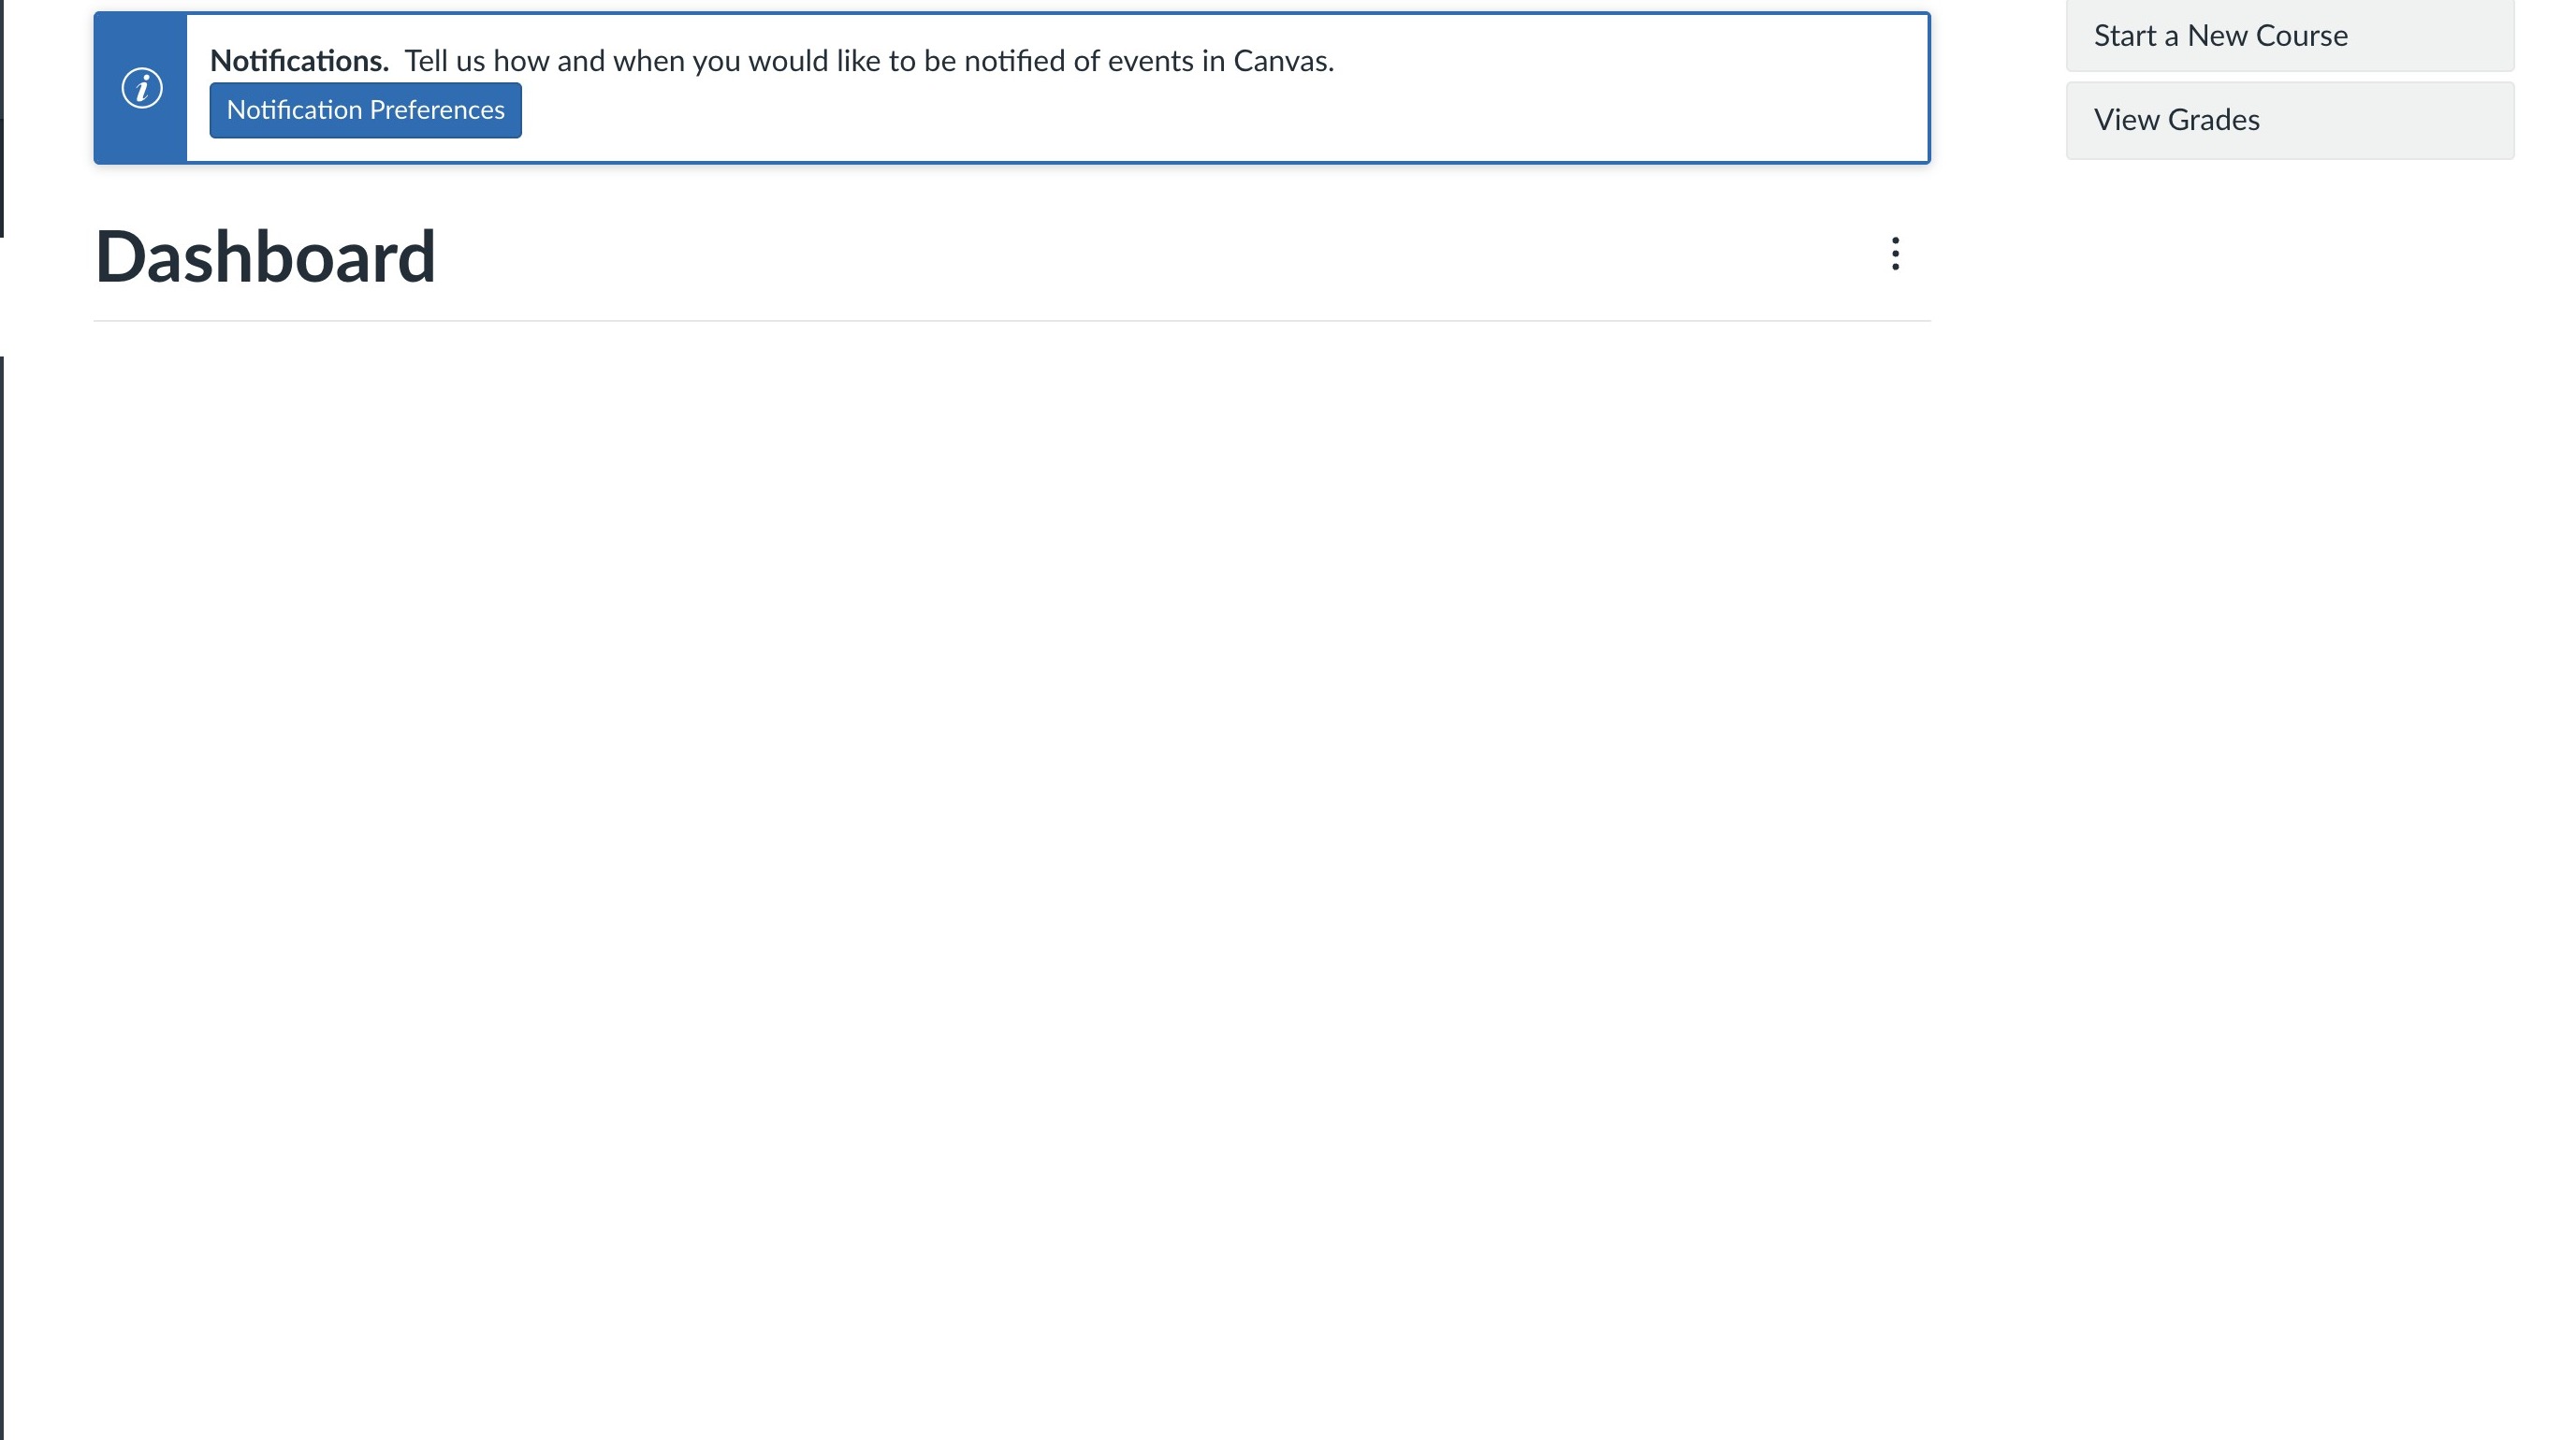
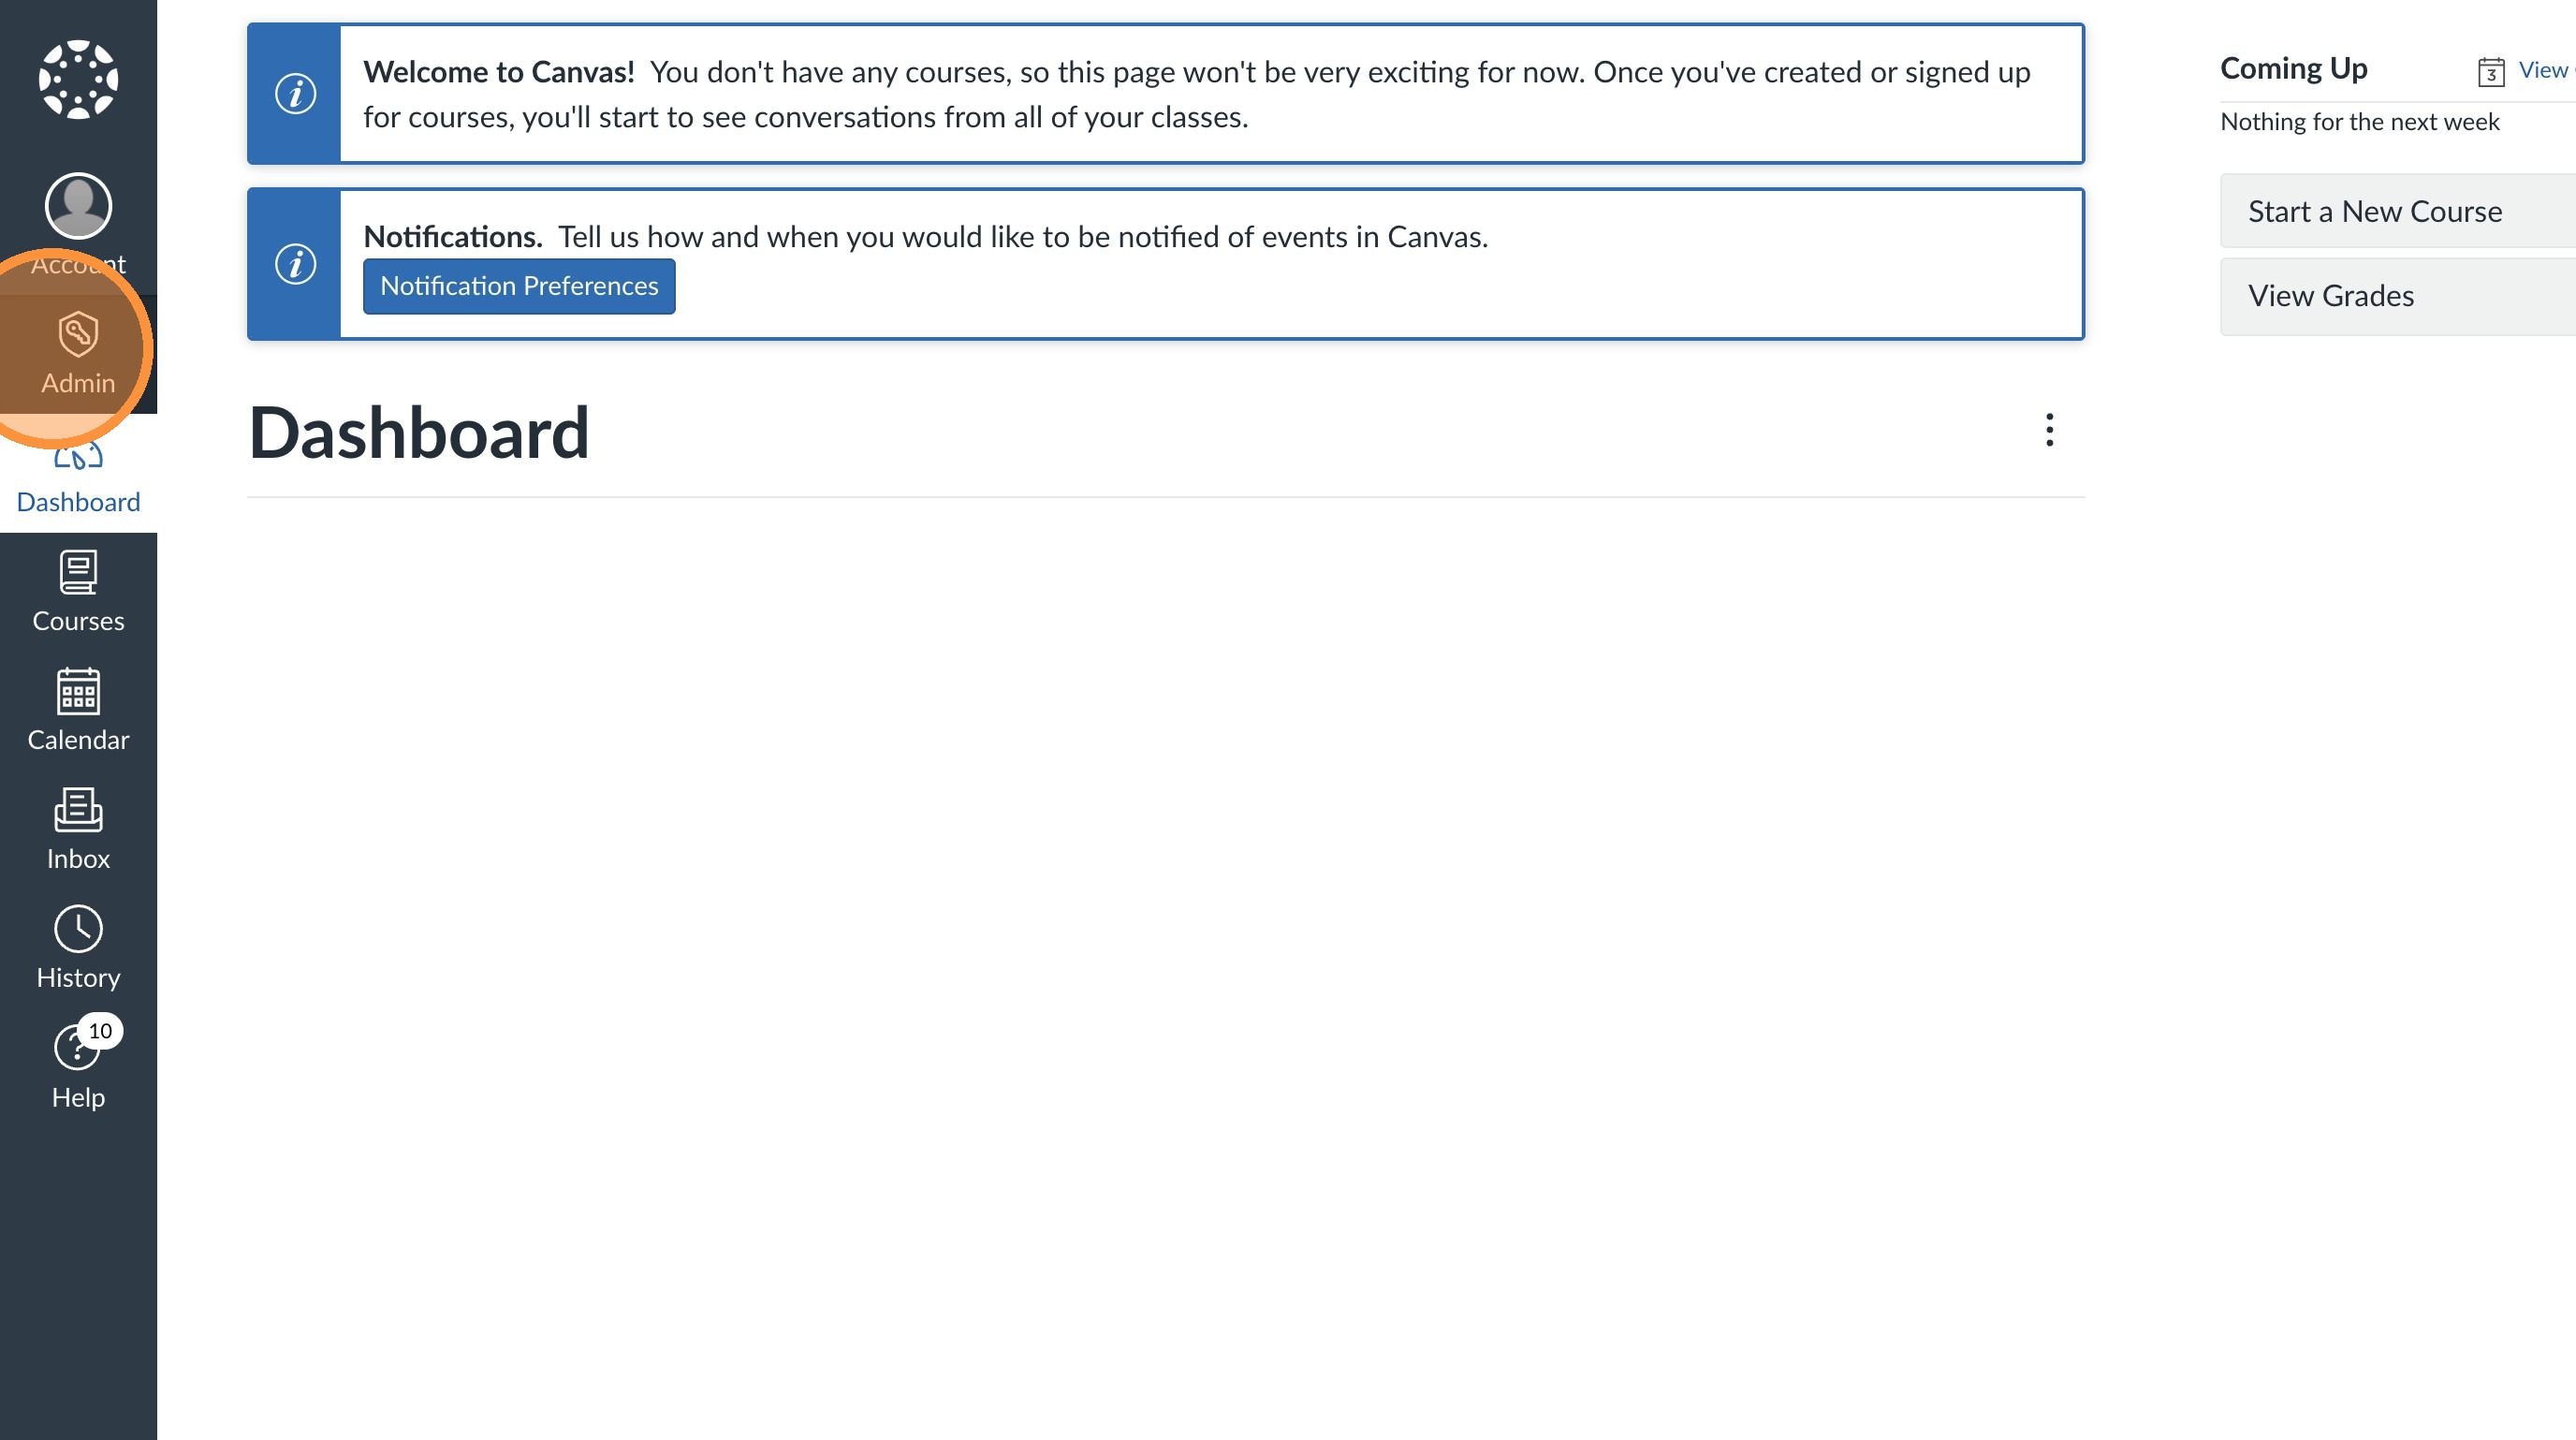
2. Select "Admin"
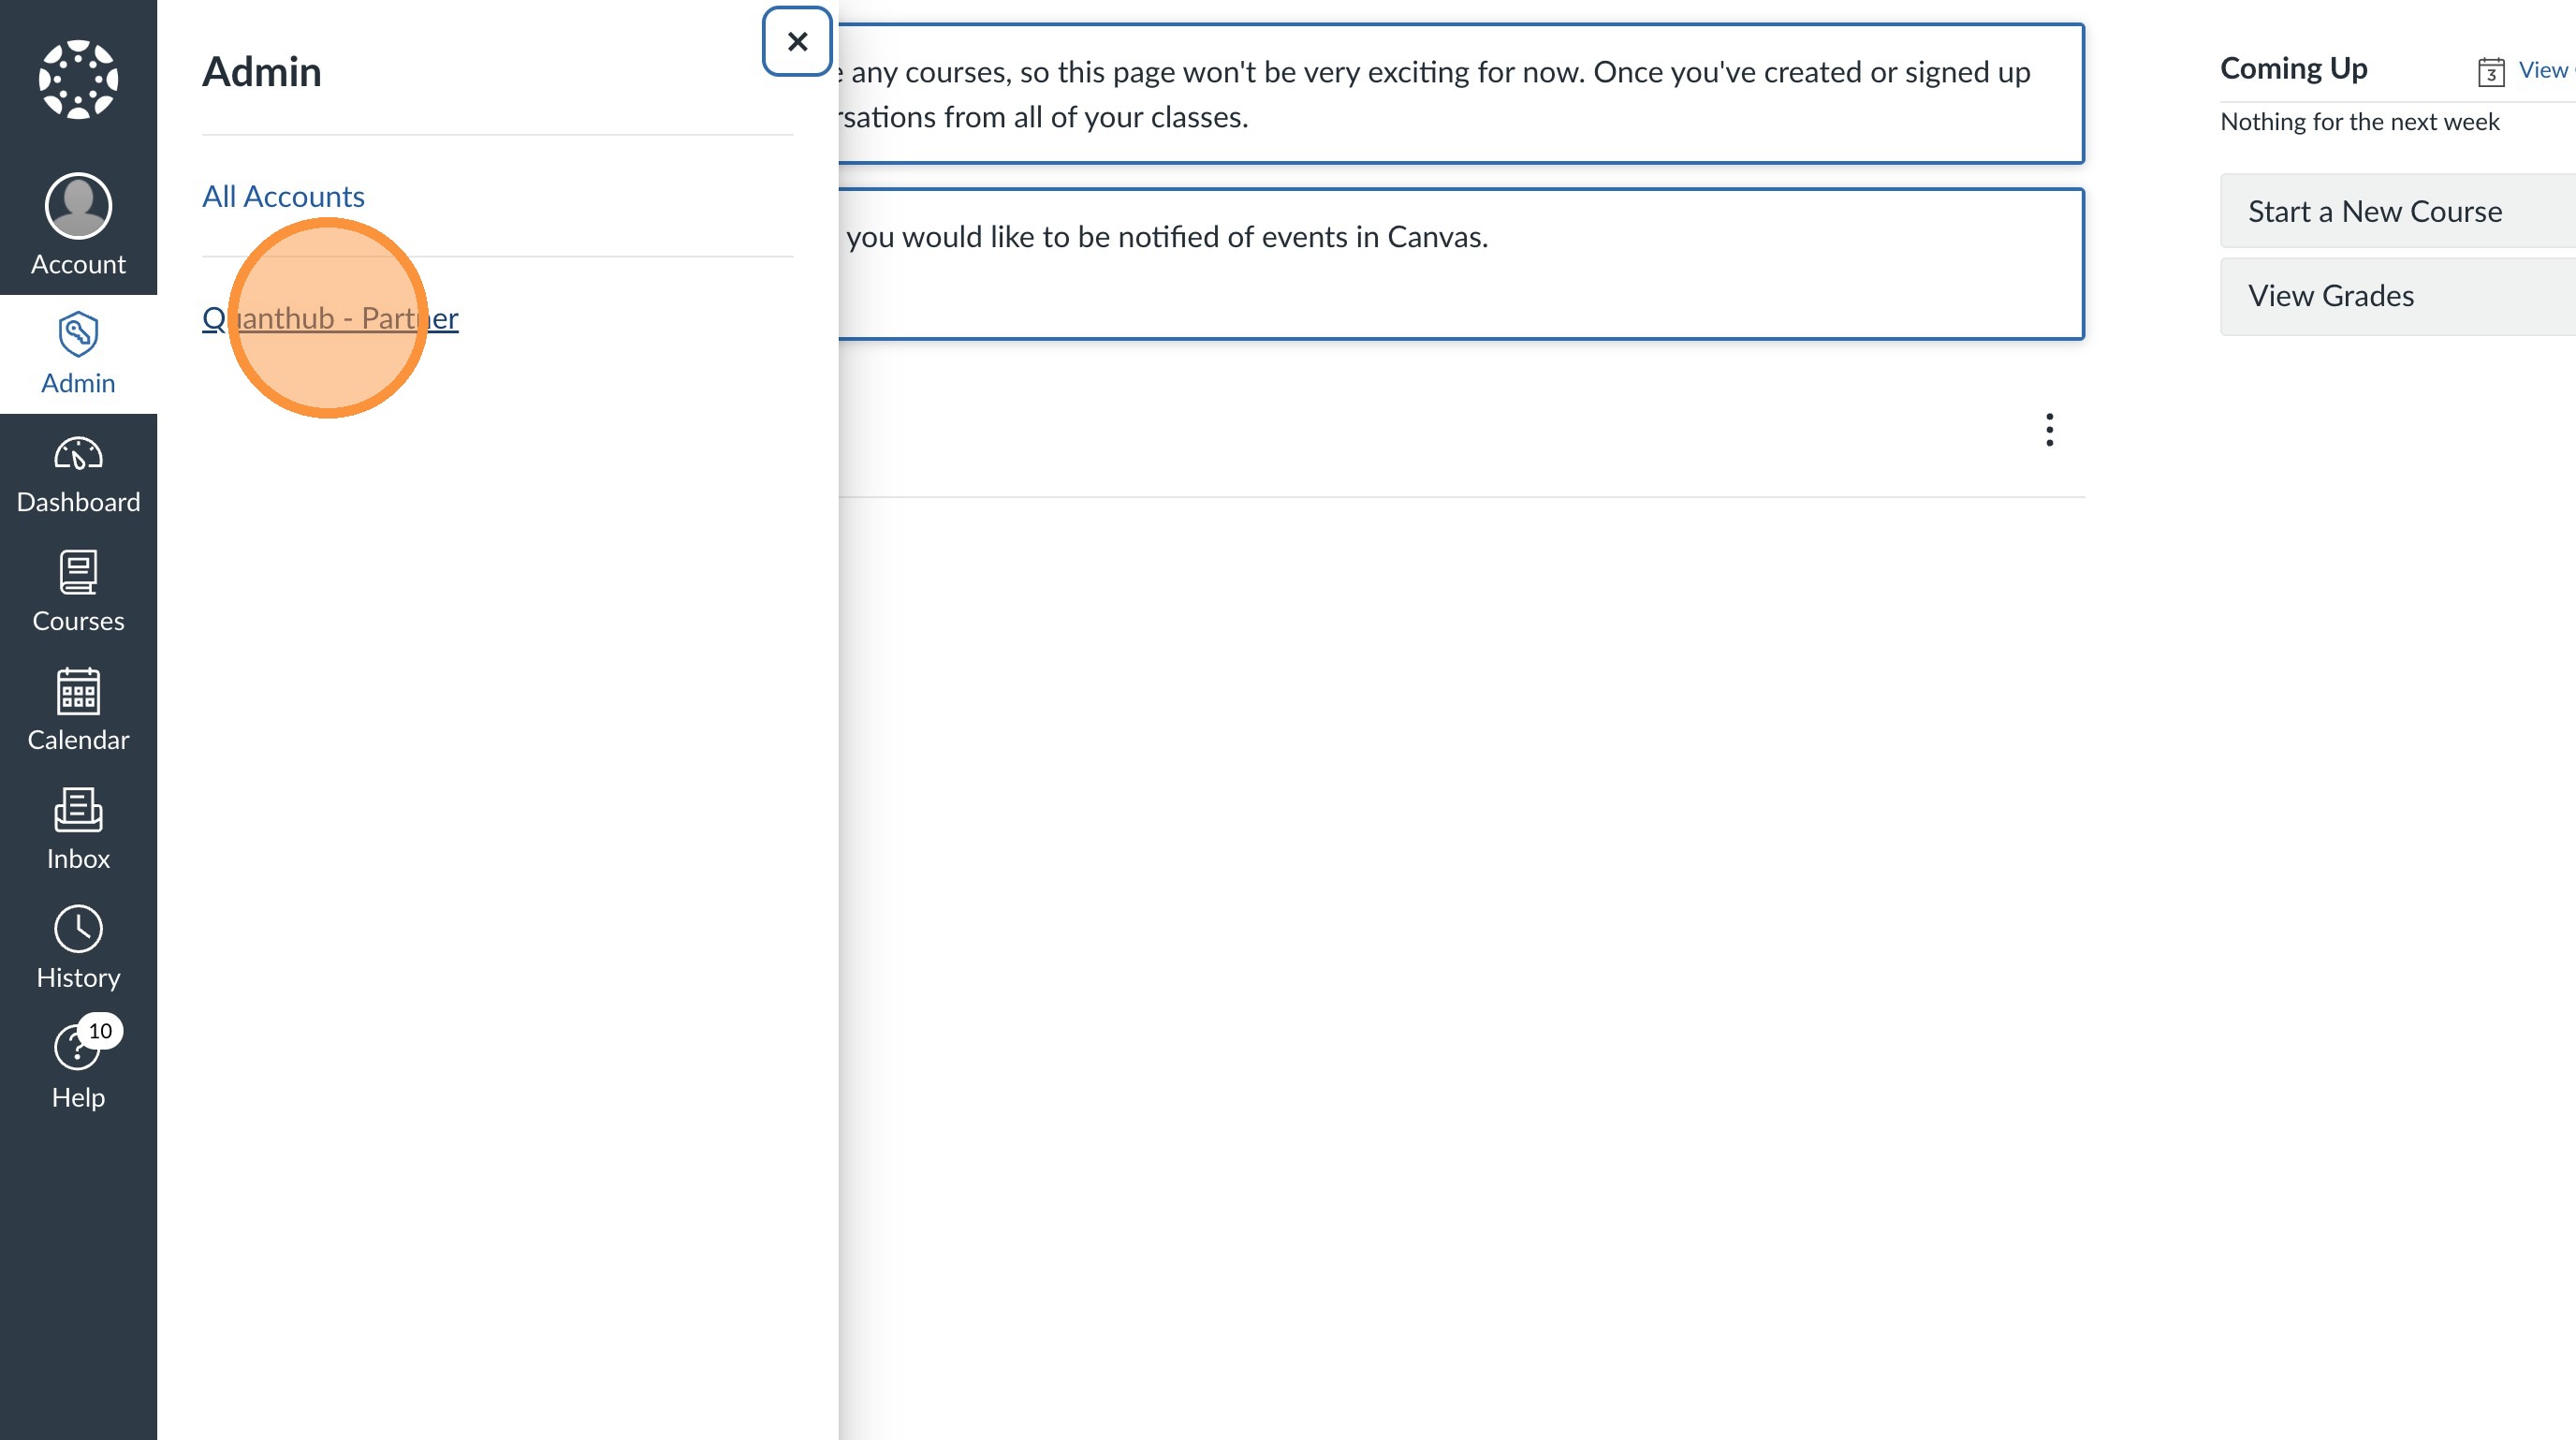
3. Select your school
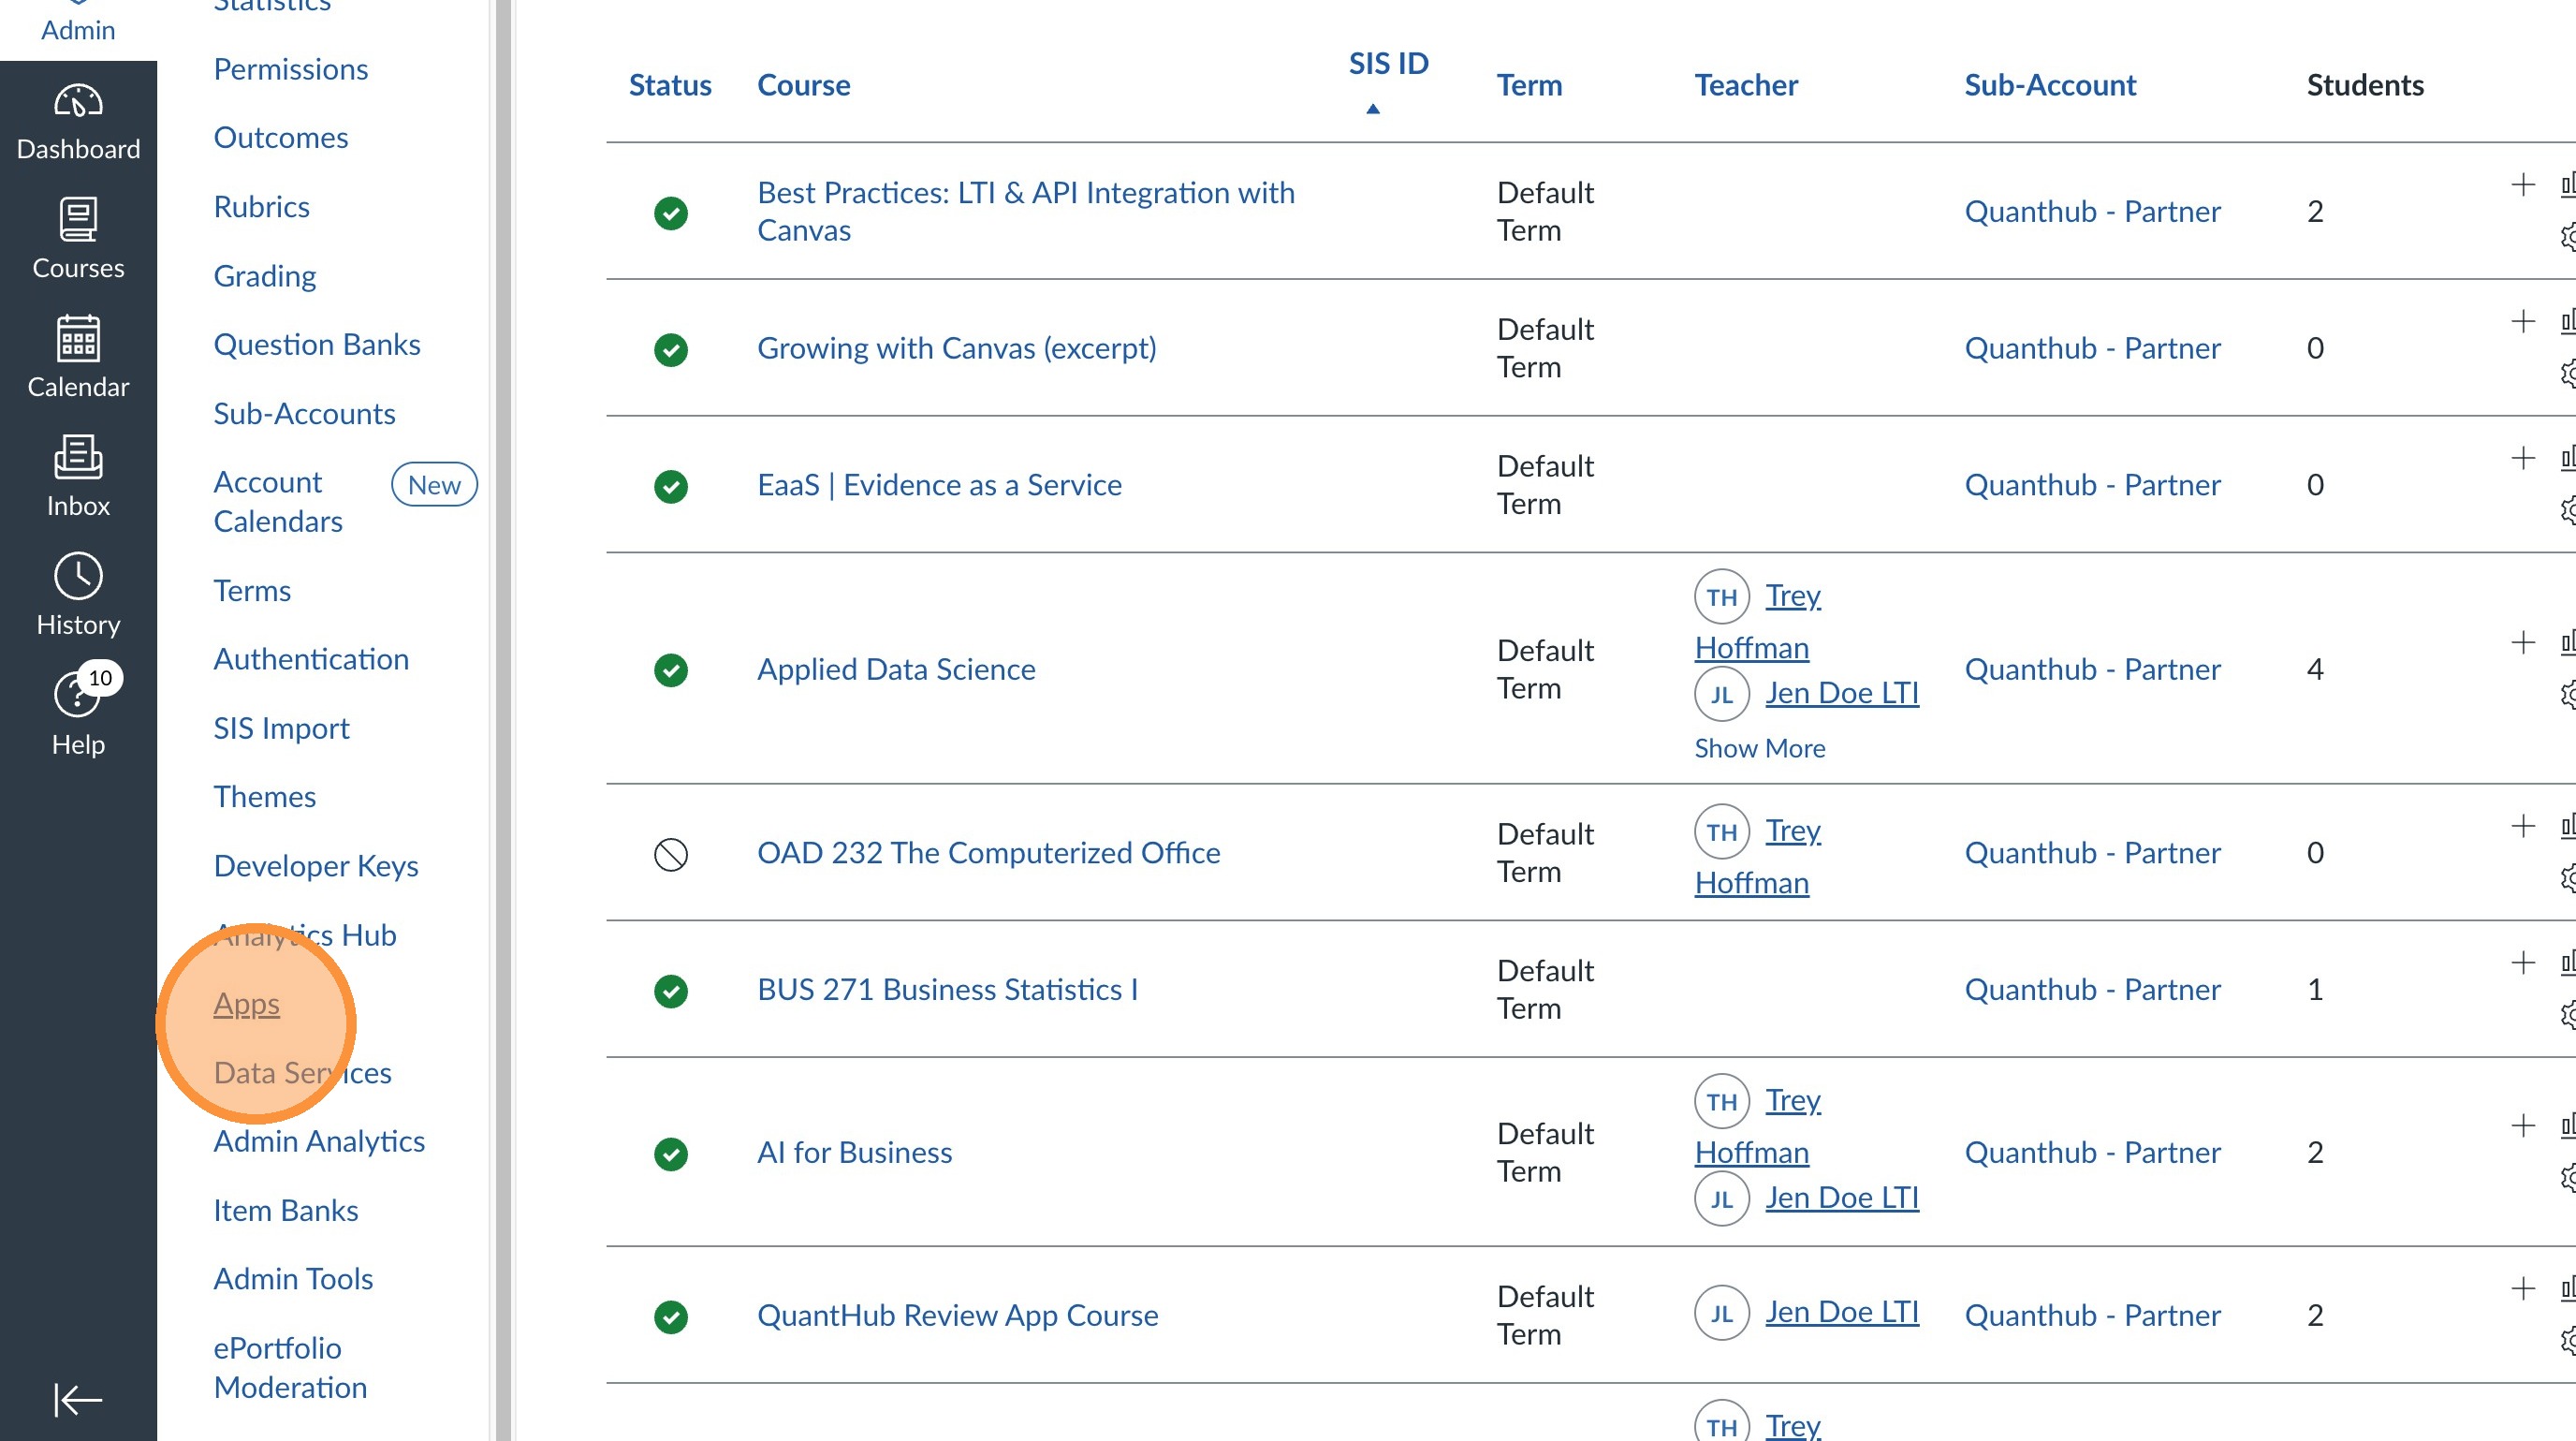
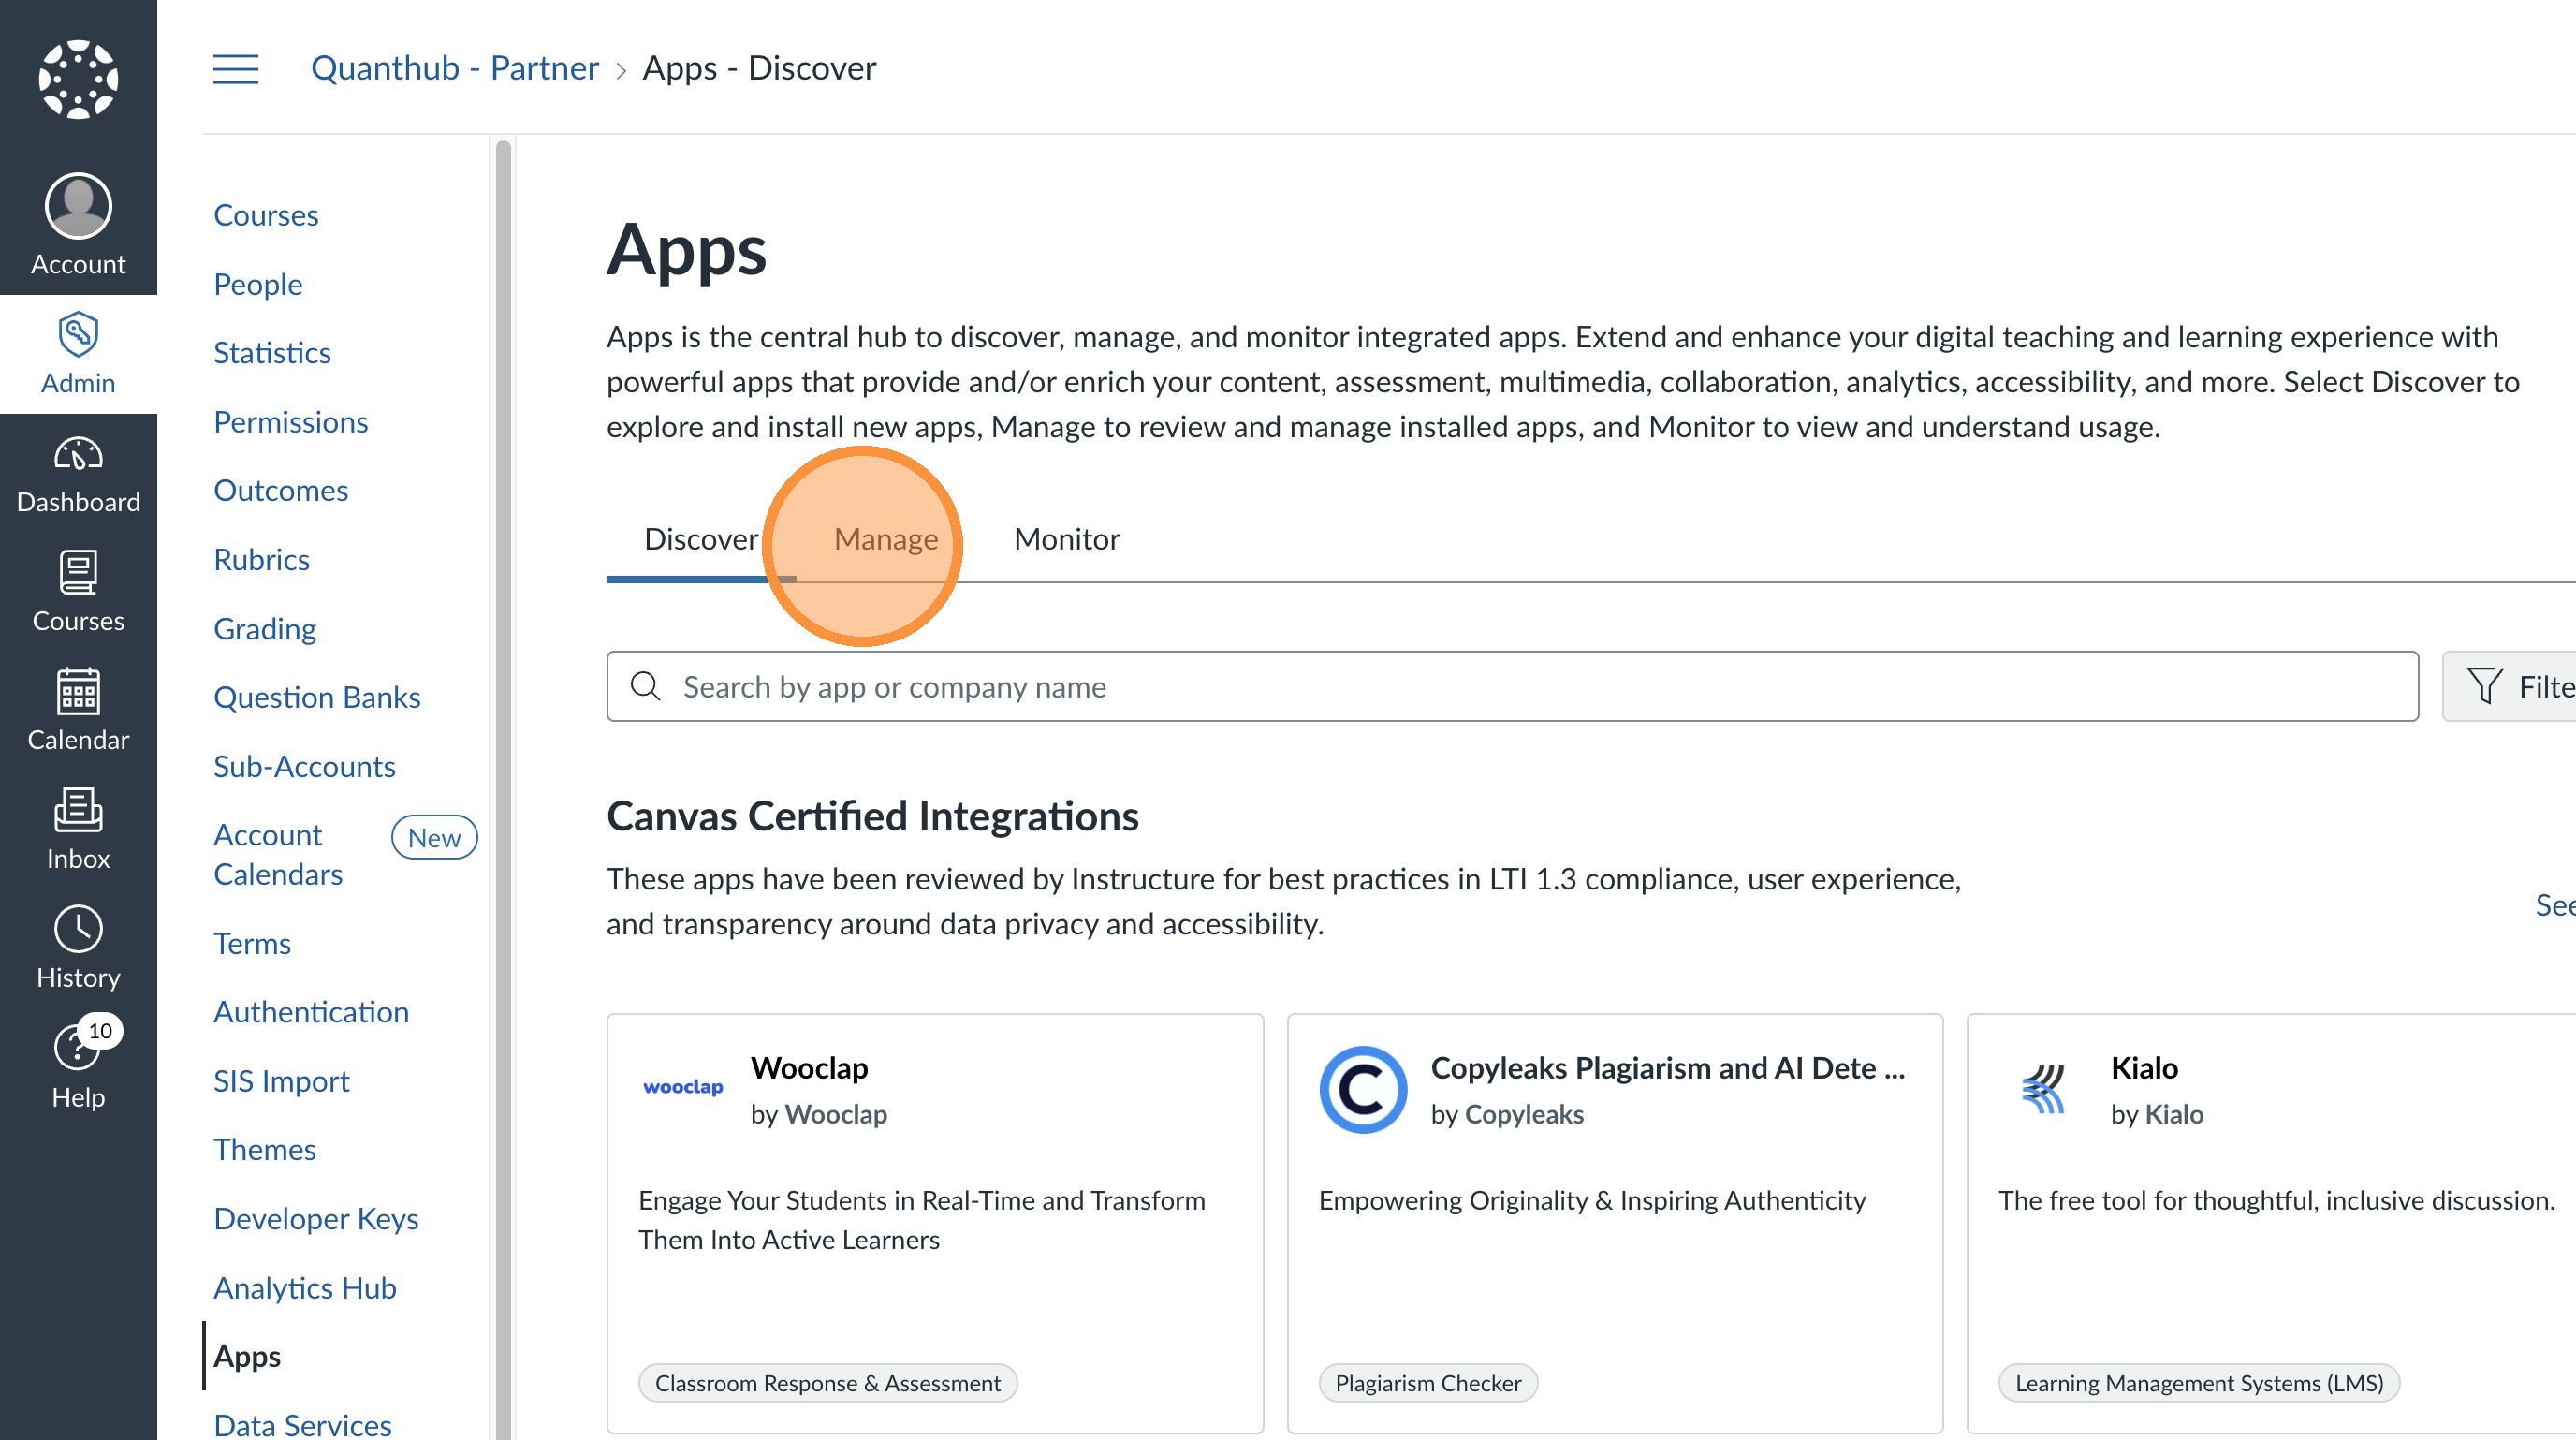
4. Select "Apps"
5. Select "Manage"
6. Select "Install a New App"

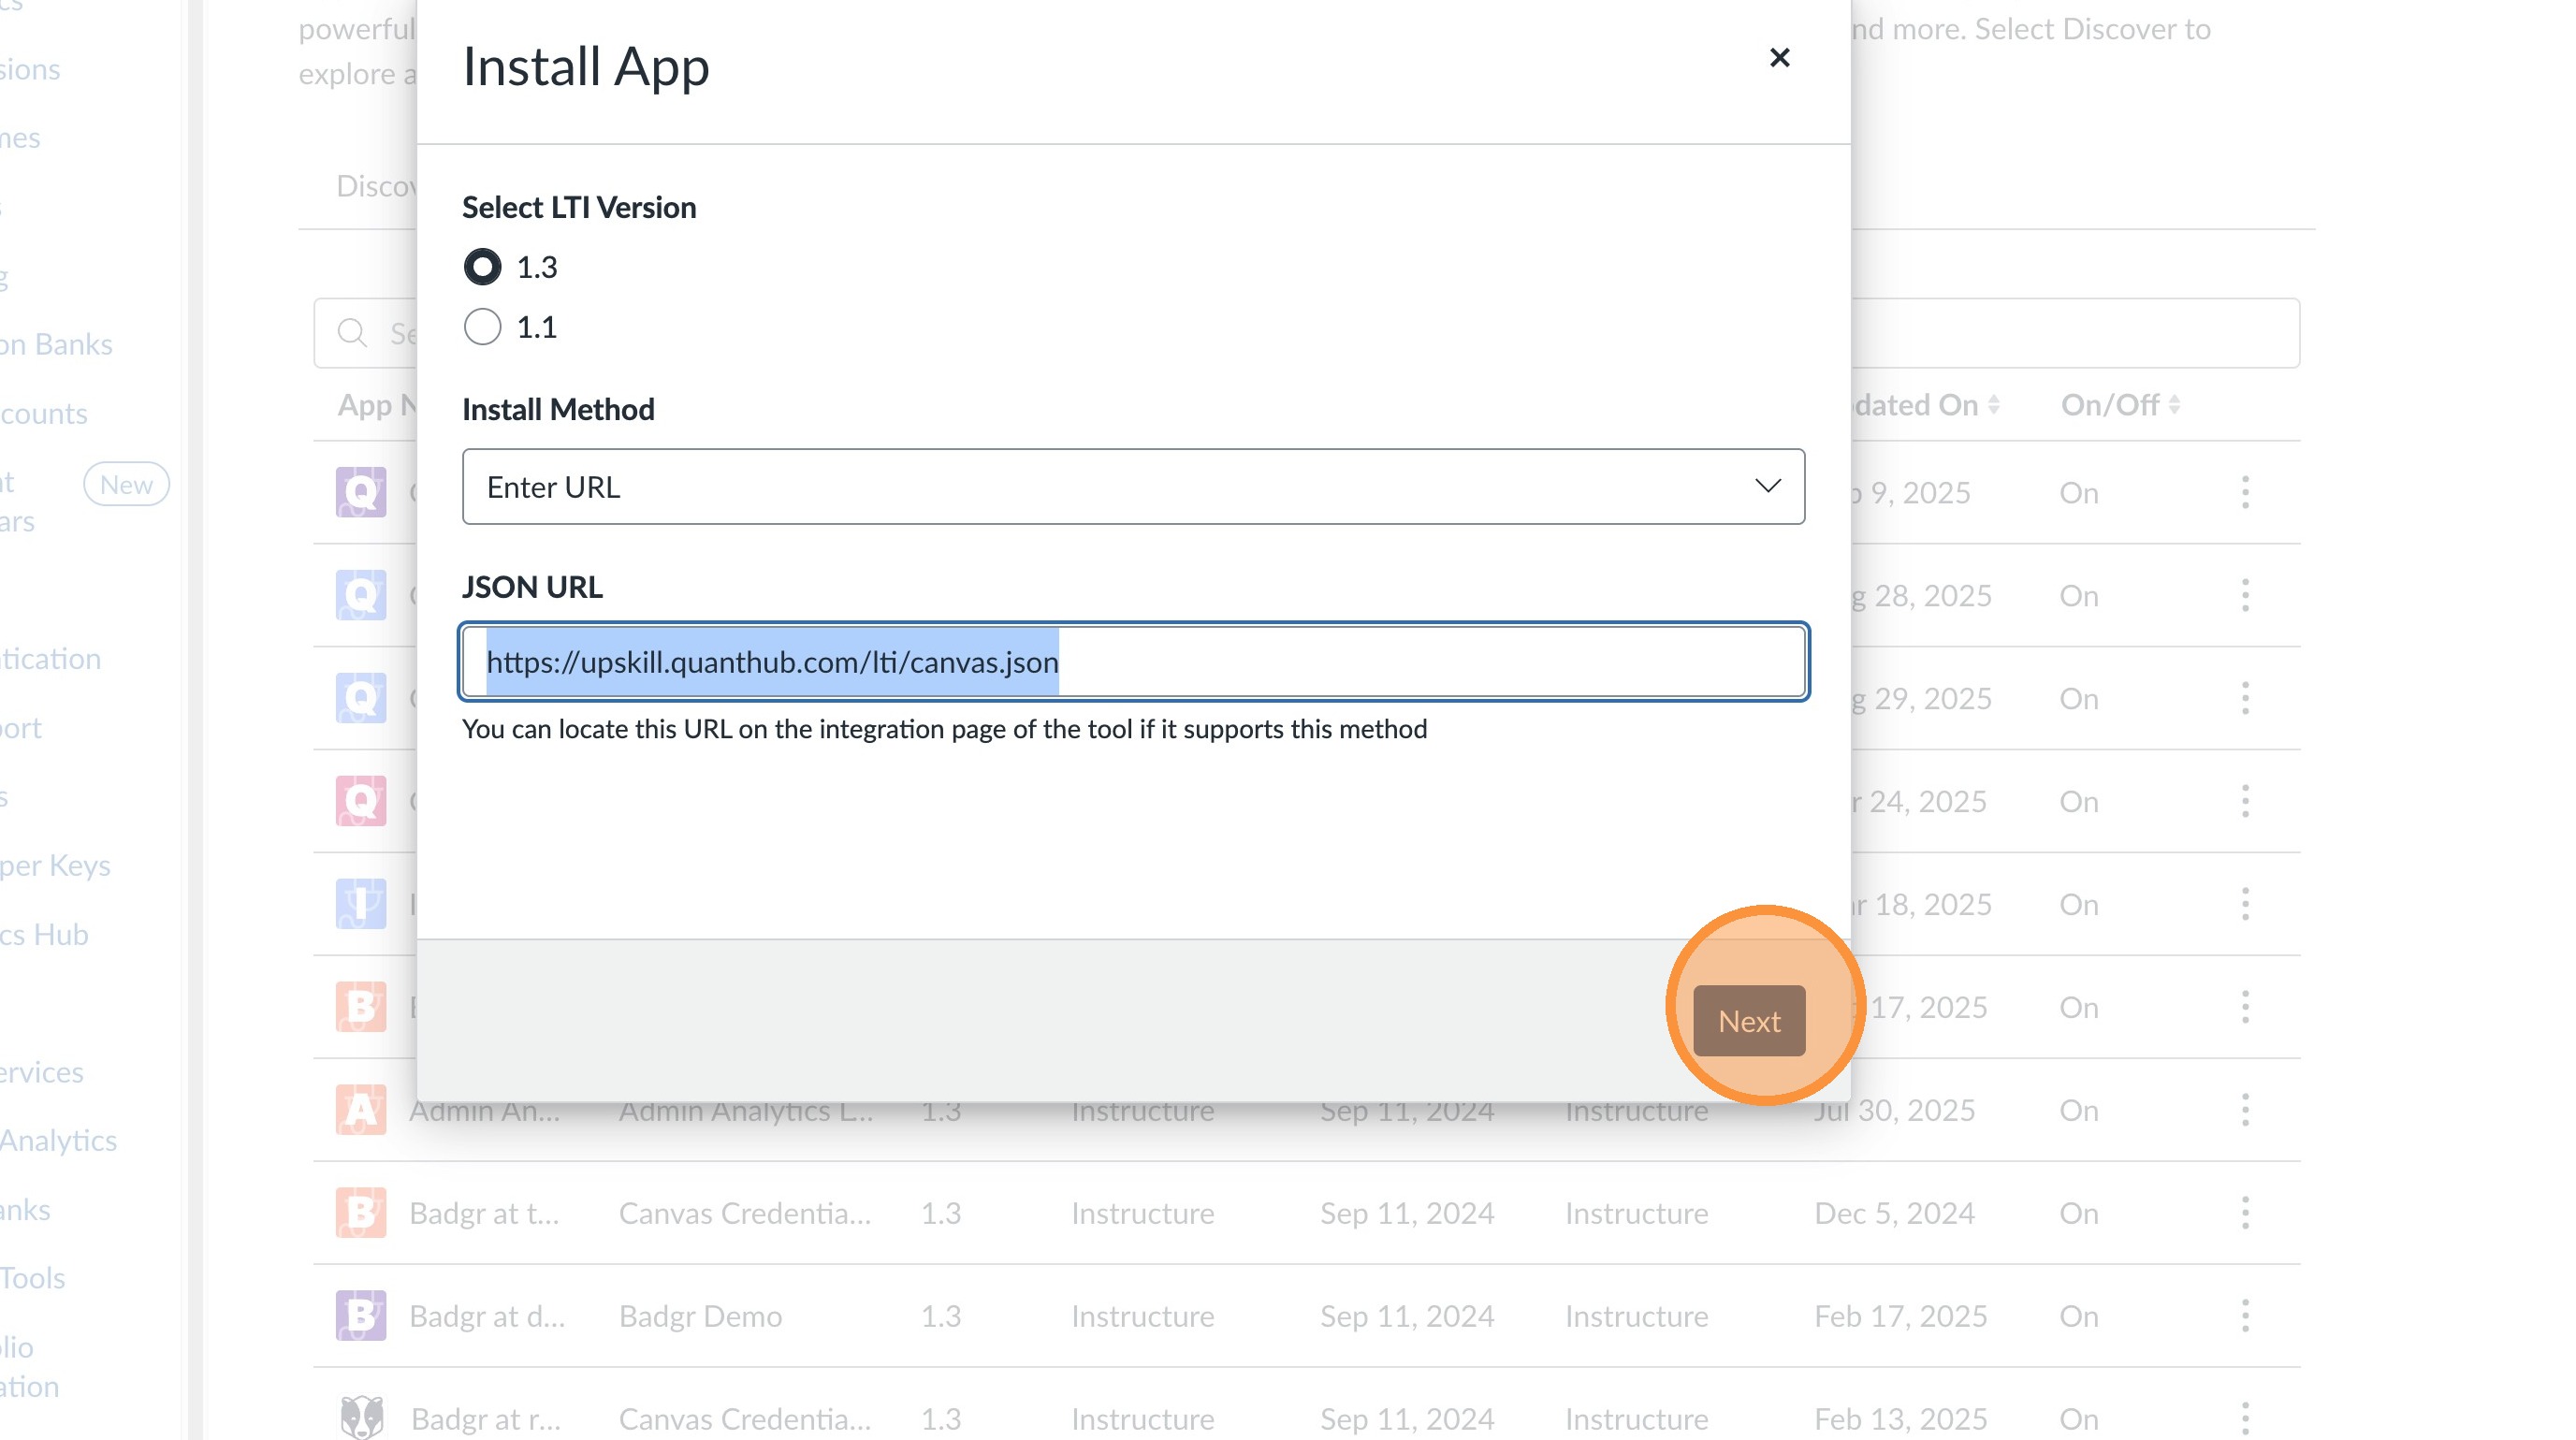
7. Select LTI 1.3
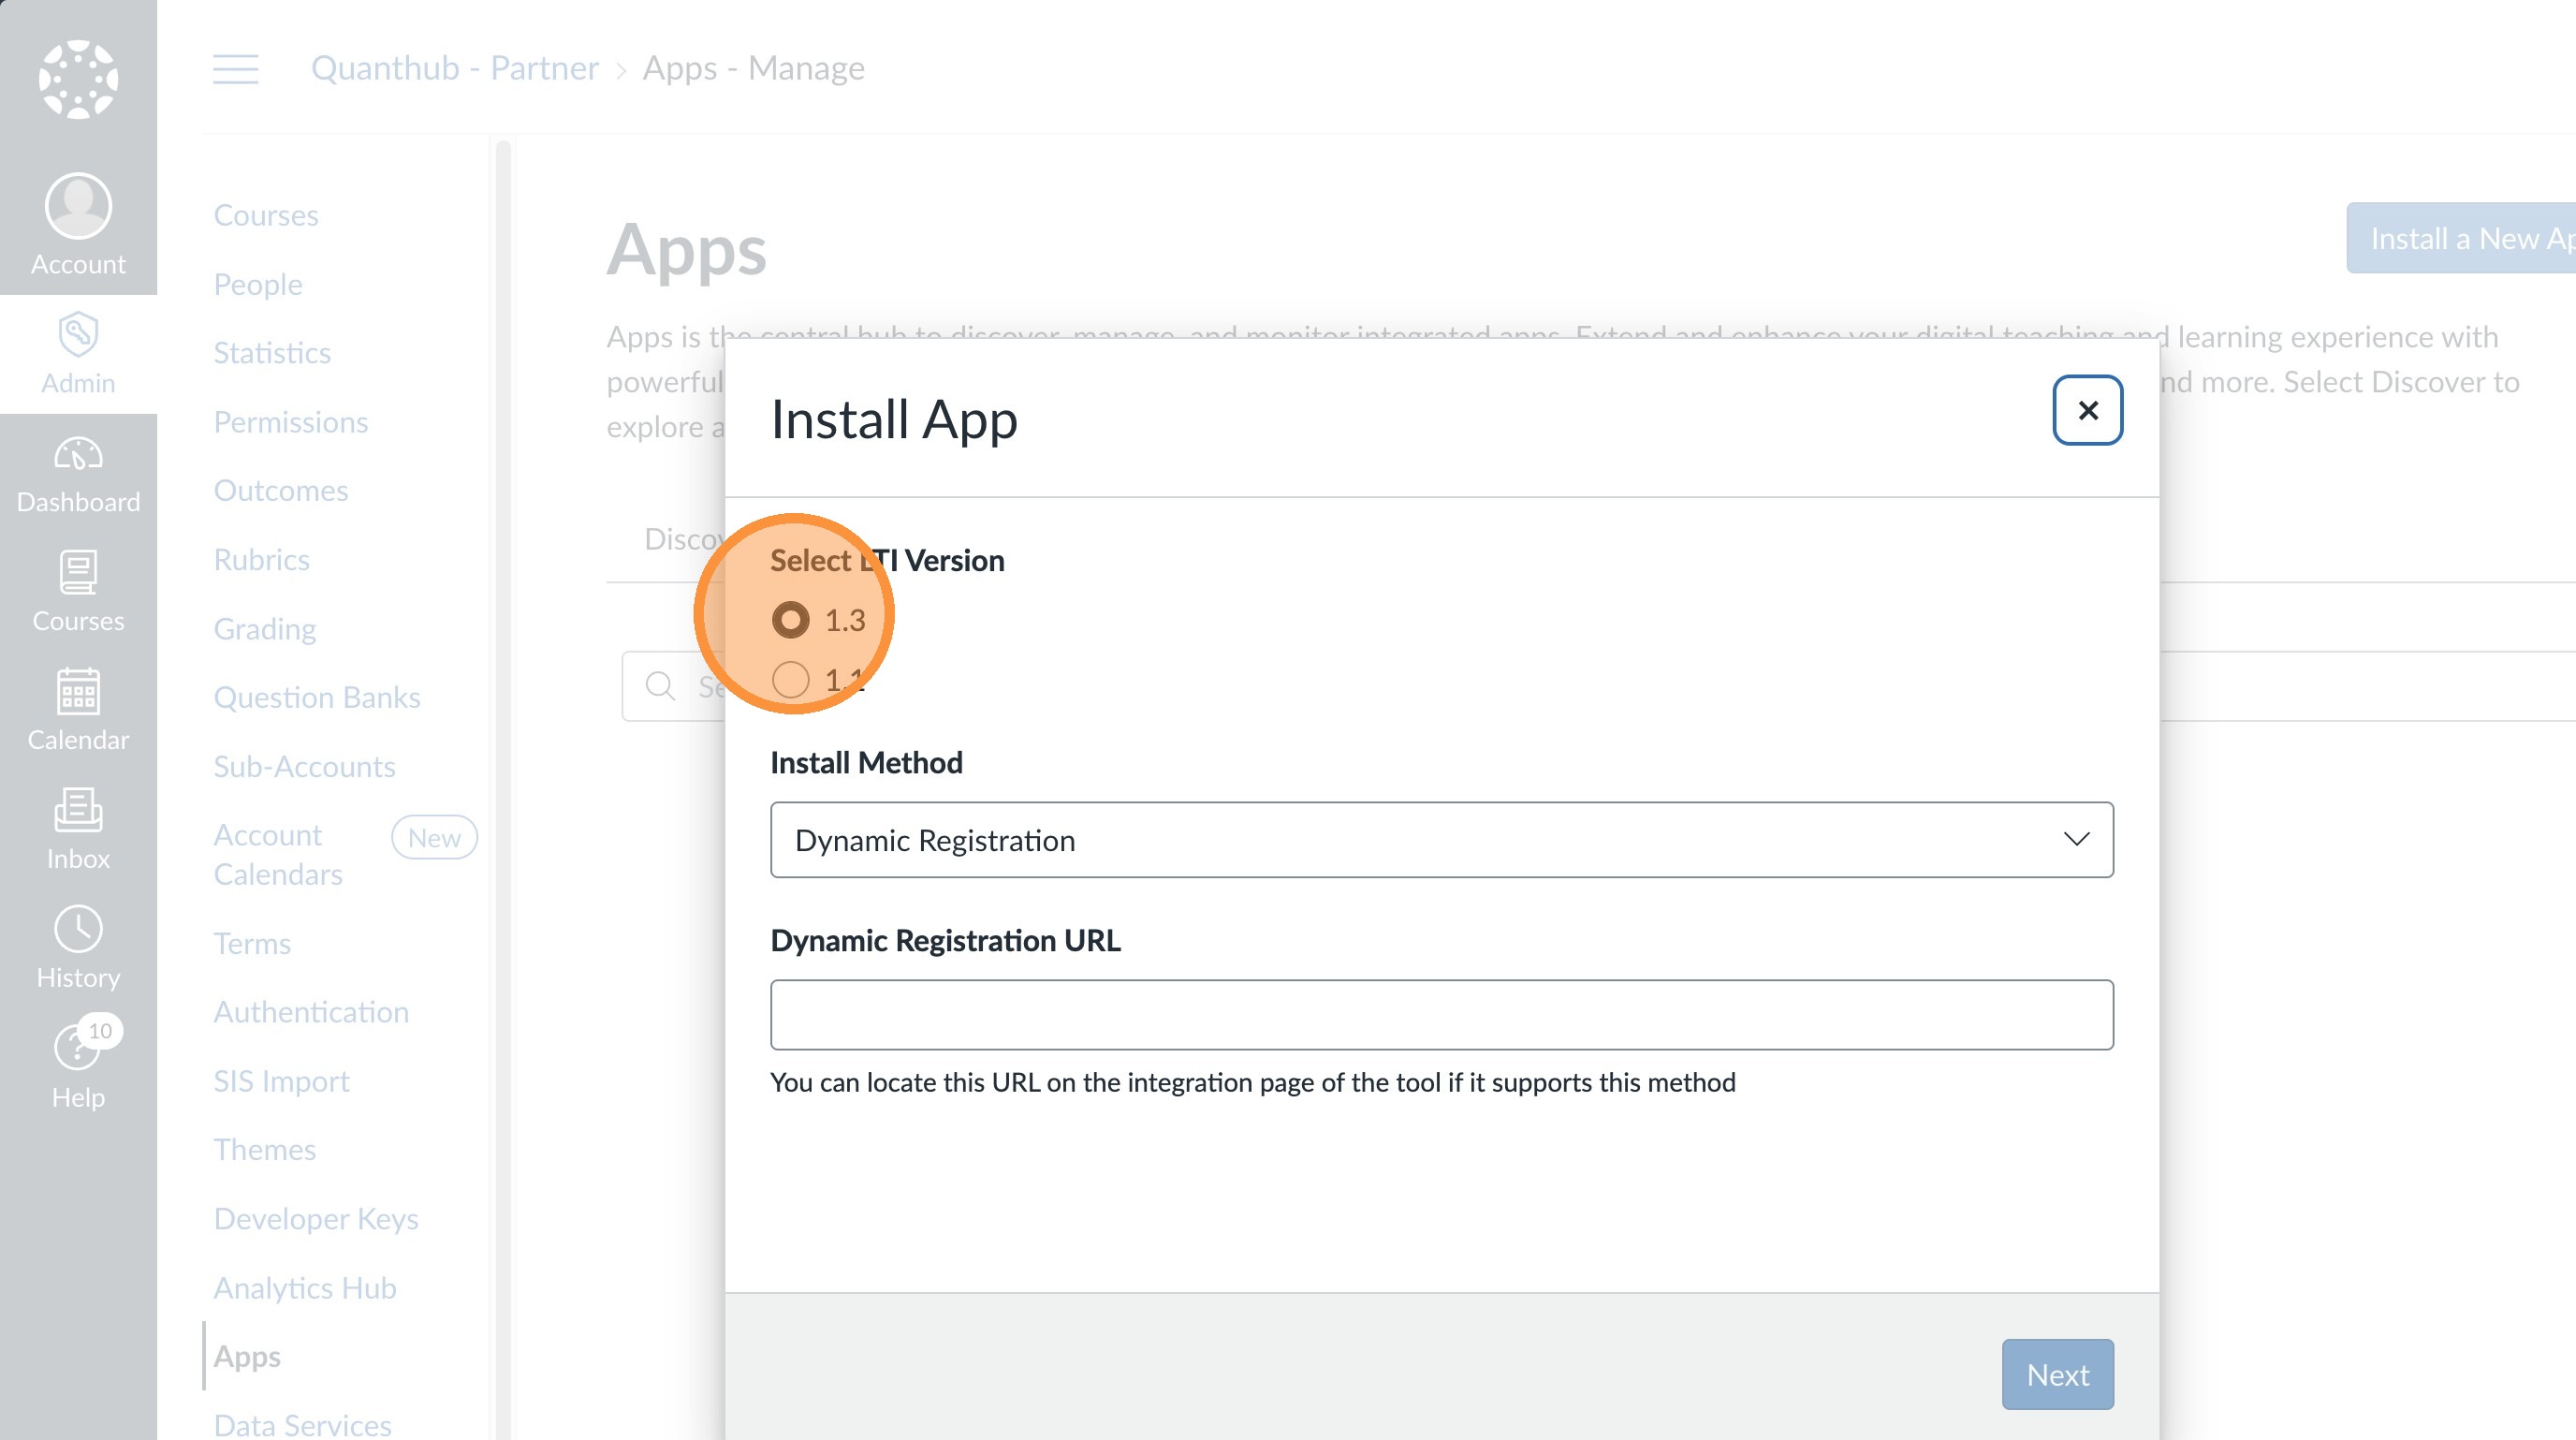
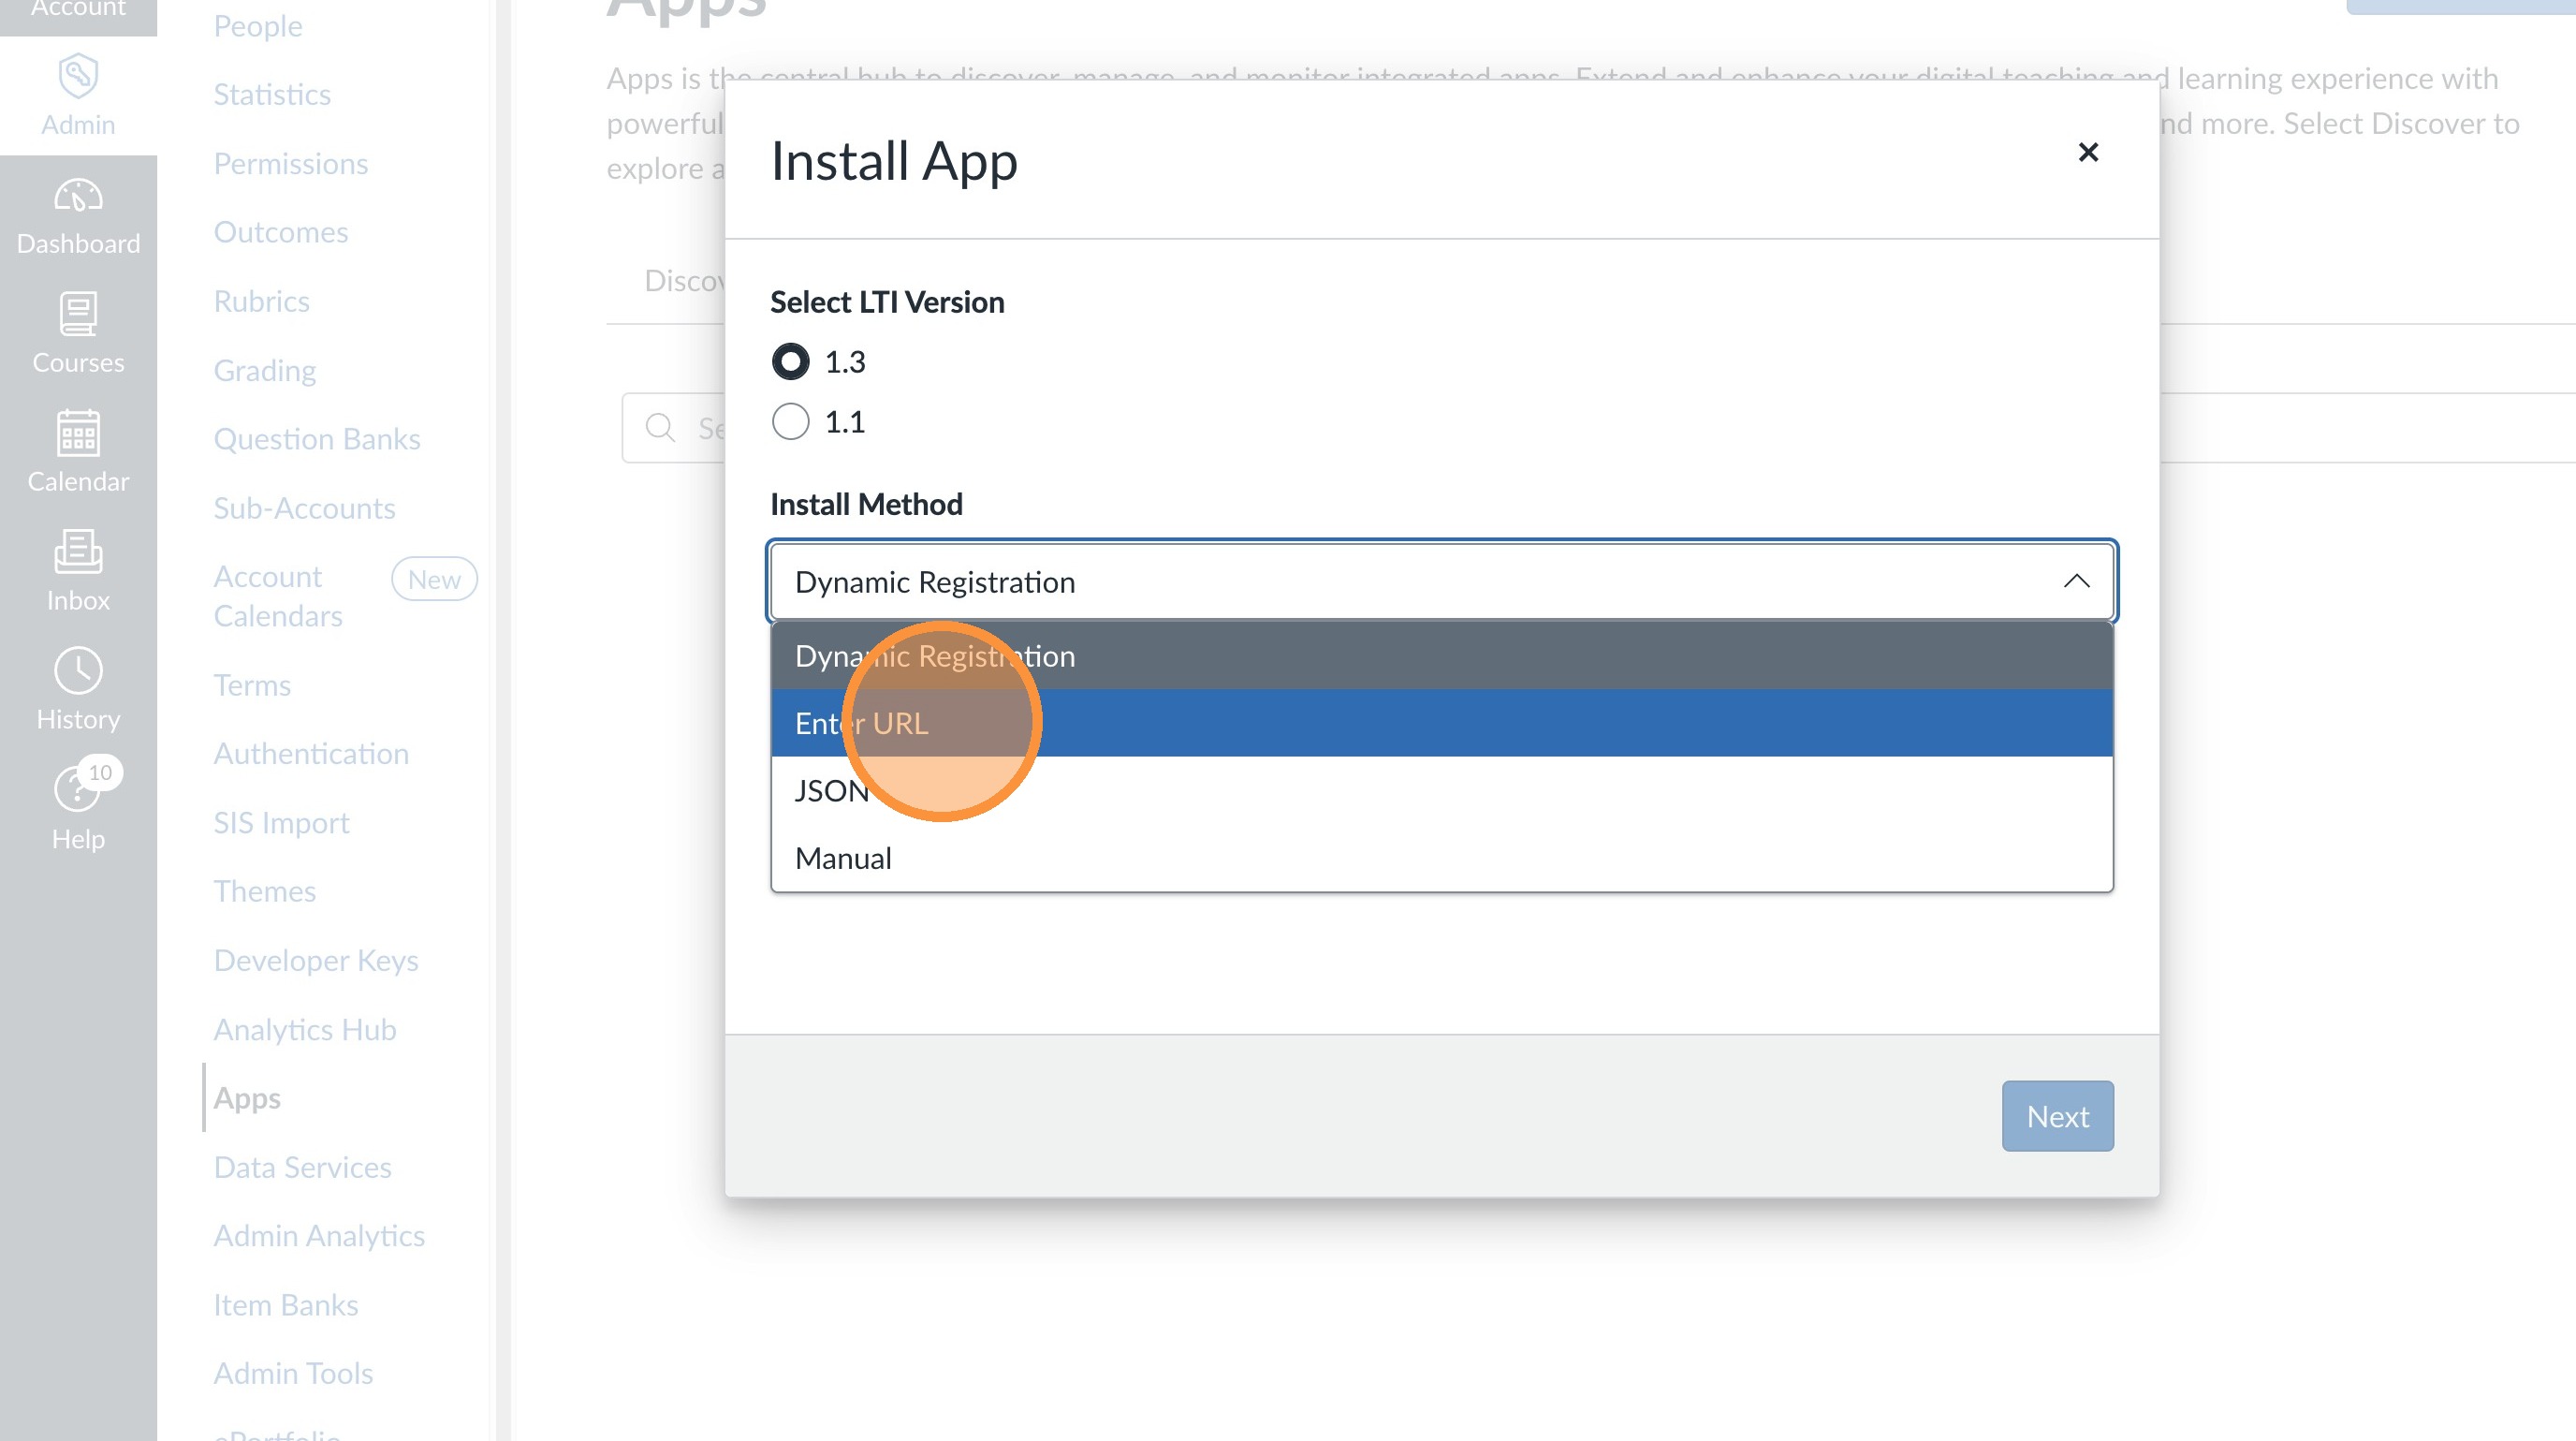
8. Select the "Install Method" field and choose "Enter URL"
9. Enter the following into the JSON URL field: https://upskill.quanthub.com/lti/canvas.json
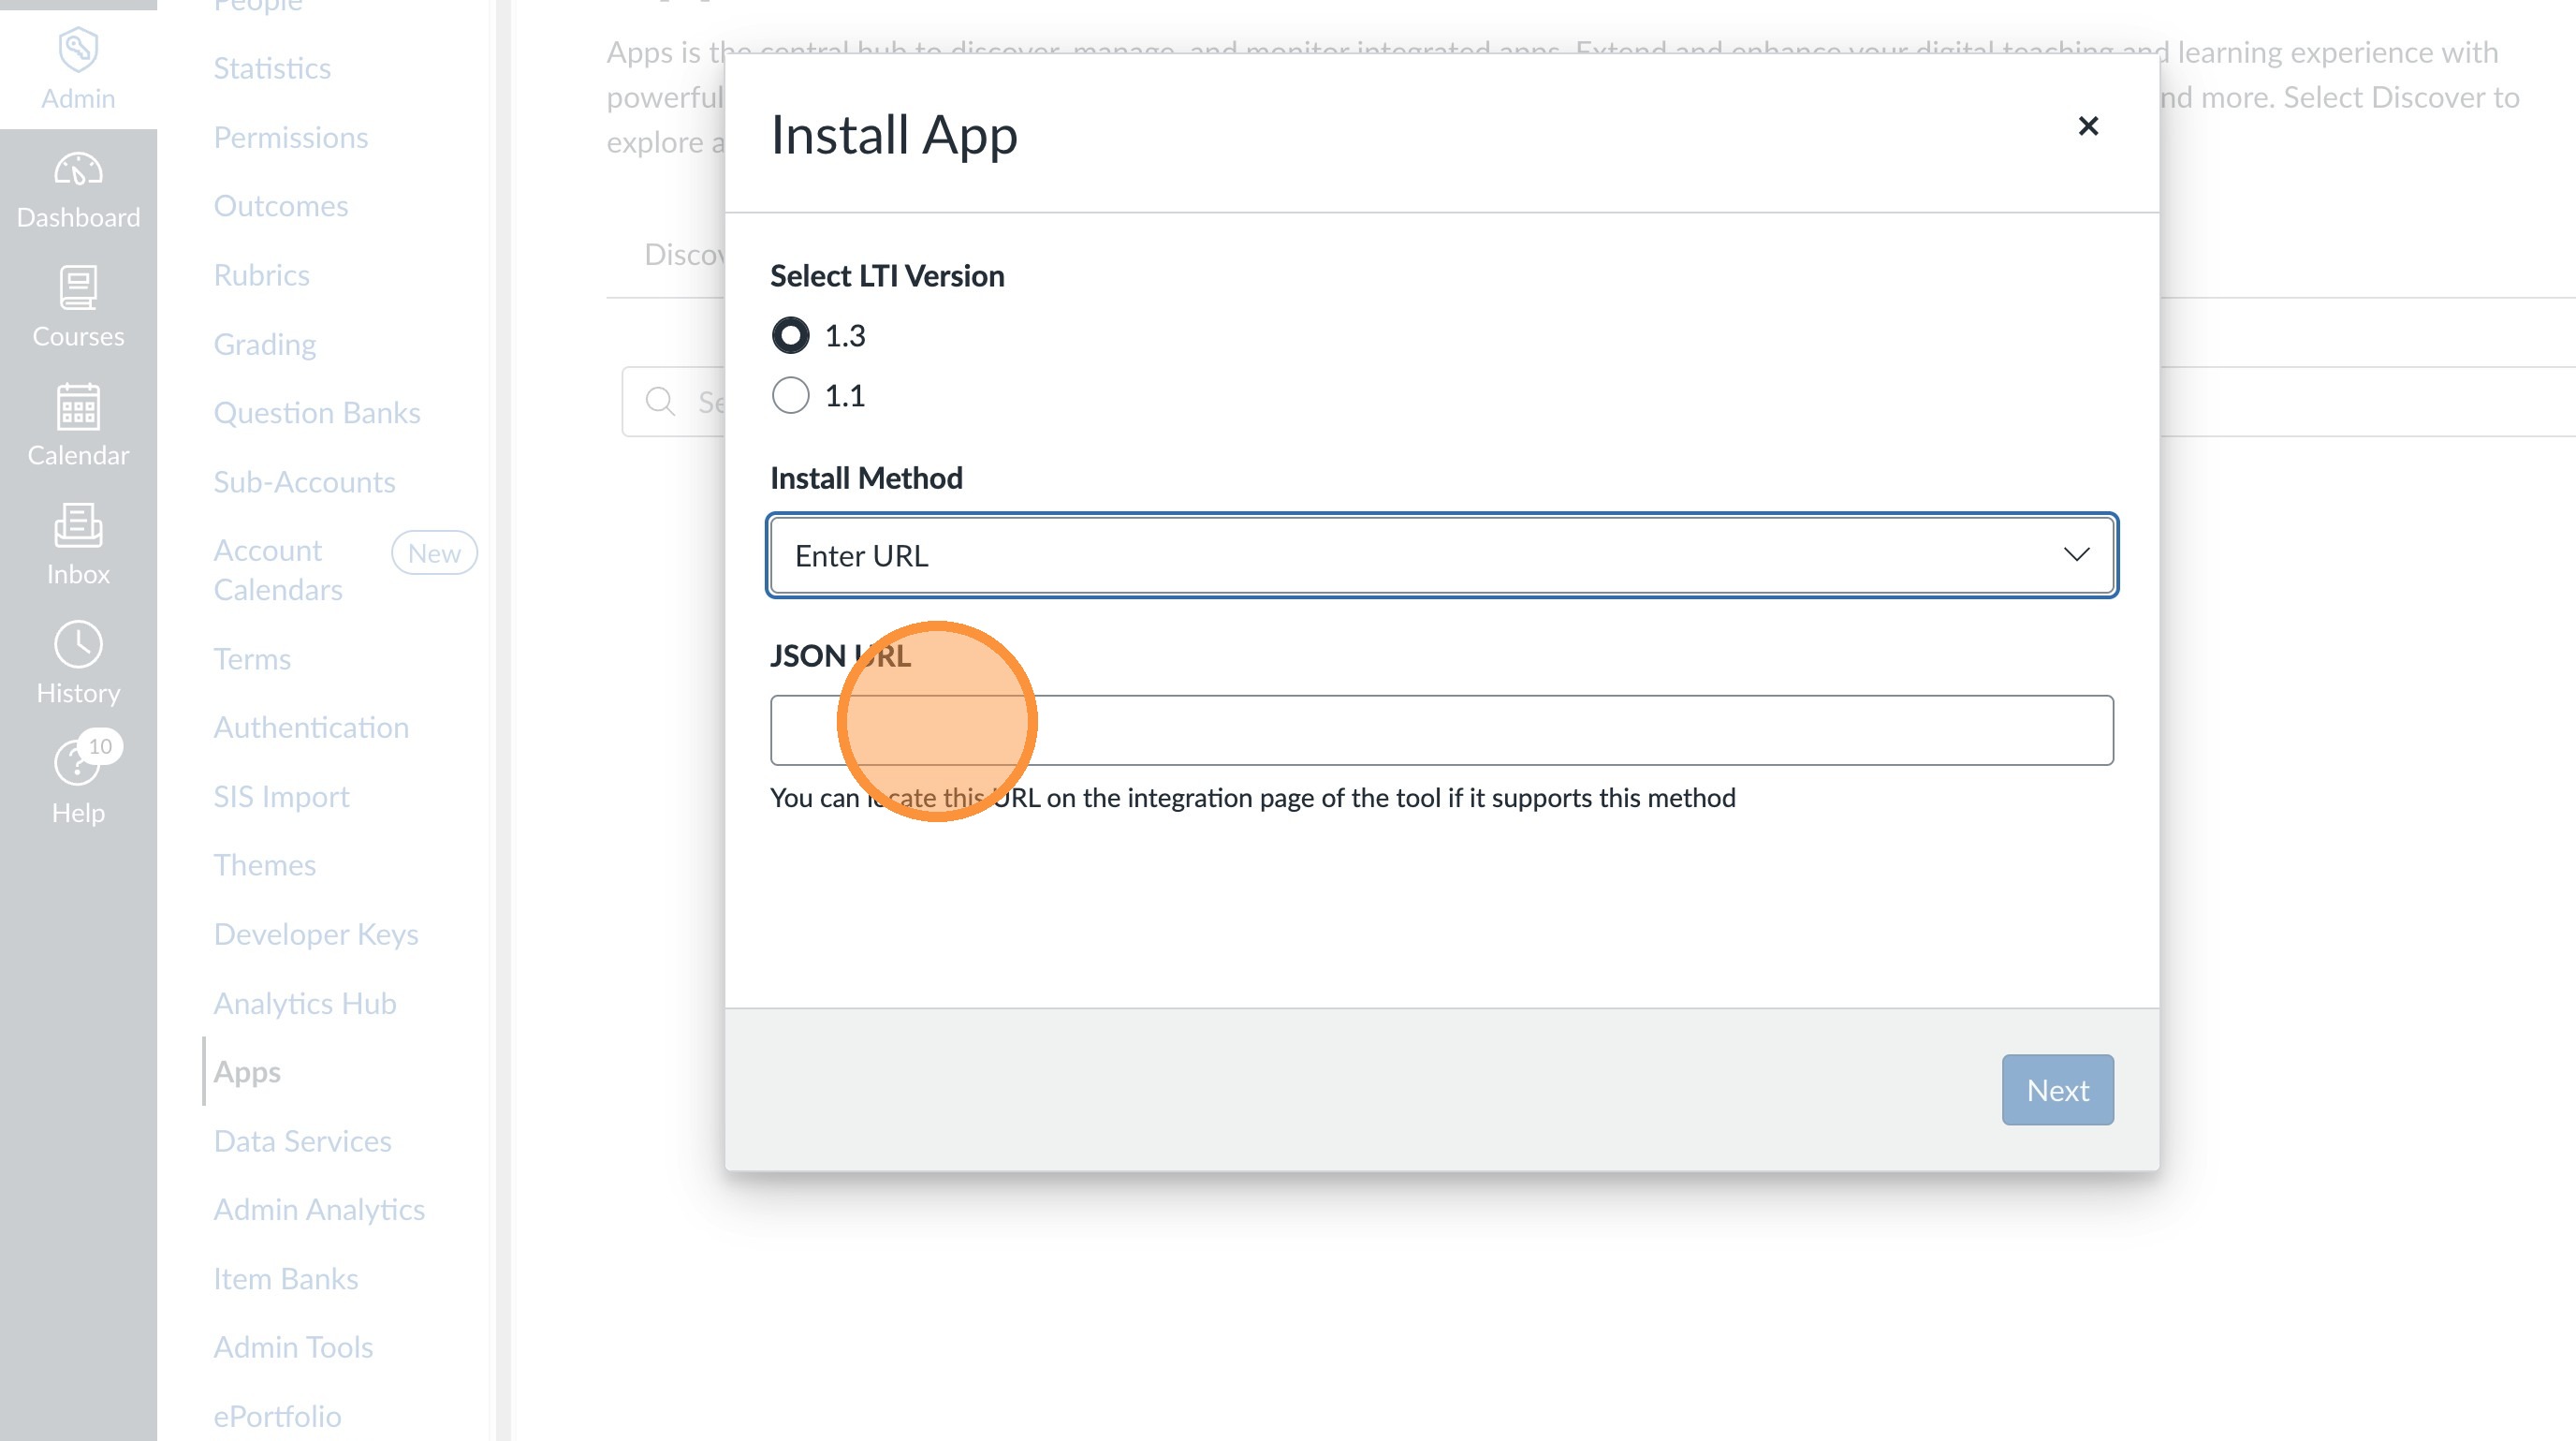
10. Select "Next". Using this URL should auto-populate the important fields. If this link doesn't work or doesn't auto-populate the following screens. STOP and contact support@quanthub.com for assistance.
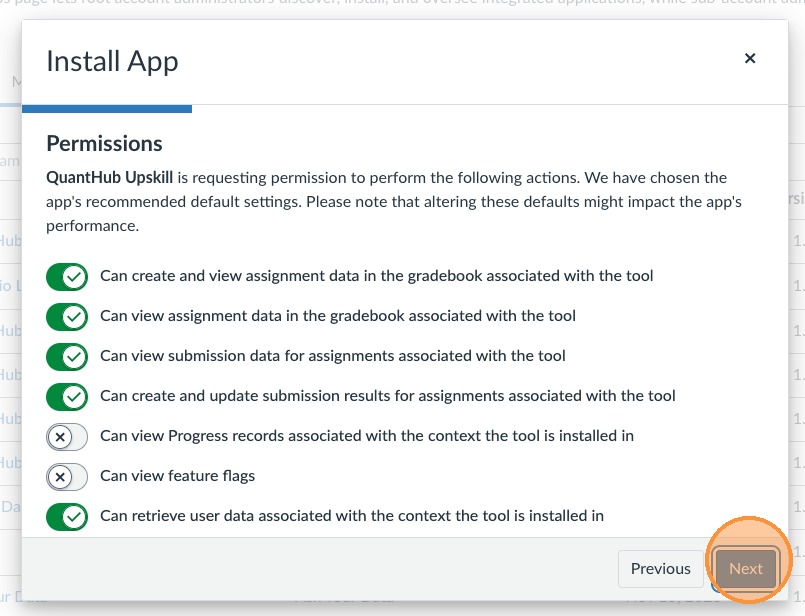
11. Select "Next"

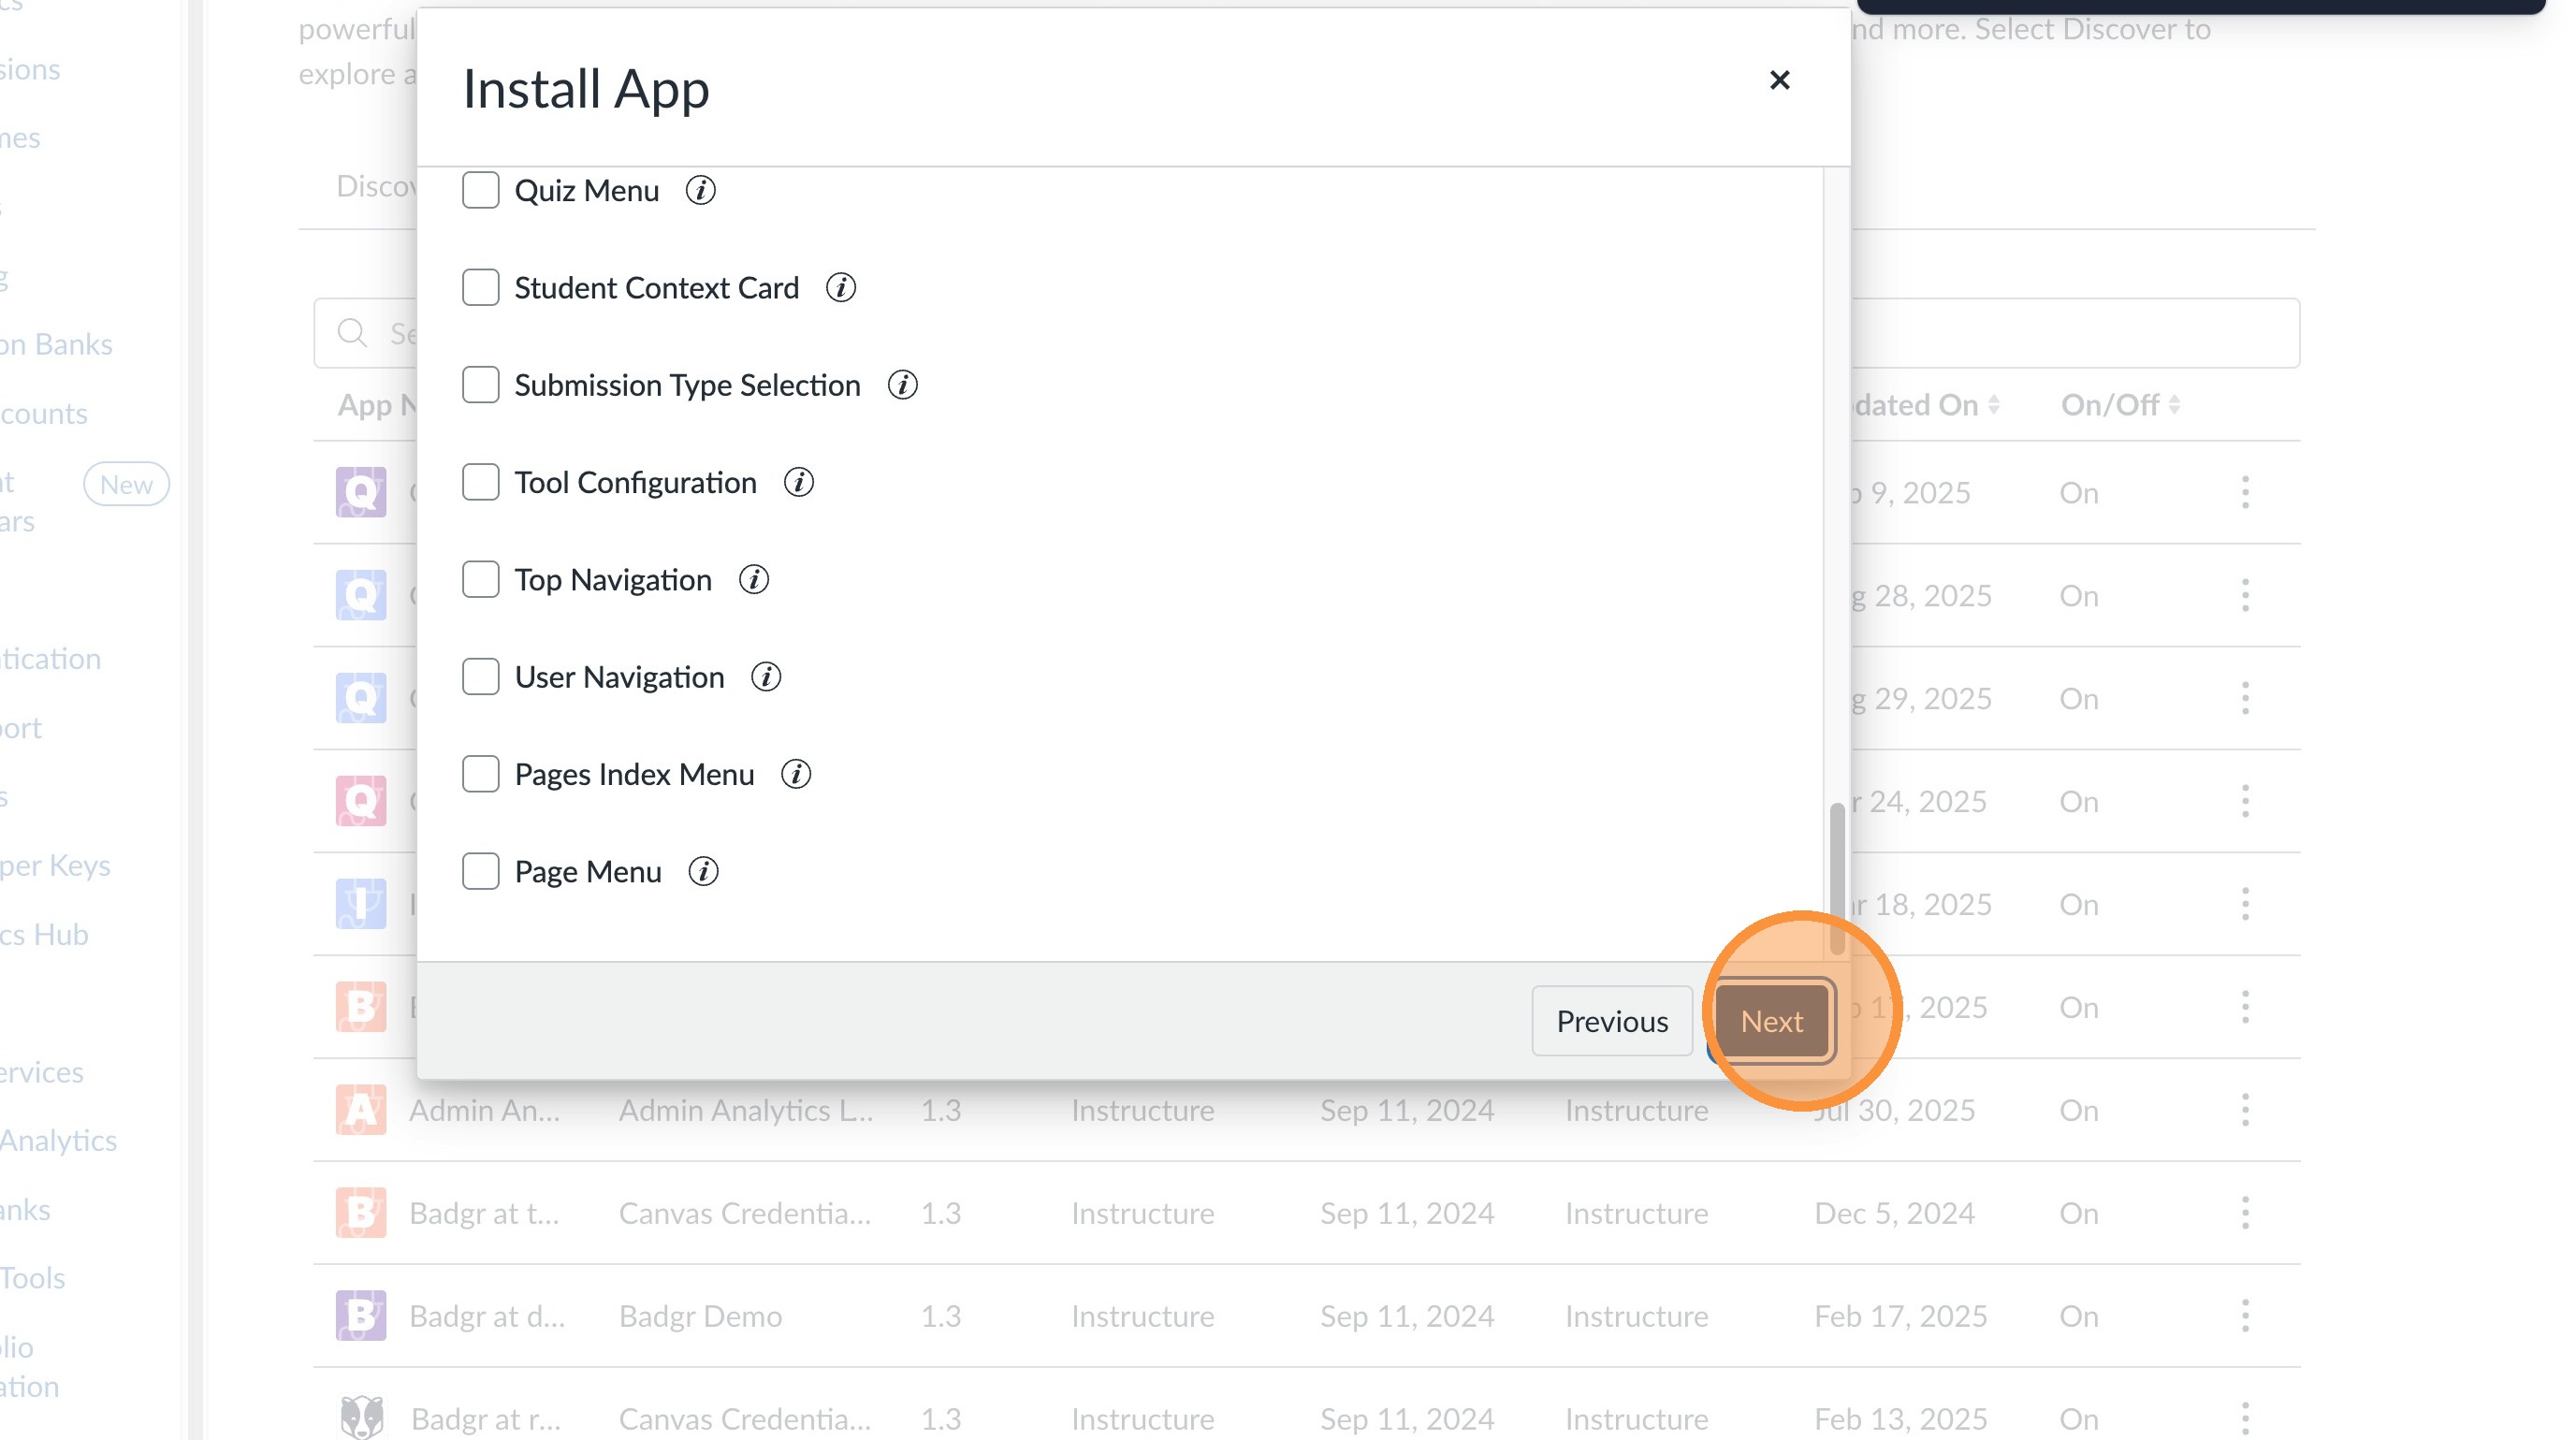
12. Ensure the 5 options displayed below are toggled on and then select "Next"
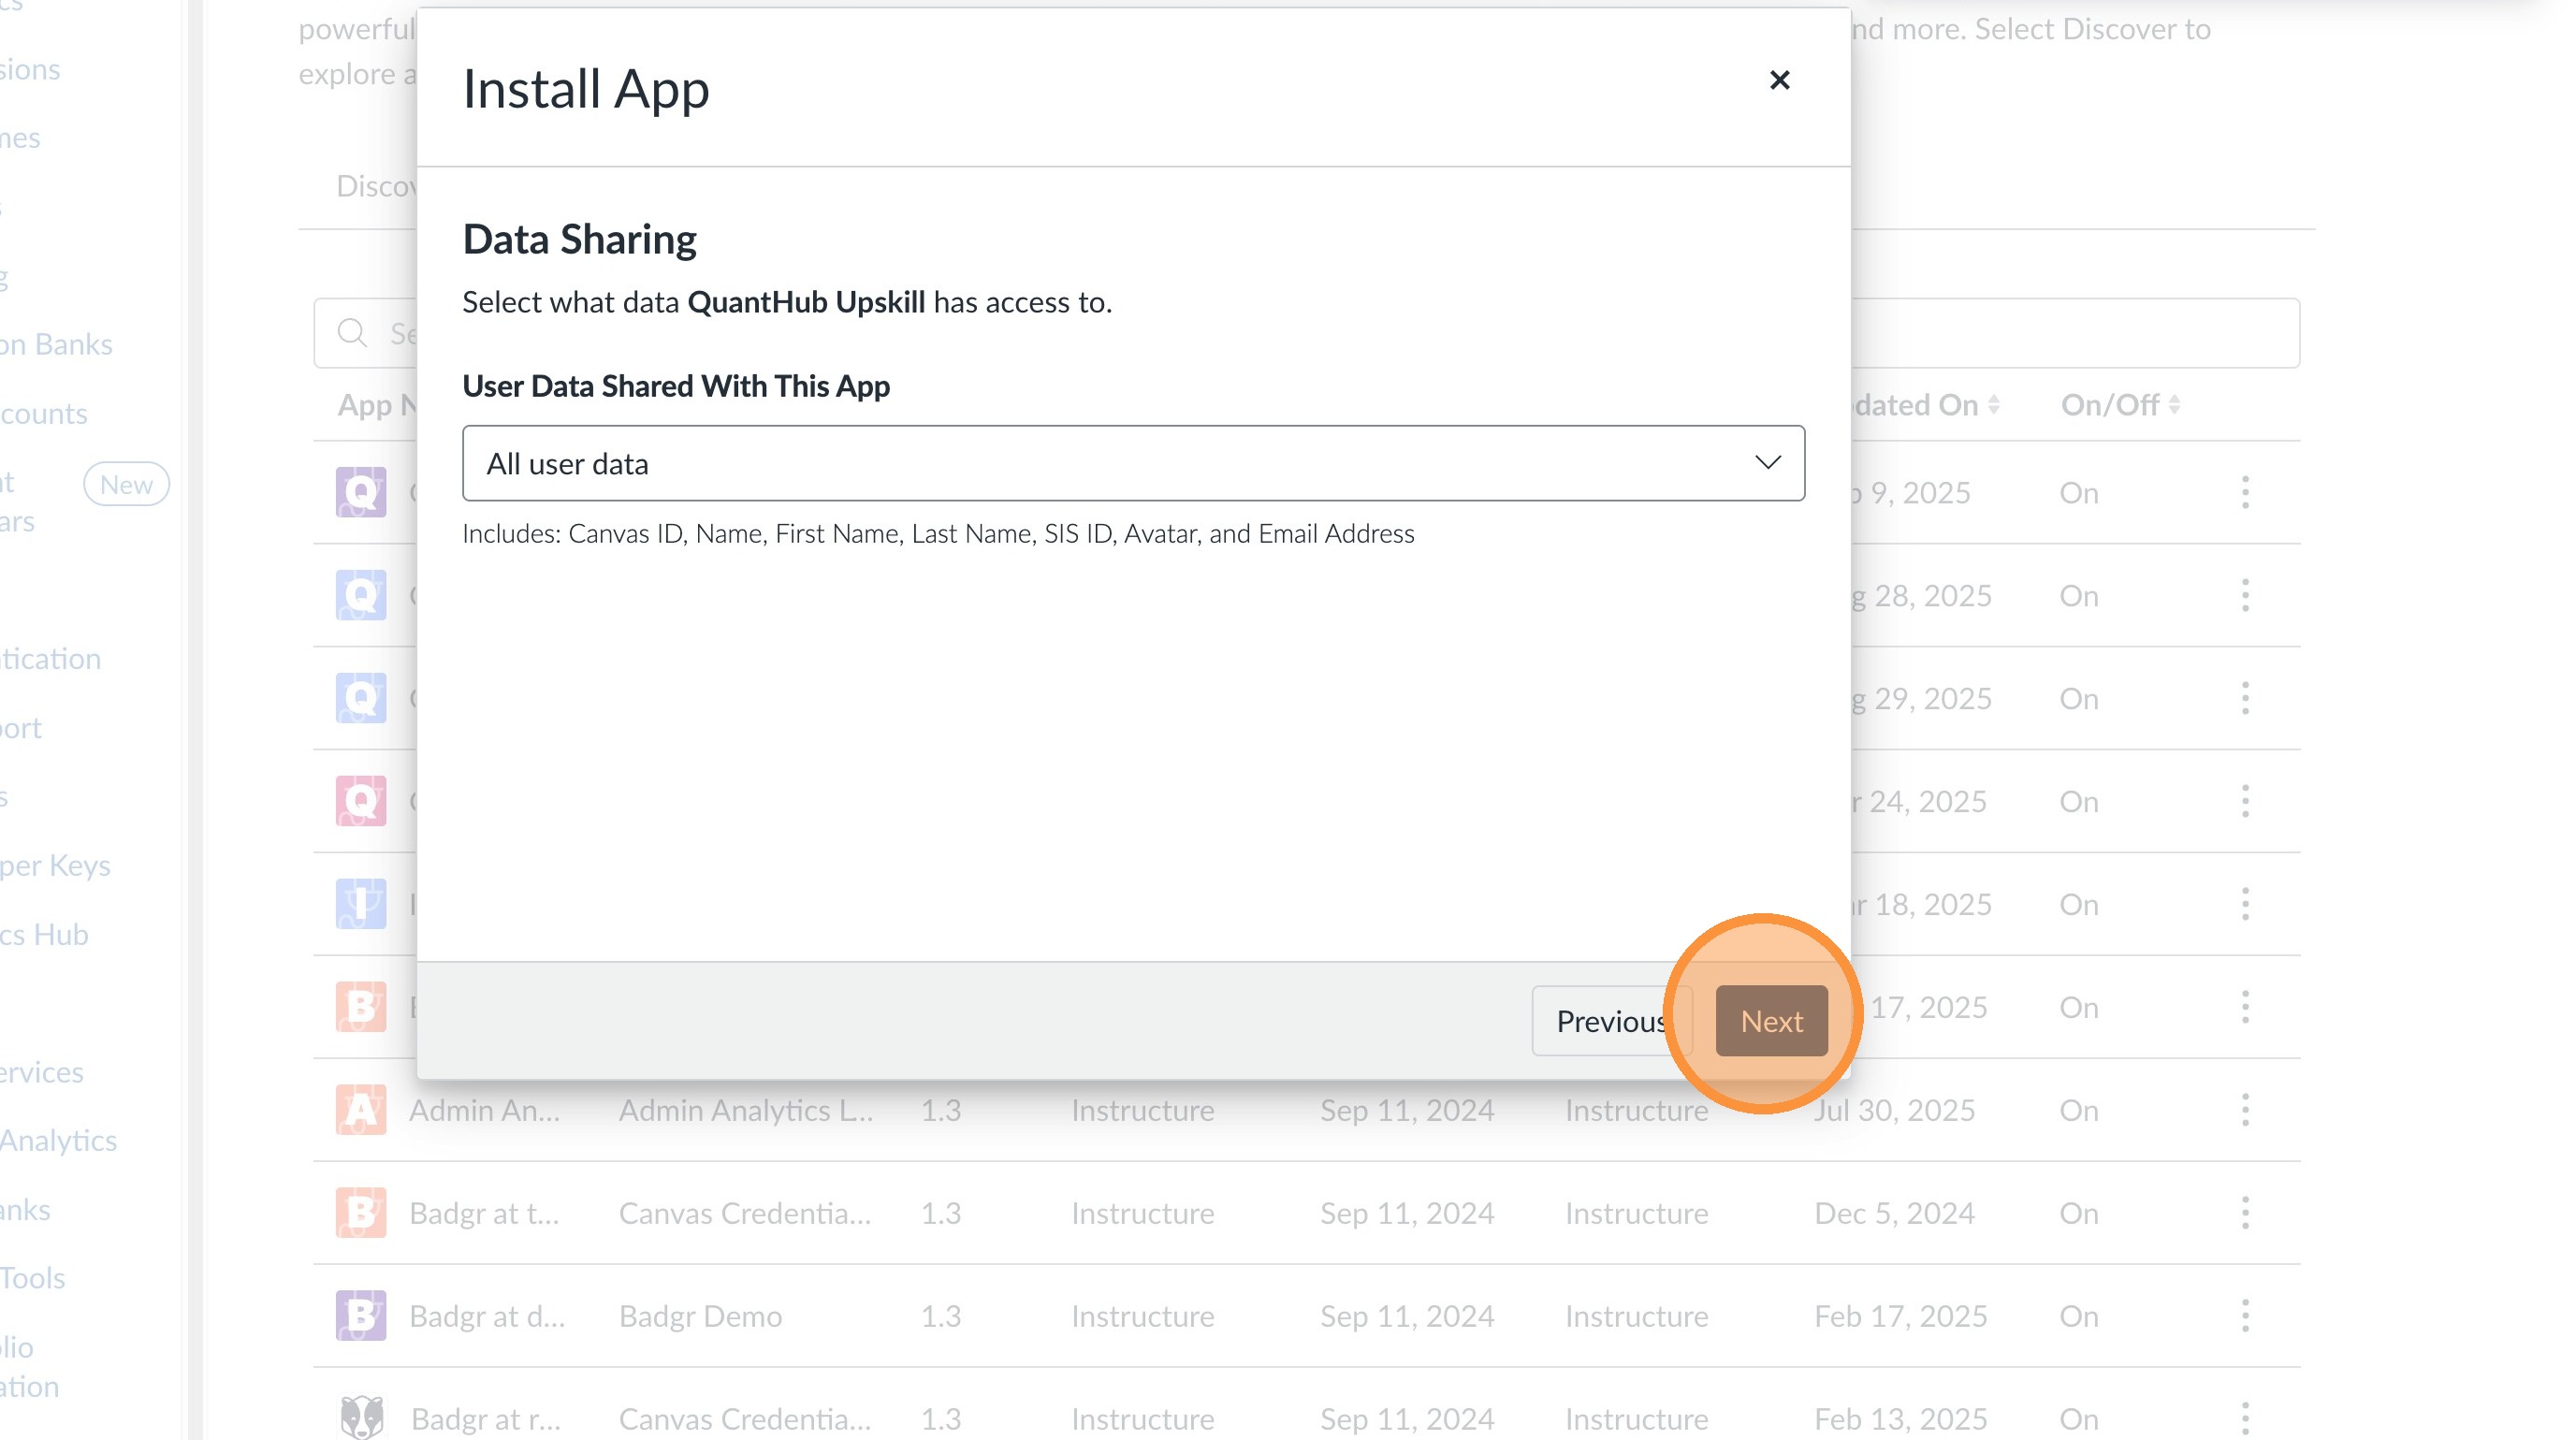
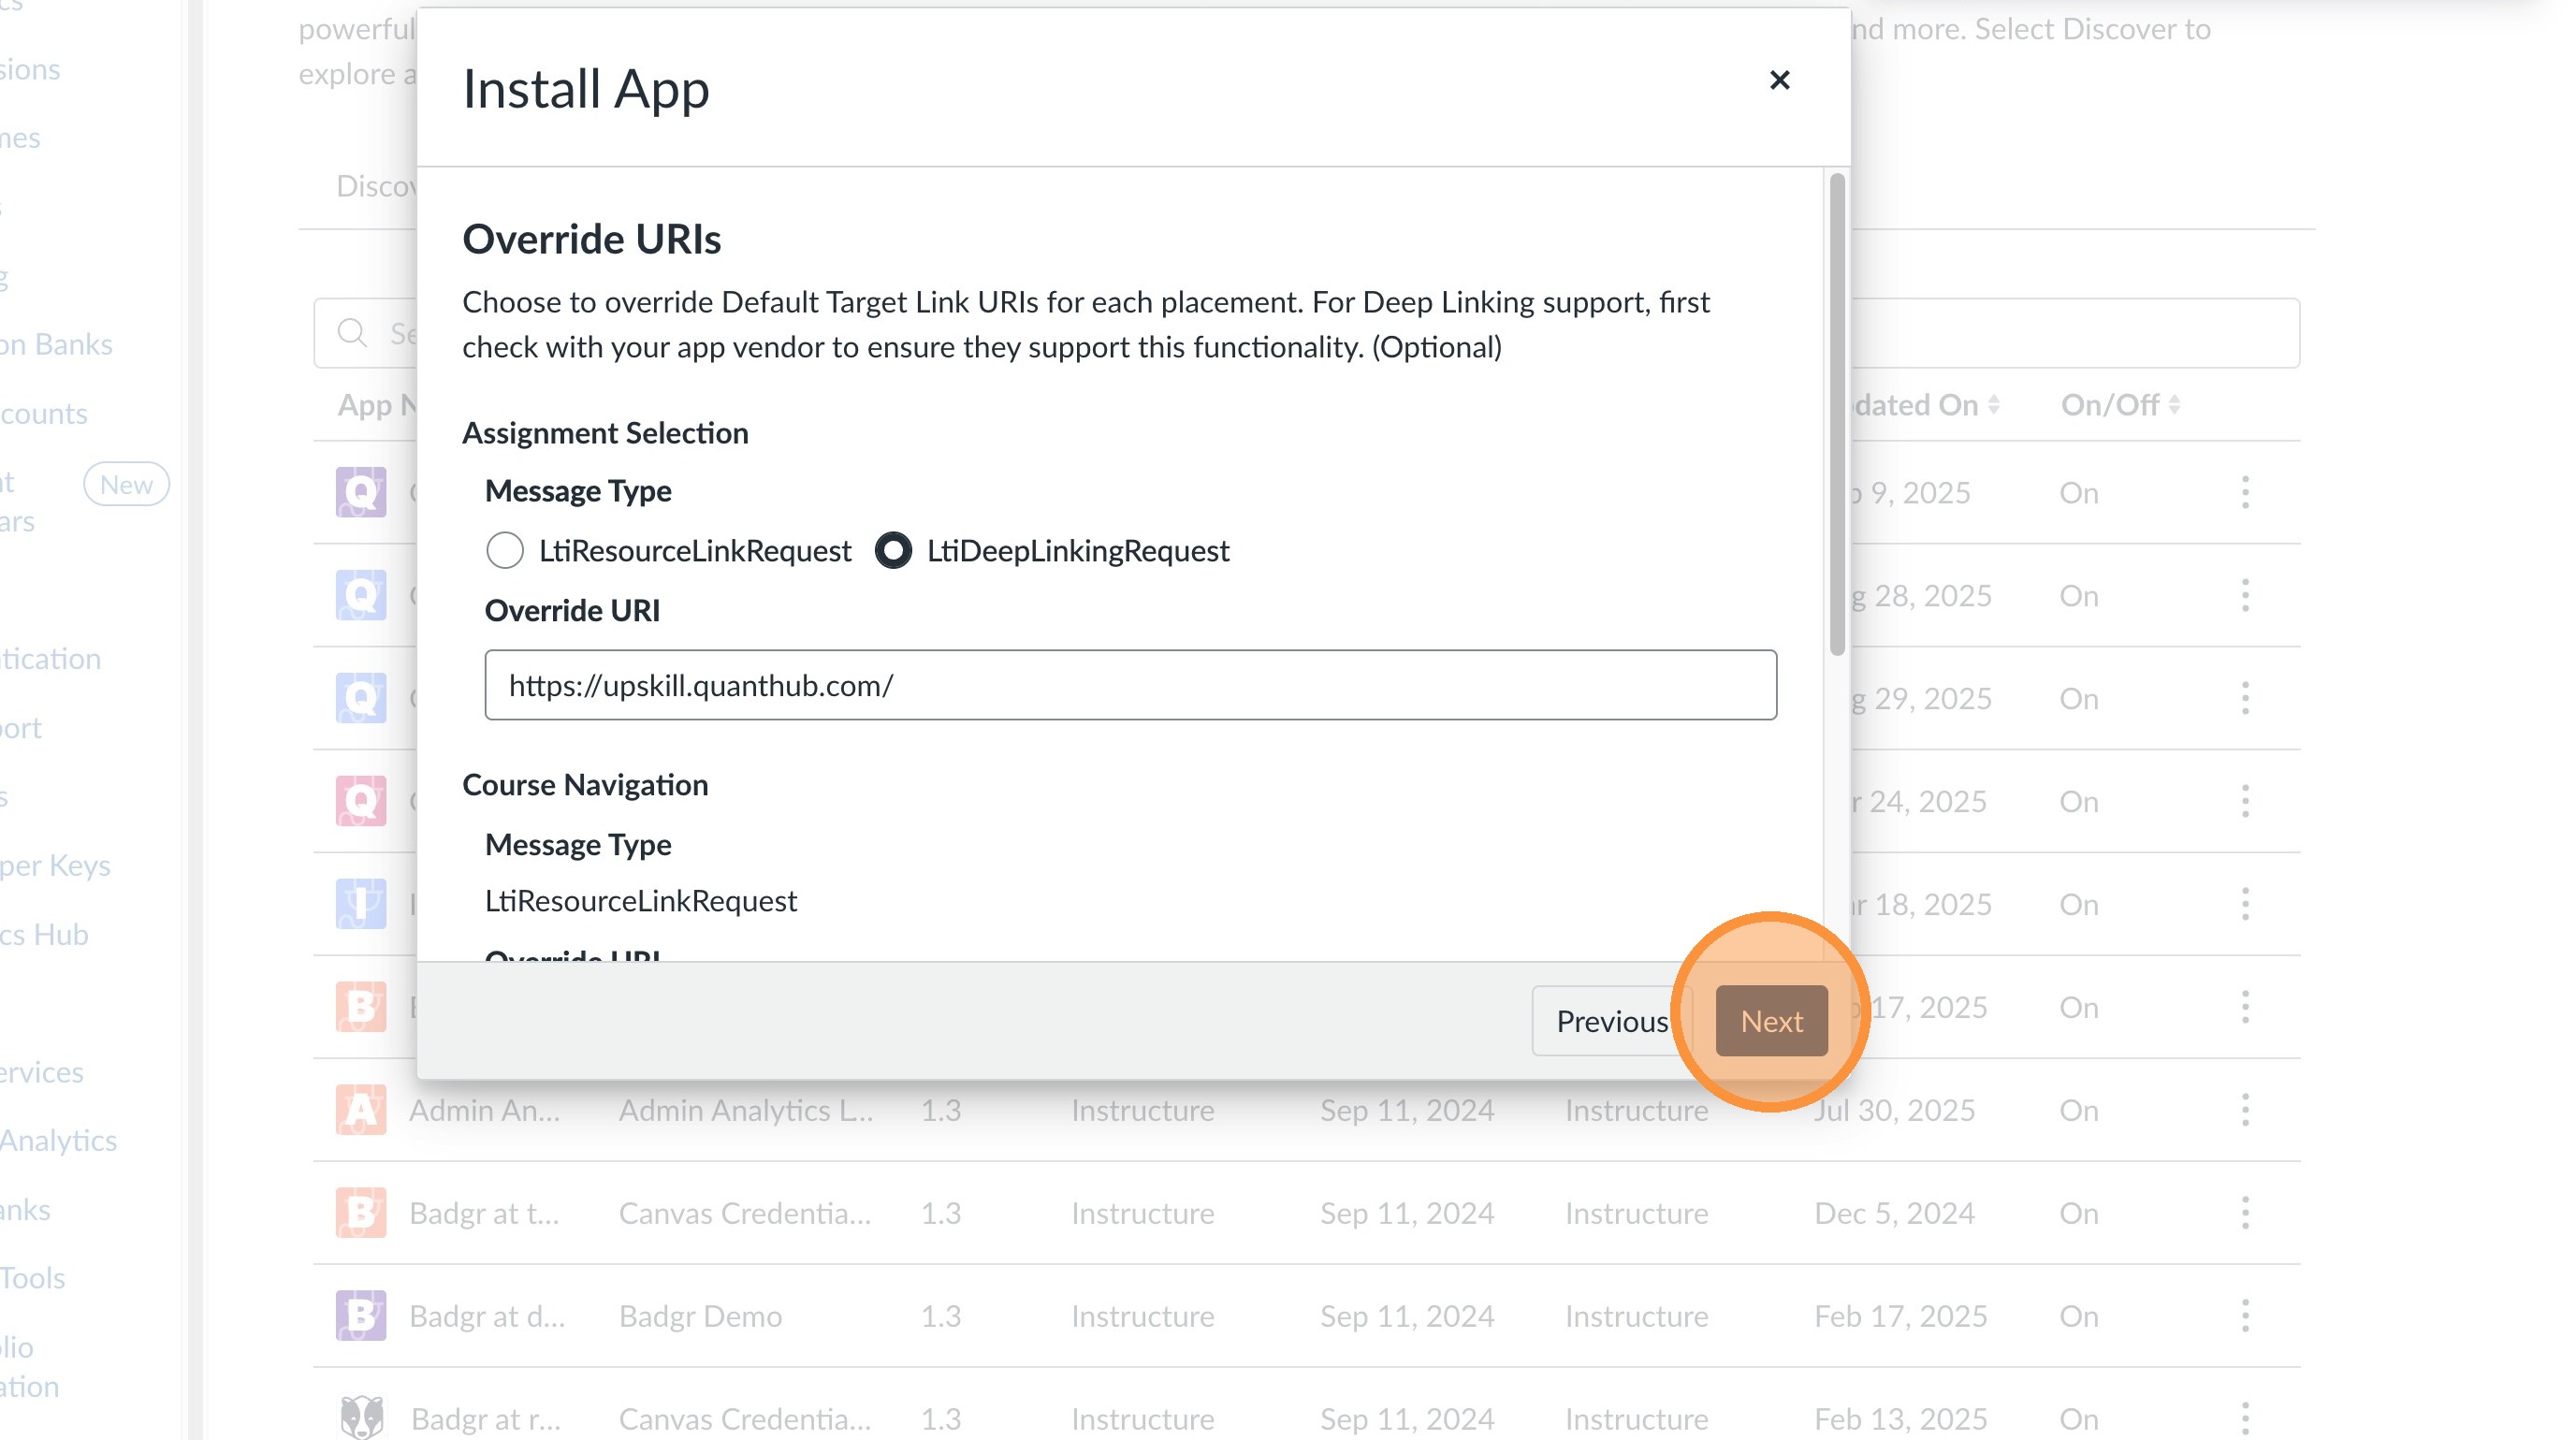
13. Select "Next"
14. Select "Next"
15. Select "Next"
16. Once you are on the "Nickname" screen. Insert an Administration Nickname. This will just appear for you. A sample name is "Quanthub LTI 1.3 App"
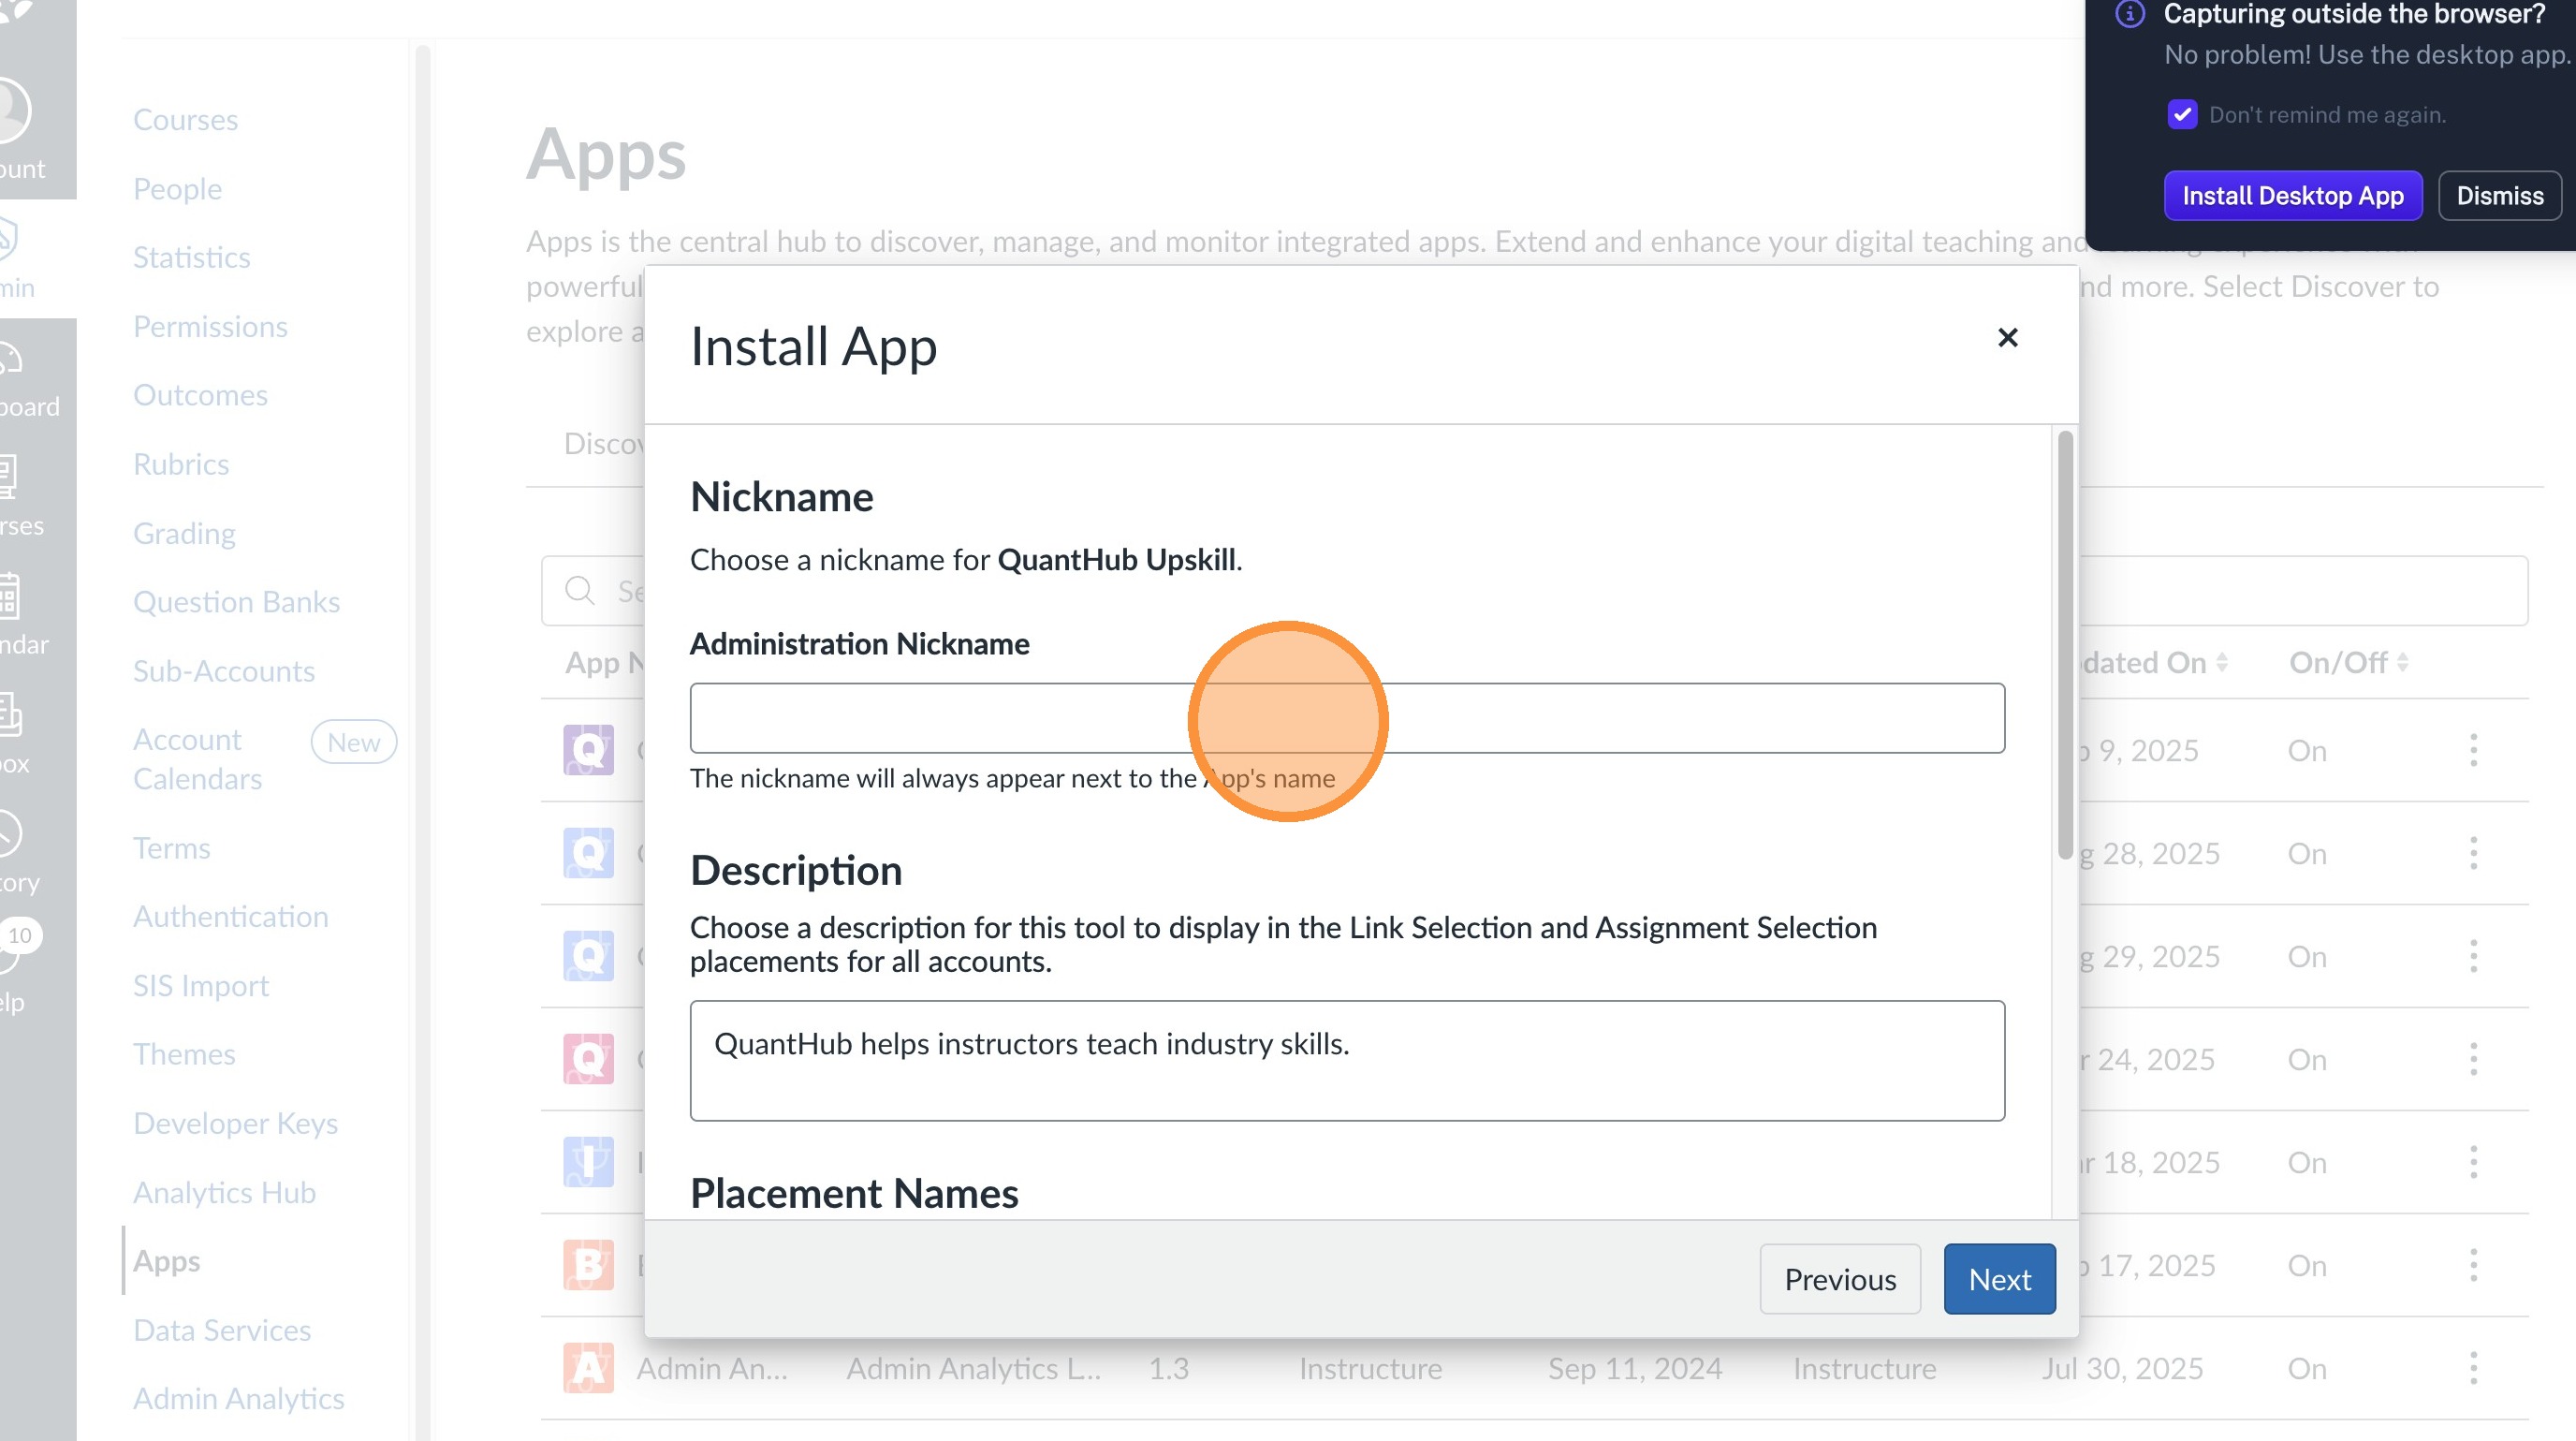
17. Select "Install App"
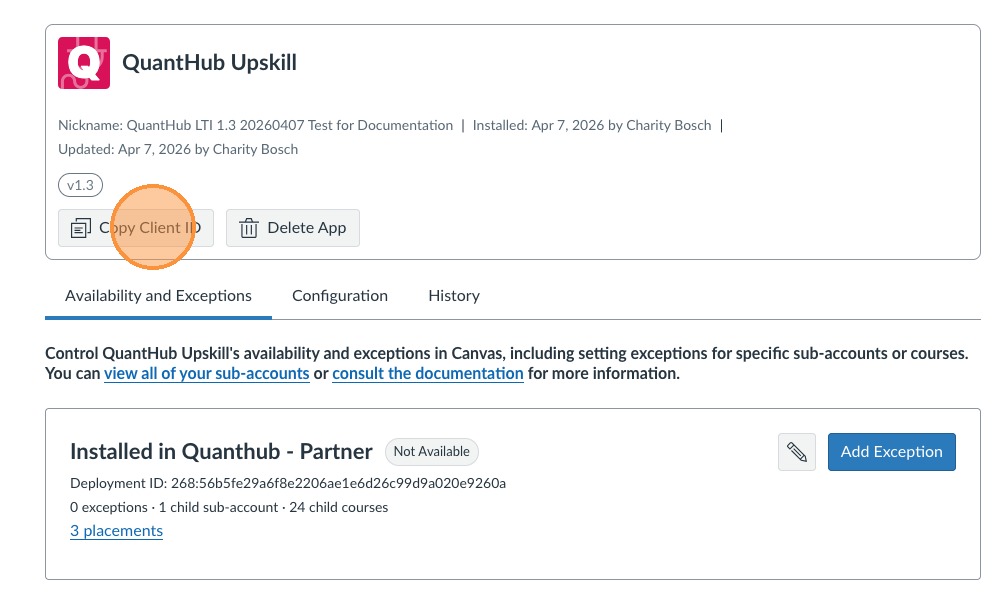
18. Select "Copy Client ID" and go to upskill.quanthub.com
QuantHub Steps
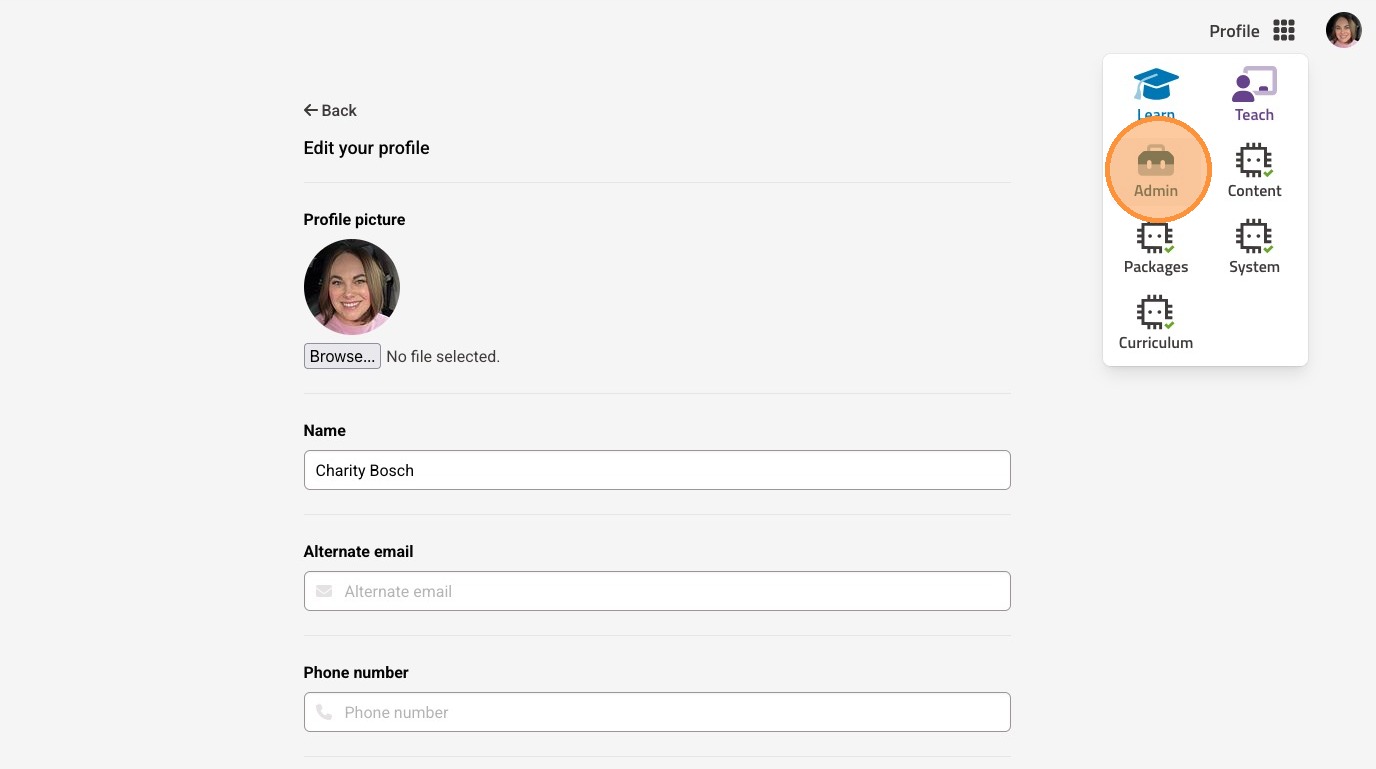
19. Once you are logged in to the platform, select your nine-dot menu
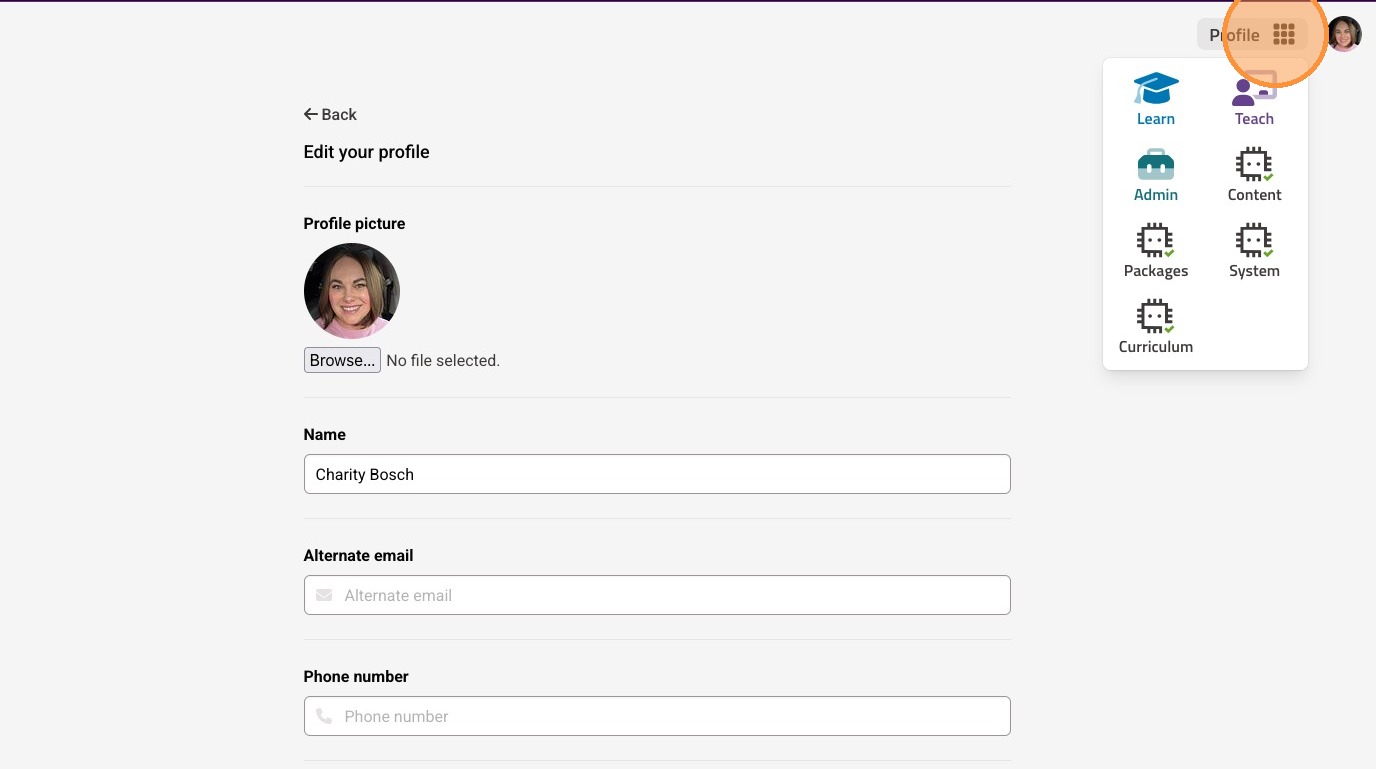
20. Select "Admin"
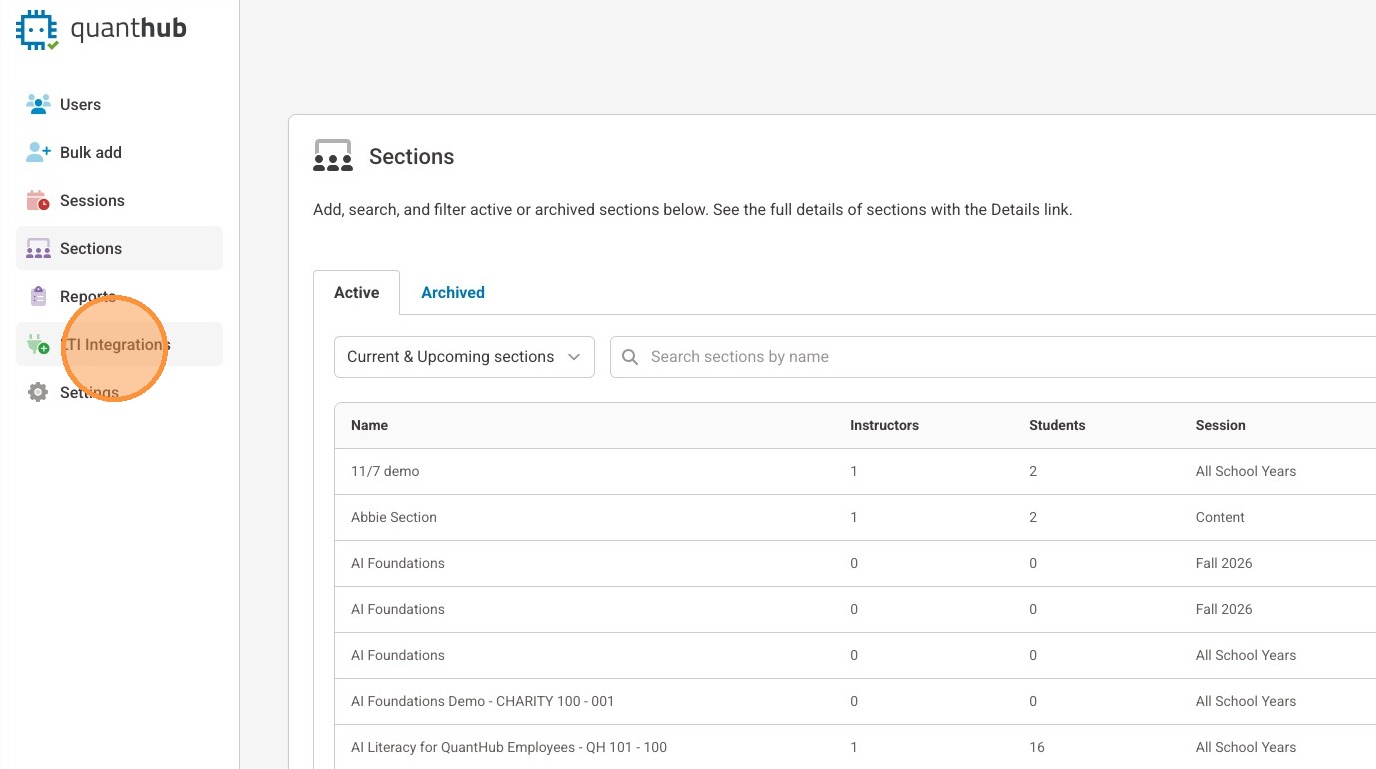
21. Select "LTI Integrations"
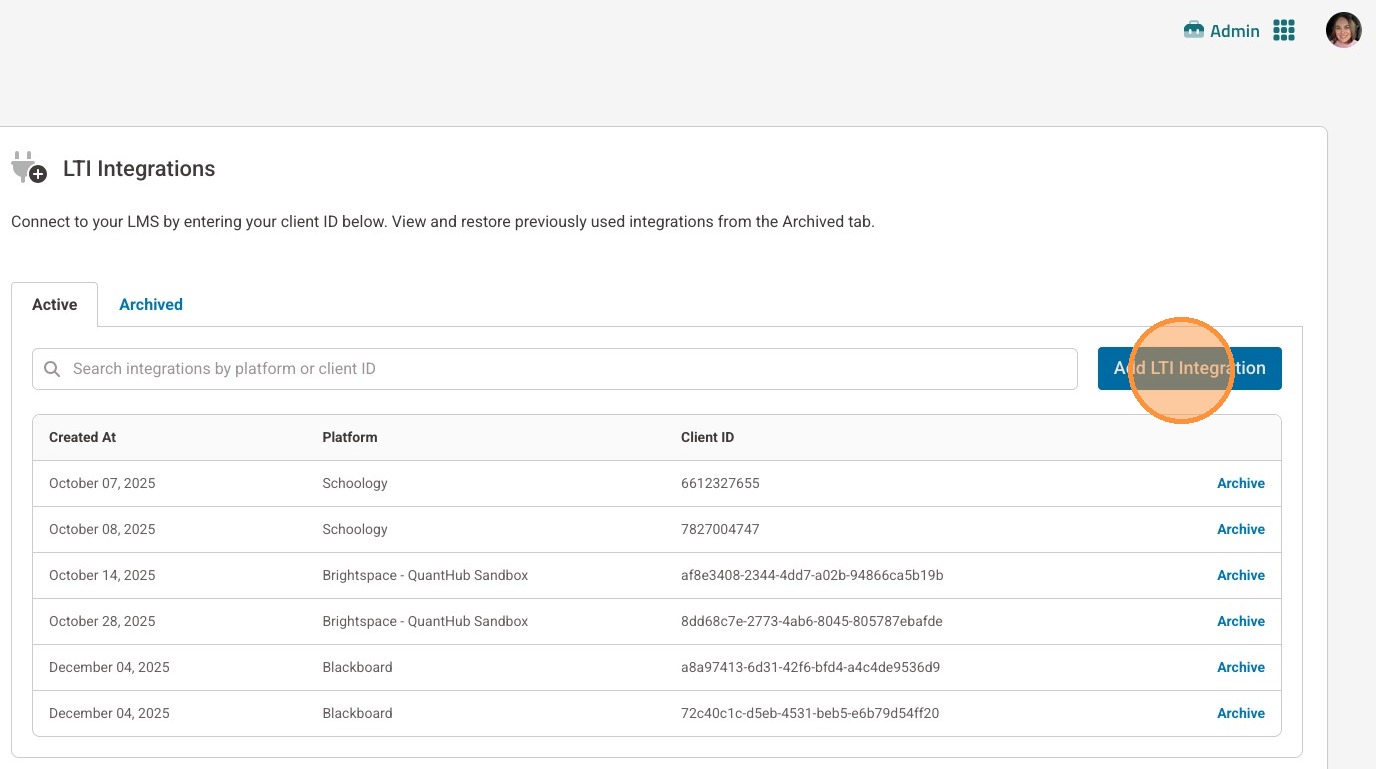
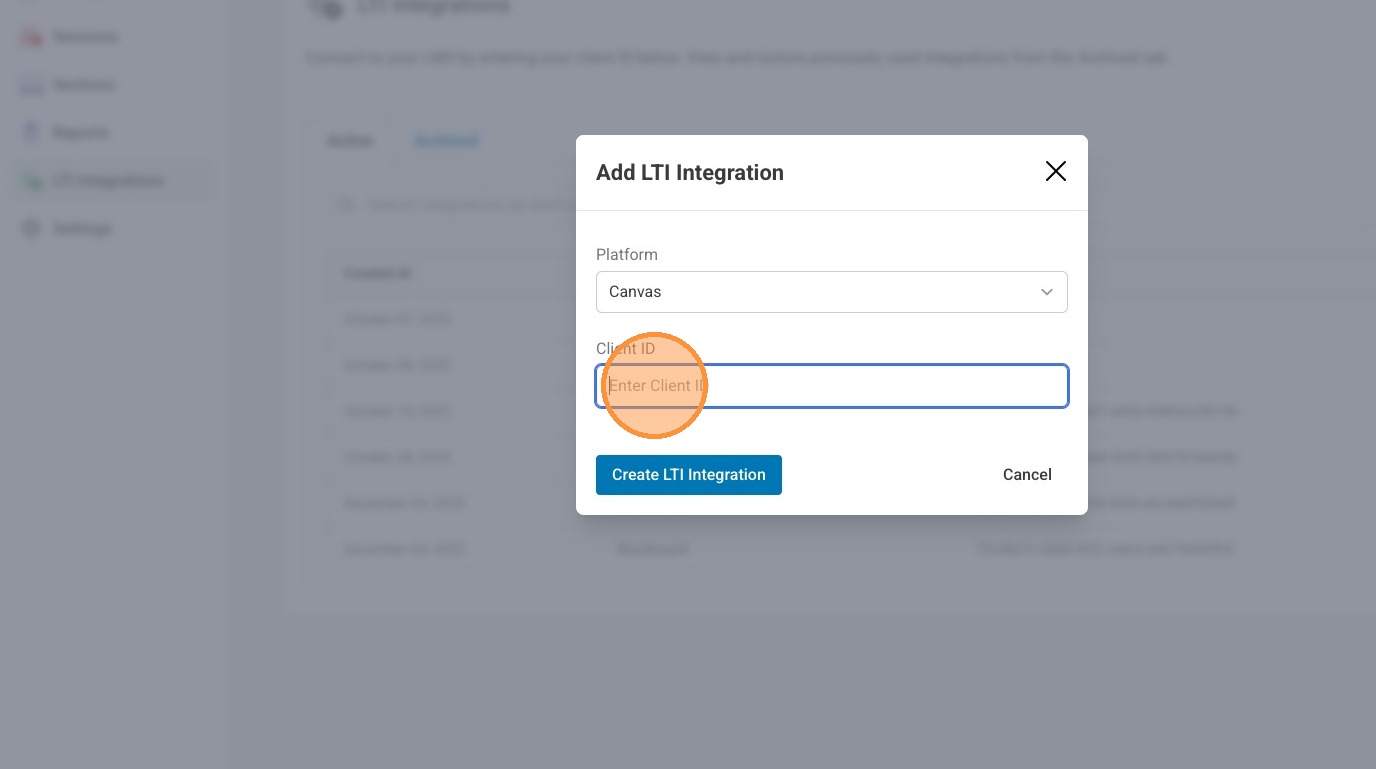
22. Select "Add LTI Integration"
23. Select "Canvas" from the Platform dropdown menu
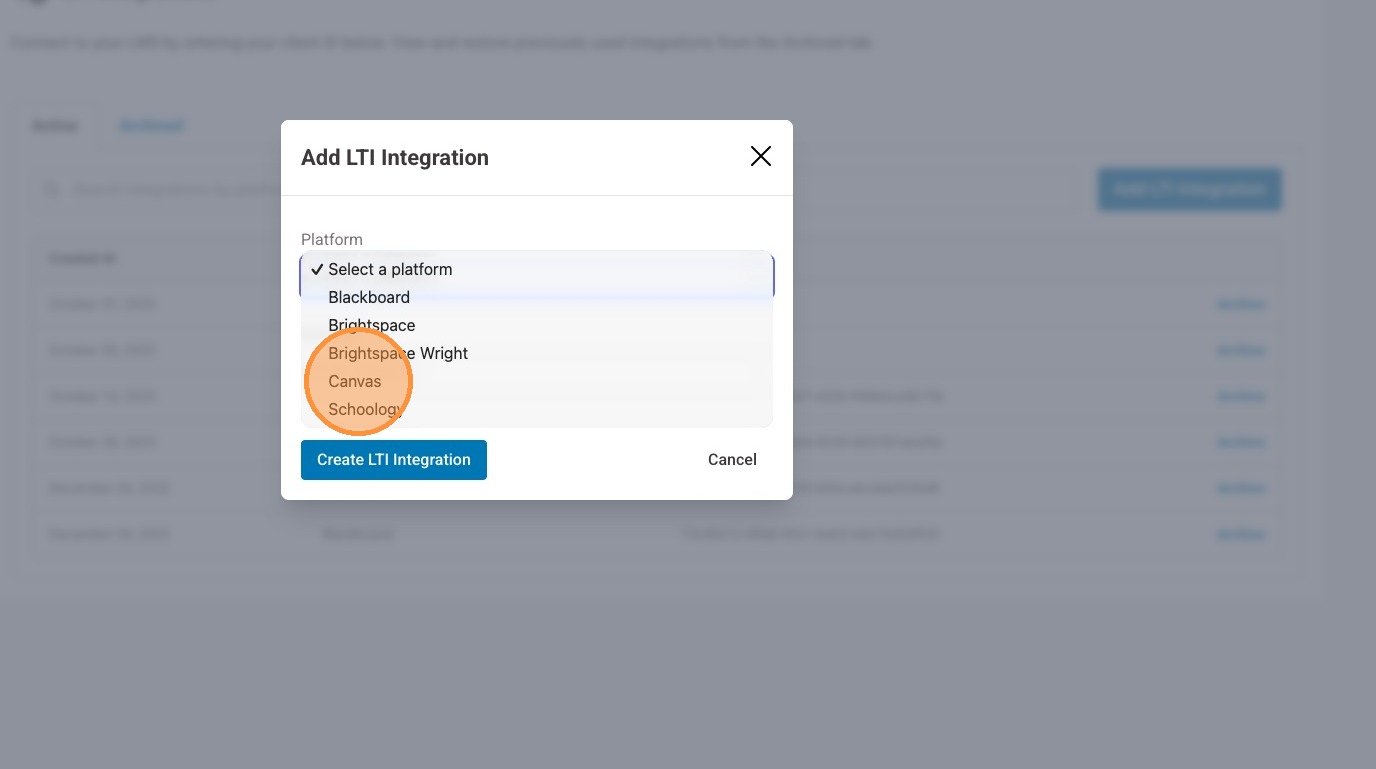
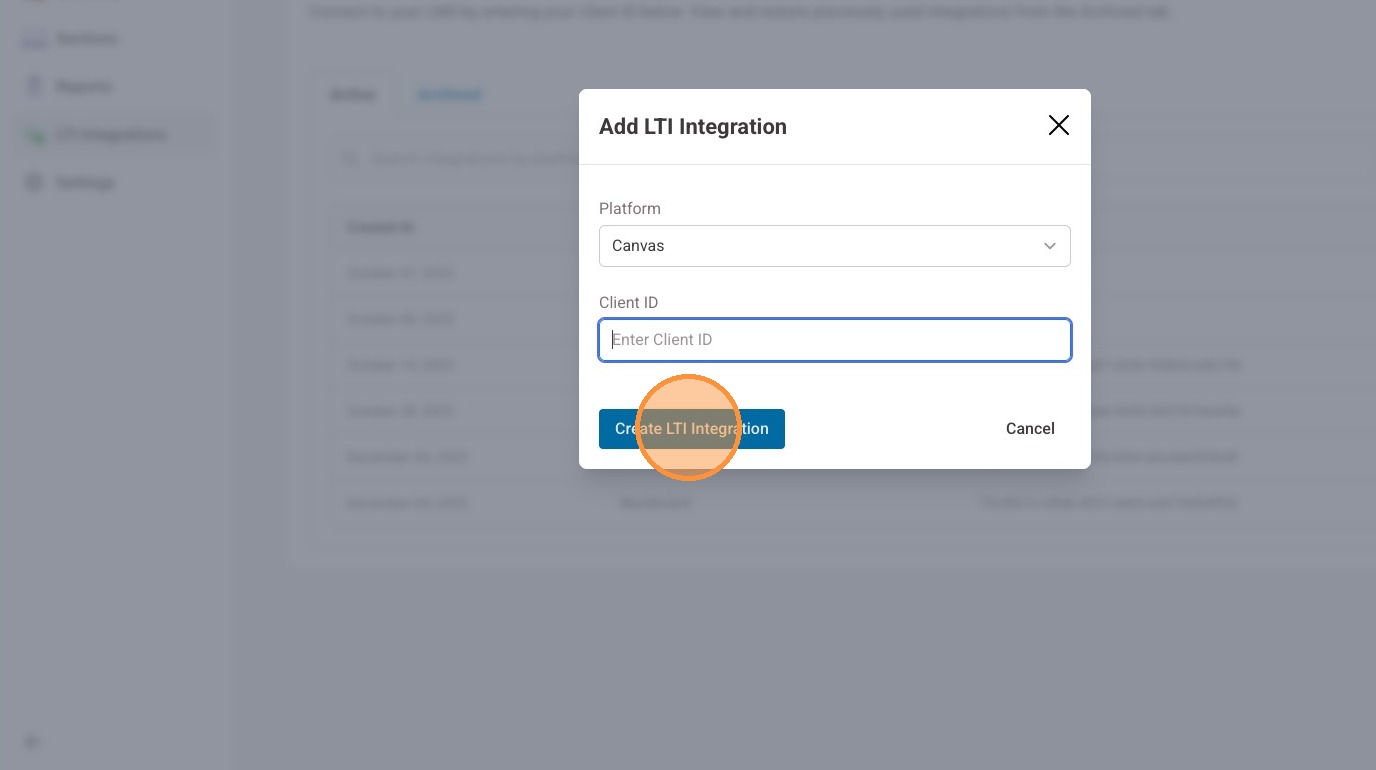
24. Enter the copied Client ID in the Client ID Field
25. Select "Create LTI Integration"
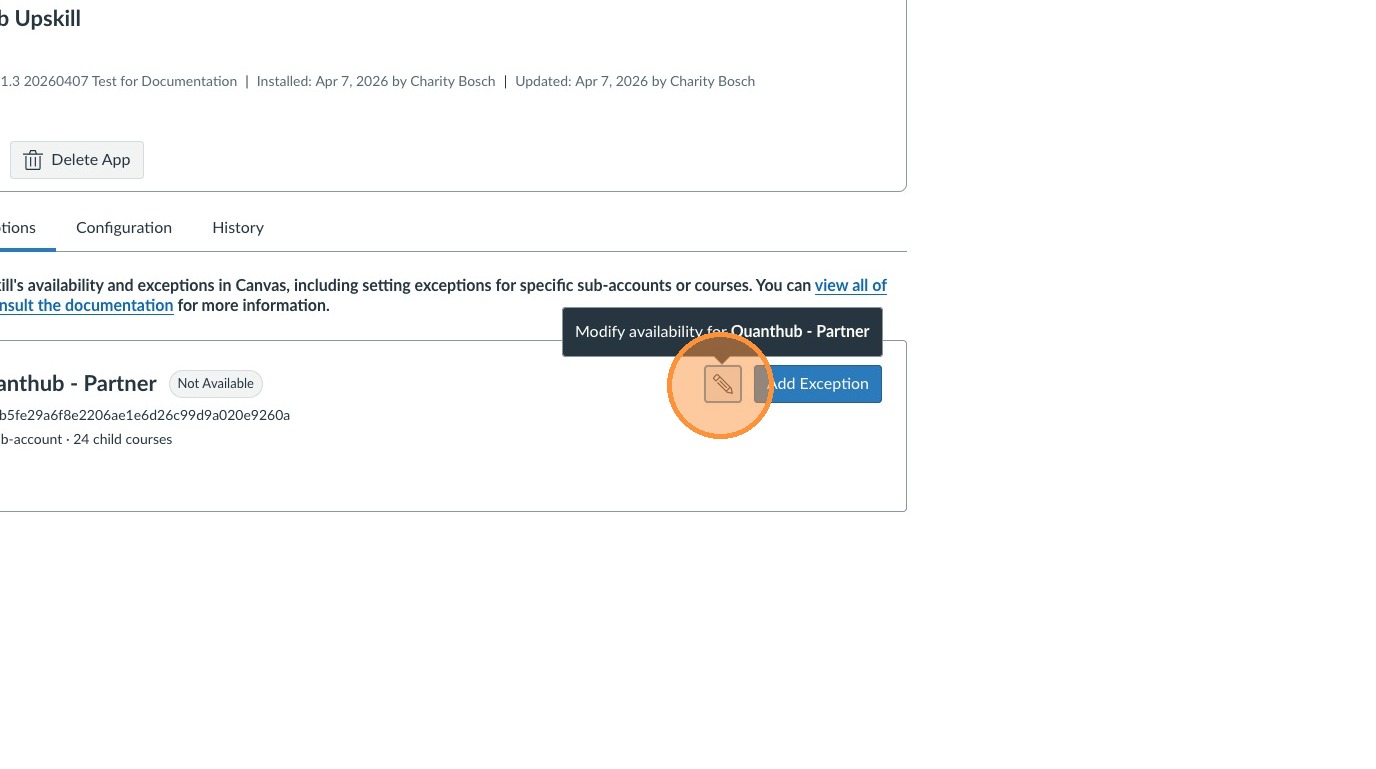
Canvas Part 2
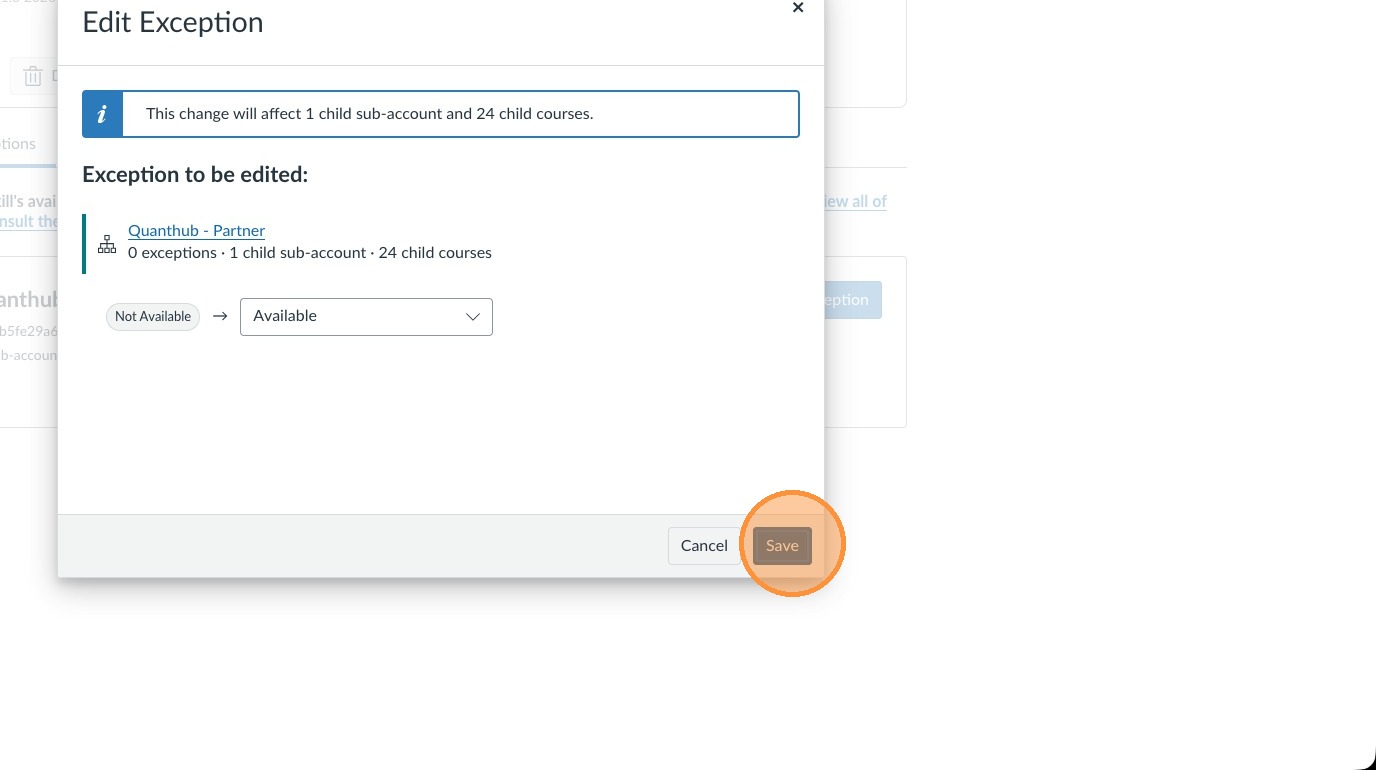
26. Back in Canvas select the pencil icon to modify the deployment.
27. Ensure the status is set to "Available"
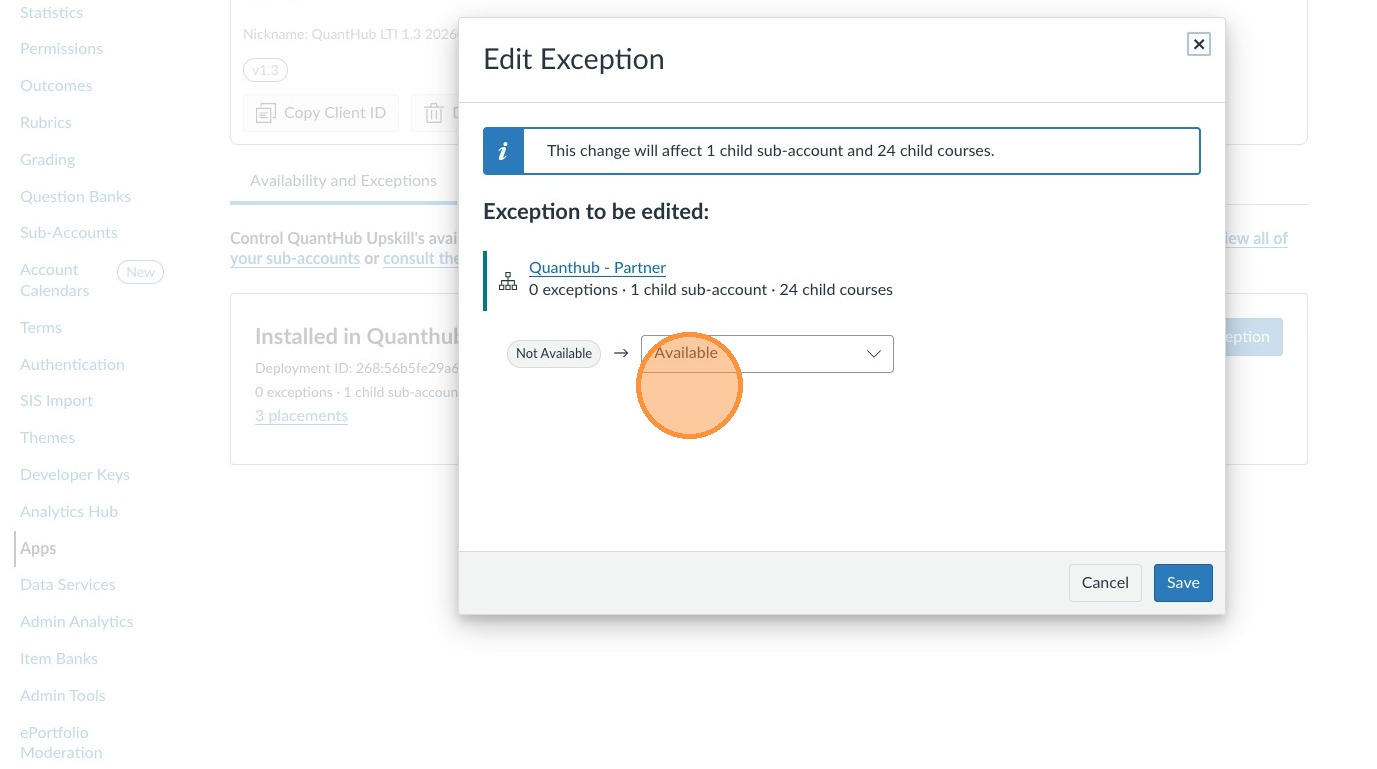
28. Select "Save"
Was this article helpful?
That’s Great!
Thank you for your feedback
Sorry! We couldn't be helpful
Thank you for your feedback
Feedback sent
We appreciate your effort and will try to fix the article