Watch the video below OR scroll down to view the steps listed out instead.
TABLE OF CONTENTS
- Enable My Developer Apps
- Add the QuantHub LTI 1.3 App
- Retrieve and send your Client ID
- Publish and install the app
Video Tutorial:
Step By Step Guide:
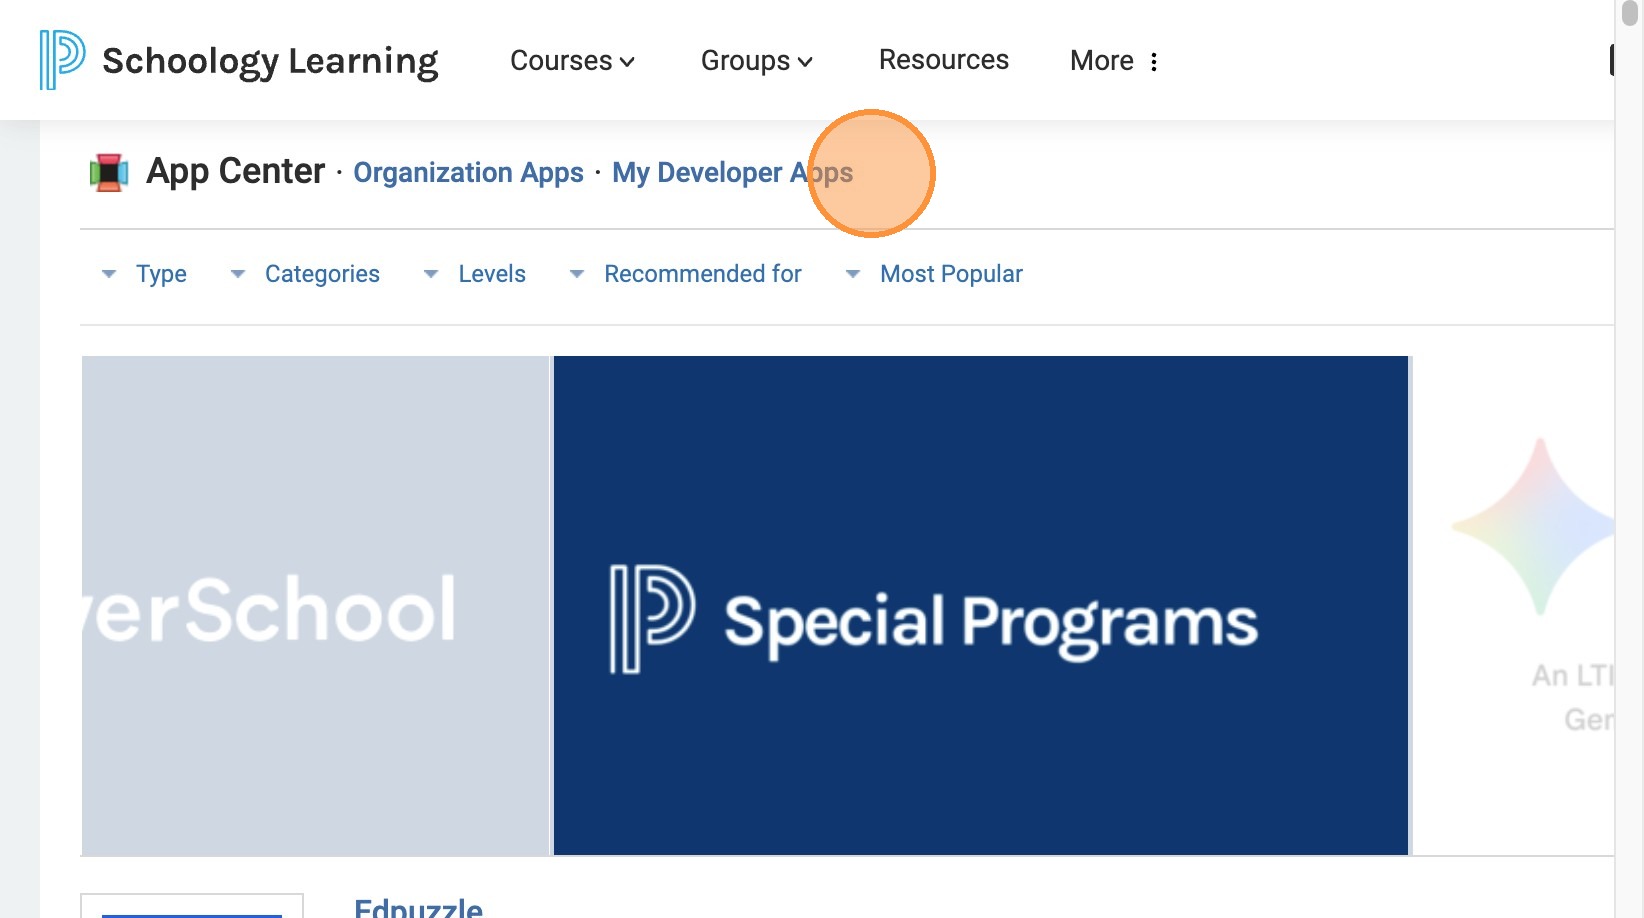
Enable My Developer Apps
2. If you do not have the "My Developer Apps" icon follow the following steps. If you do you can skip to step 10.
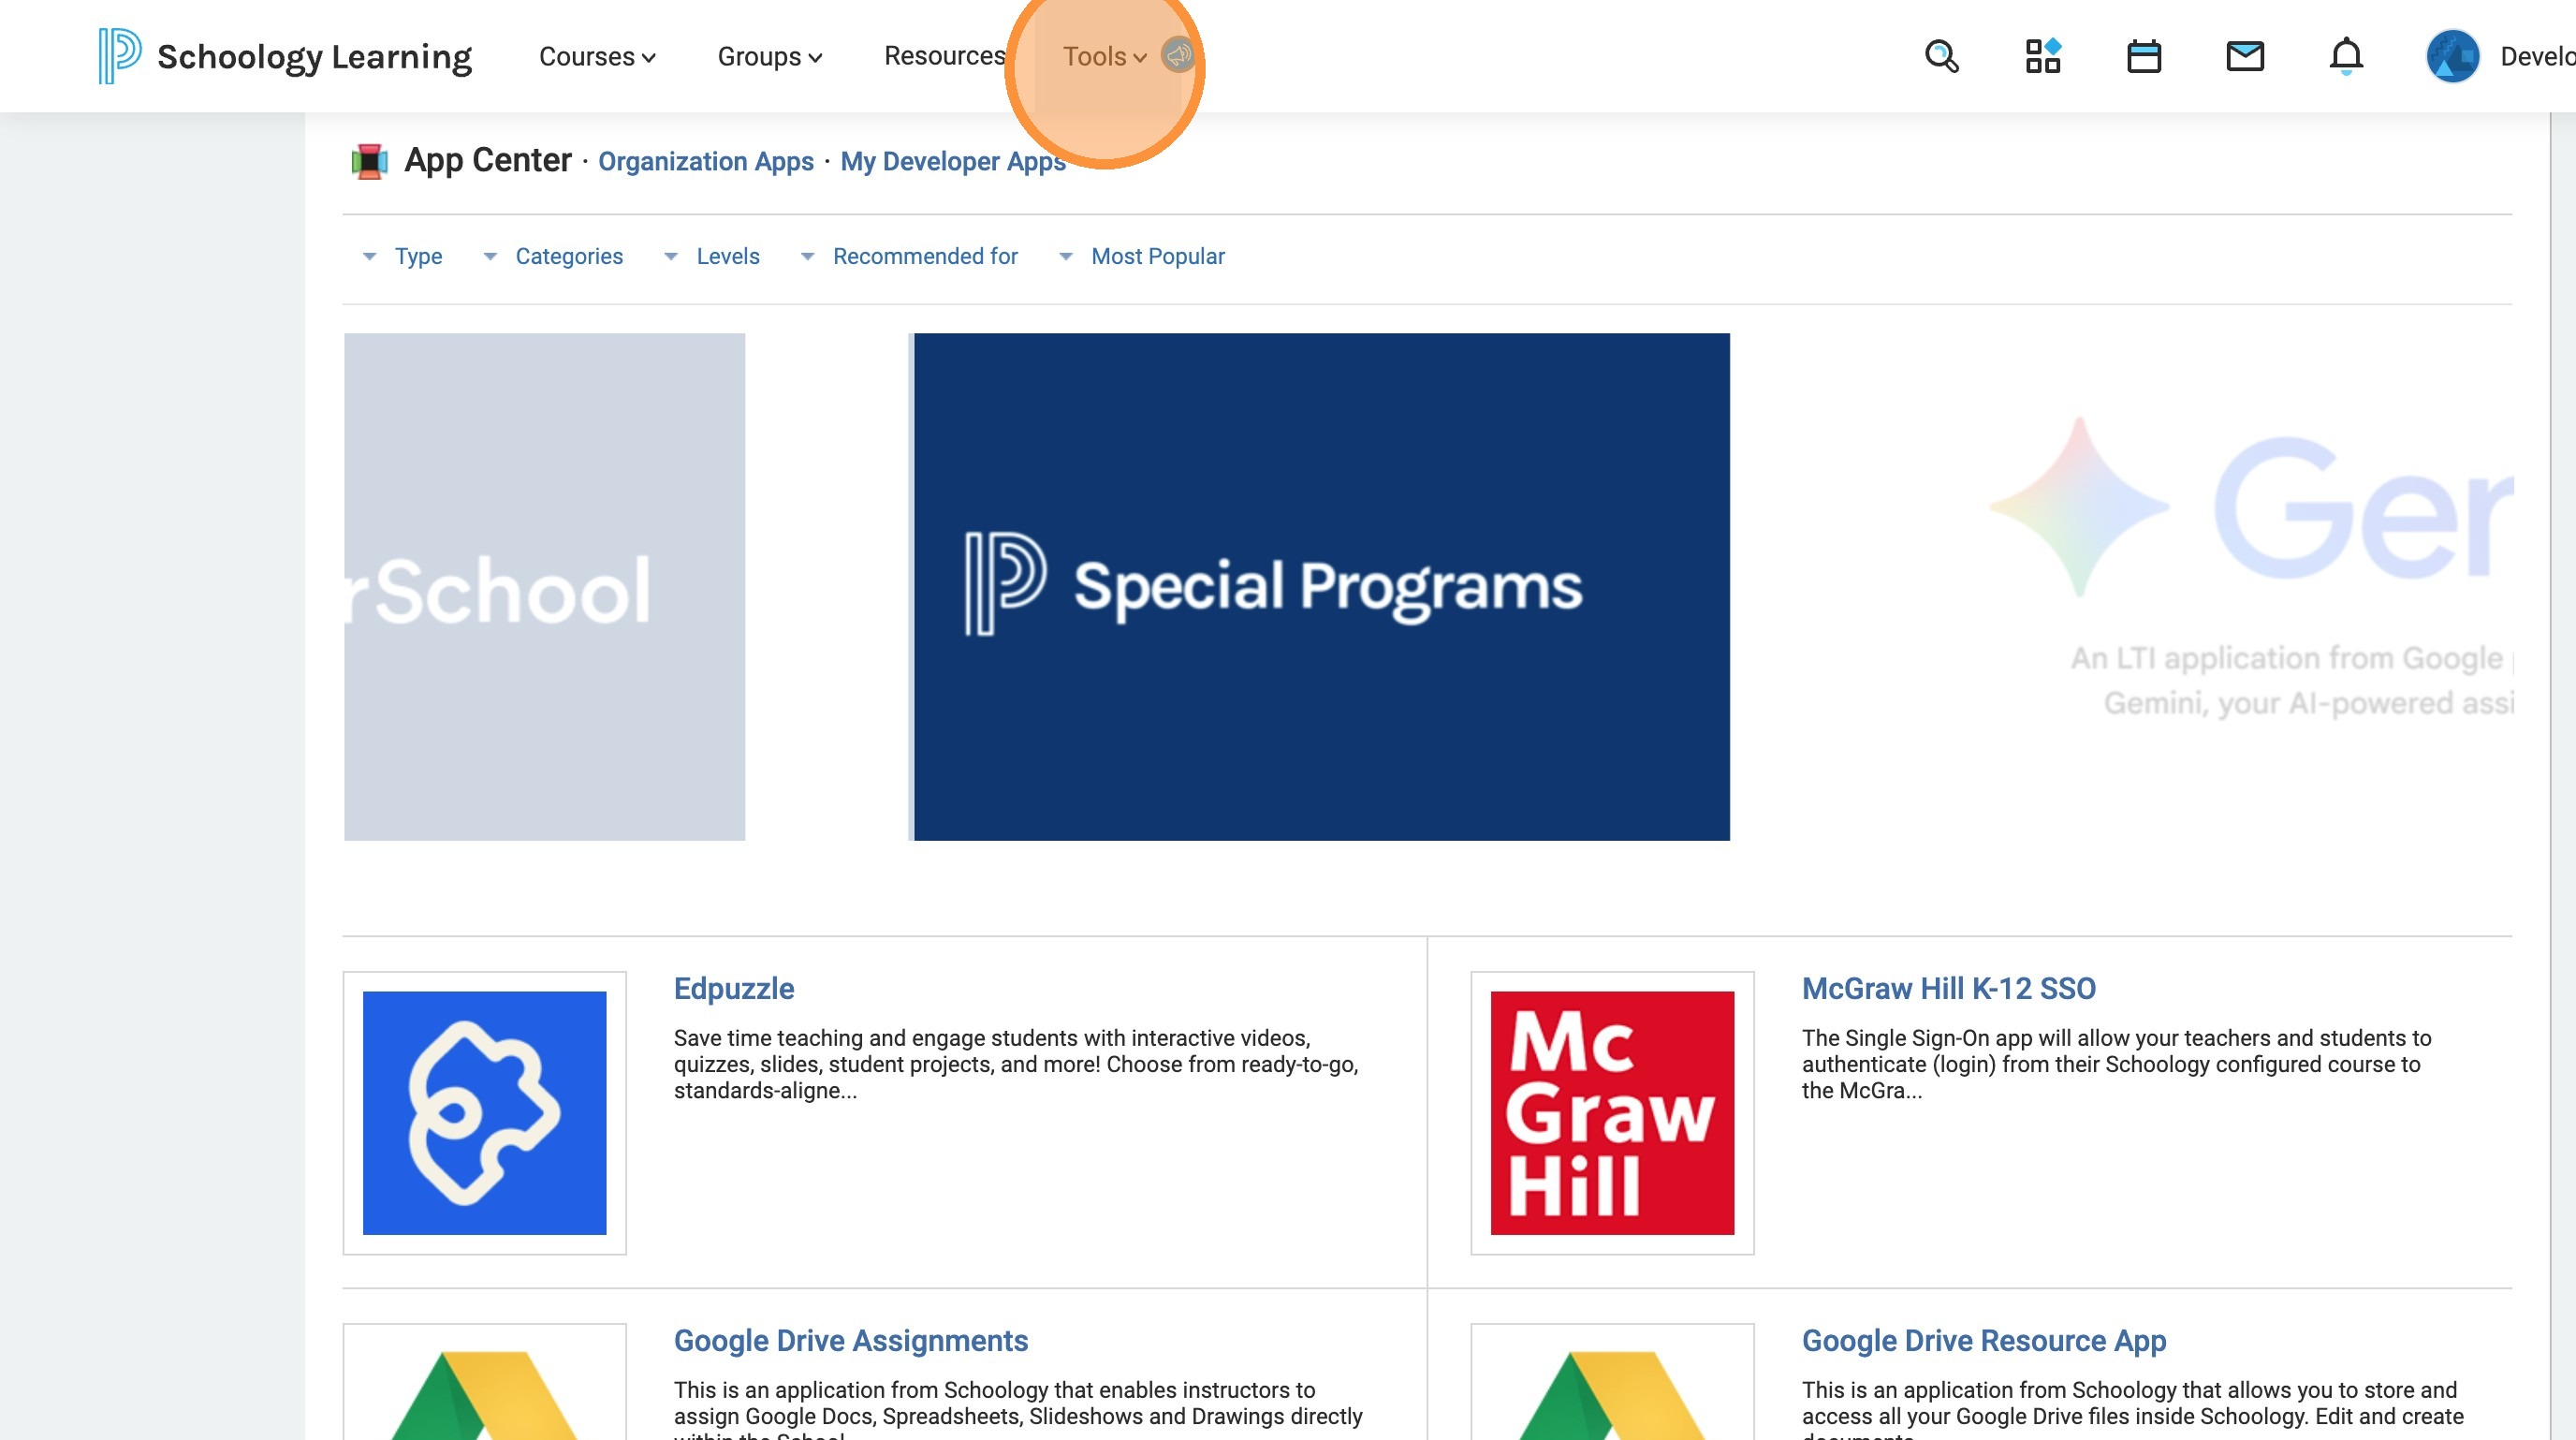
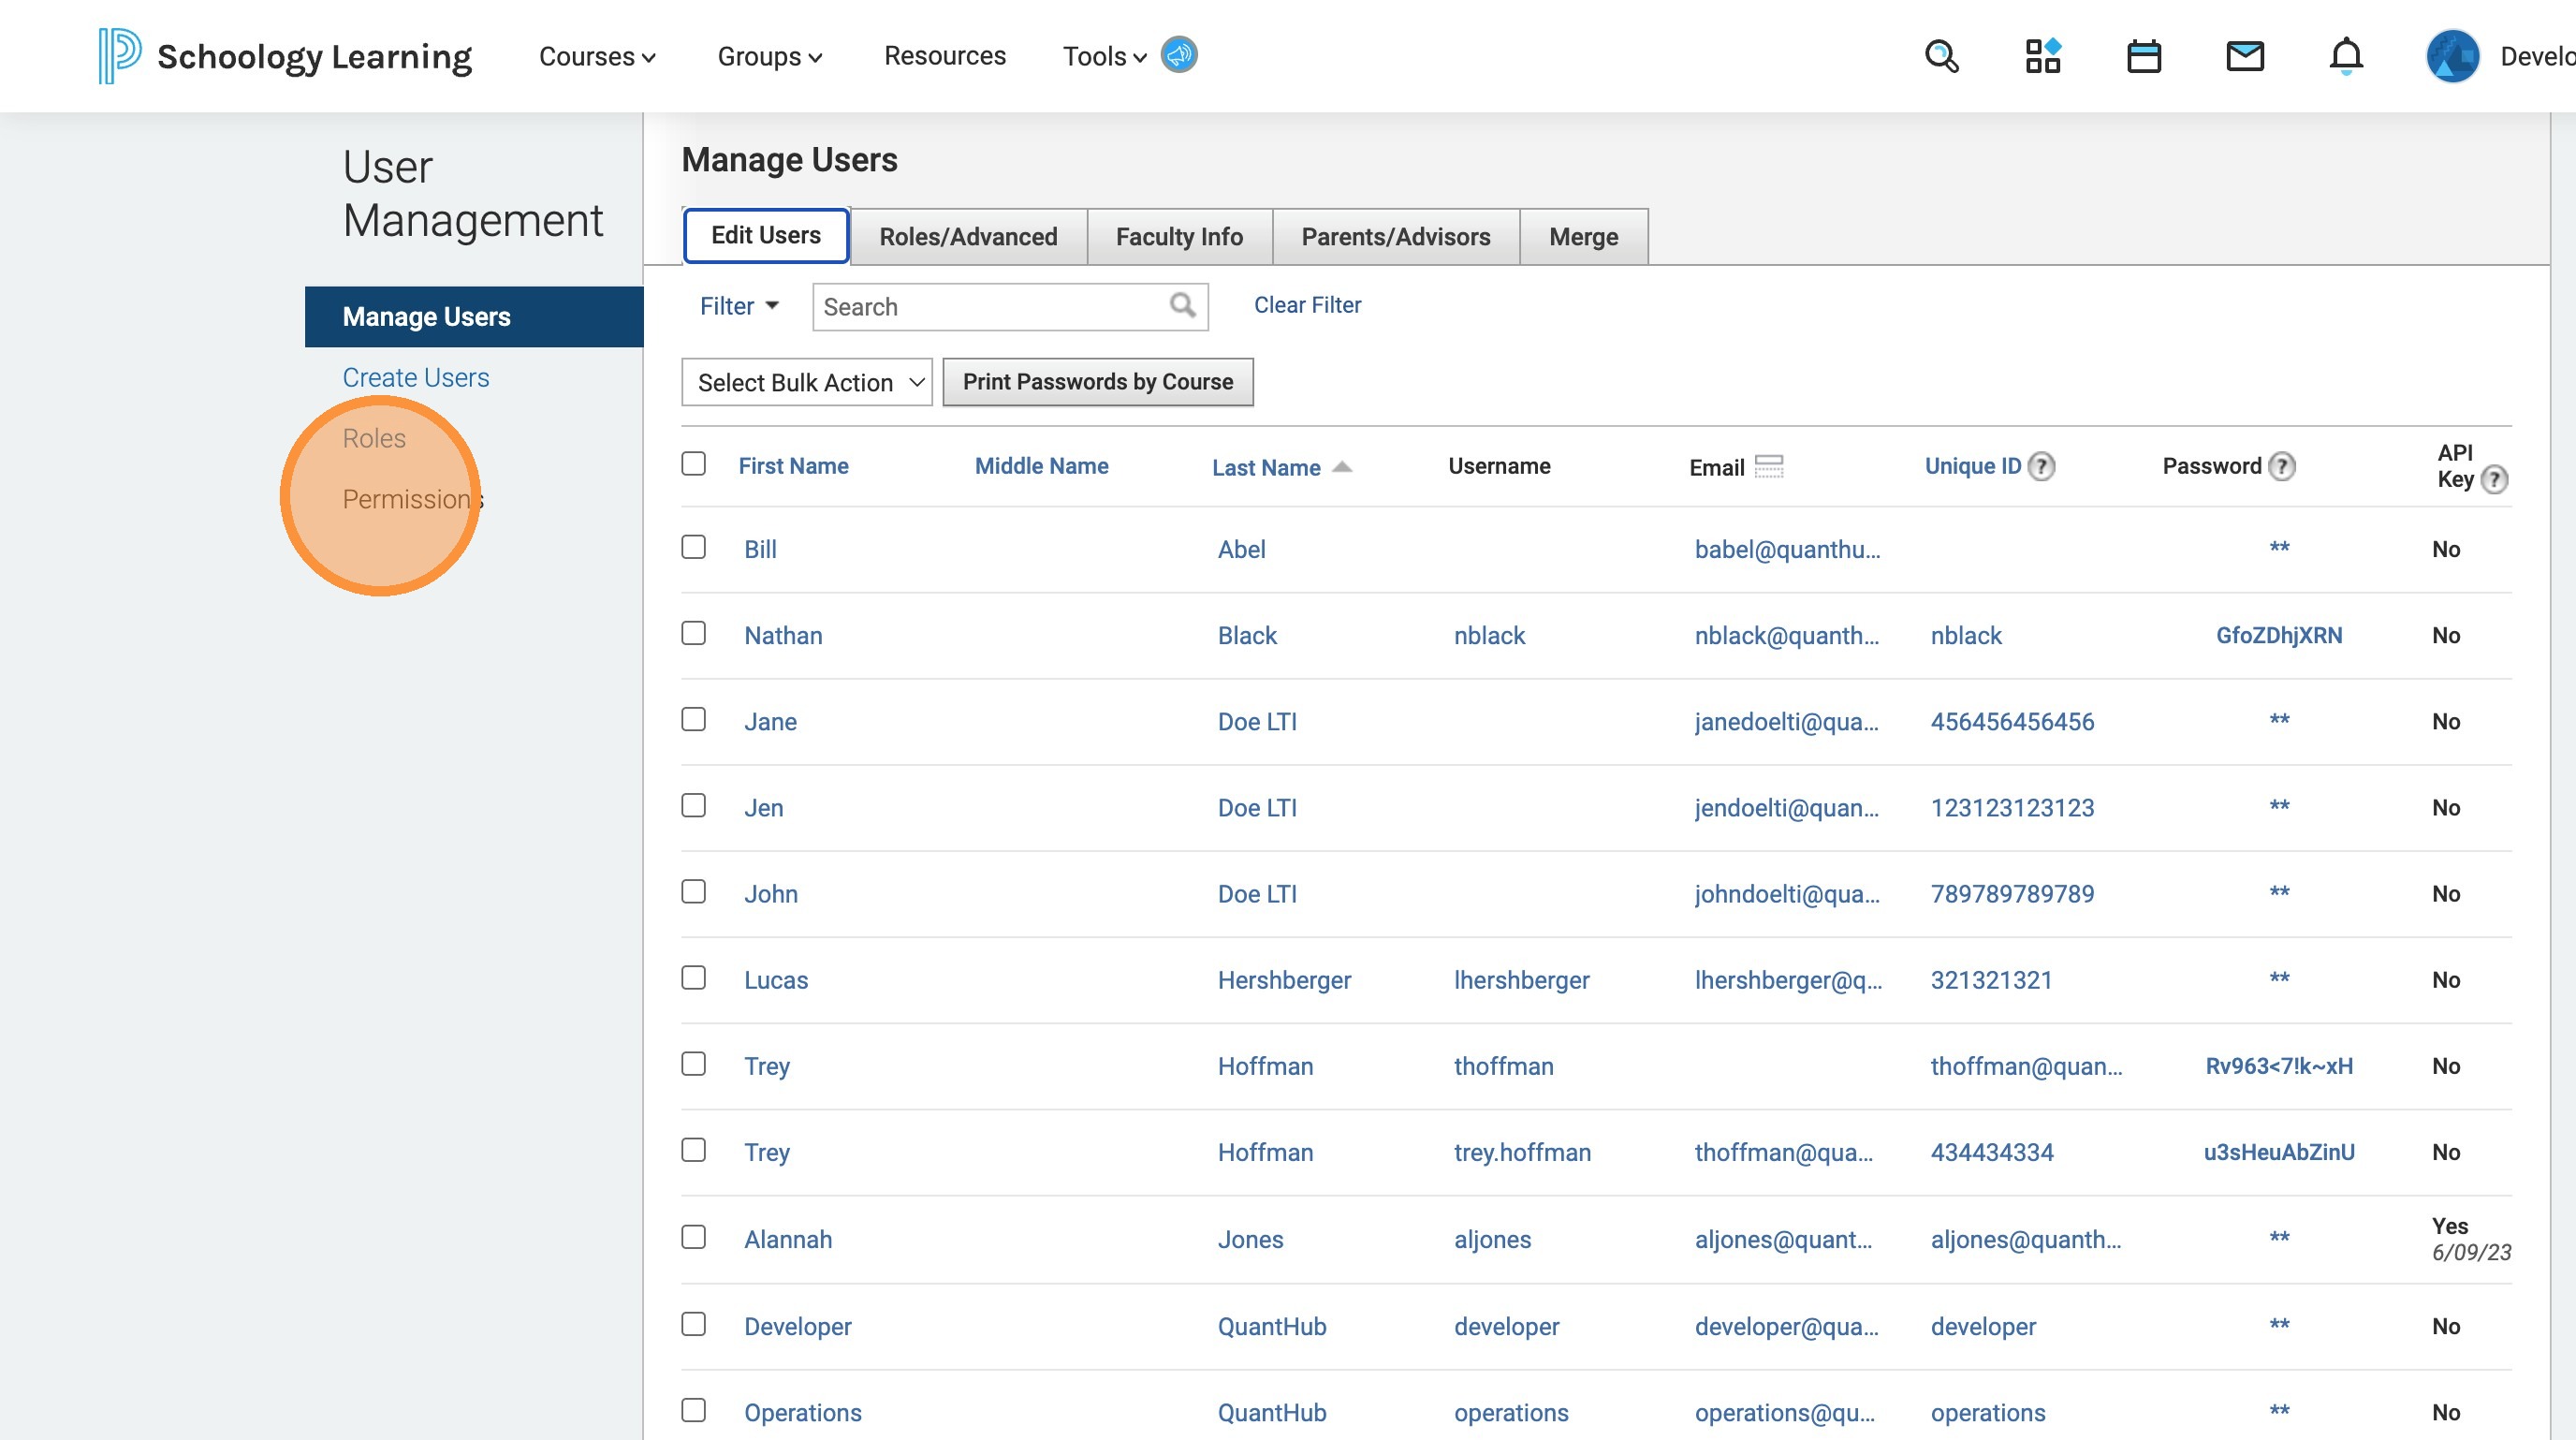
3. Click "Tools"
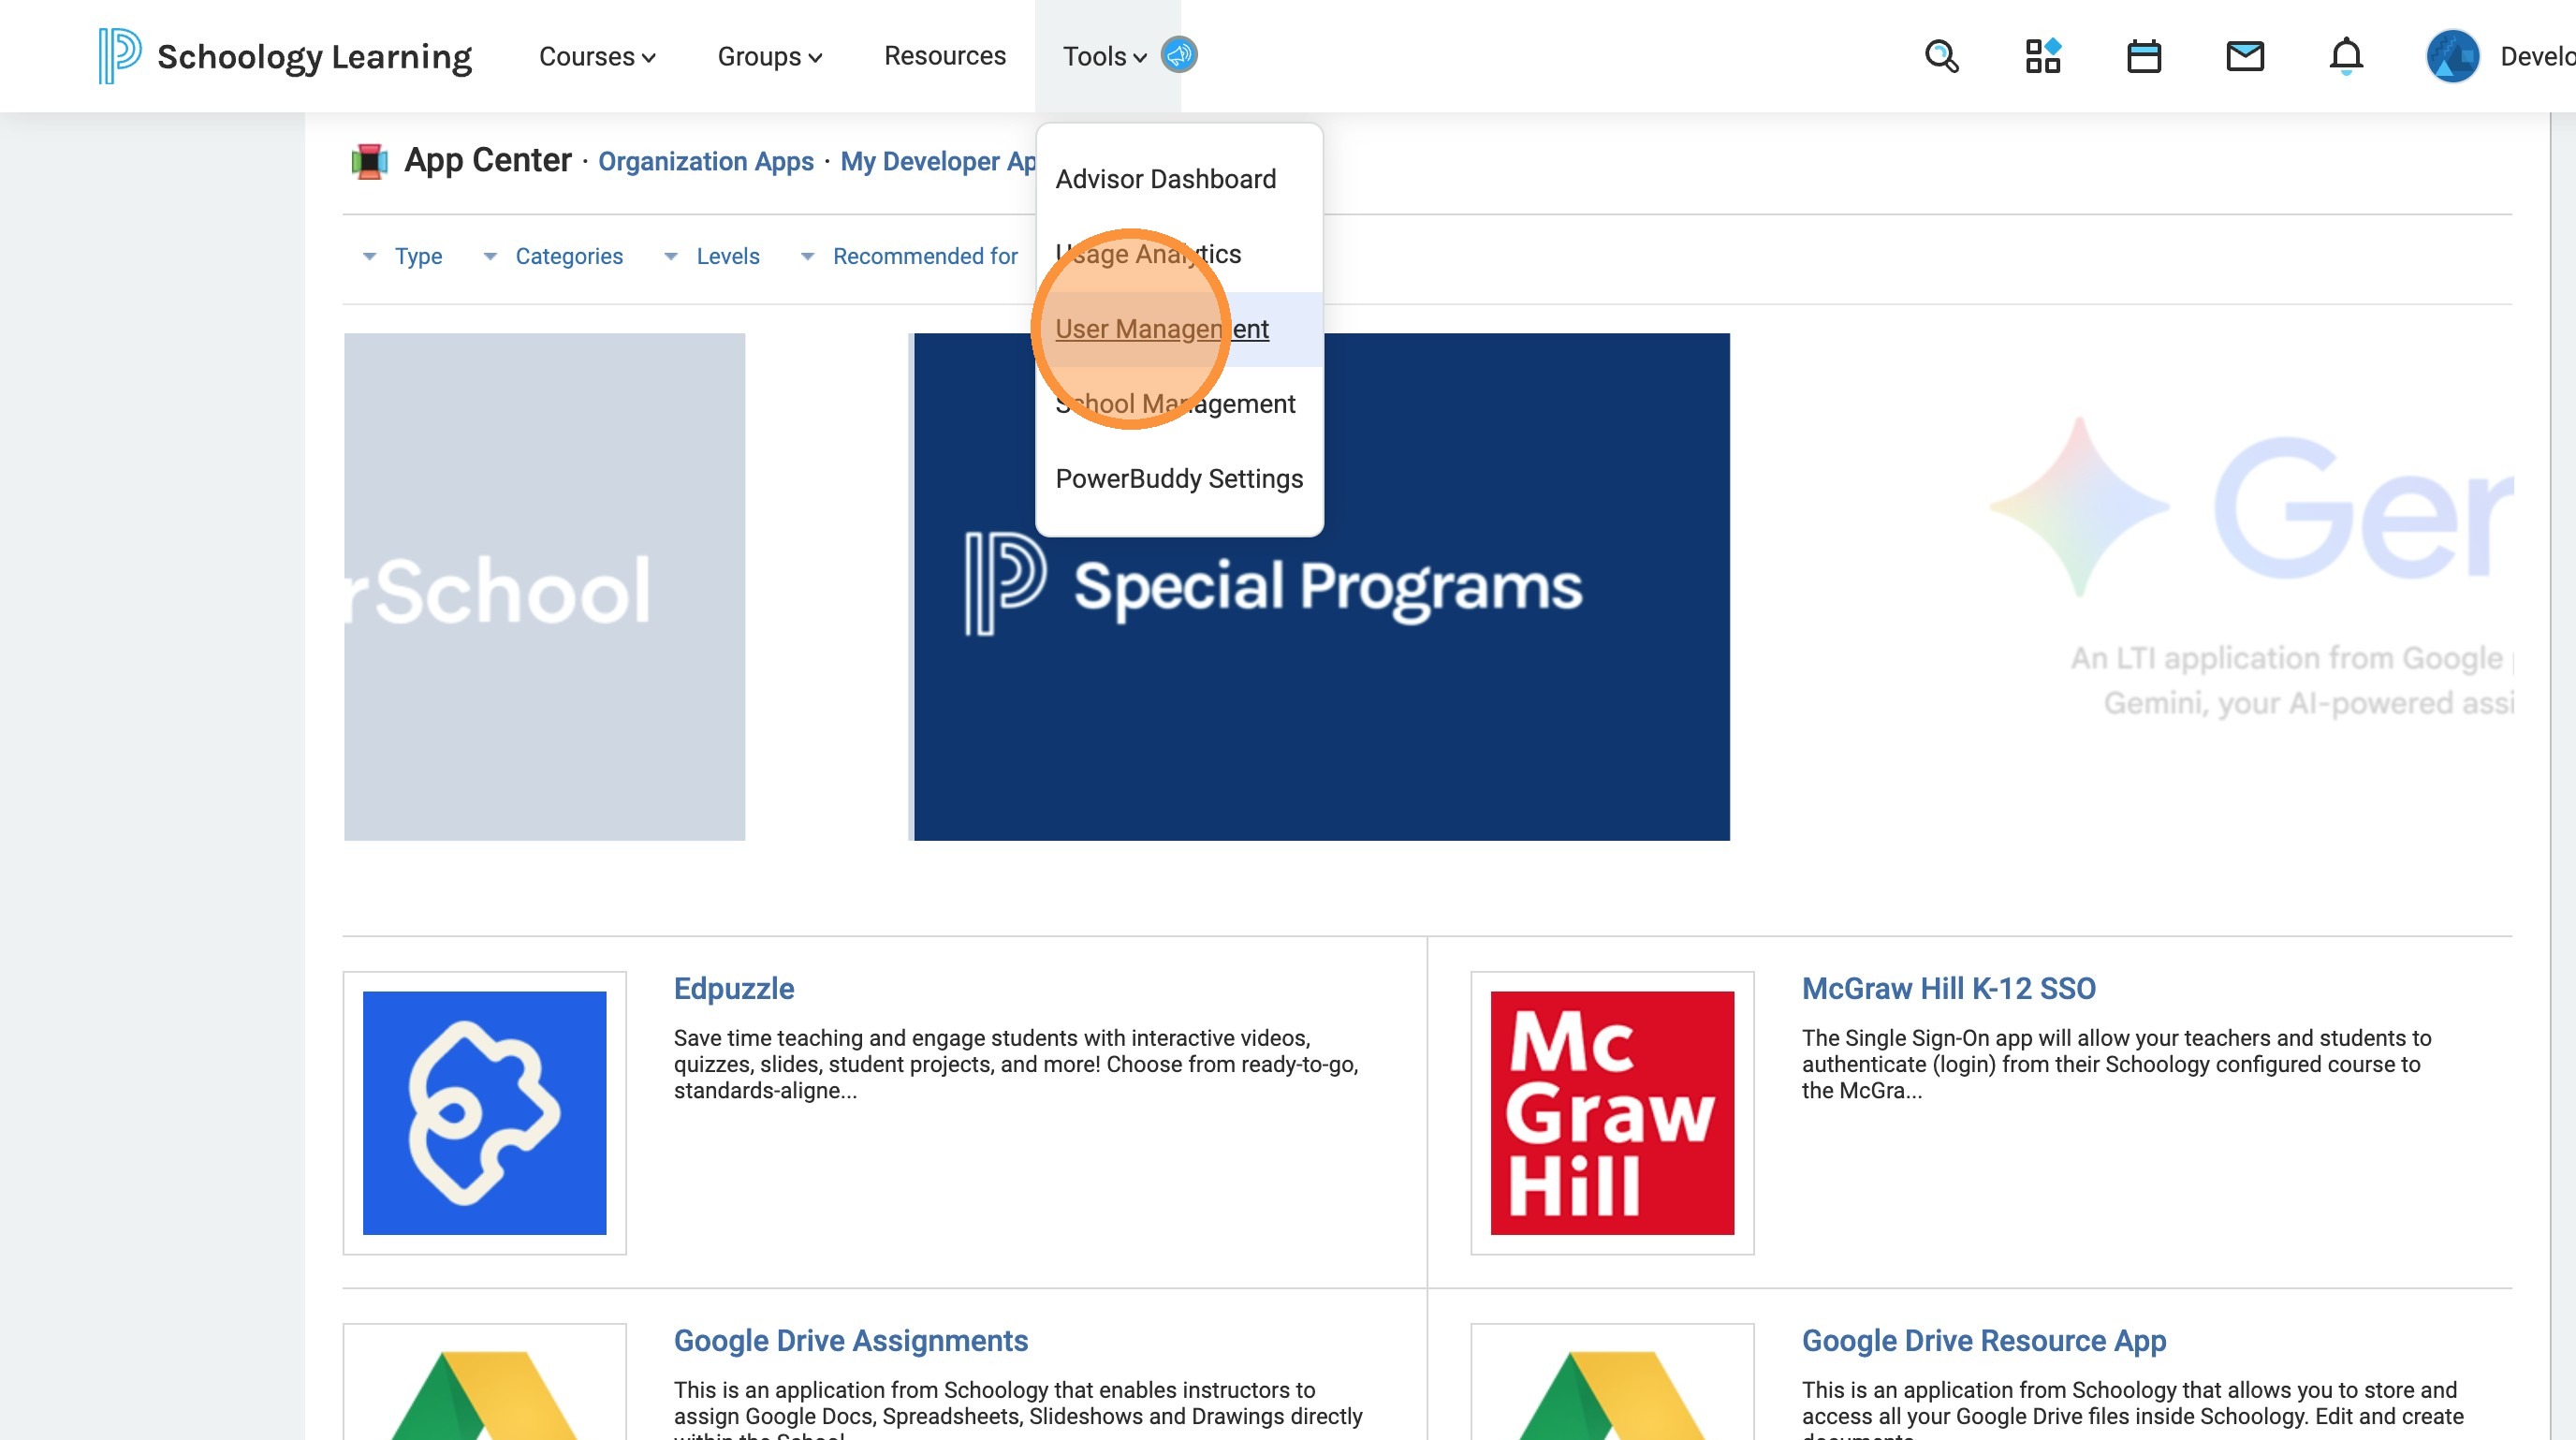
4. Click "User Management"
5. Click "Permissions"
6. Scroll close to the bottom at the "Schoology Apps and APIs" category and find "Develop apps"
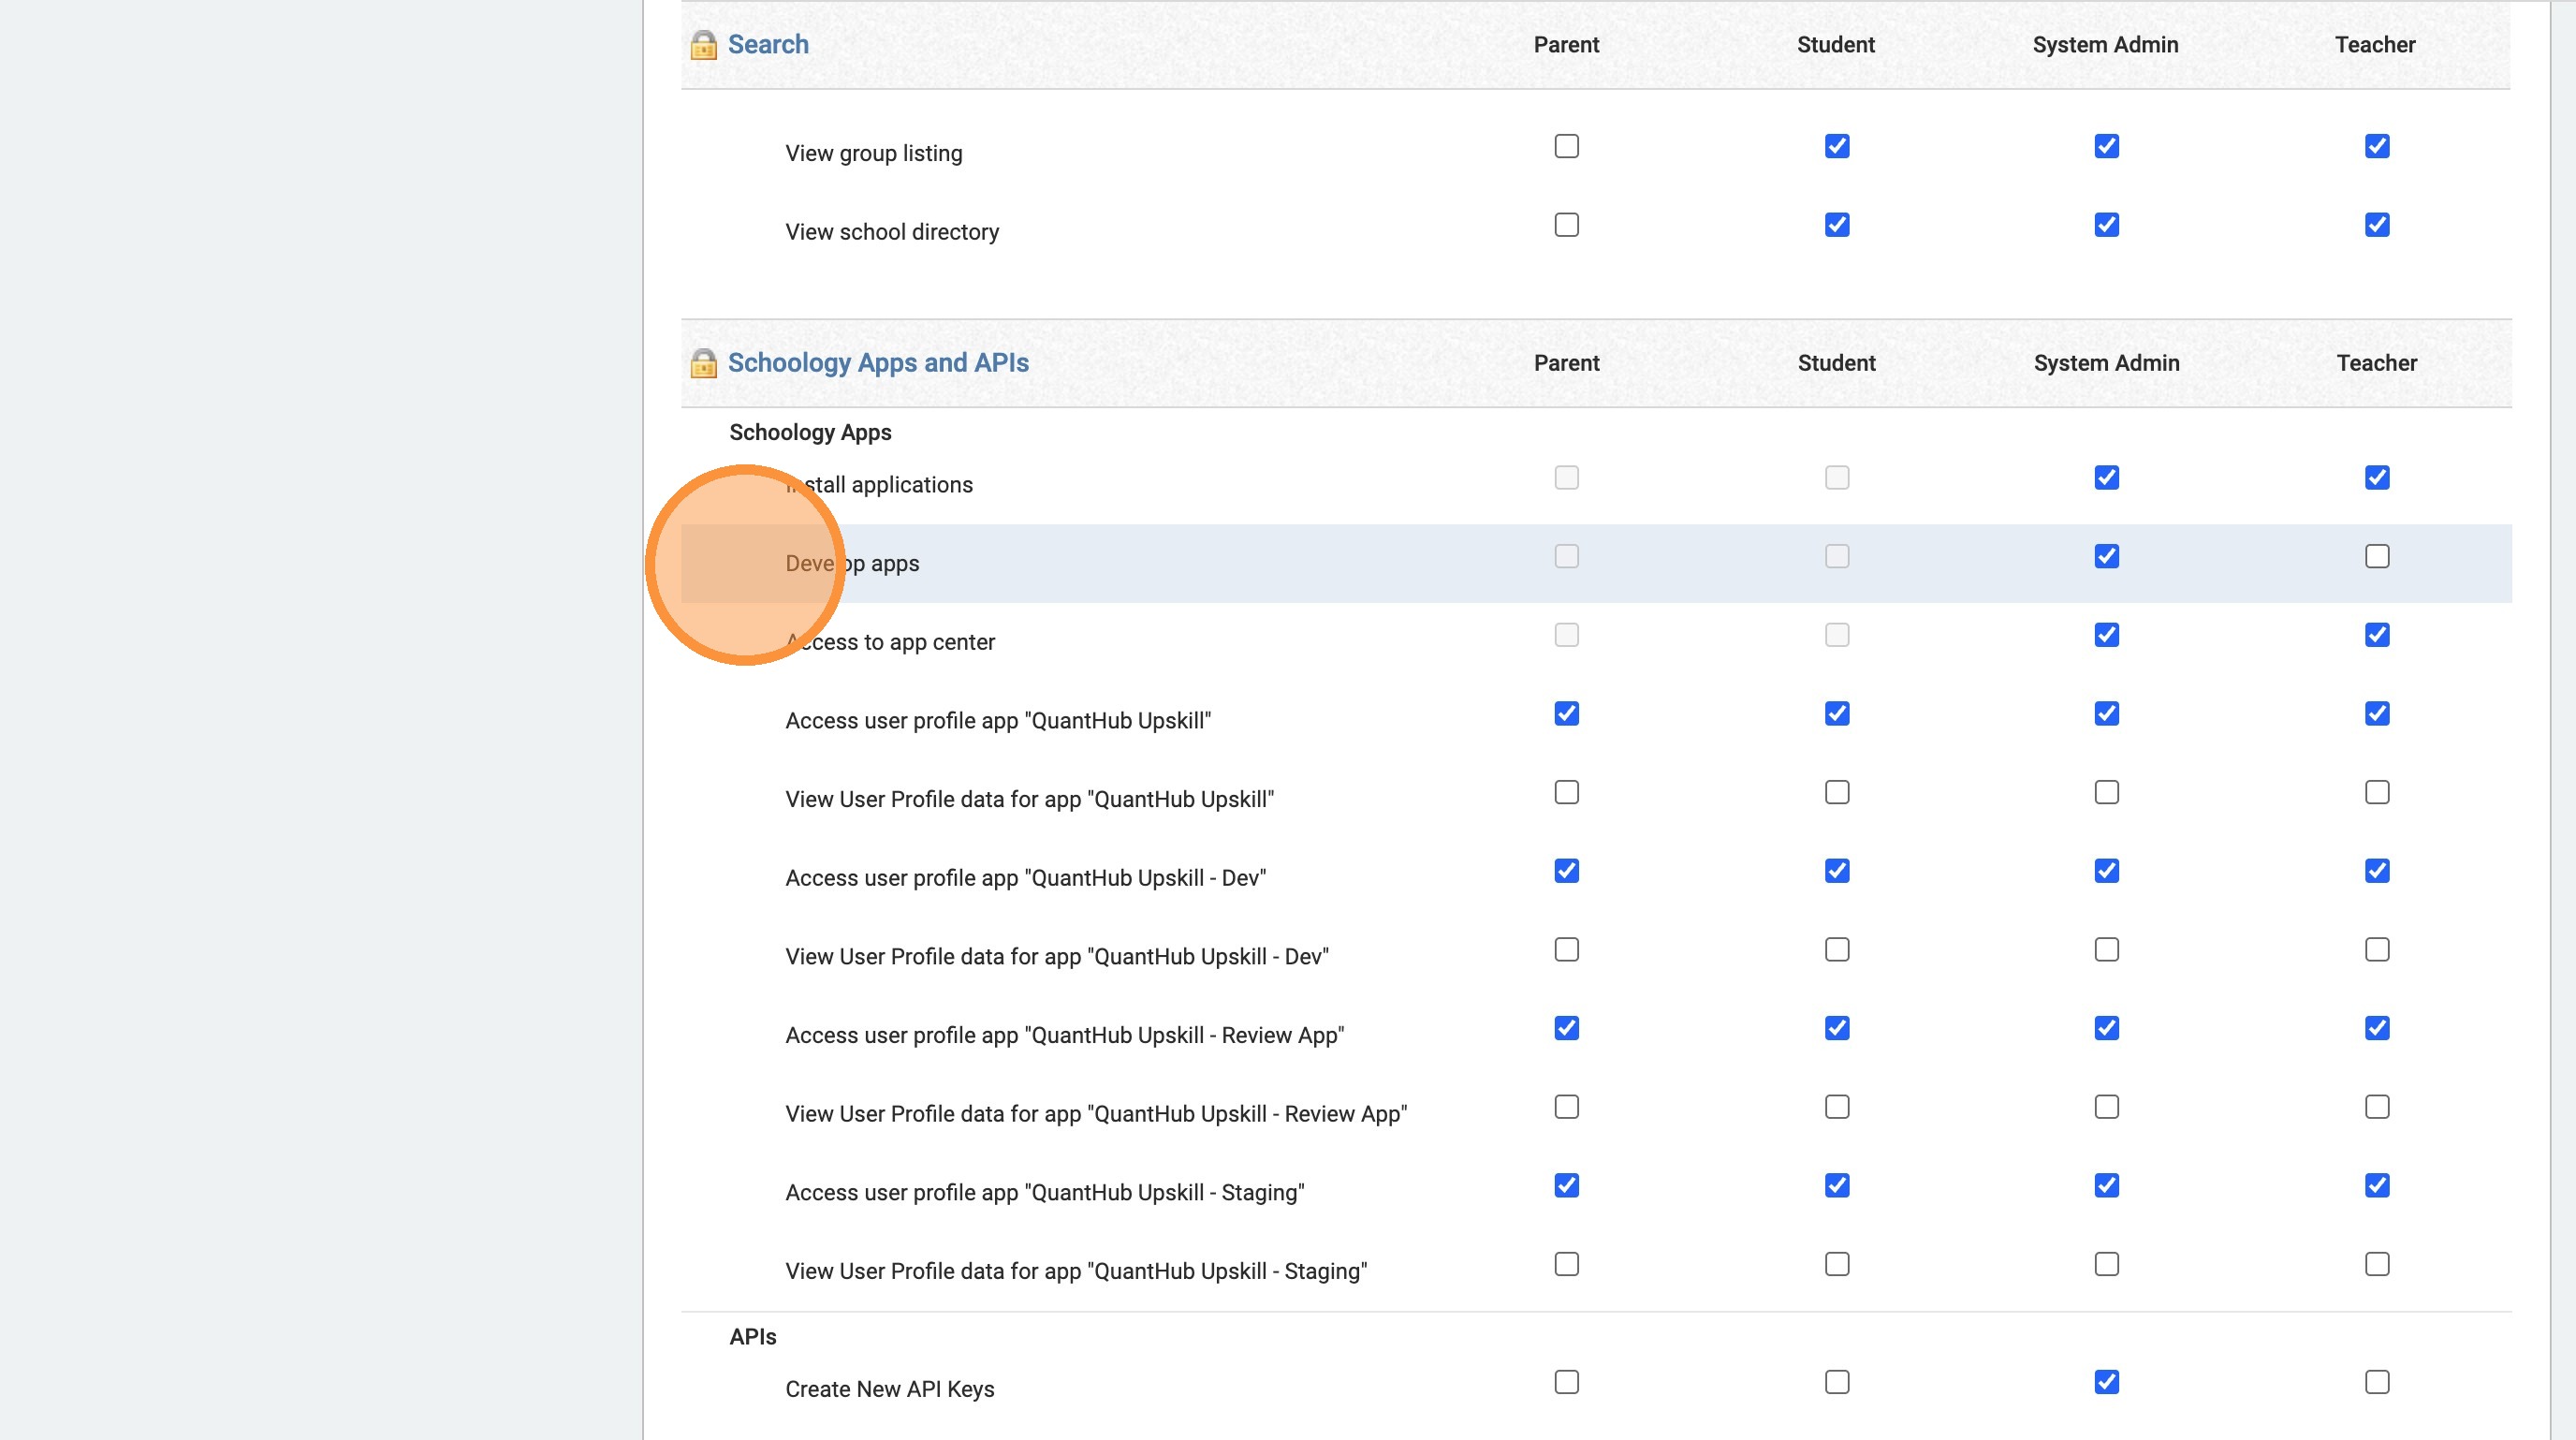
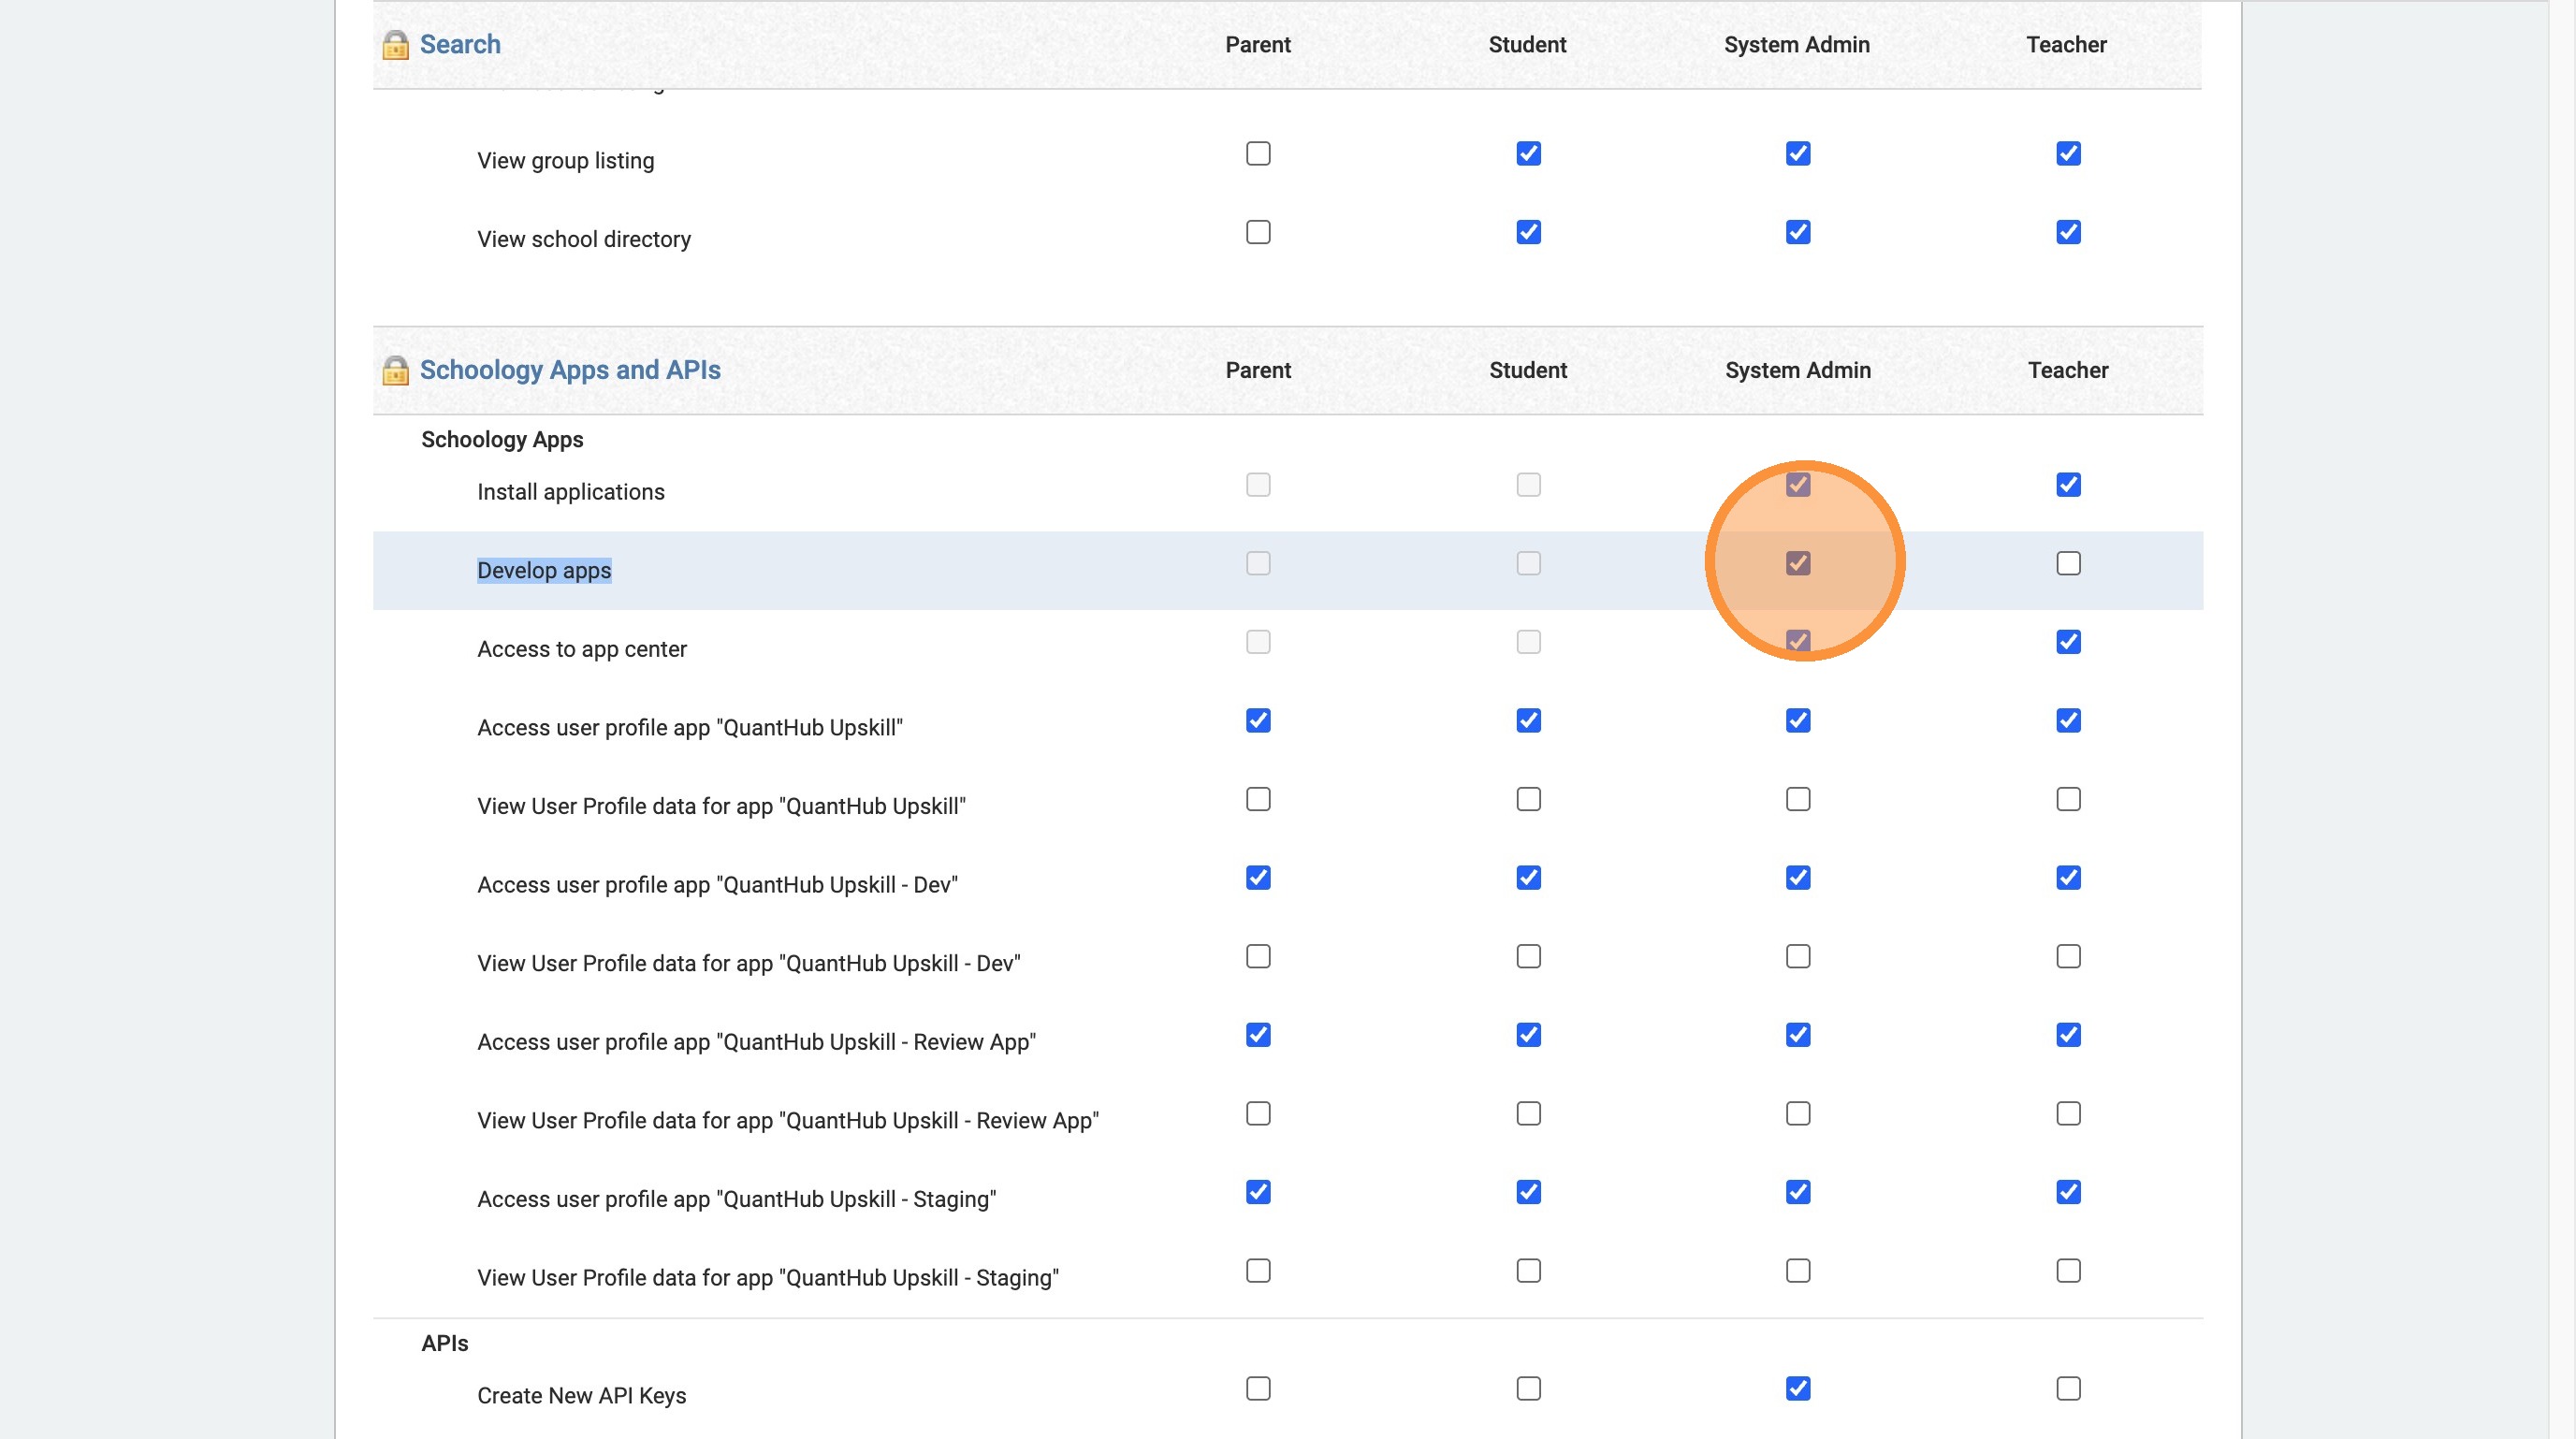
7. Click the system admin, "develop app" drop box
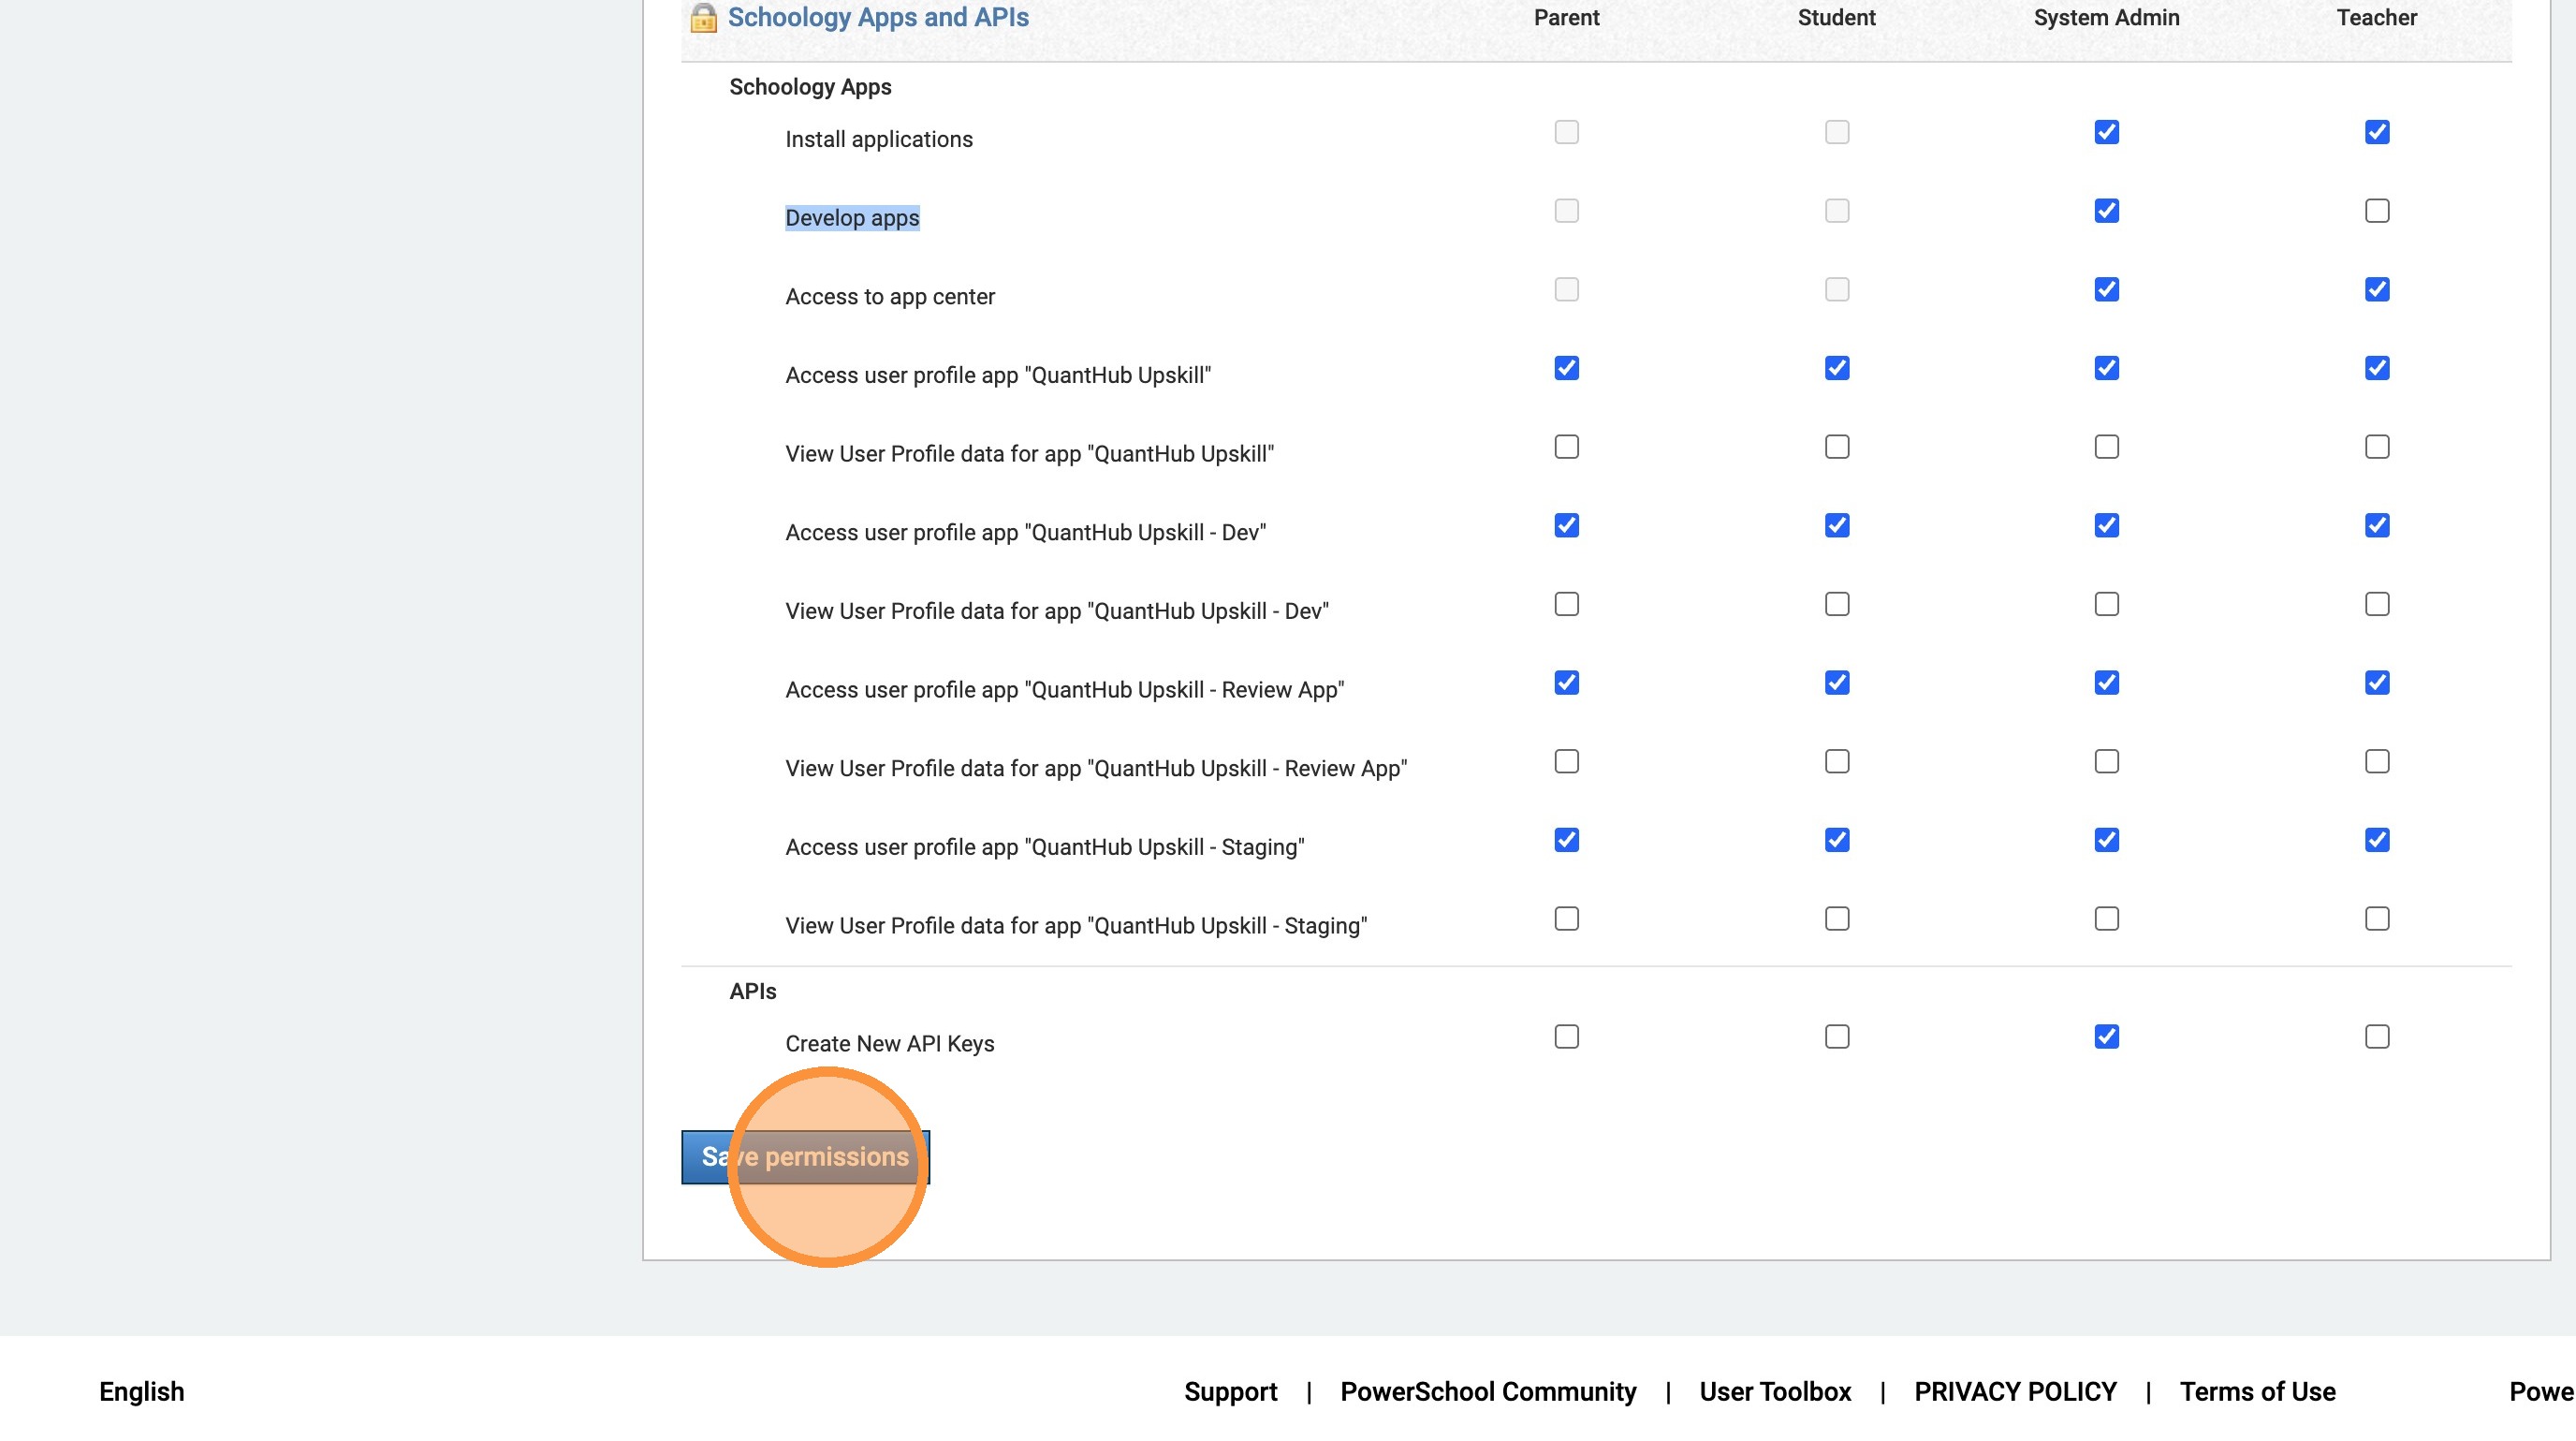
8. Click "Save Permissions"
9. Go back to https://app.schoology.com/apps or https://app.schoology.com/apps/publisher
Add the QuantHub LTI 1.3 App
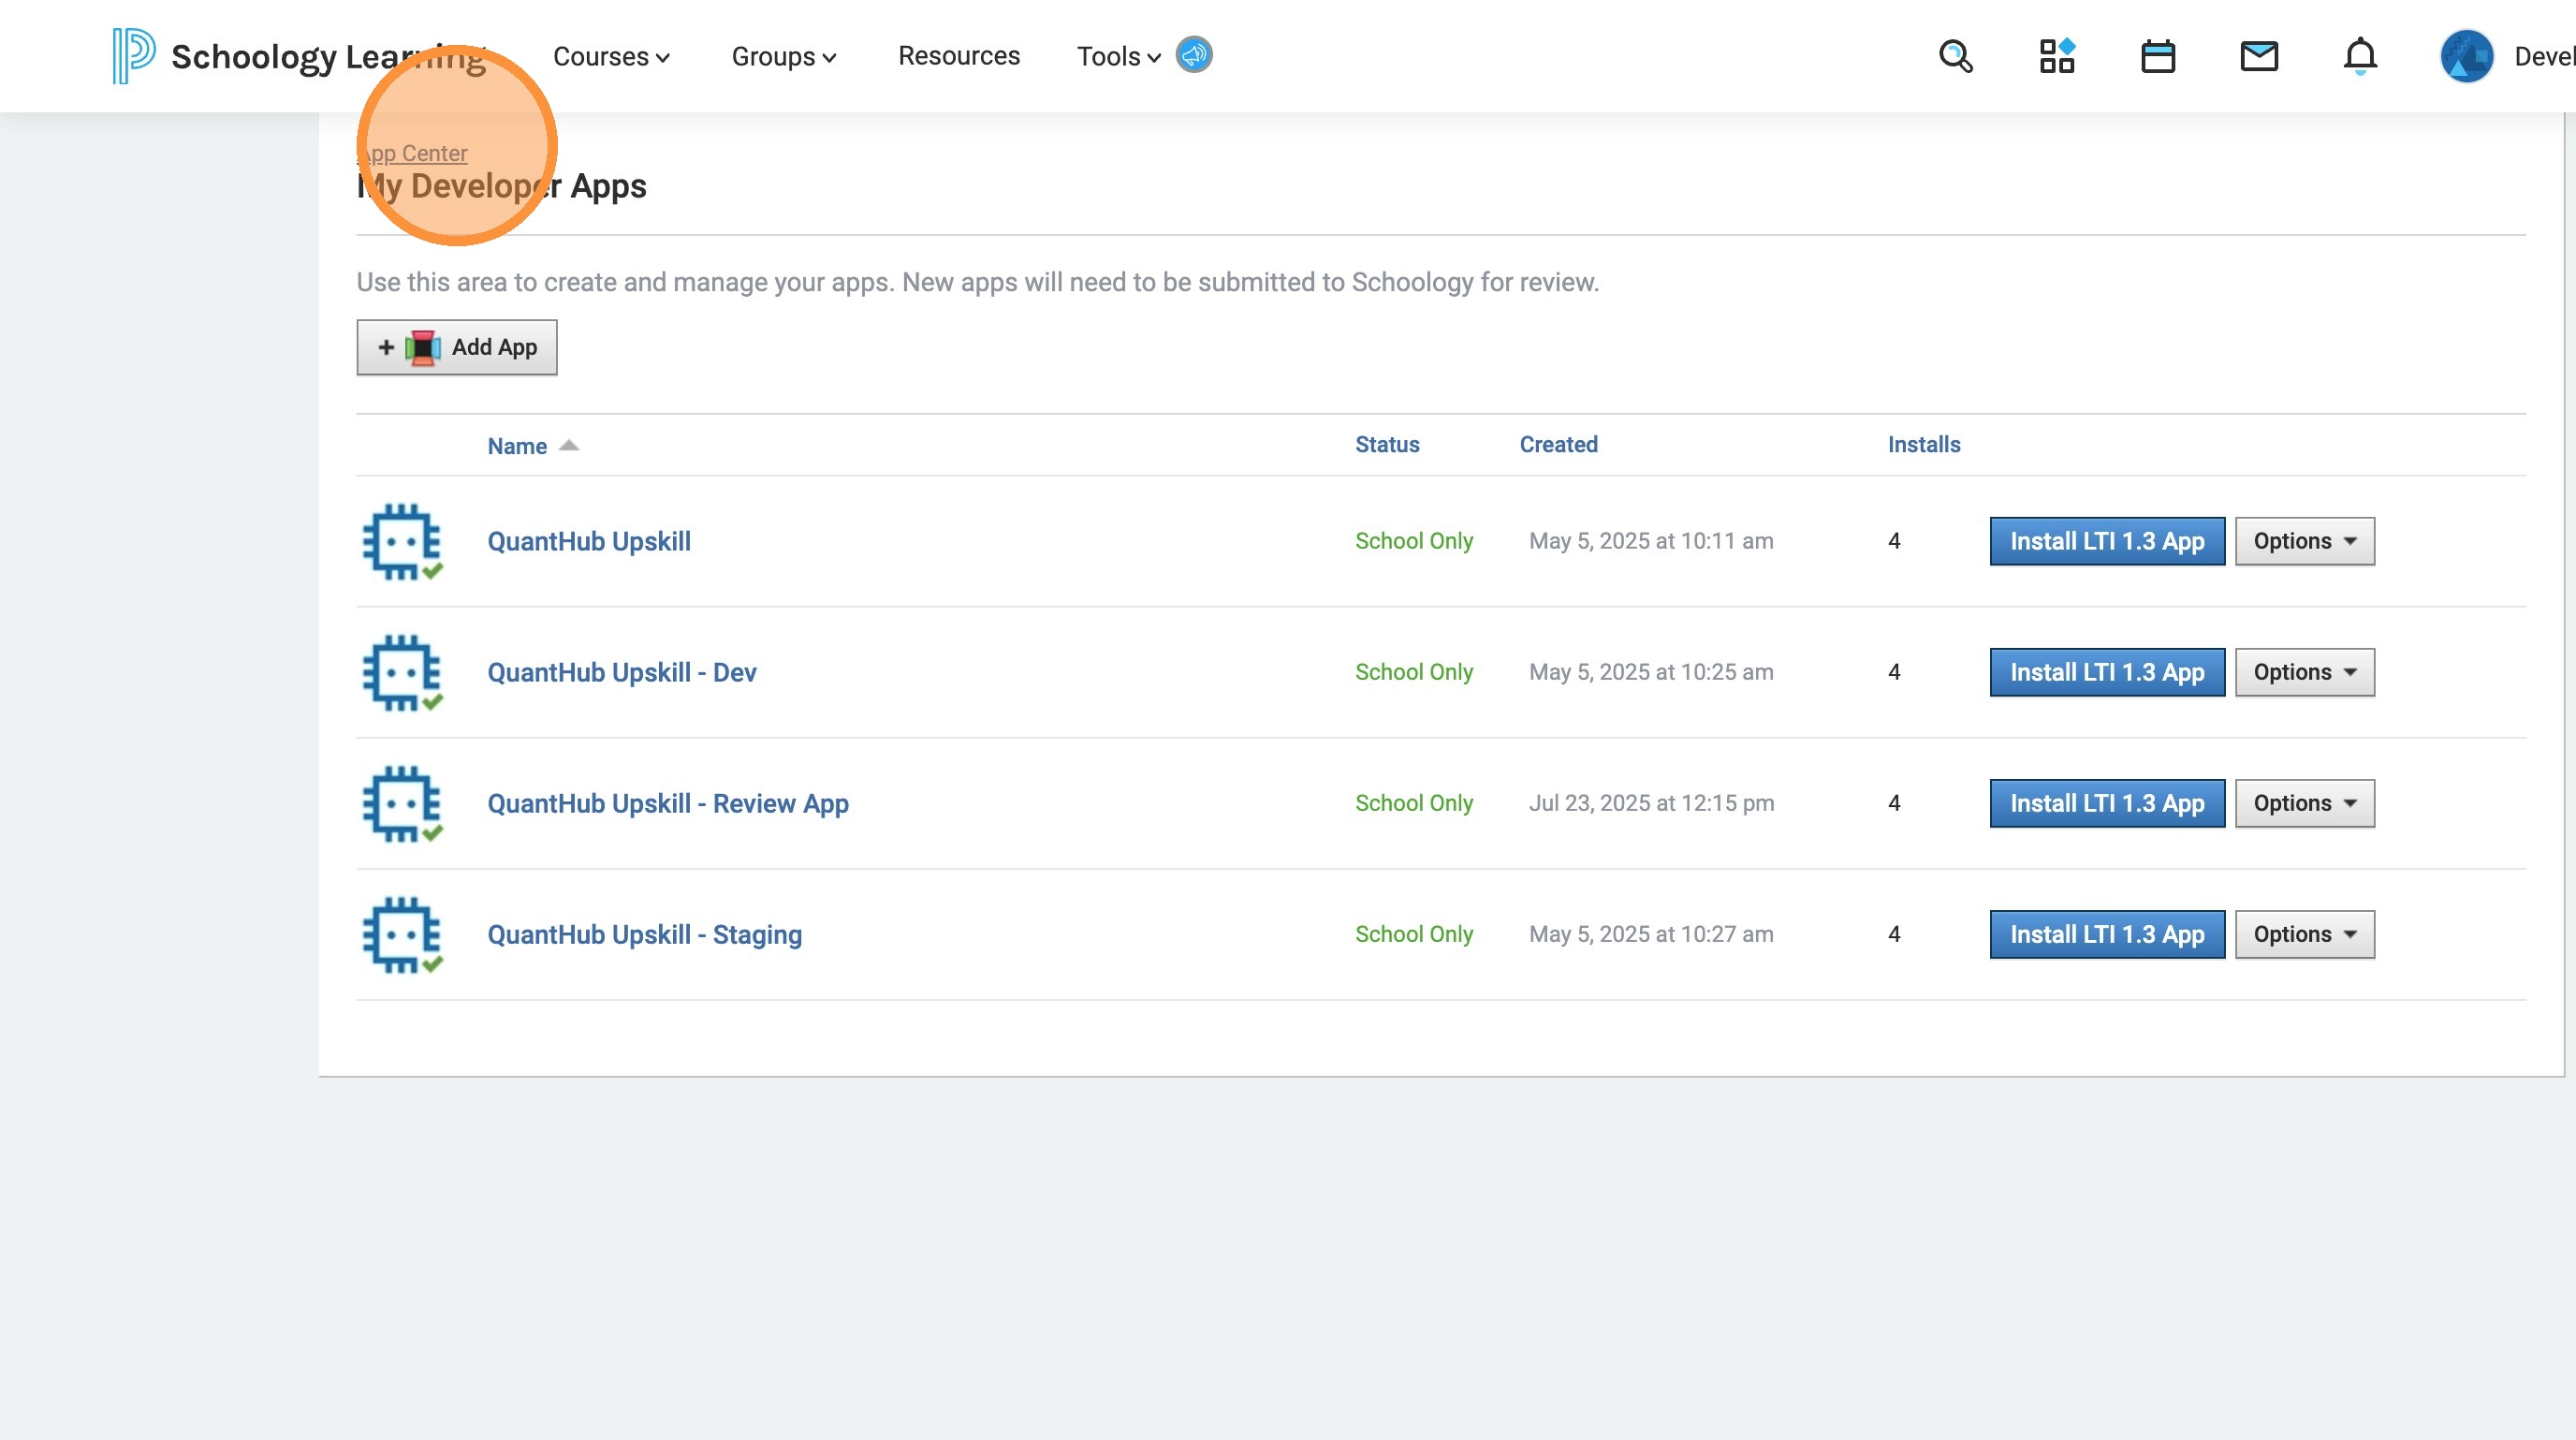
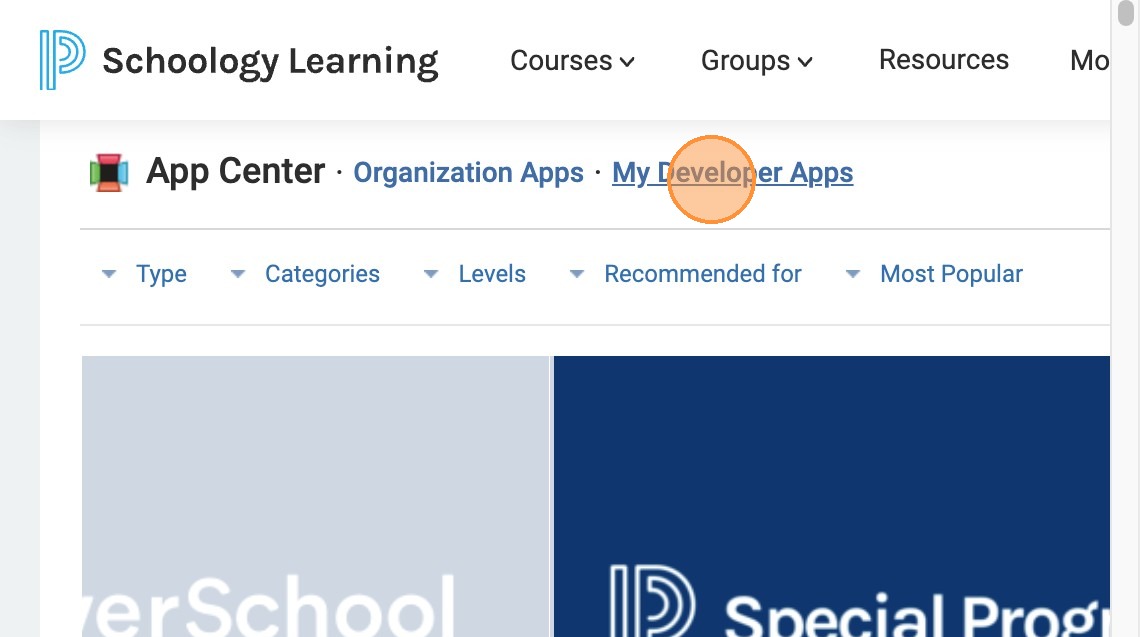
10. The following steps are to add QuantHub as an app. Click "My Developer Apps"
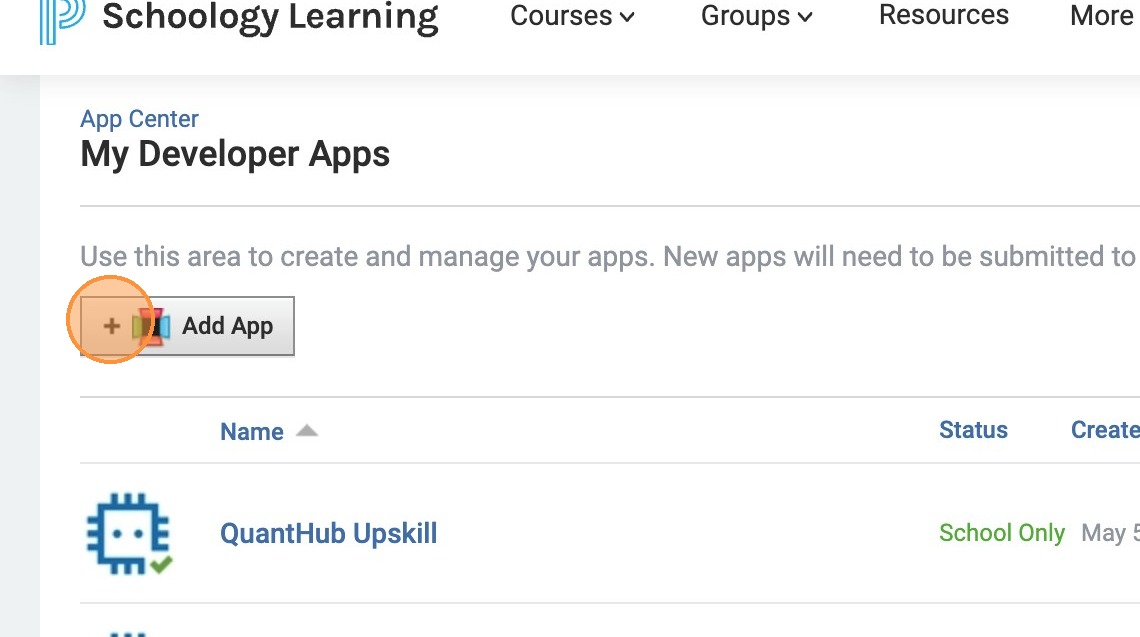
11. Click "Add App"
12. Click the "App Name:" field. Type "QuantHub Upskill"
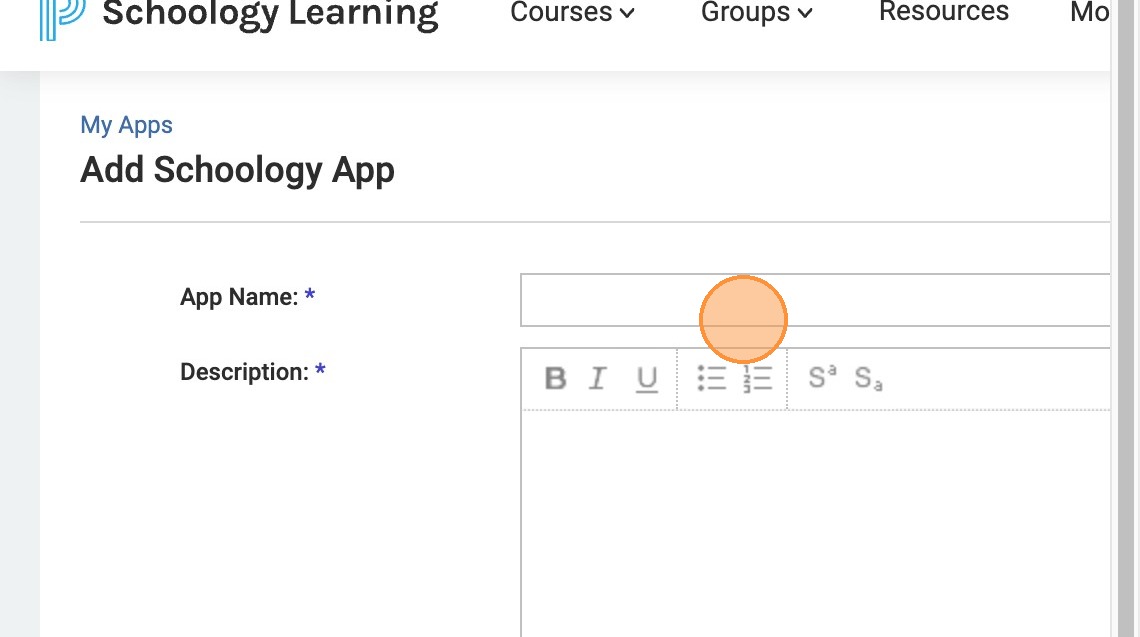
13. Click the description. Type "QuantHub helps teachers and professors teach data science skills in the education environment from middle school to college, using a hyper-tailored micro-learning approach that delivers differentiated instruction in a wide range of data literacy topics in only 10 minutes a day and without the headache of lesson planning."
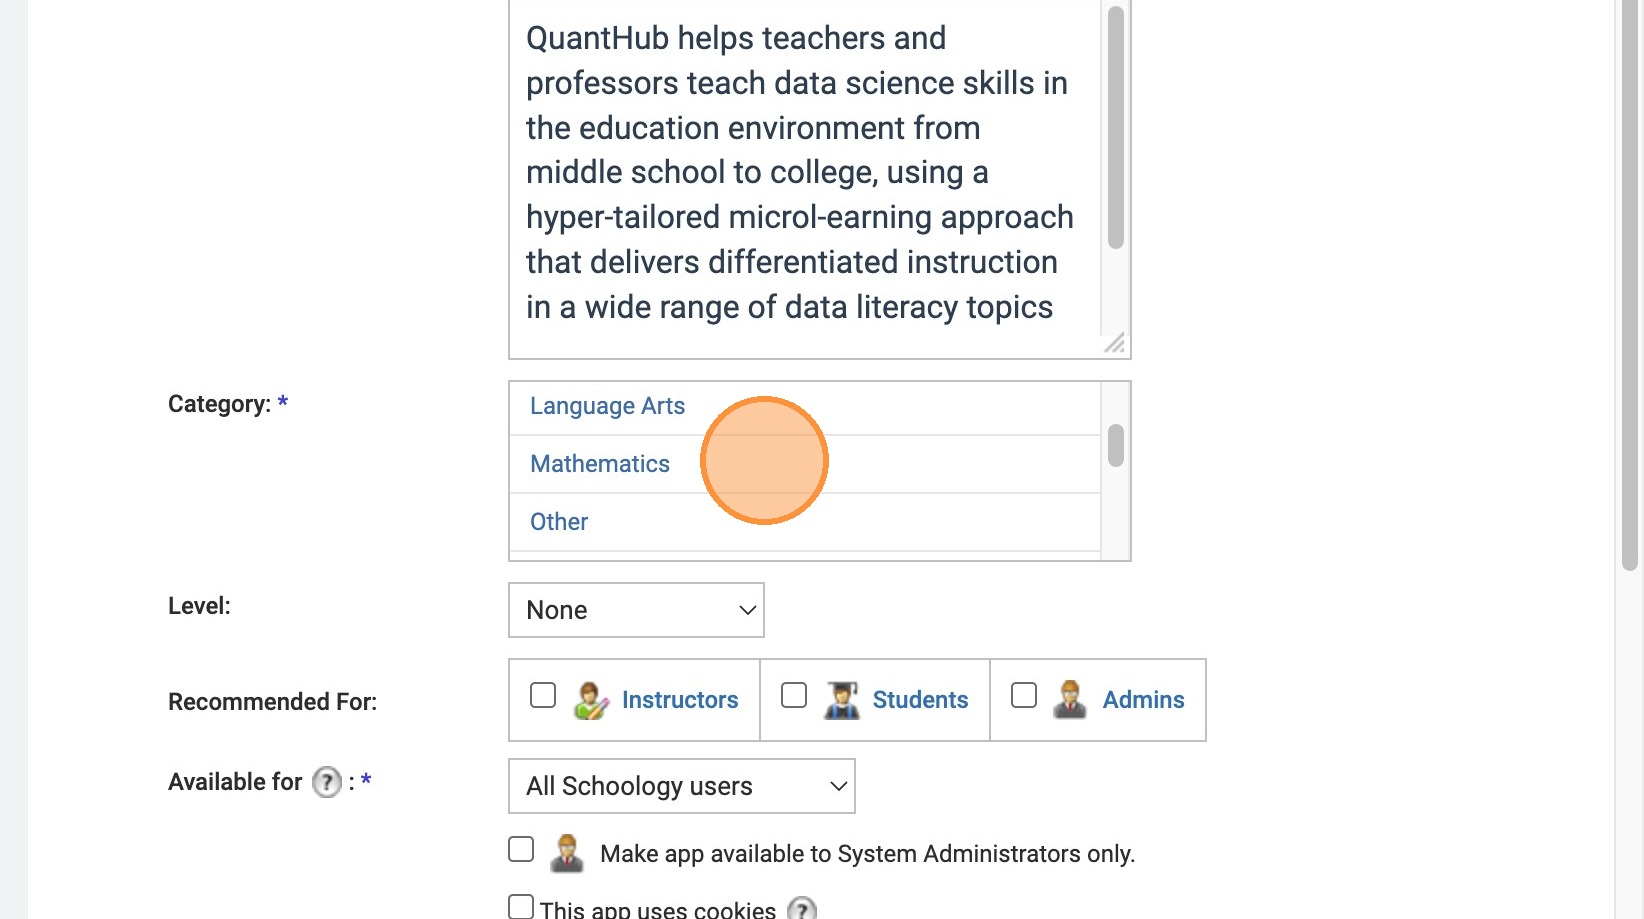
14. Click Category. Click "Mathematics", "Professional Development", "Science", and "Technology"
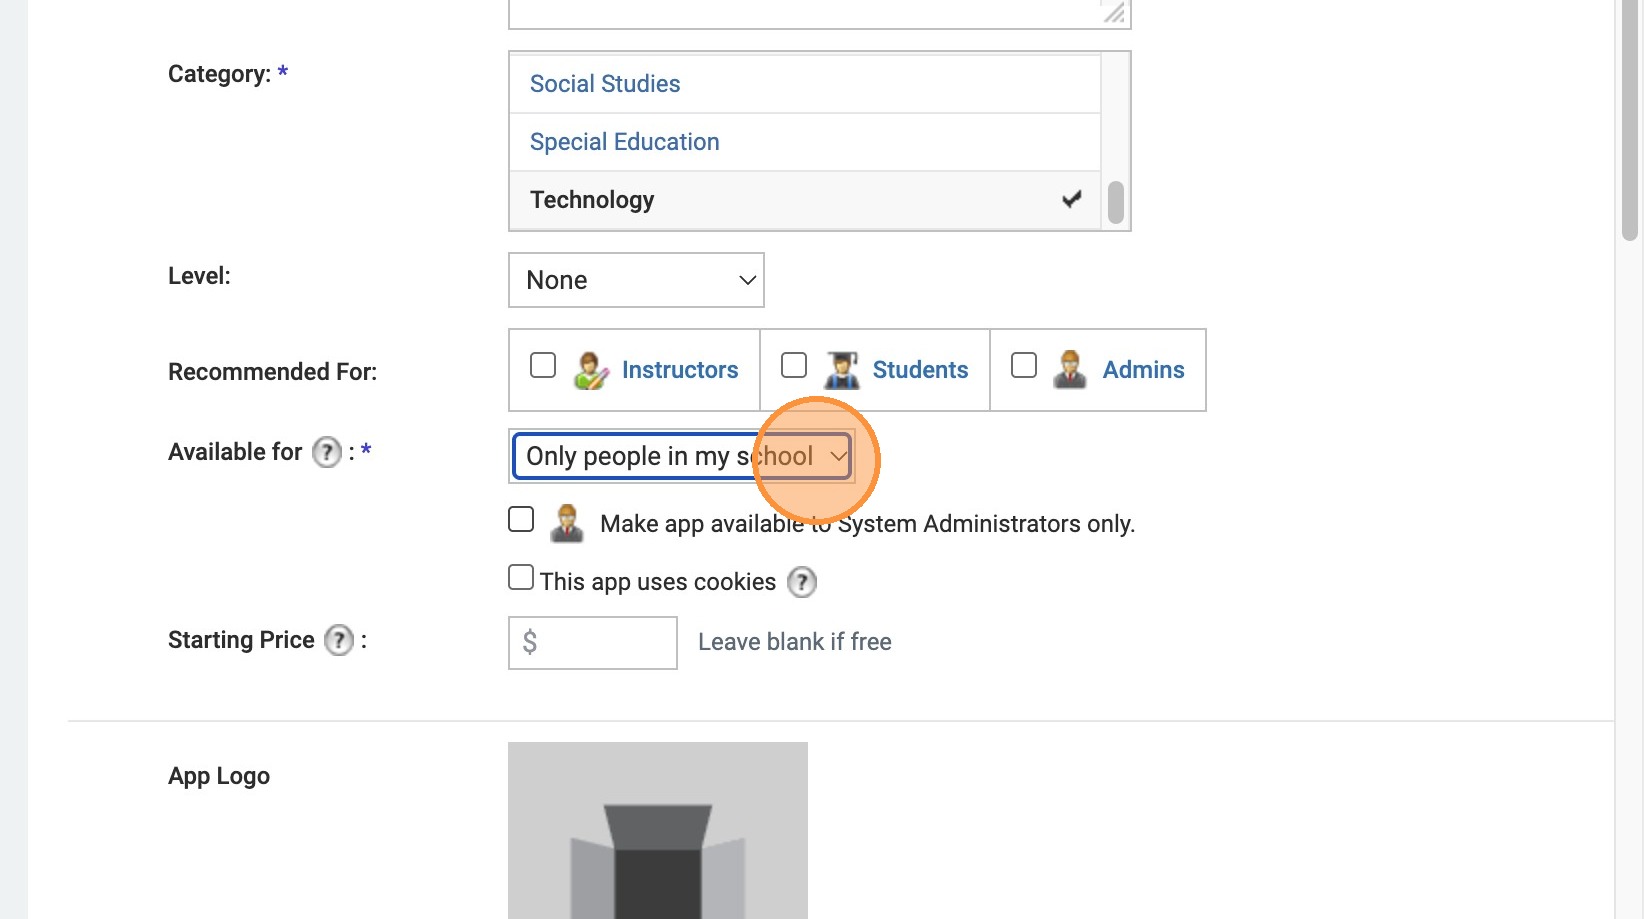
15. Select the "Only people in my school" option.
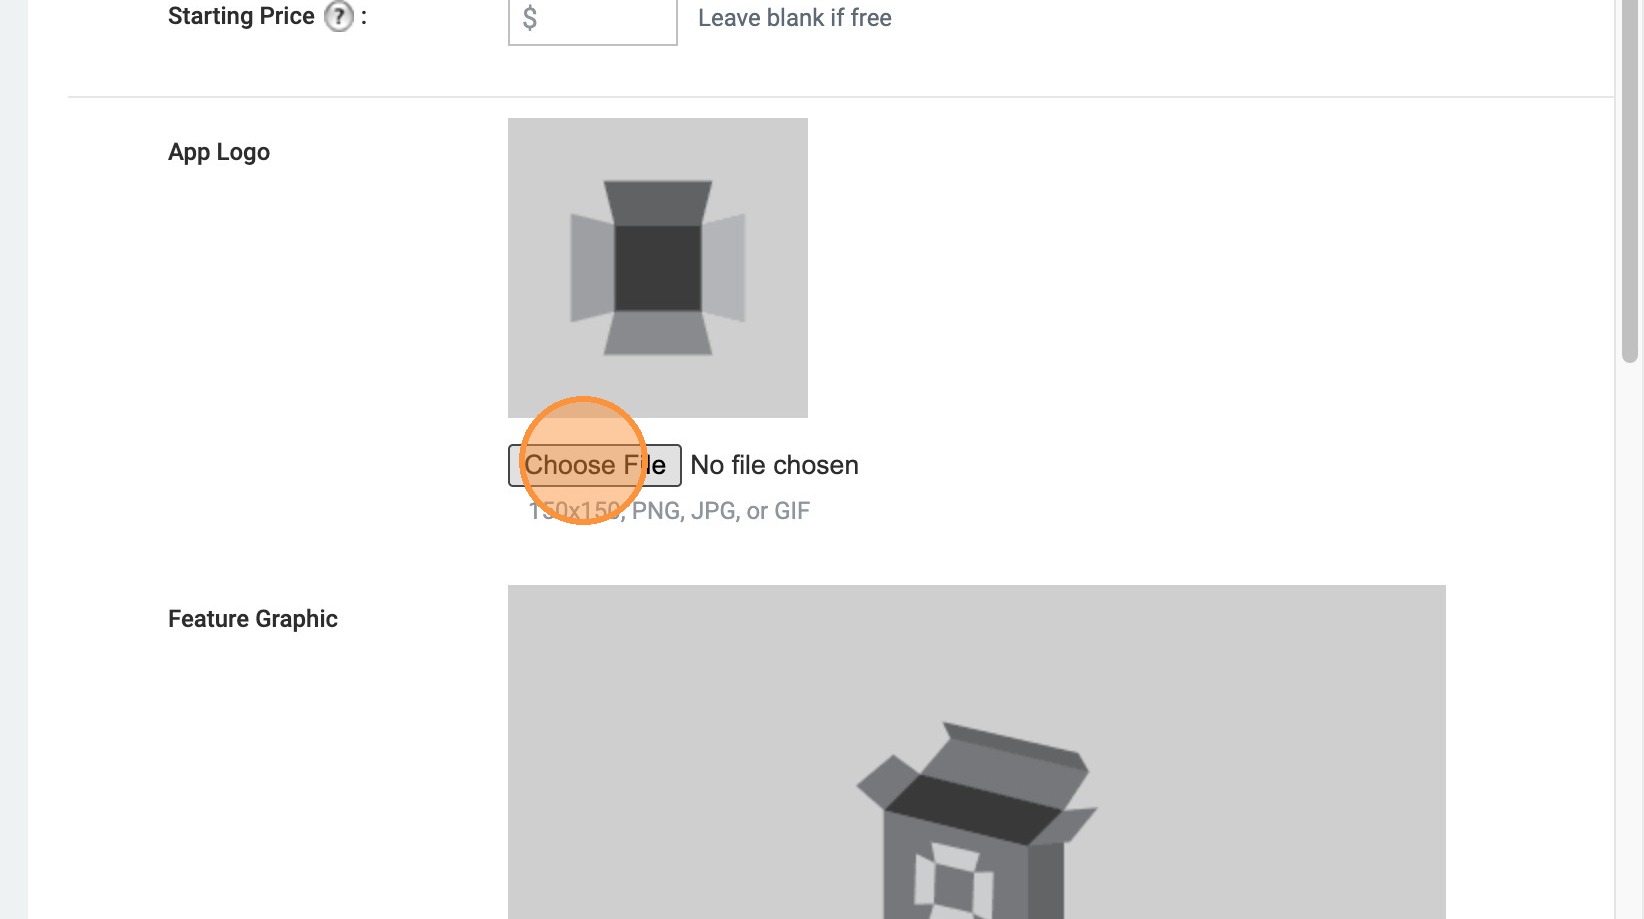
16. Click this file field. Upload quanthub_app_logo.png or alternate download QuantHub Logo.png
.png)
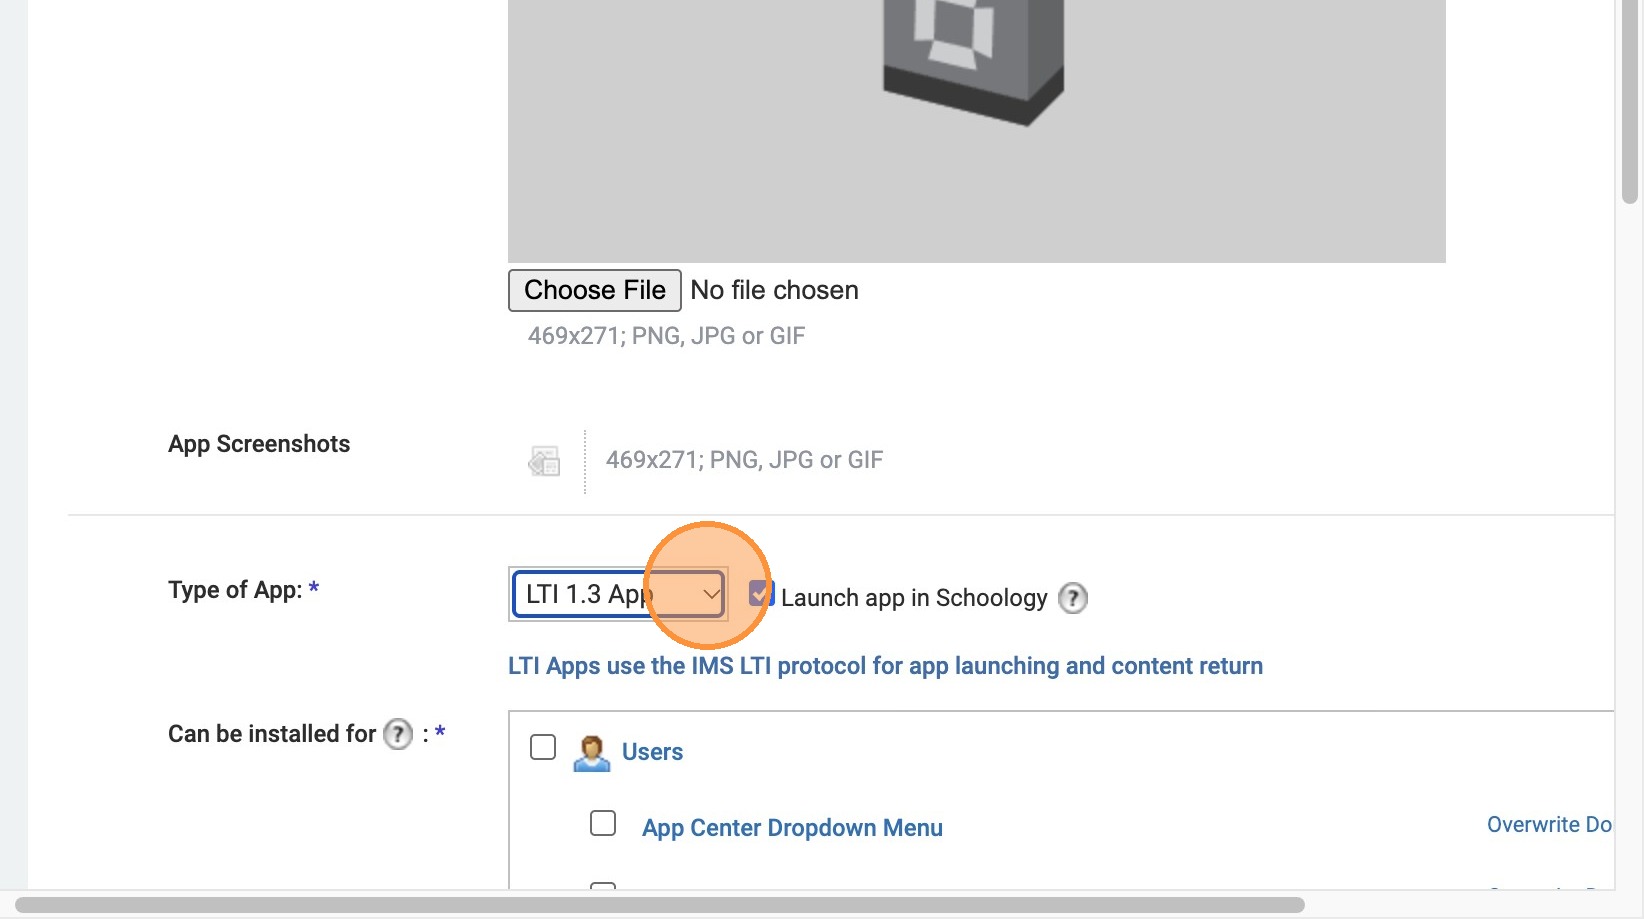
17. Select the "LTI 1.3 App" option. Select Launch App in Schoology.
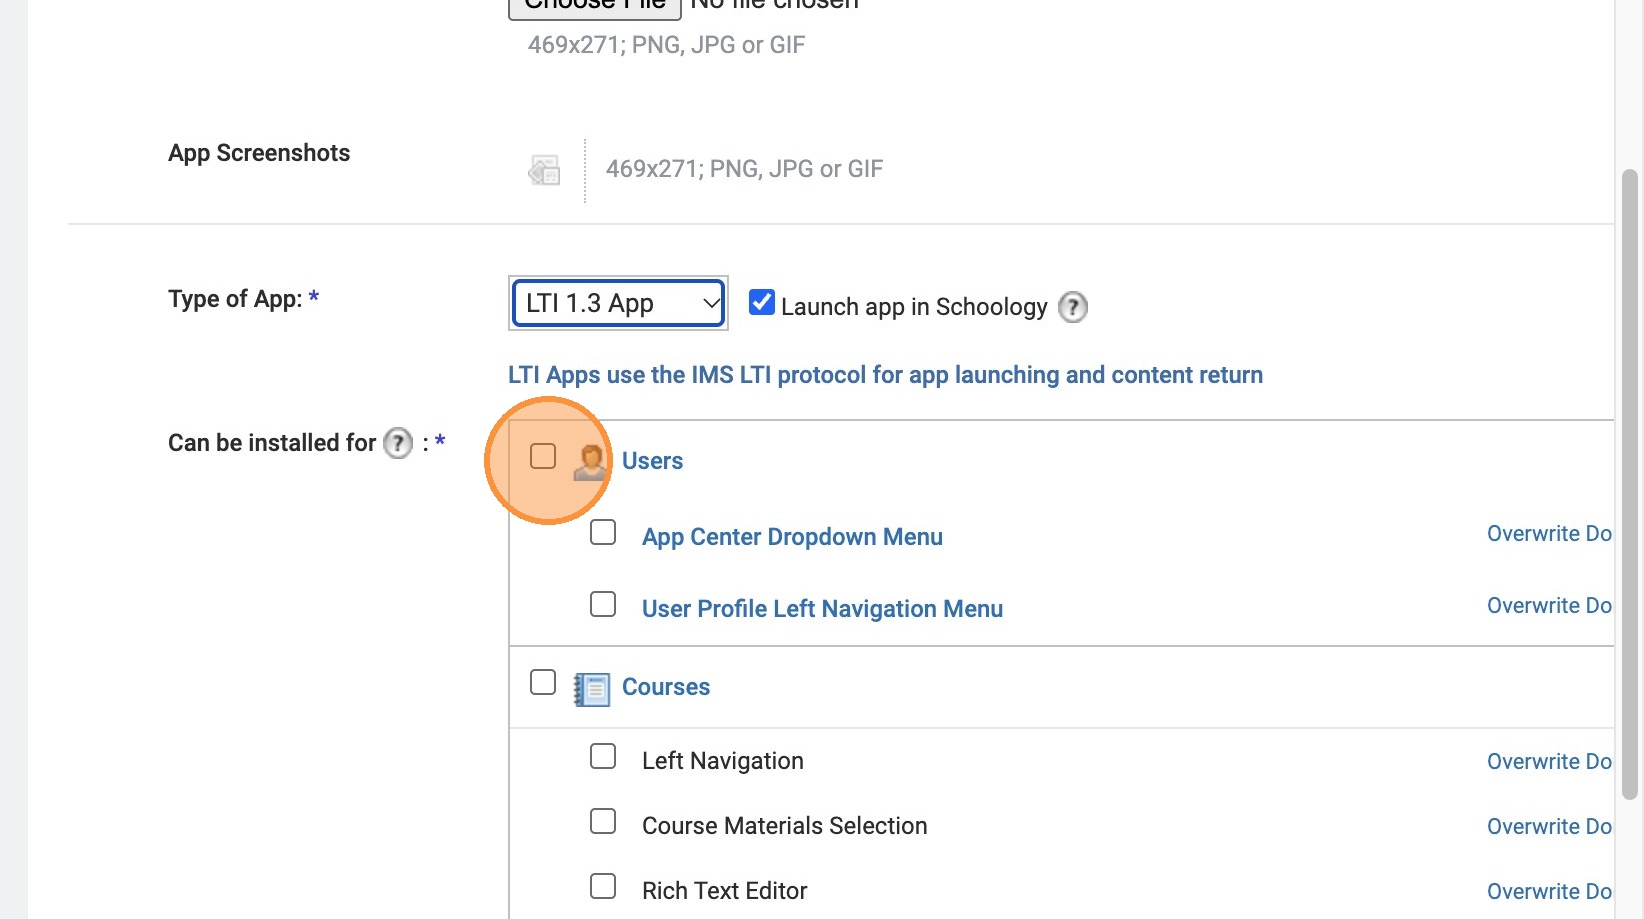
18. Click the "Users" field.
19. Click the "Left Navigation"
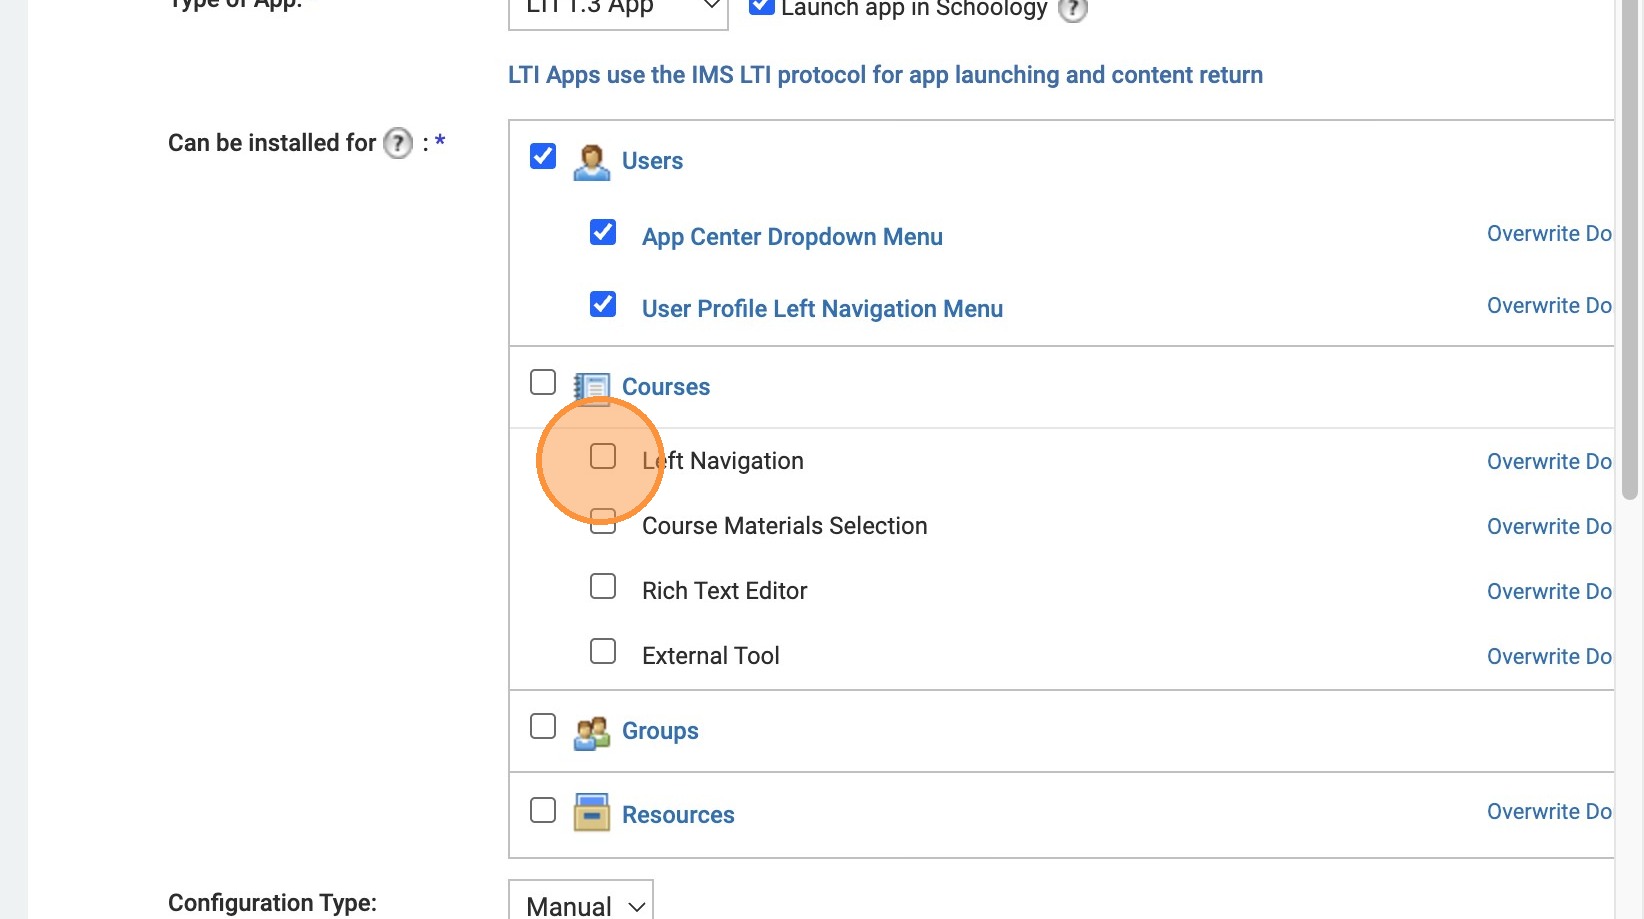
20. Click the "Course Materials Selection"
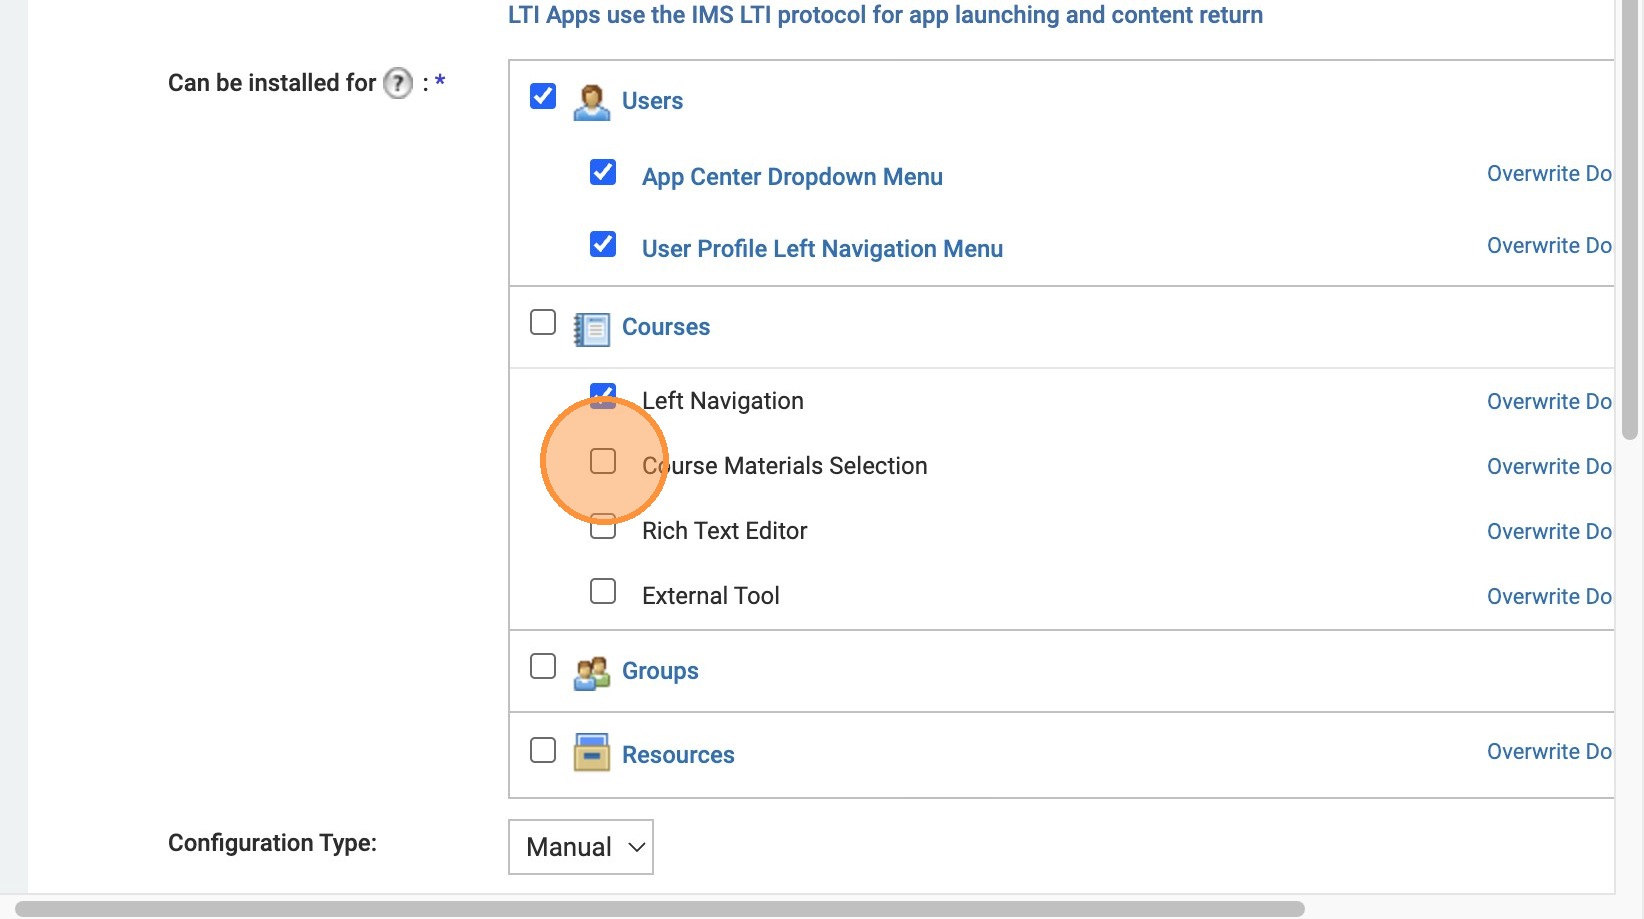
21. Click the "External Tool"

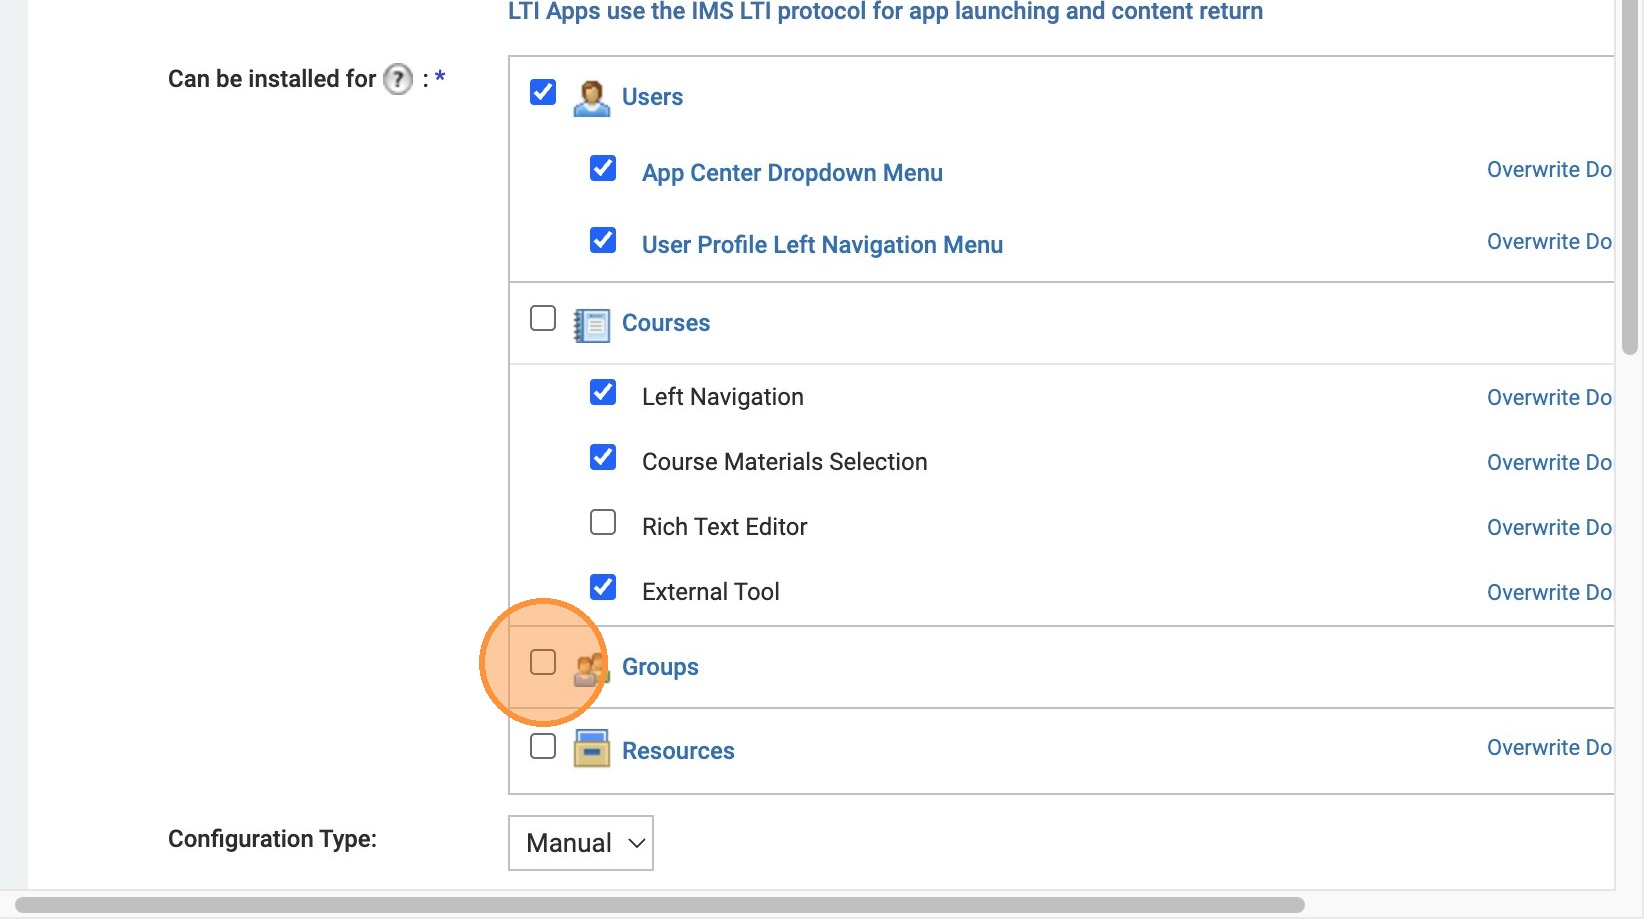
22. Click the "Groups" field and the "Resources" field.
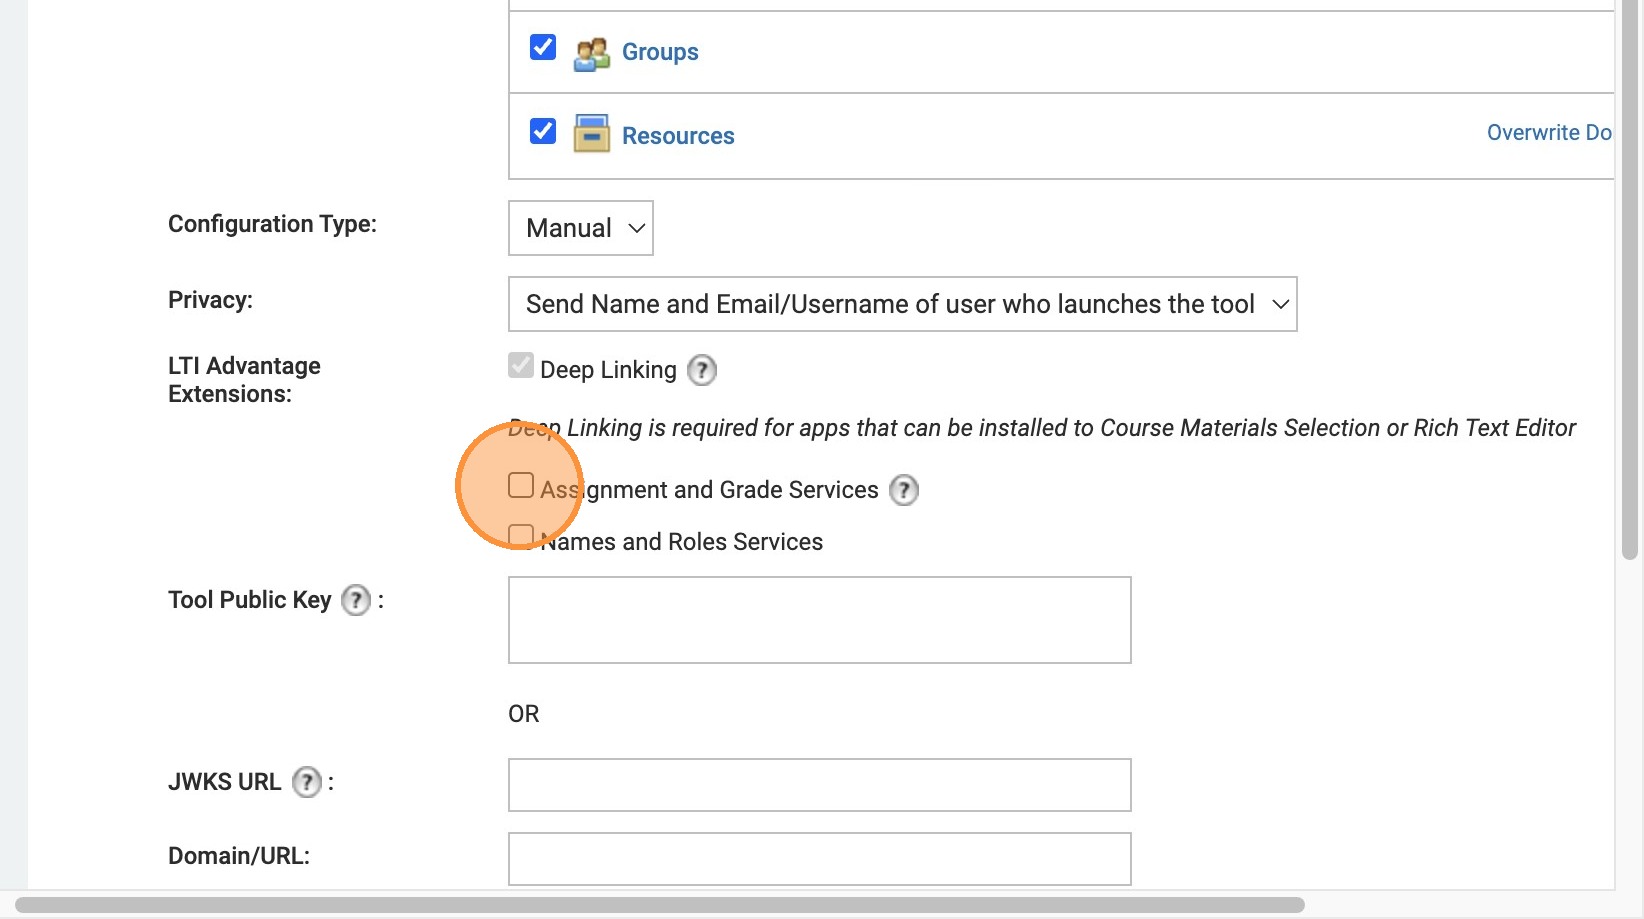
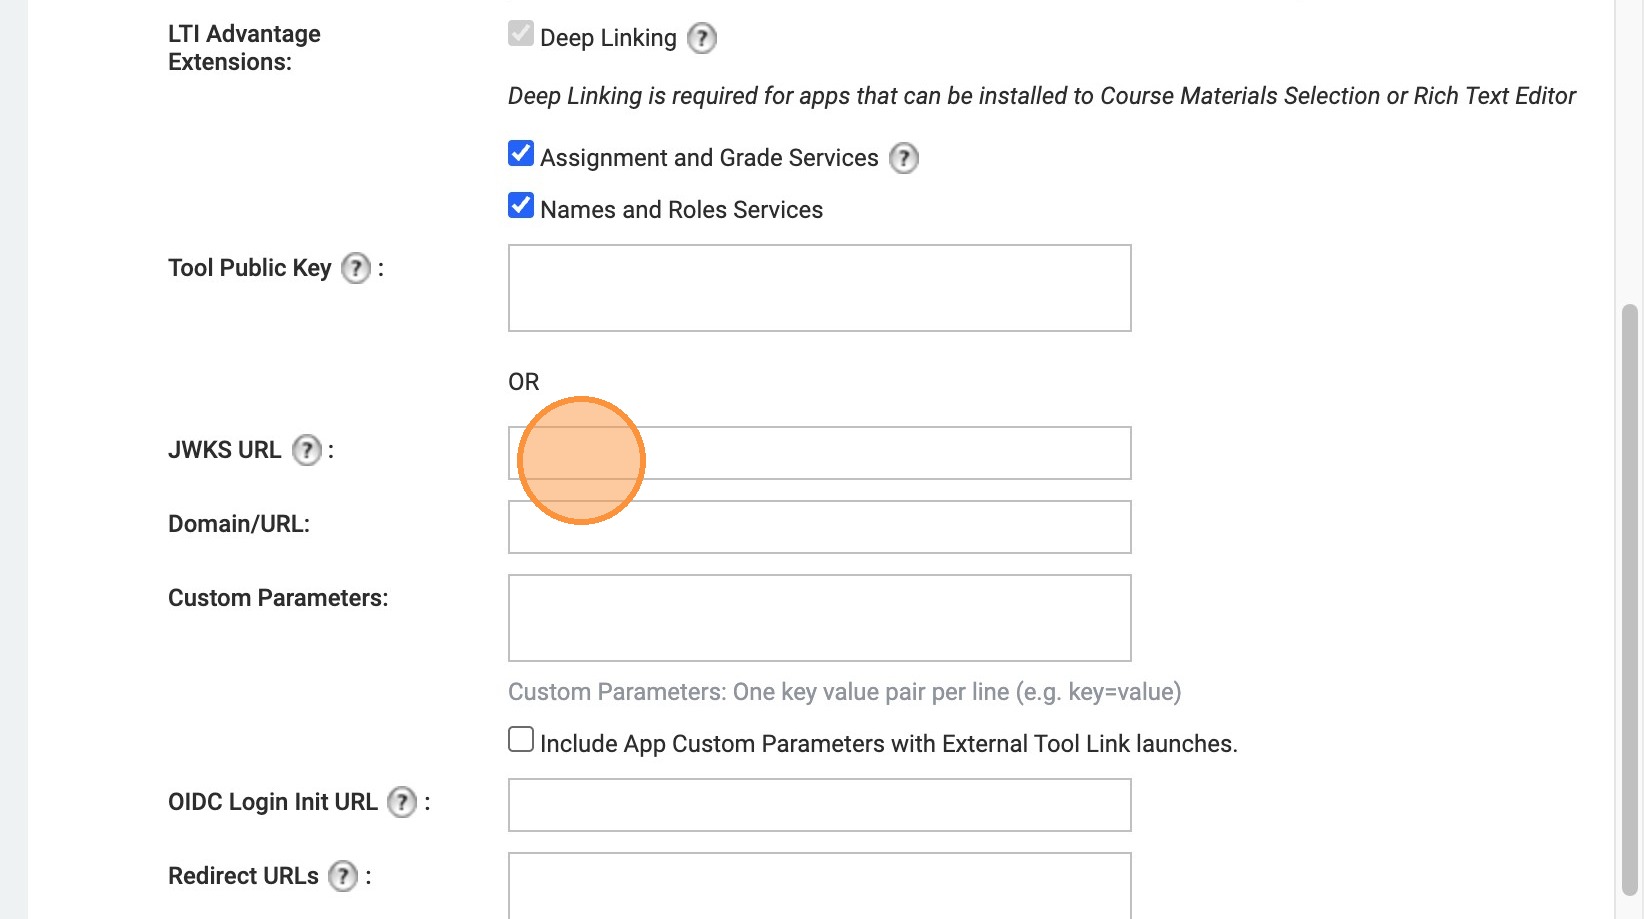
23. ENSURE THE DEEP LINKING BOX IS CHECKED. Click the "Assignment and Grade Services"
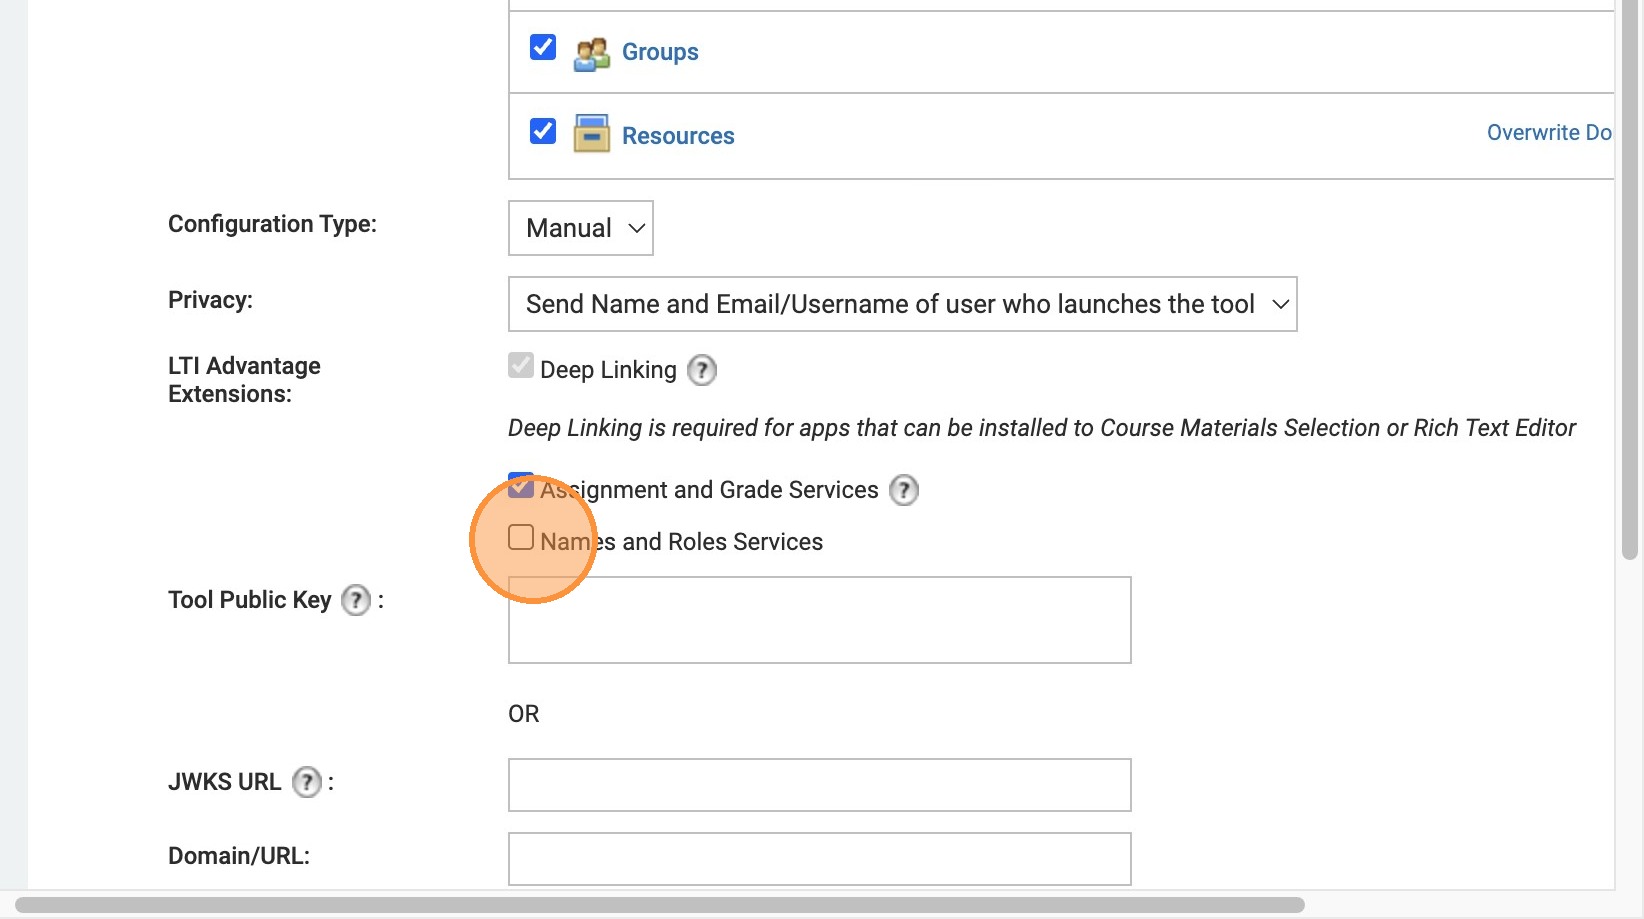
24. Click "Names and Roles Services"
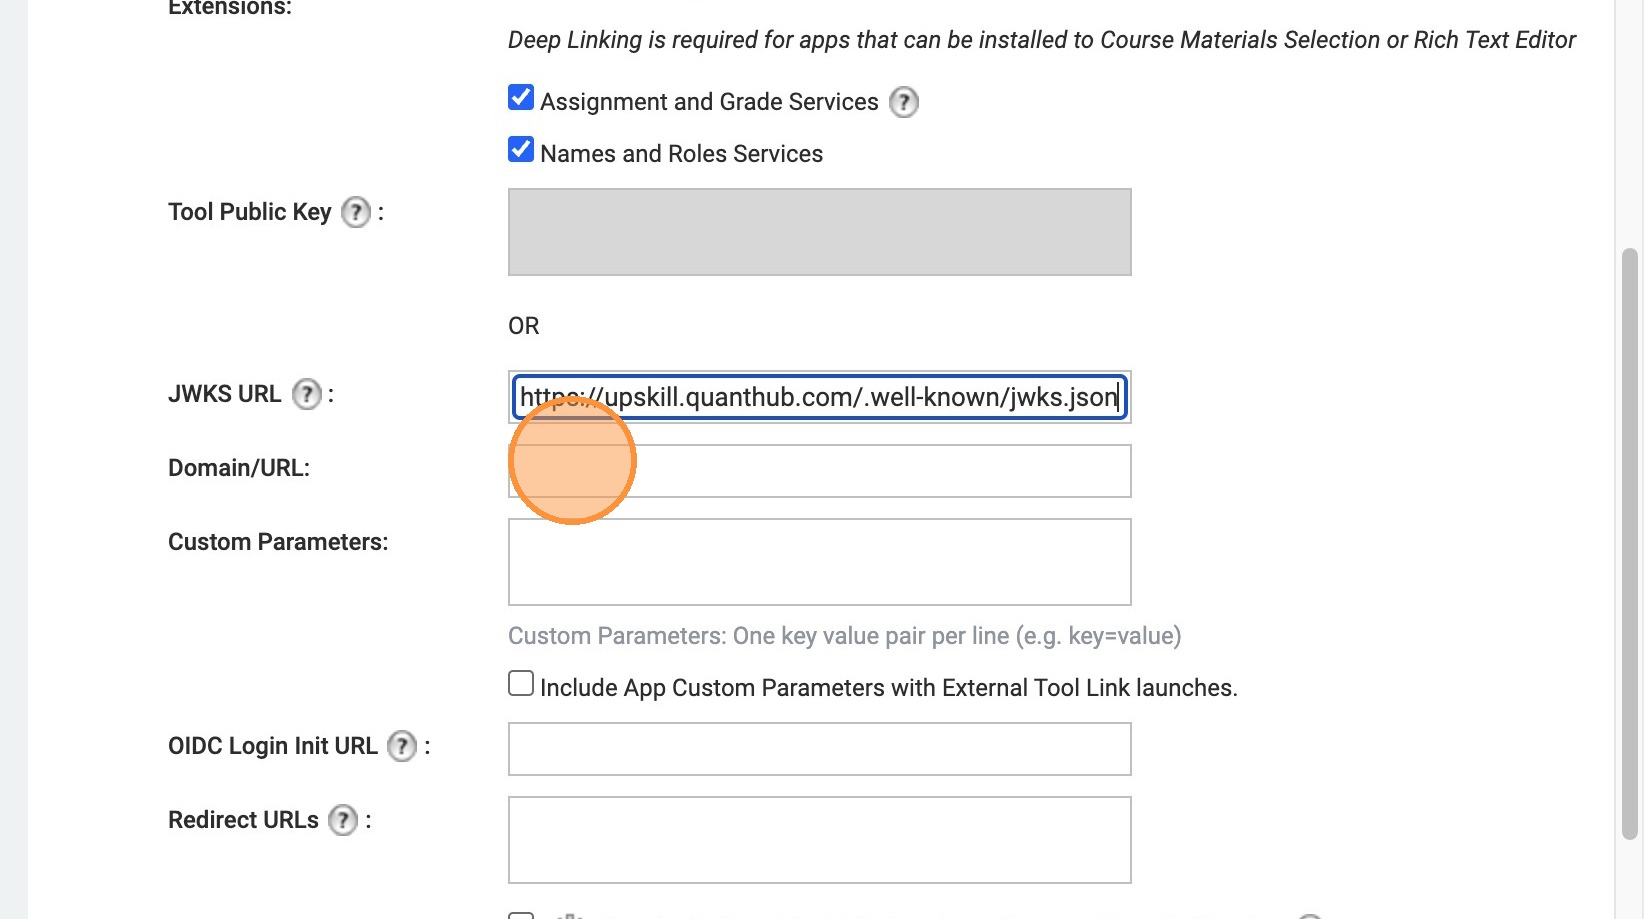
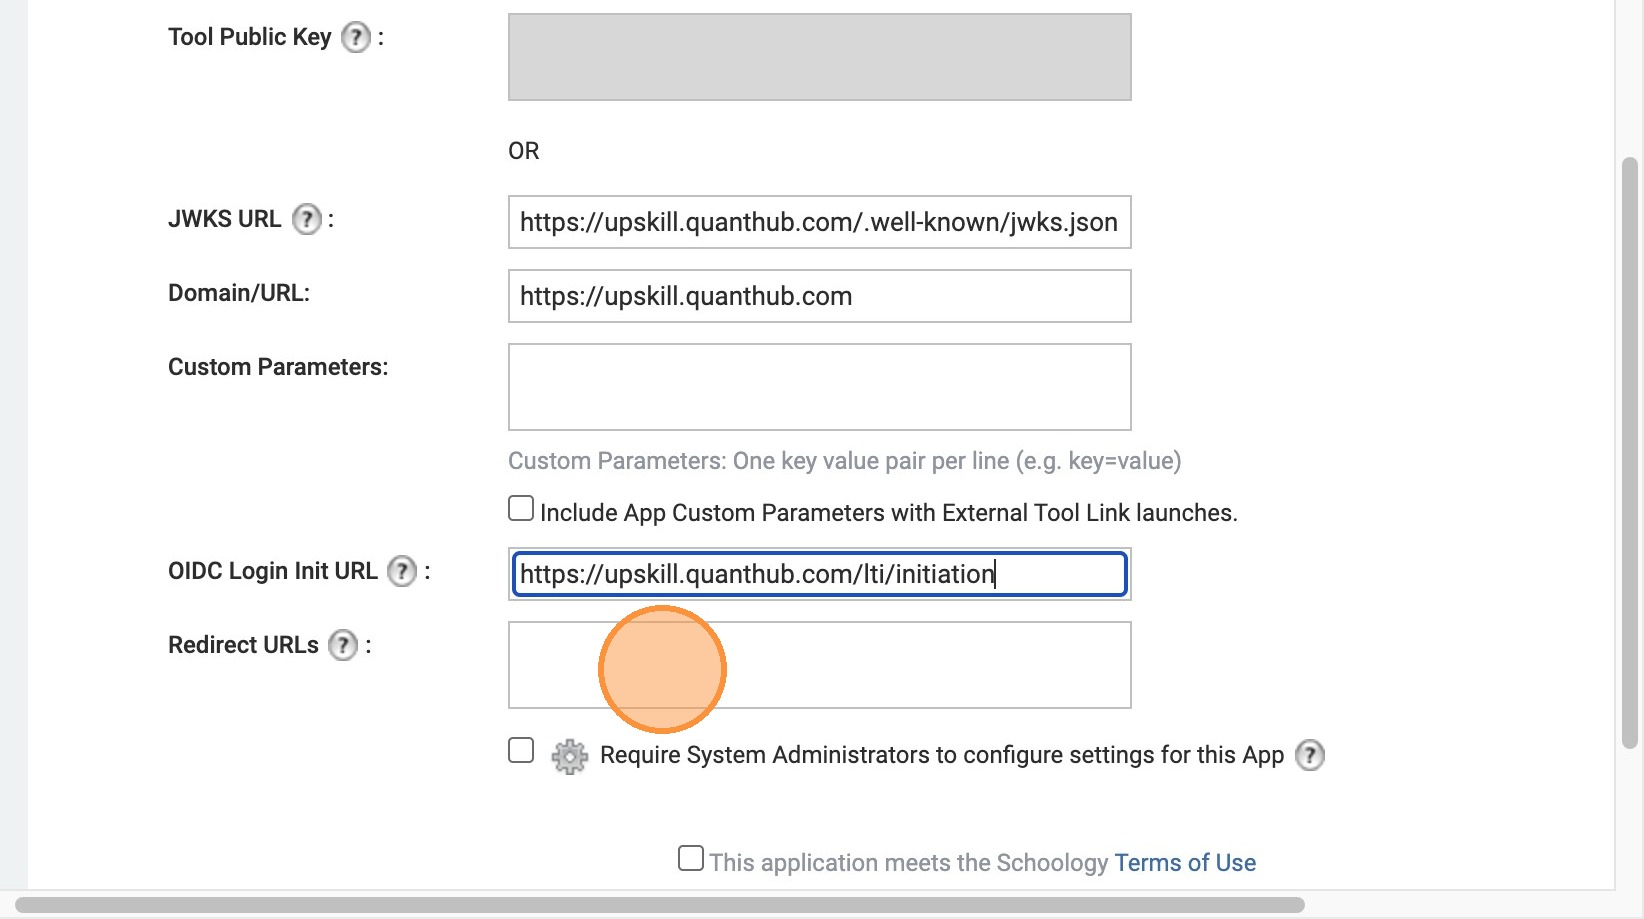
25. Click the "JWKS URL" insert https://upskill.quanthub.com/.well-known/jwks.json
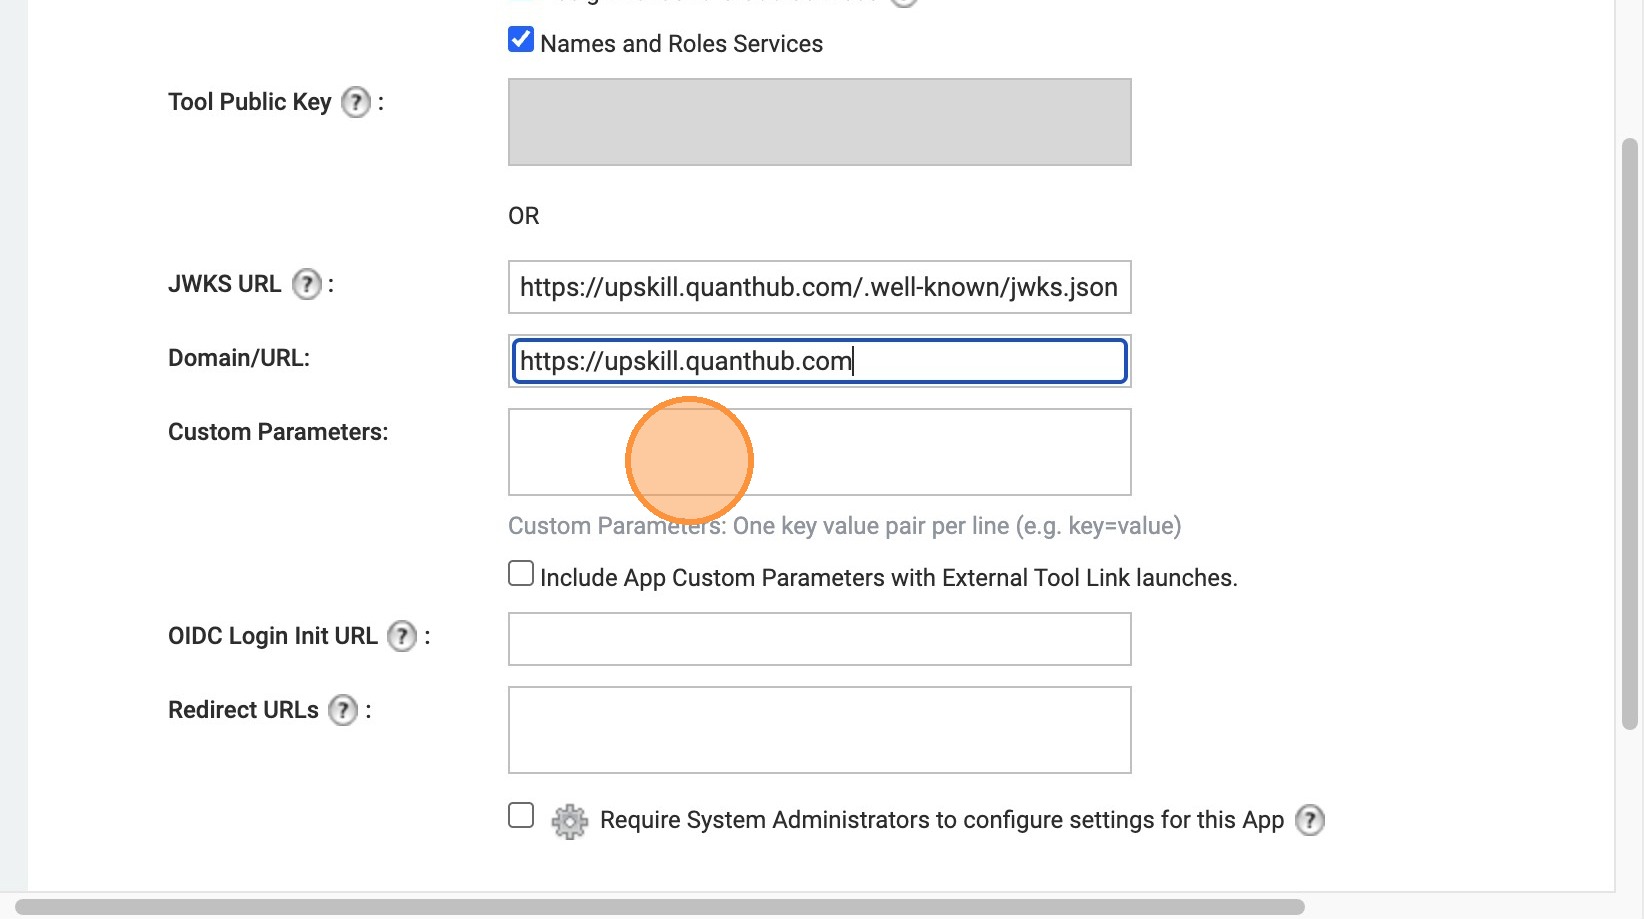
26. Double-click the "Domain/URL:" field. Insert https://upskill.quanthub.com
27. Ensure the custom parameters is left blank
28. Right-click the "OIDC Login Init URL". Insert https://upskill.quanthub.com/lti/initiation
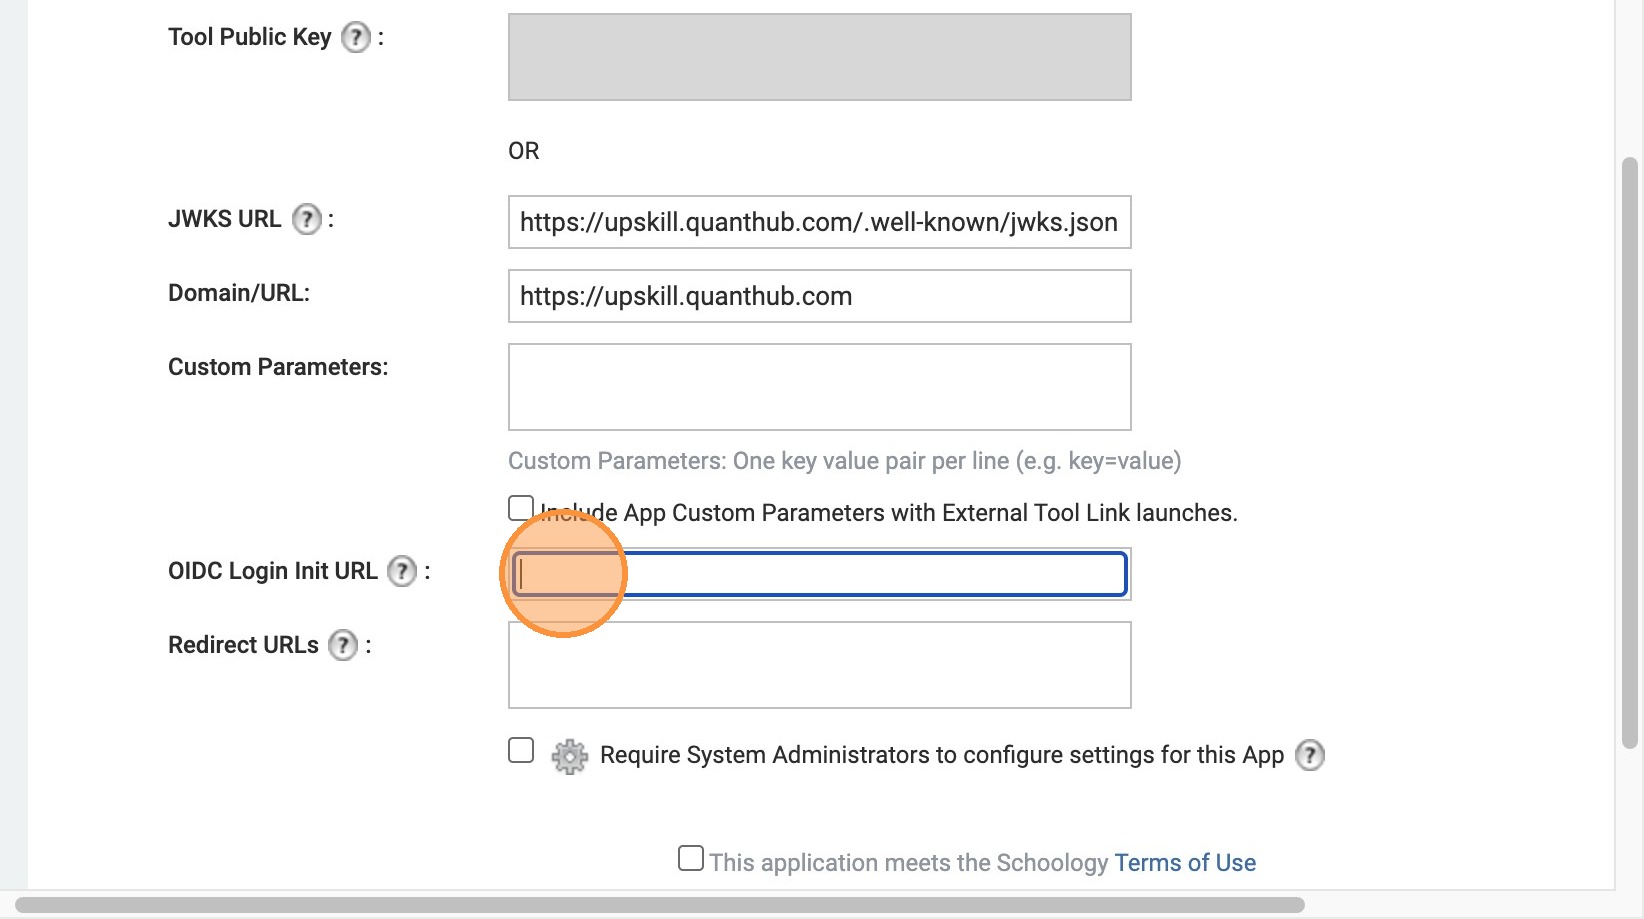
29. Double-click the "Redirect URLs". Insert https://upskill.quanthub.com/lti/launch
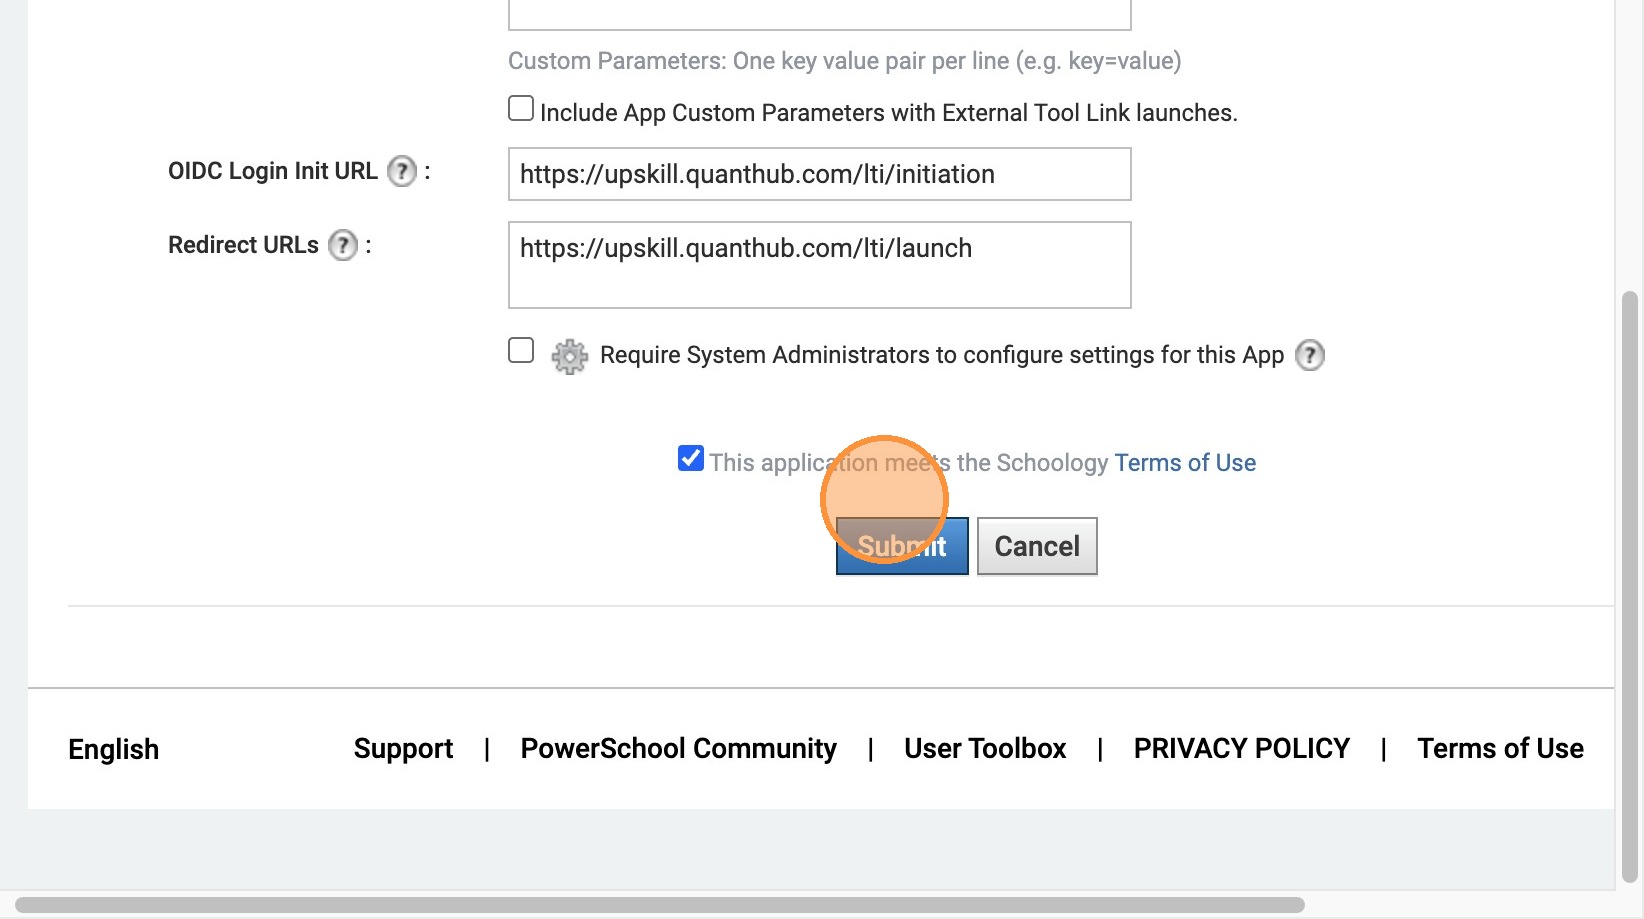
30. Click the "This application meets the Schoology Terms of Use" field.
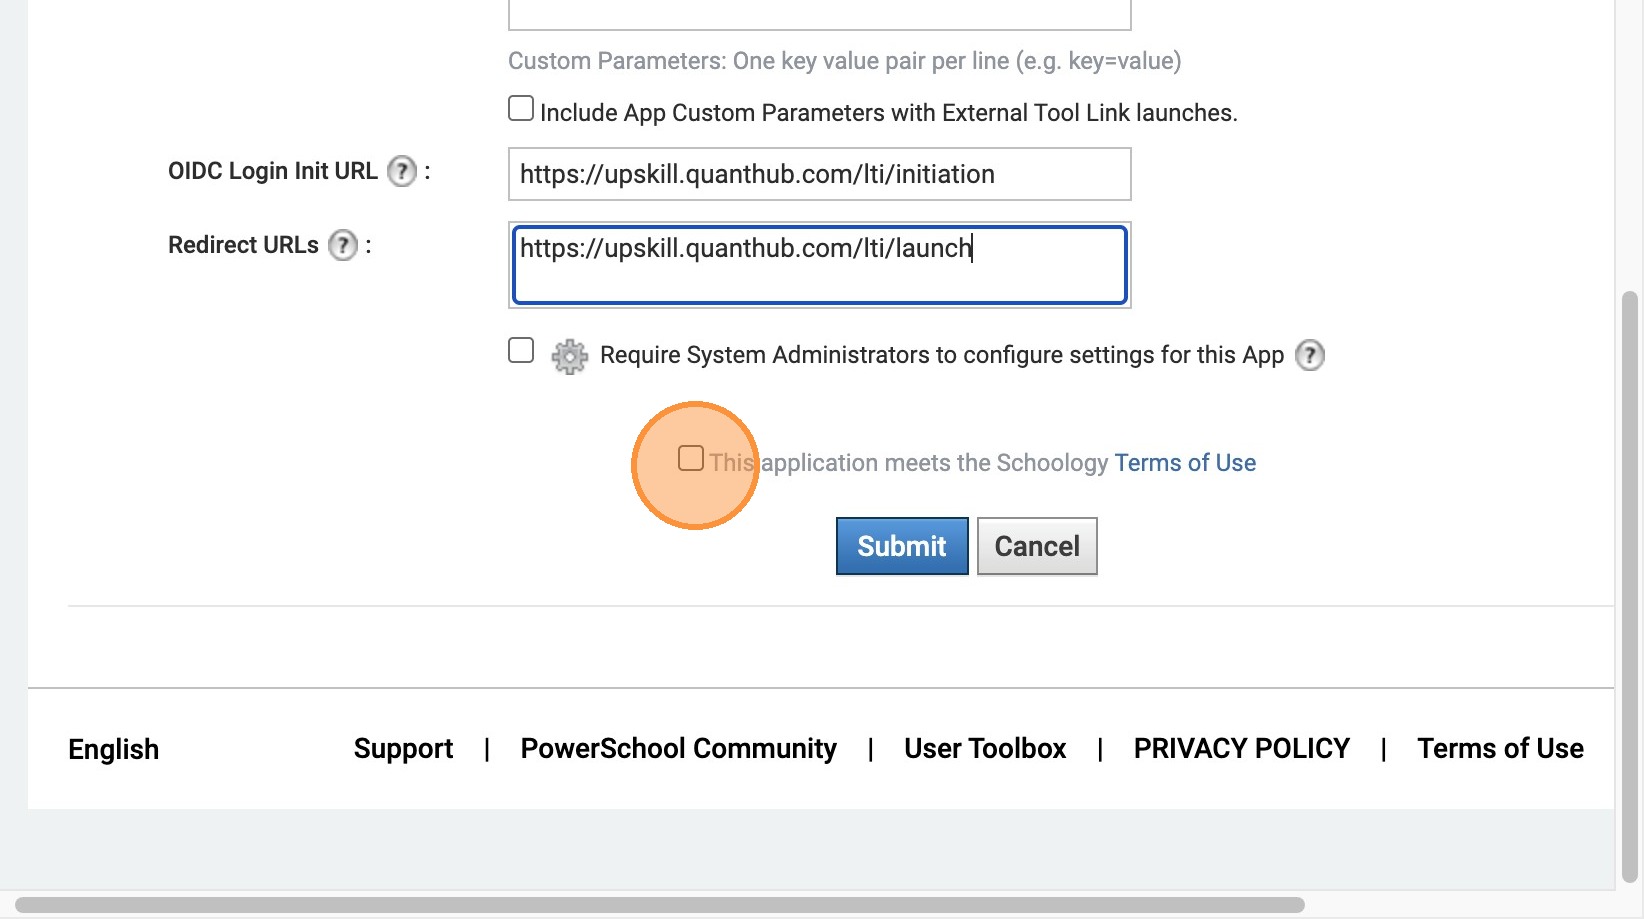
31. Click Submit
Retrieve and send your Client ID
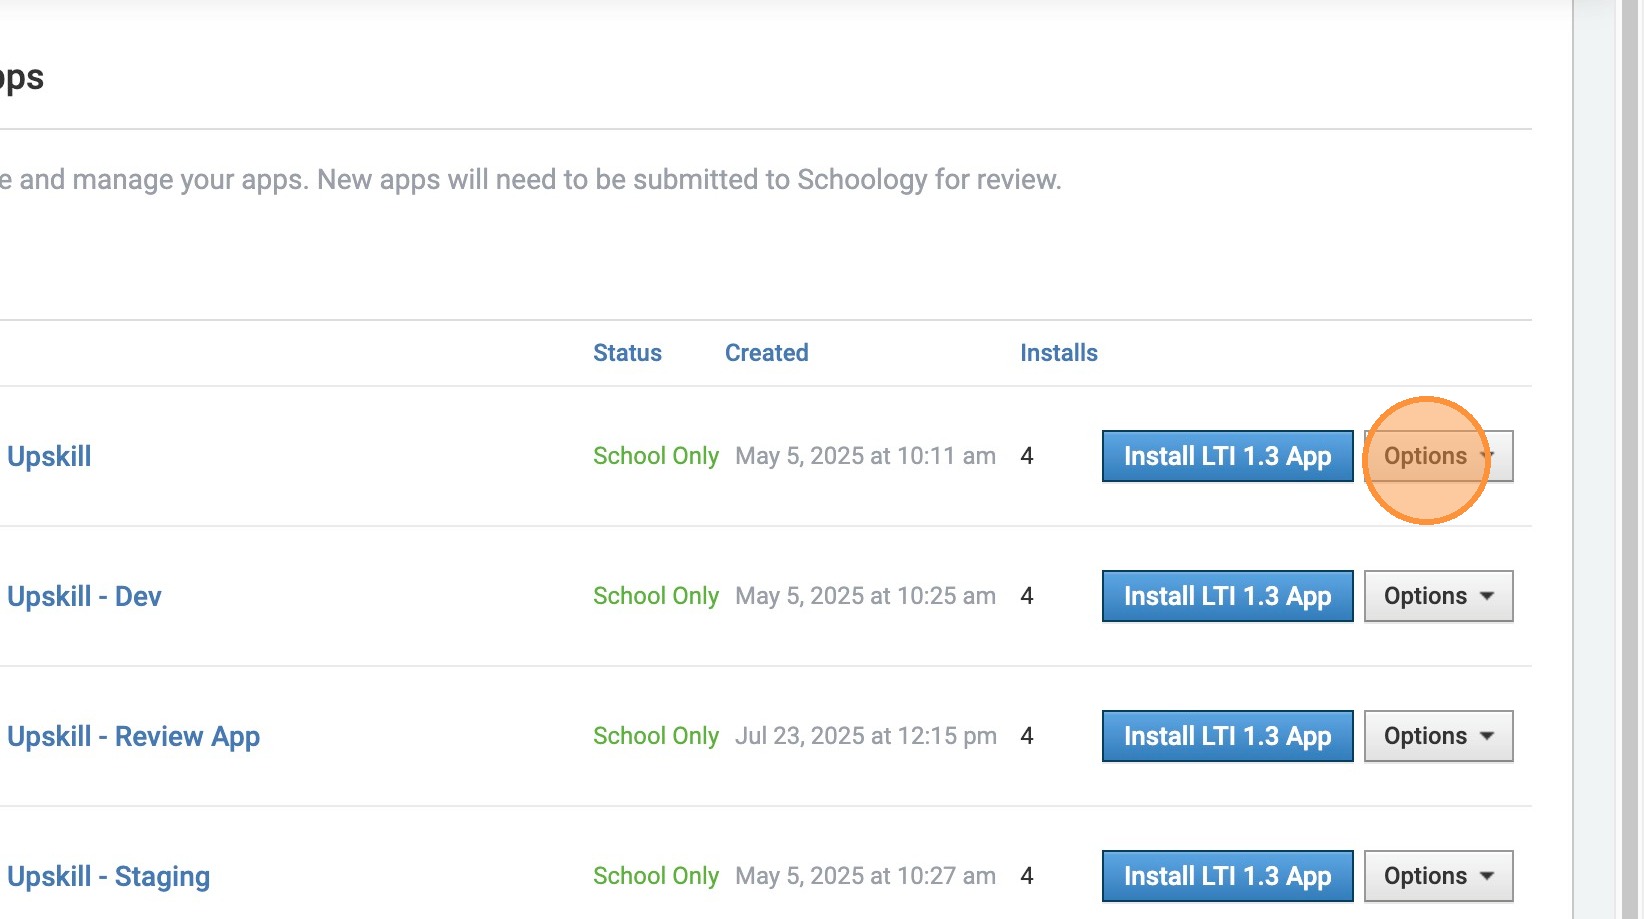
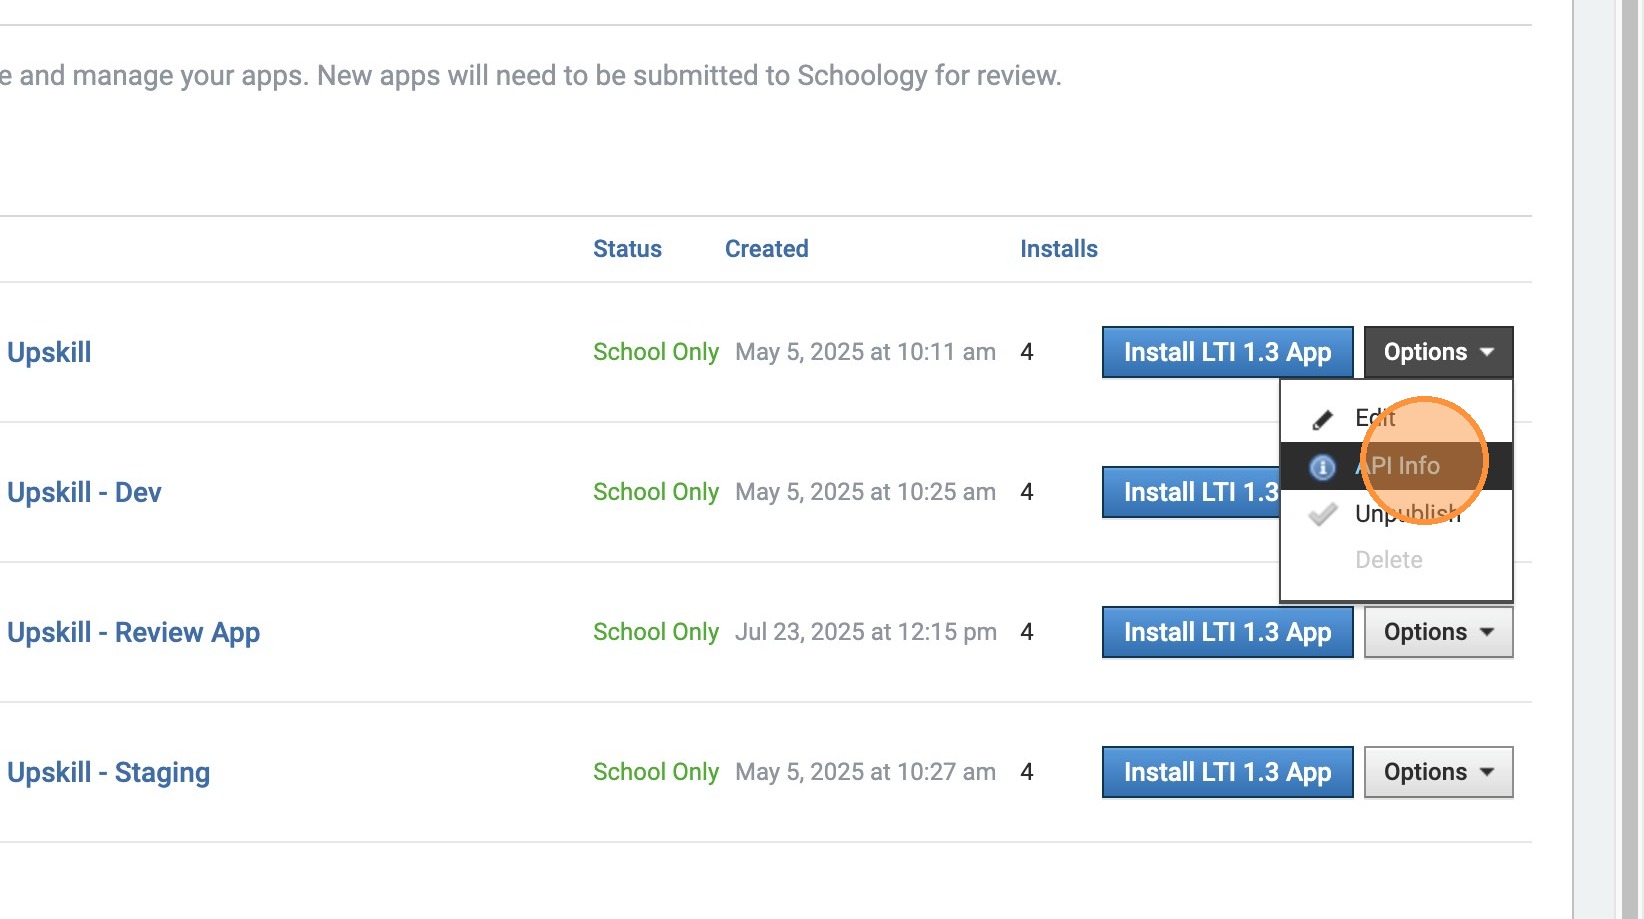
32. Once this is created, go back to the app page and you should see that you created the QuantHub app. We have a few more steps before we are done.
33. Click "Options"
34. Click "API Info"
35. Copy your Client ID
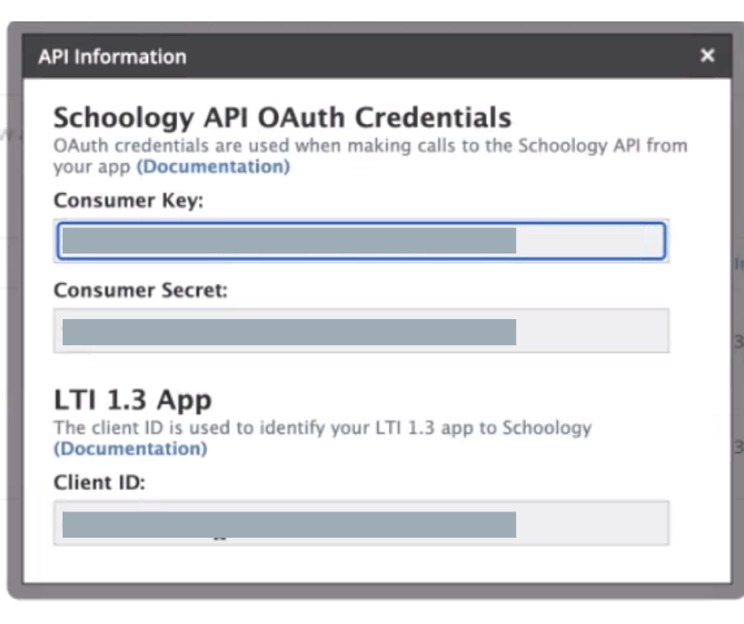
36. Please email the Client ID to support@quanthub.com. Please include your school district's name. Once we have confirmed your client ID has been connected to the platform, please finish these steps.
Publish and install the app
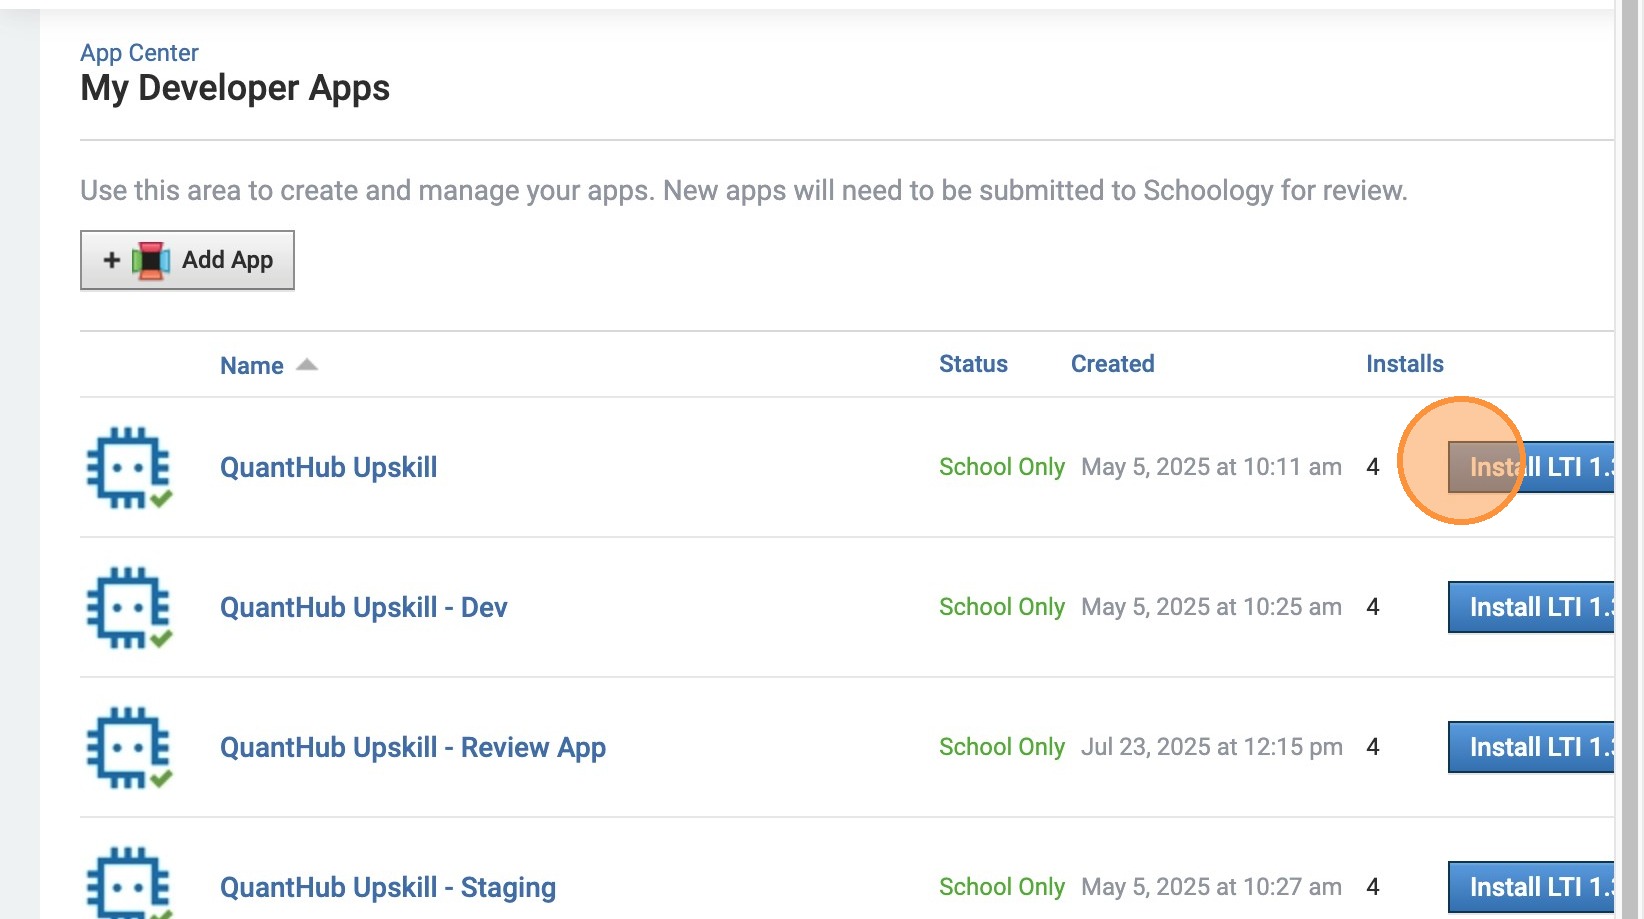
37. The last steps are to publish the Schoology app. Start by clicking "App Center My Developer Apps"
38. Click "Install LTI 1.3 App"
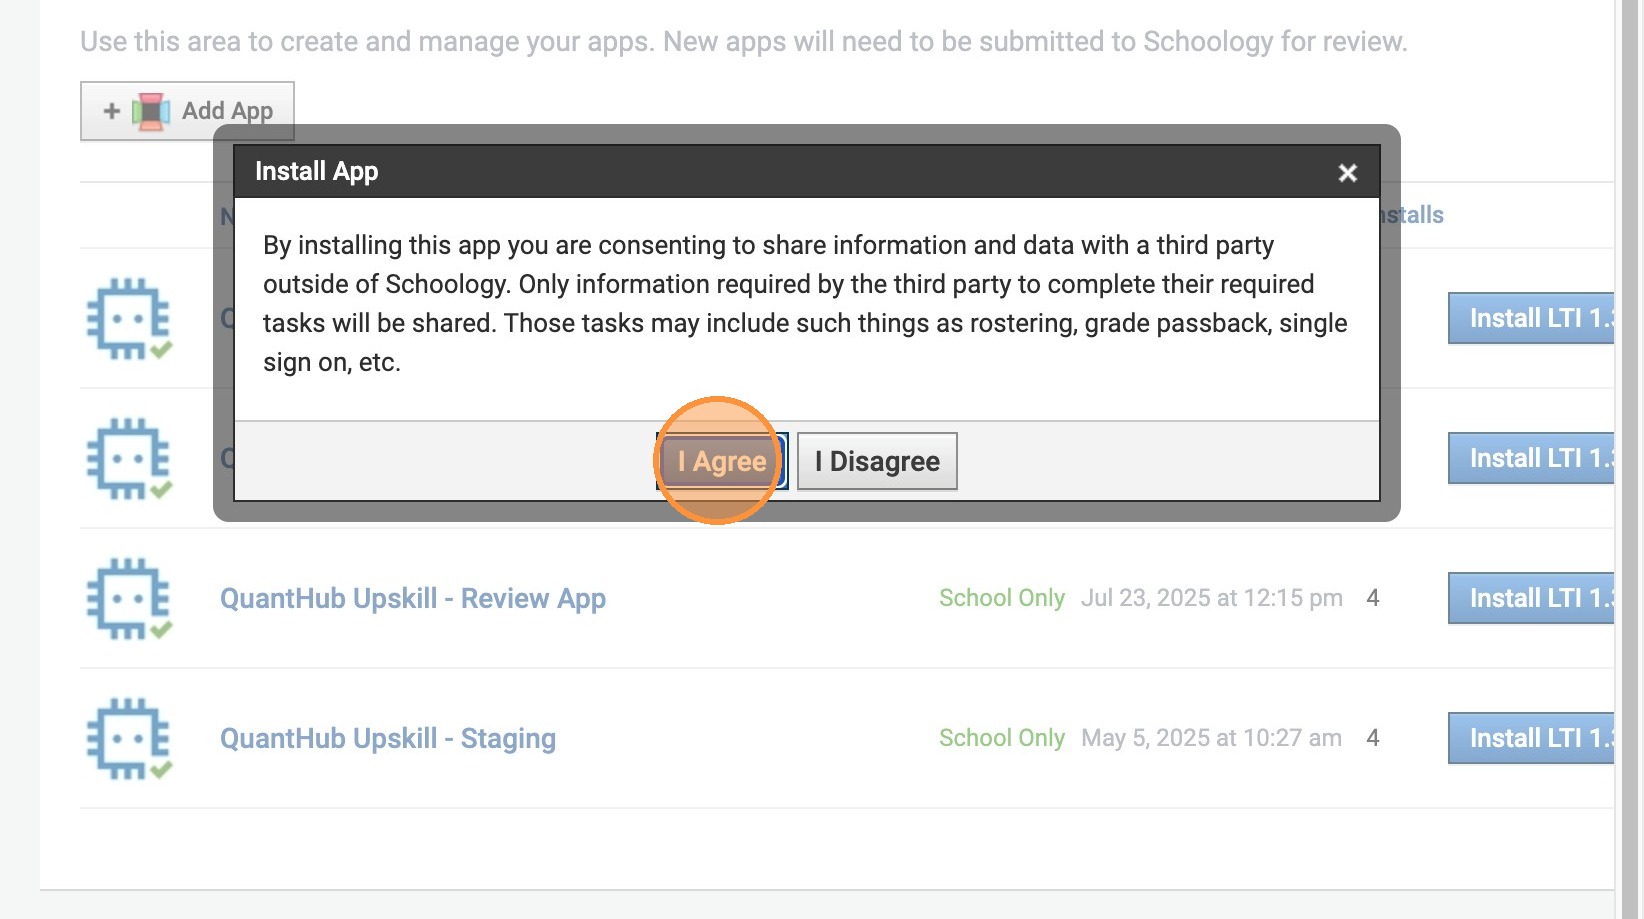
39. Agree to terms and conditions
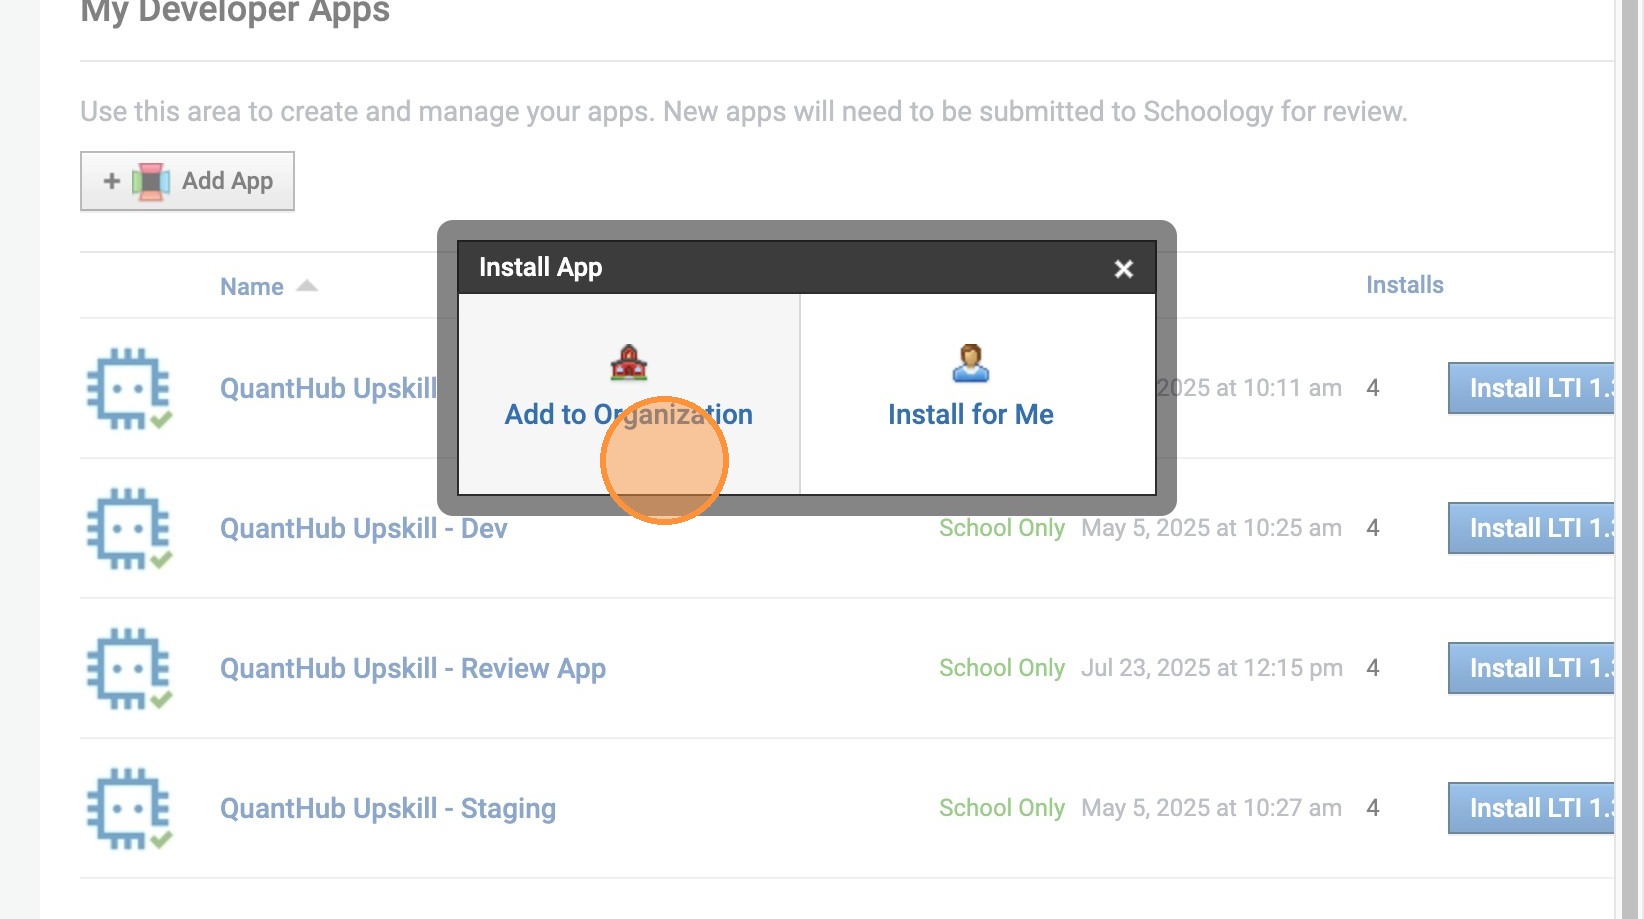
40. Click "Add to Organization"
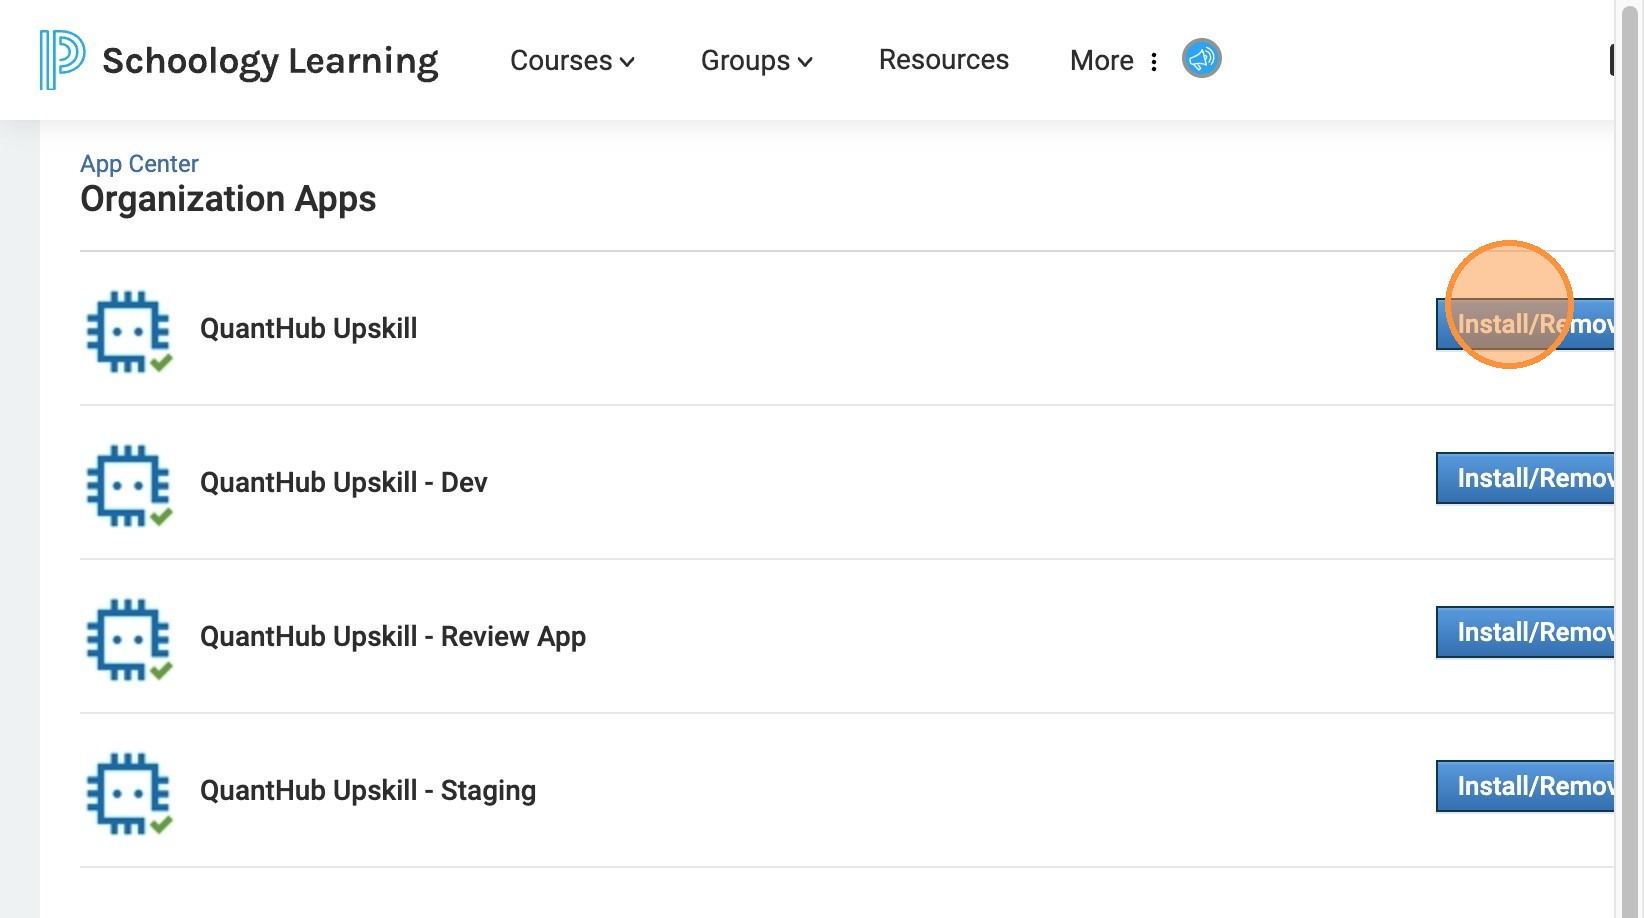
41. Click "Install/Remove"
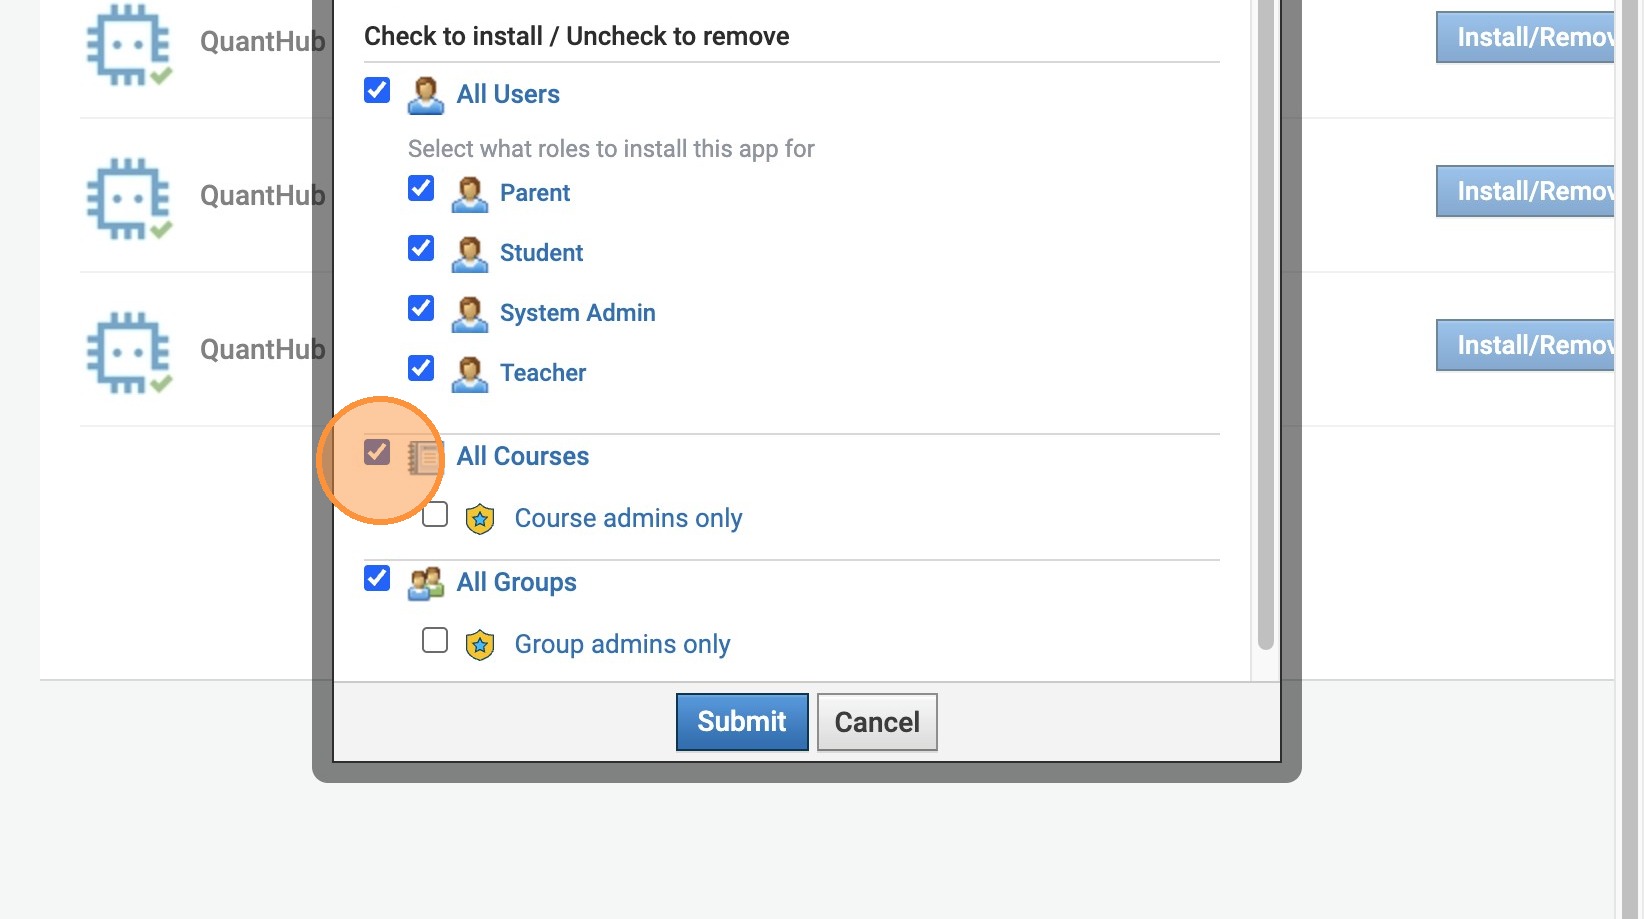
42. Click "All Users"
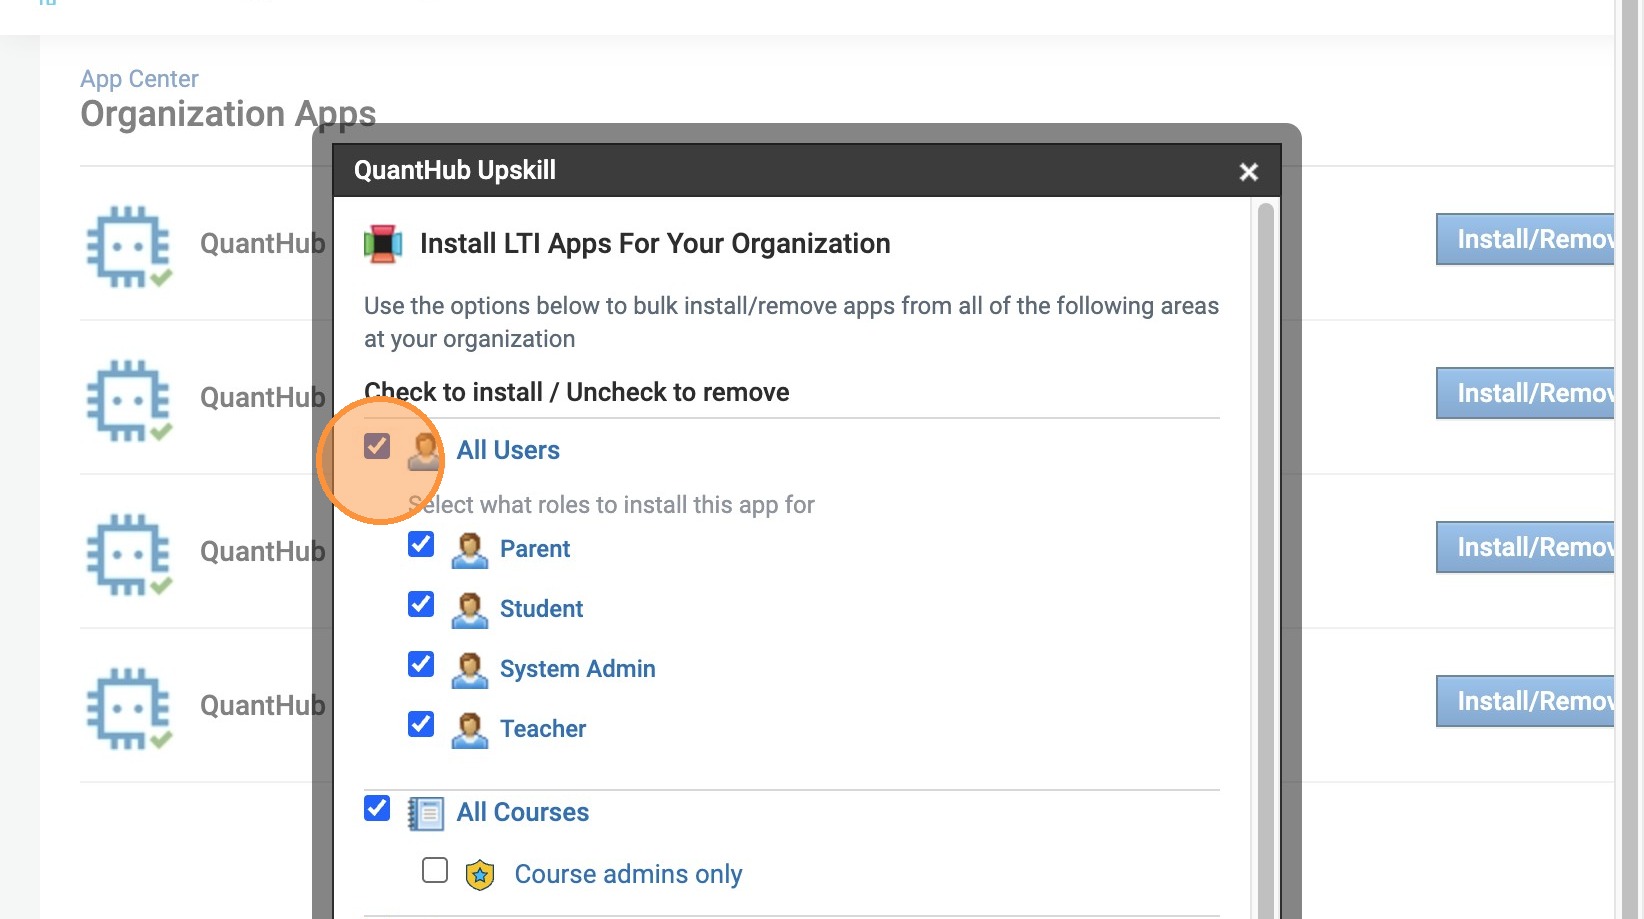
43. Click the "All Courses" field.
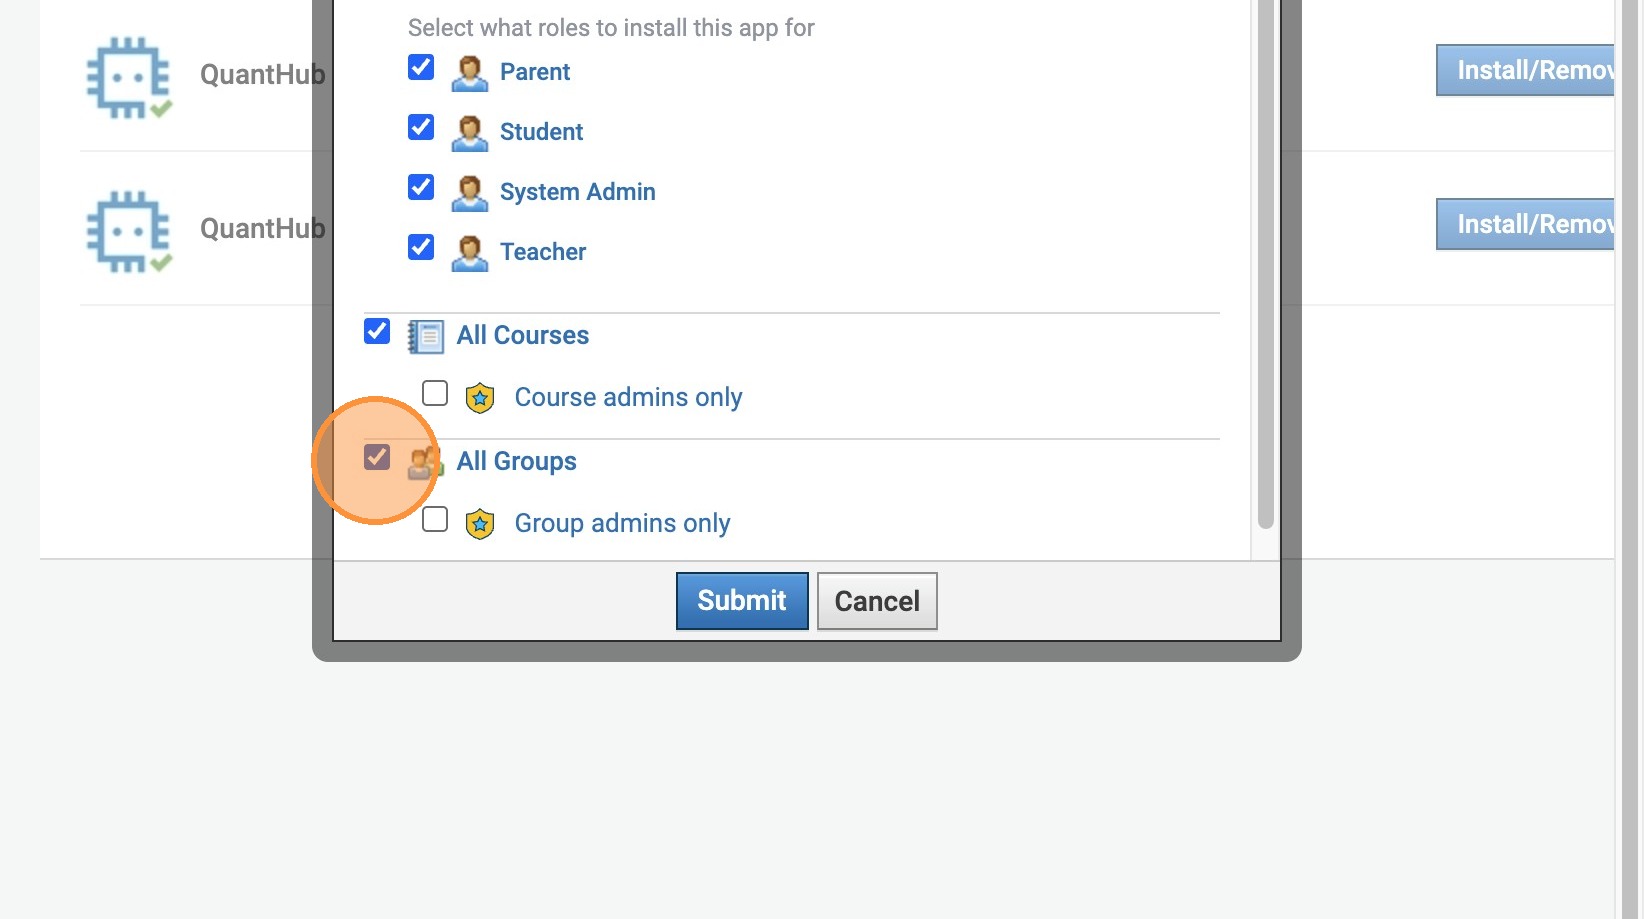
44. Click the "All Groups" field. All of these fields should be selected!
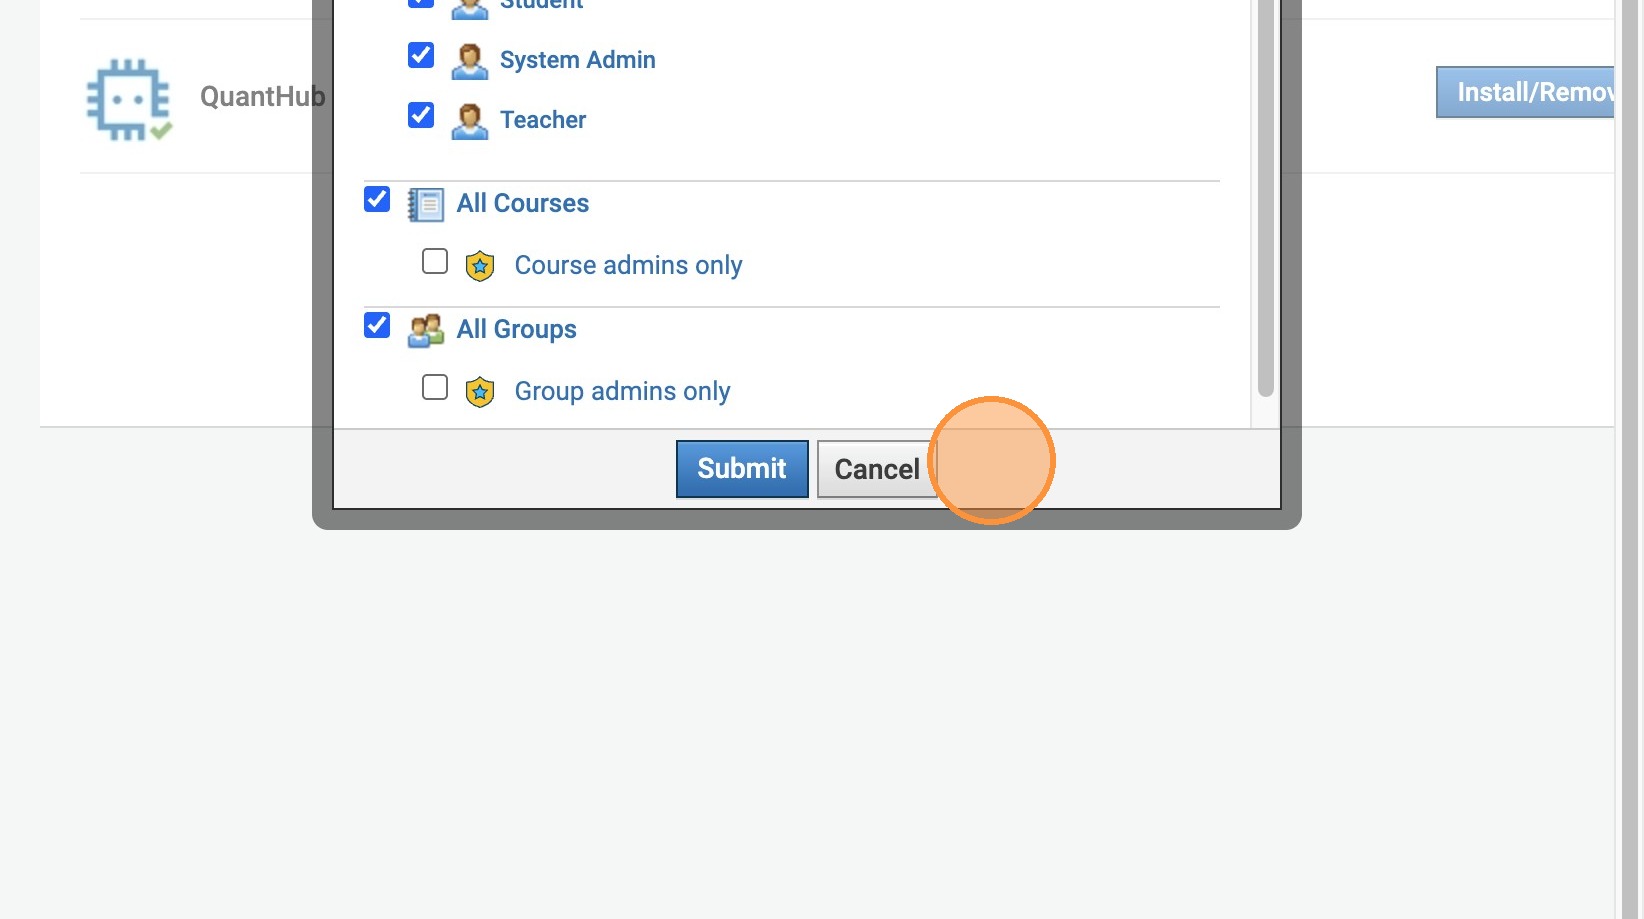
45. Click Submit!
Tip: If you need assistance submit a support ticket at support.quanthub.com
Was this article helpful?
That’s Great!
Thank you for your feedback
Sorry! We couldn't be helpful
Thank you for your feedback
Feedback sent
We appreciate your effort and will try to fix the article