Watch the video below OR scroll down to view the steps listed out instead.
TABLE OF CONTENTS
Video Tutorial:
Step By Step Guide:
Create Your Section in QuantHub
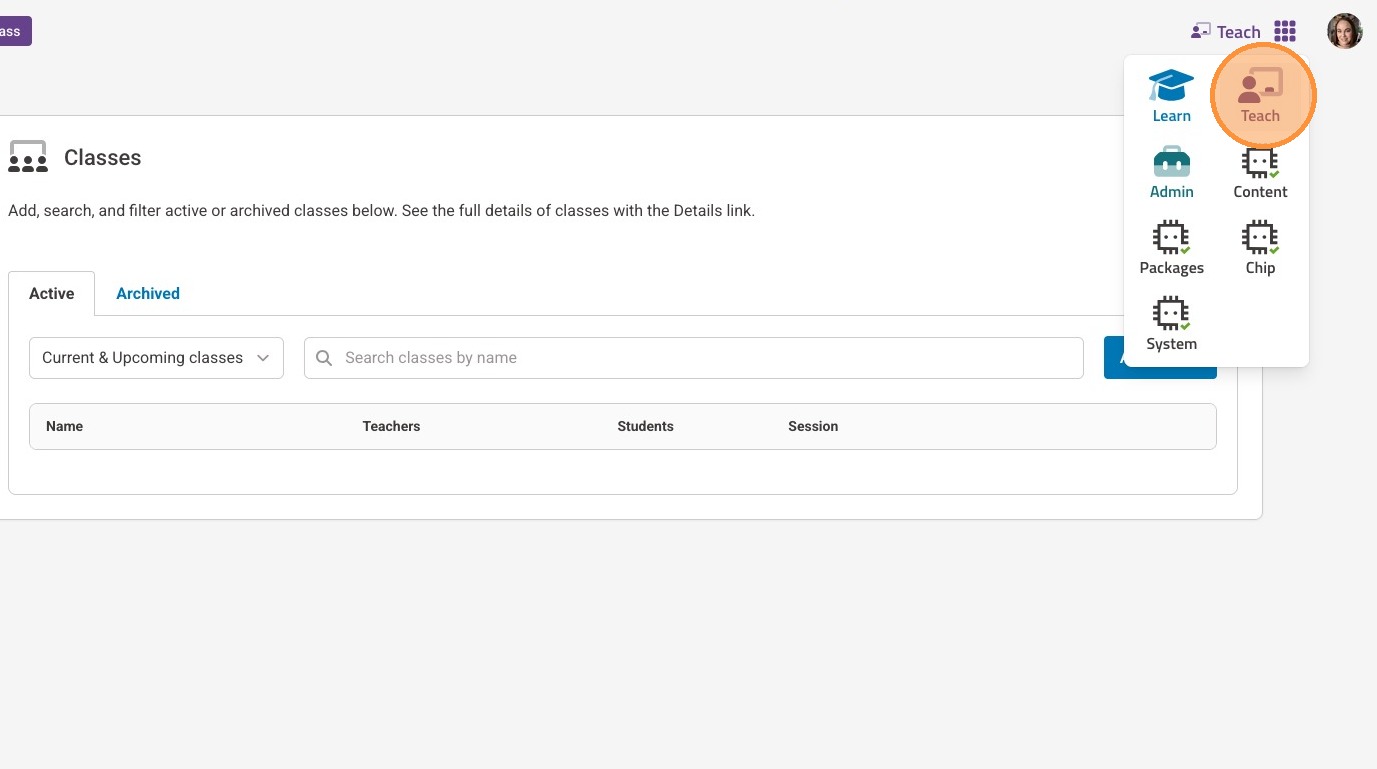
1. If you aren't already in the Teach app, navigate to it by first selecting your nine-dot menu

2. Then select the "Teach" icon
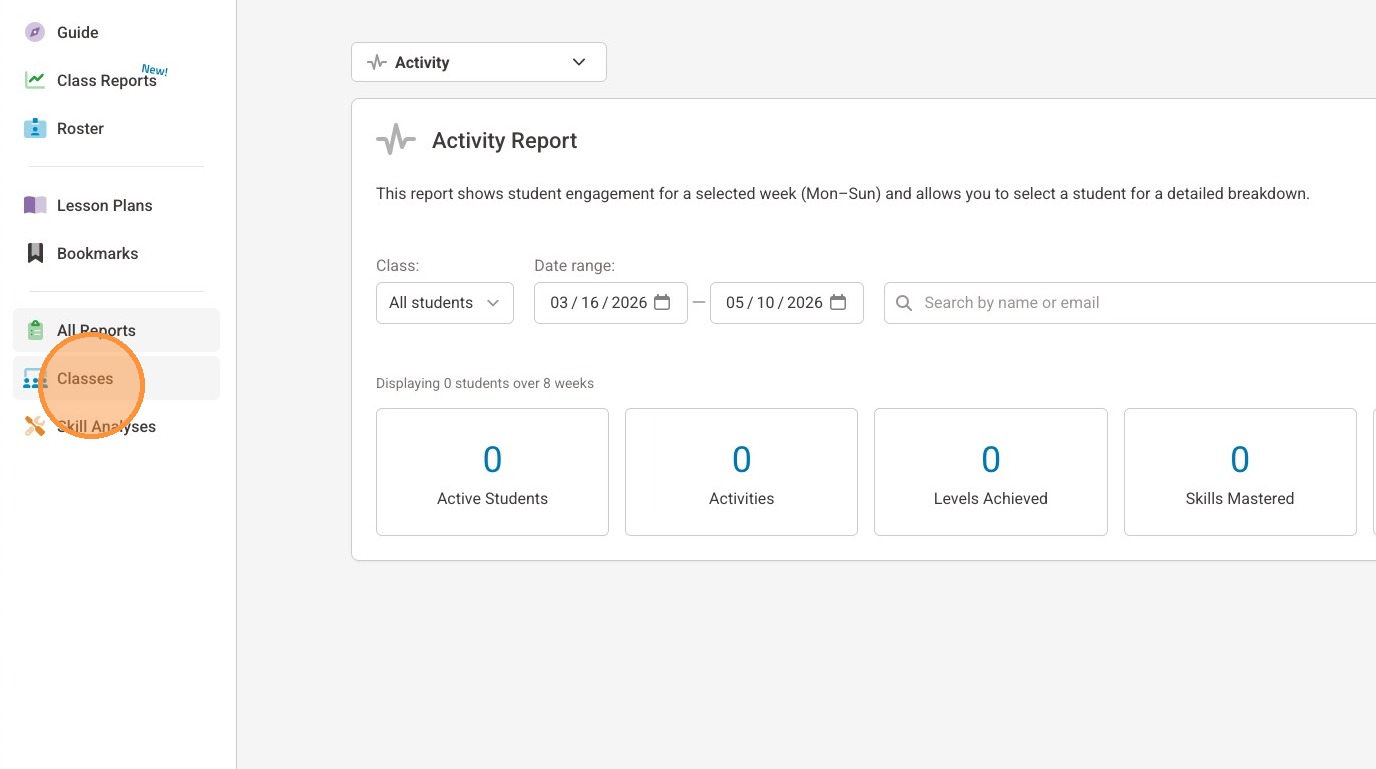
3. Select "Classes" from your left-side menu.
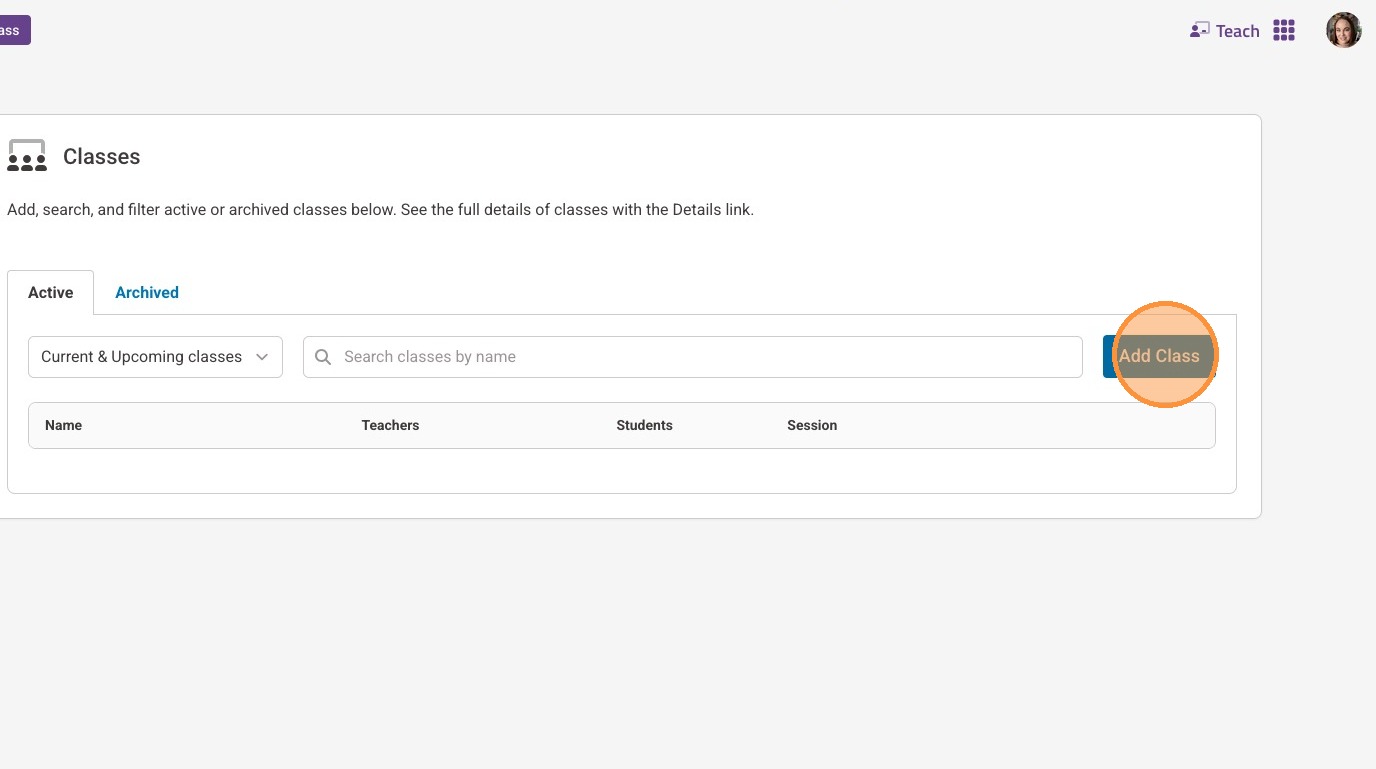
4. Select "Add Class"
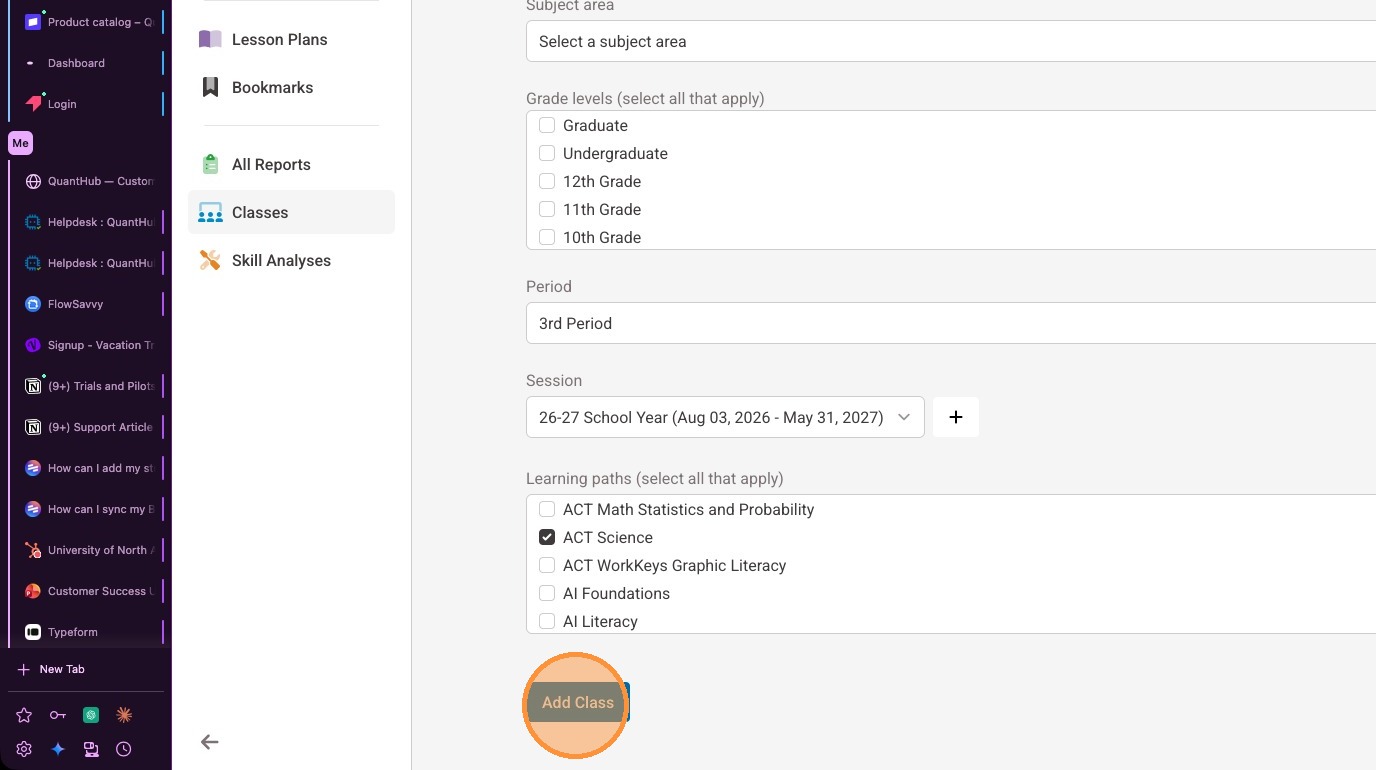
5. Enter a name for your class
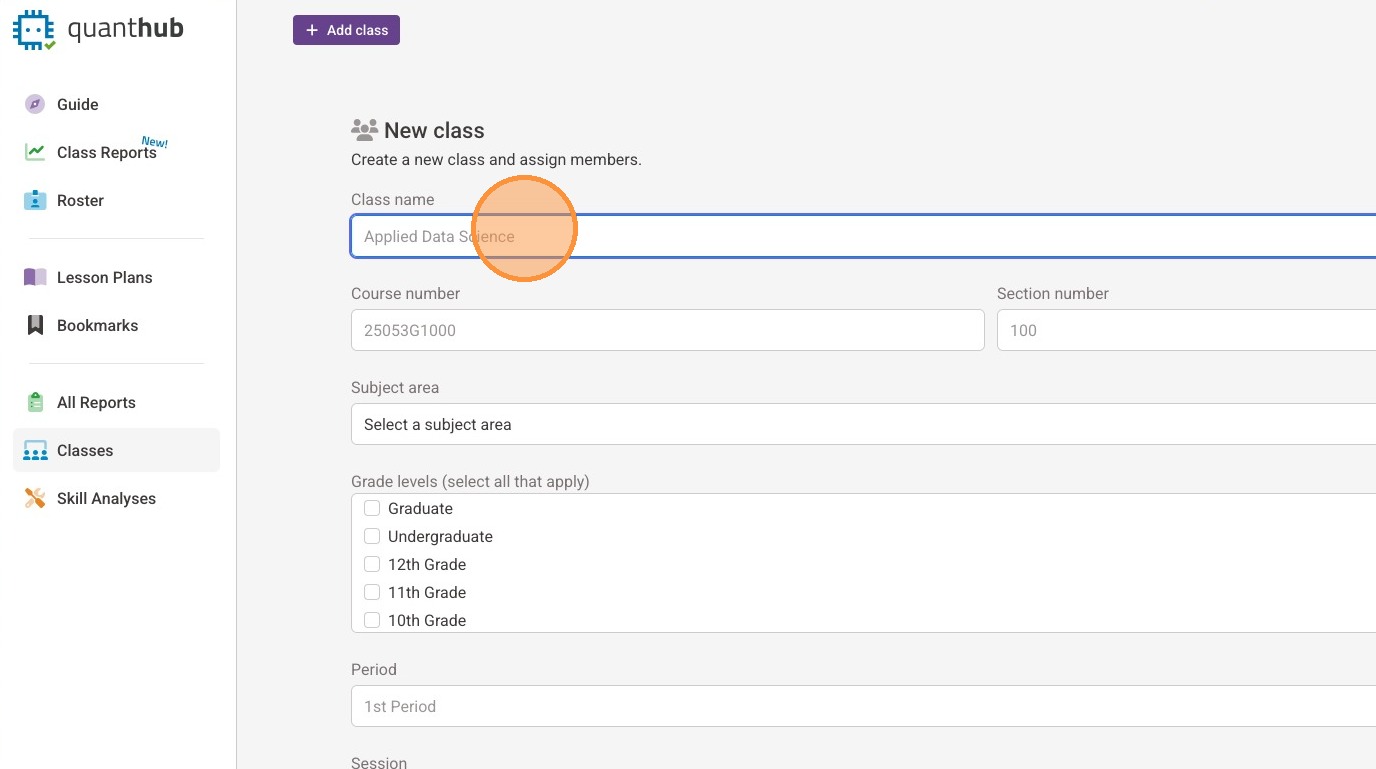
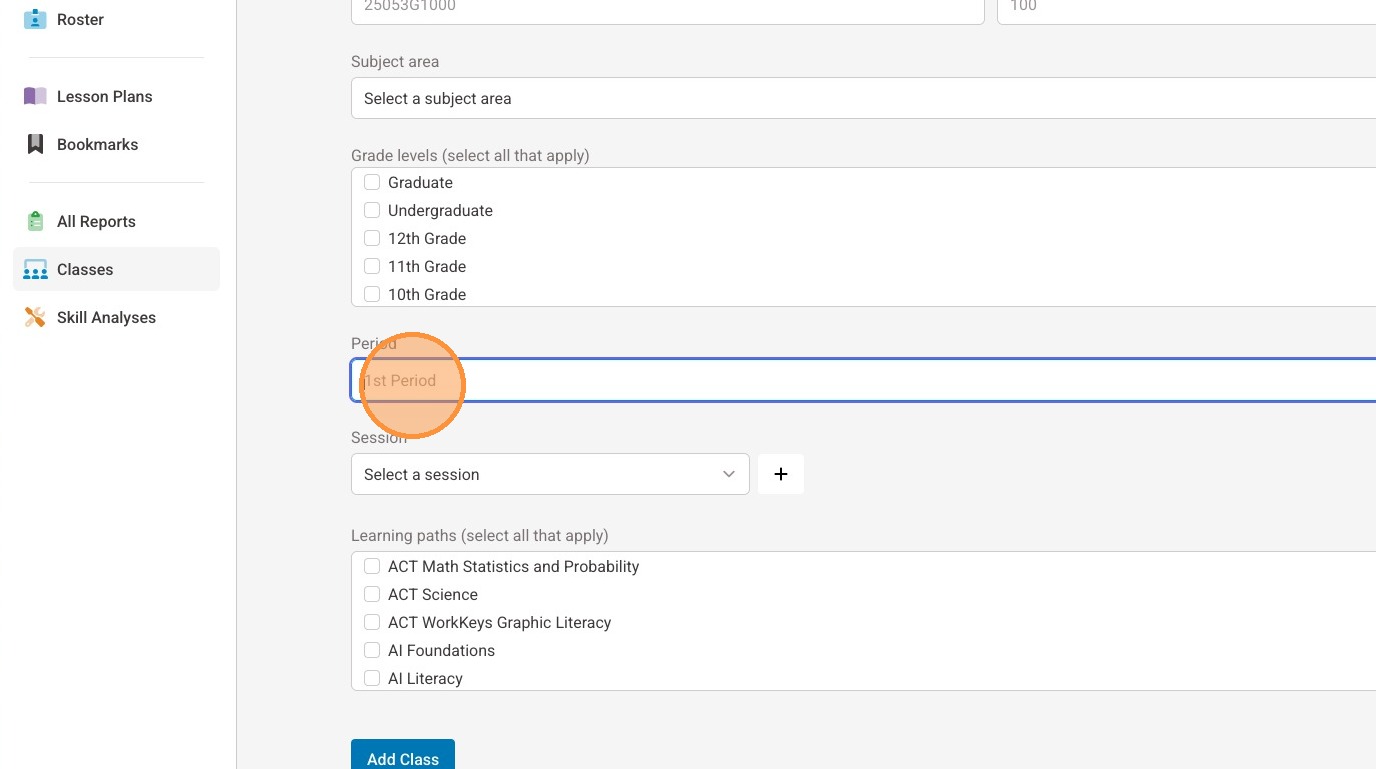
6. Enter your class period information
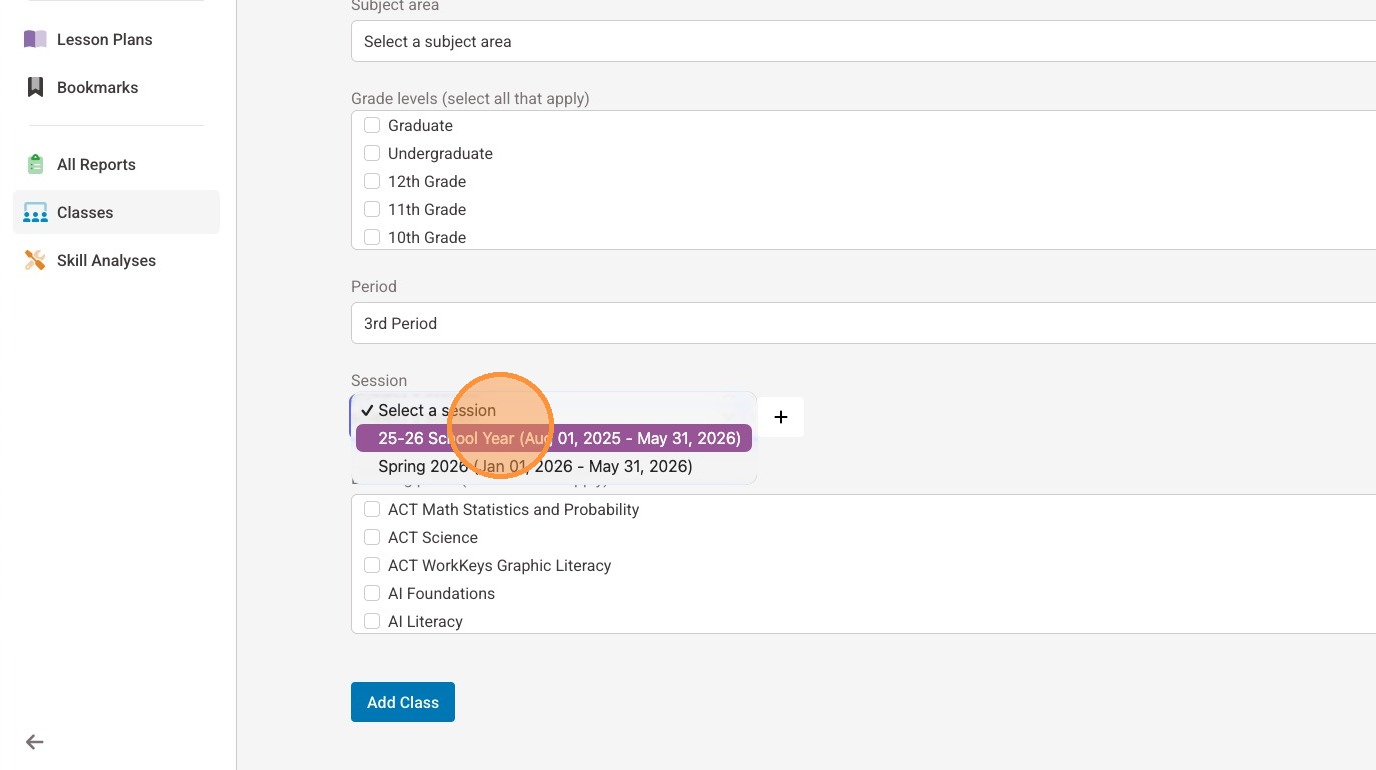
7. If an applicable session exists, select it from the drop down menu
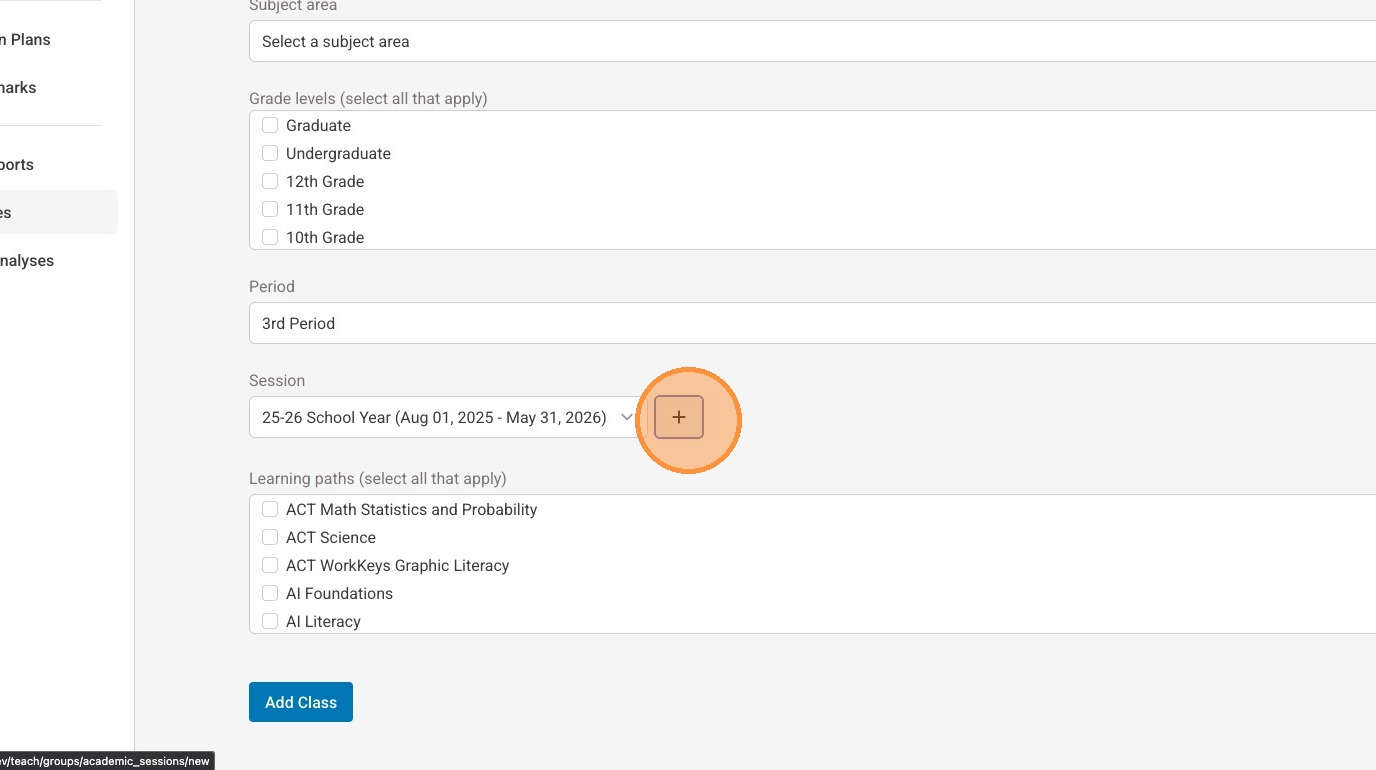
8. If an applicable session does not exist, select the "+" to create one
9. Give your session a name
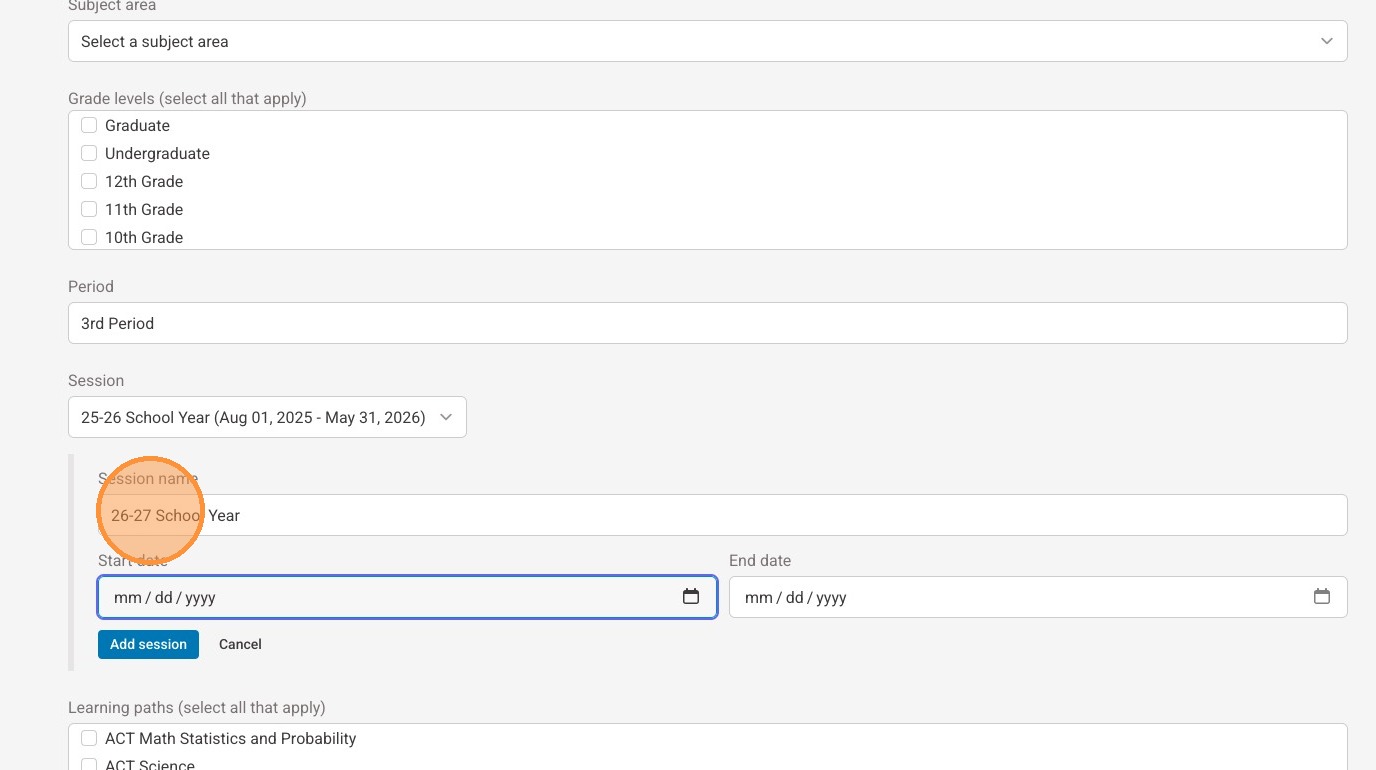
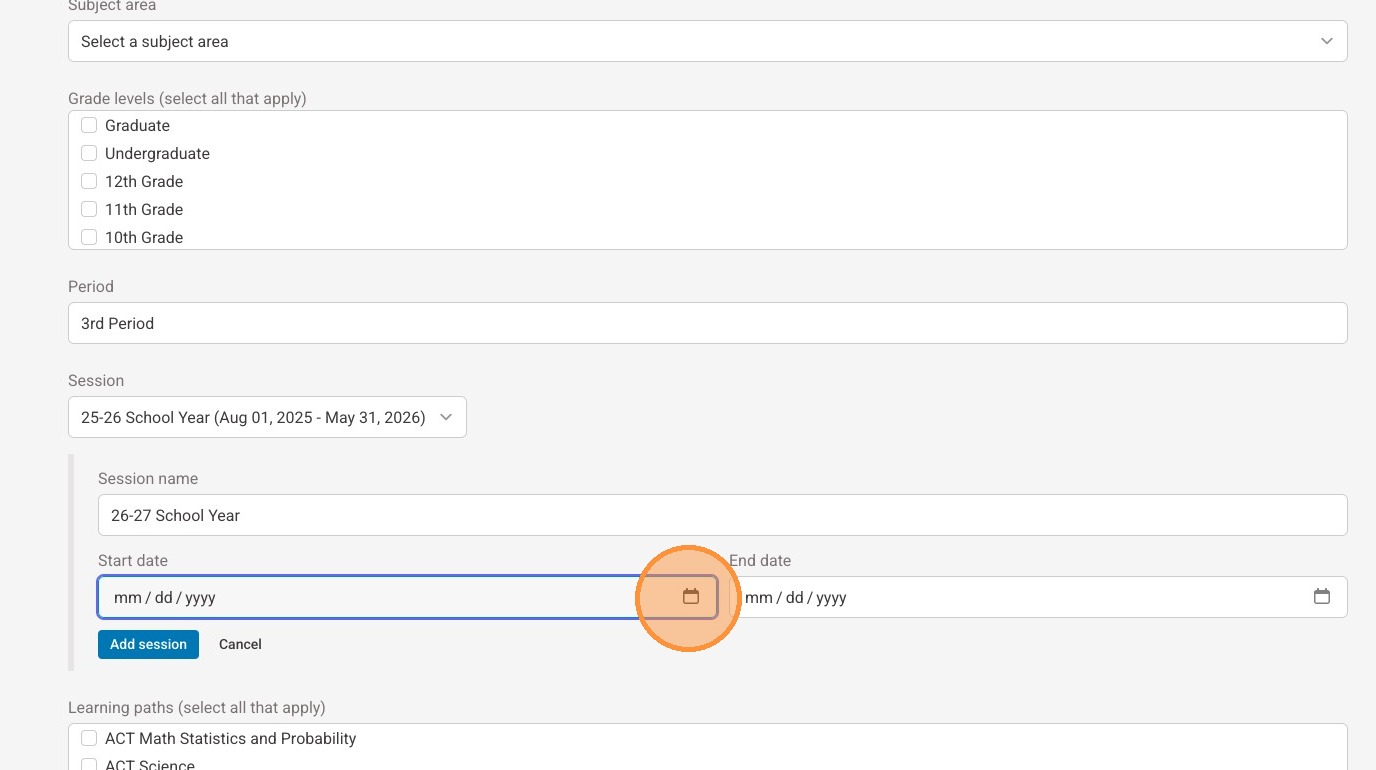
10. Use the date picker to select the start date for the session
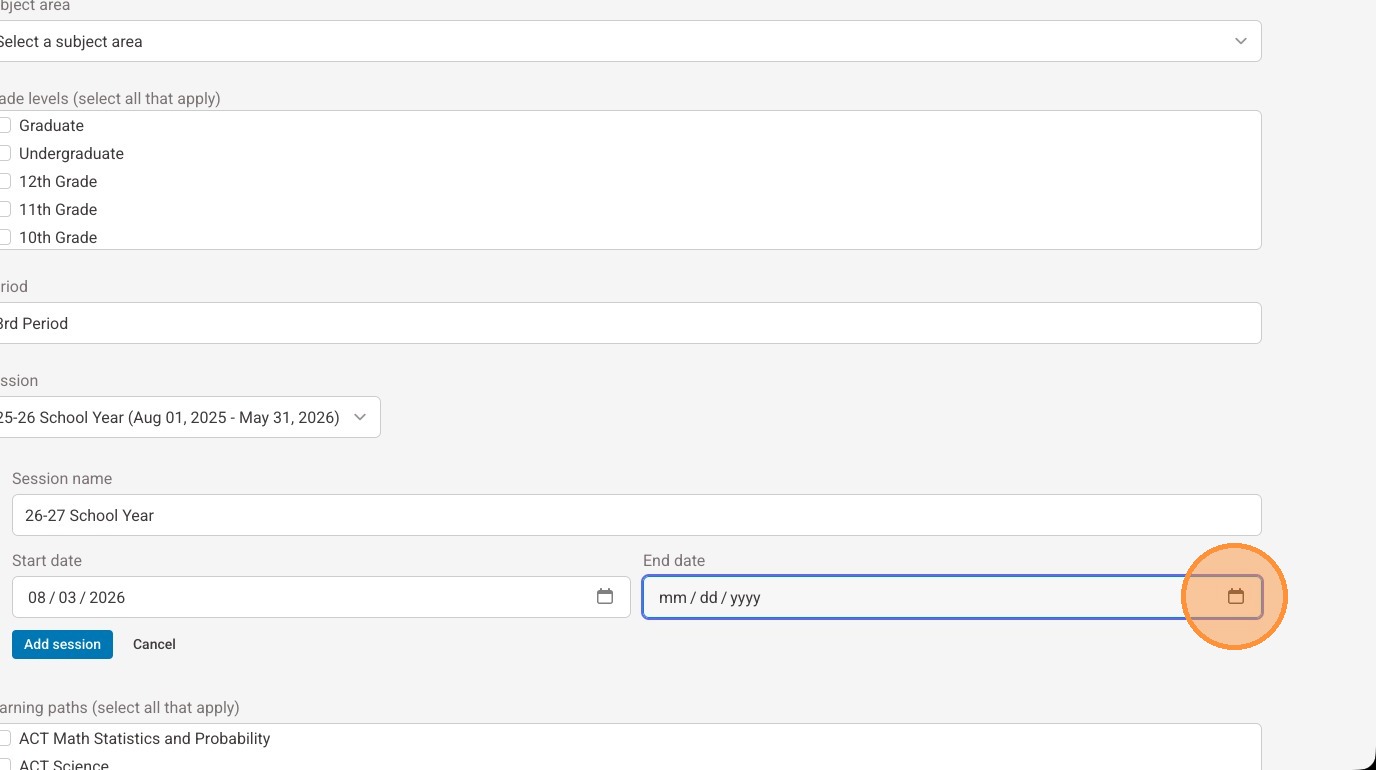
11. Use the date picker to select an end date for the session
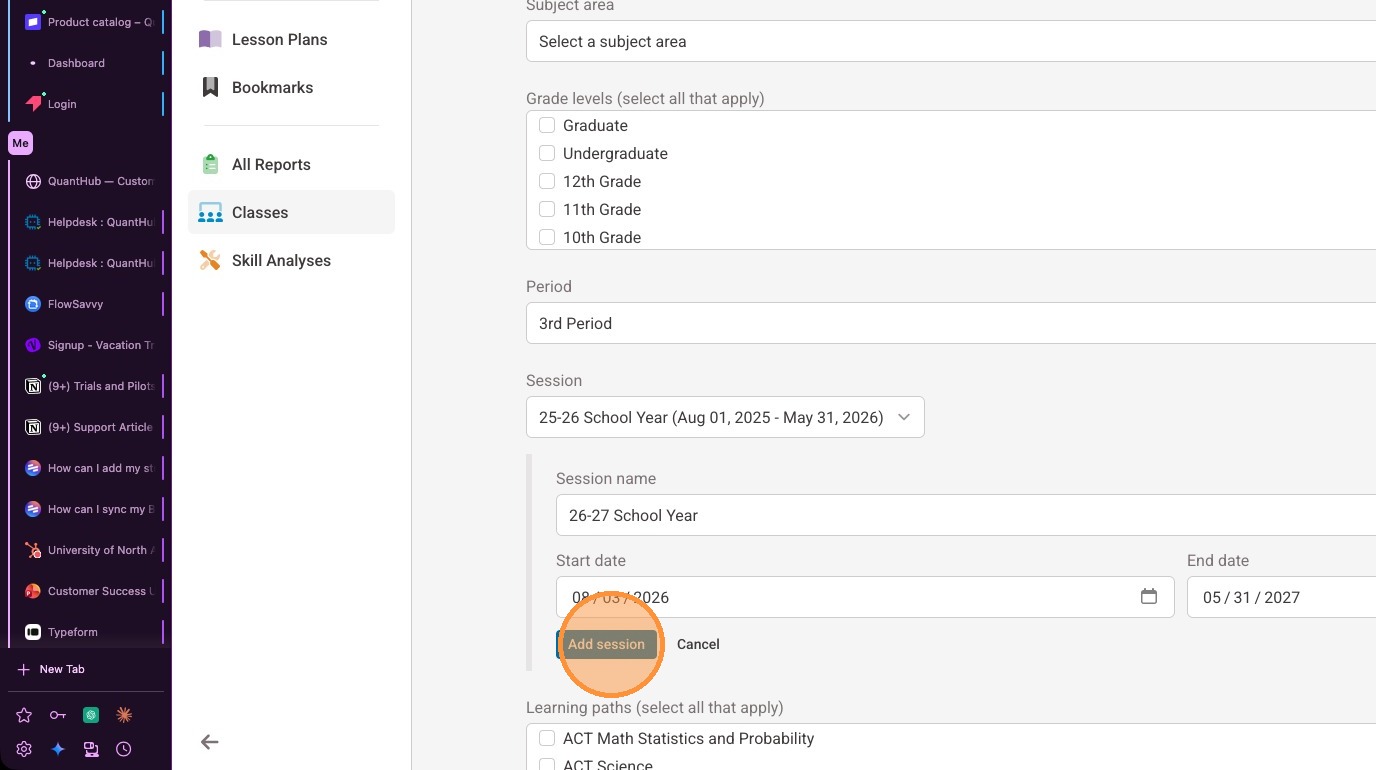
12. Select "Add session"
13. Select the relevant learning path(s) for your class
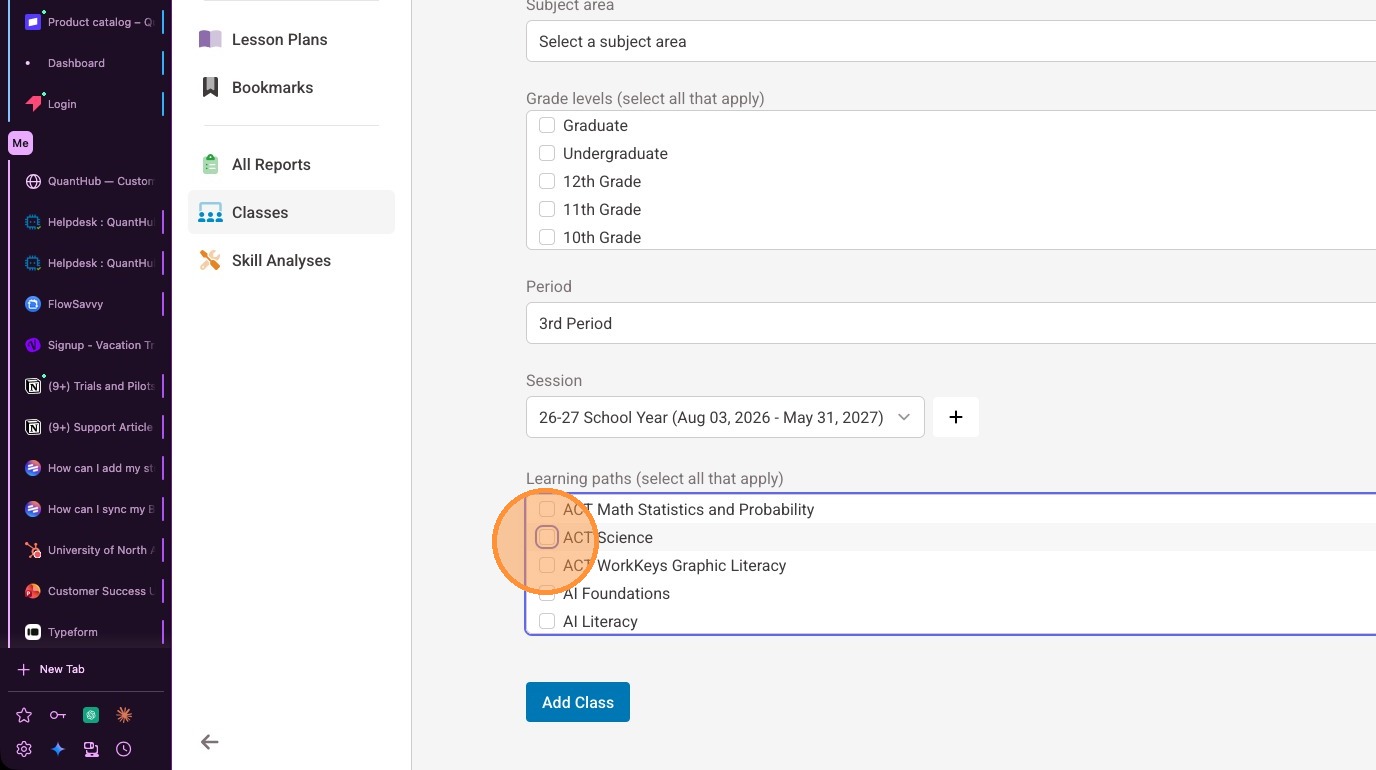
14. Select "Add Class"
Auto Roster your students
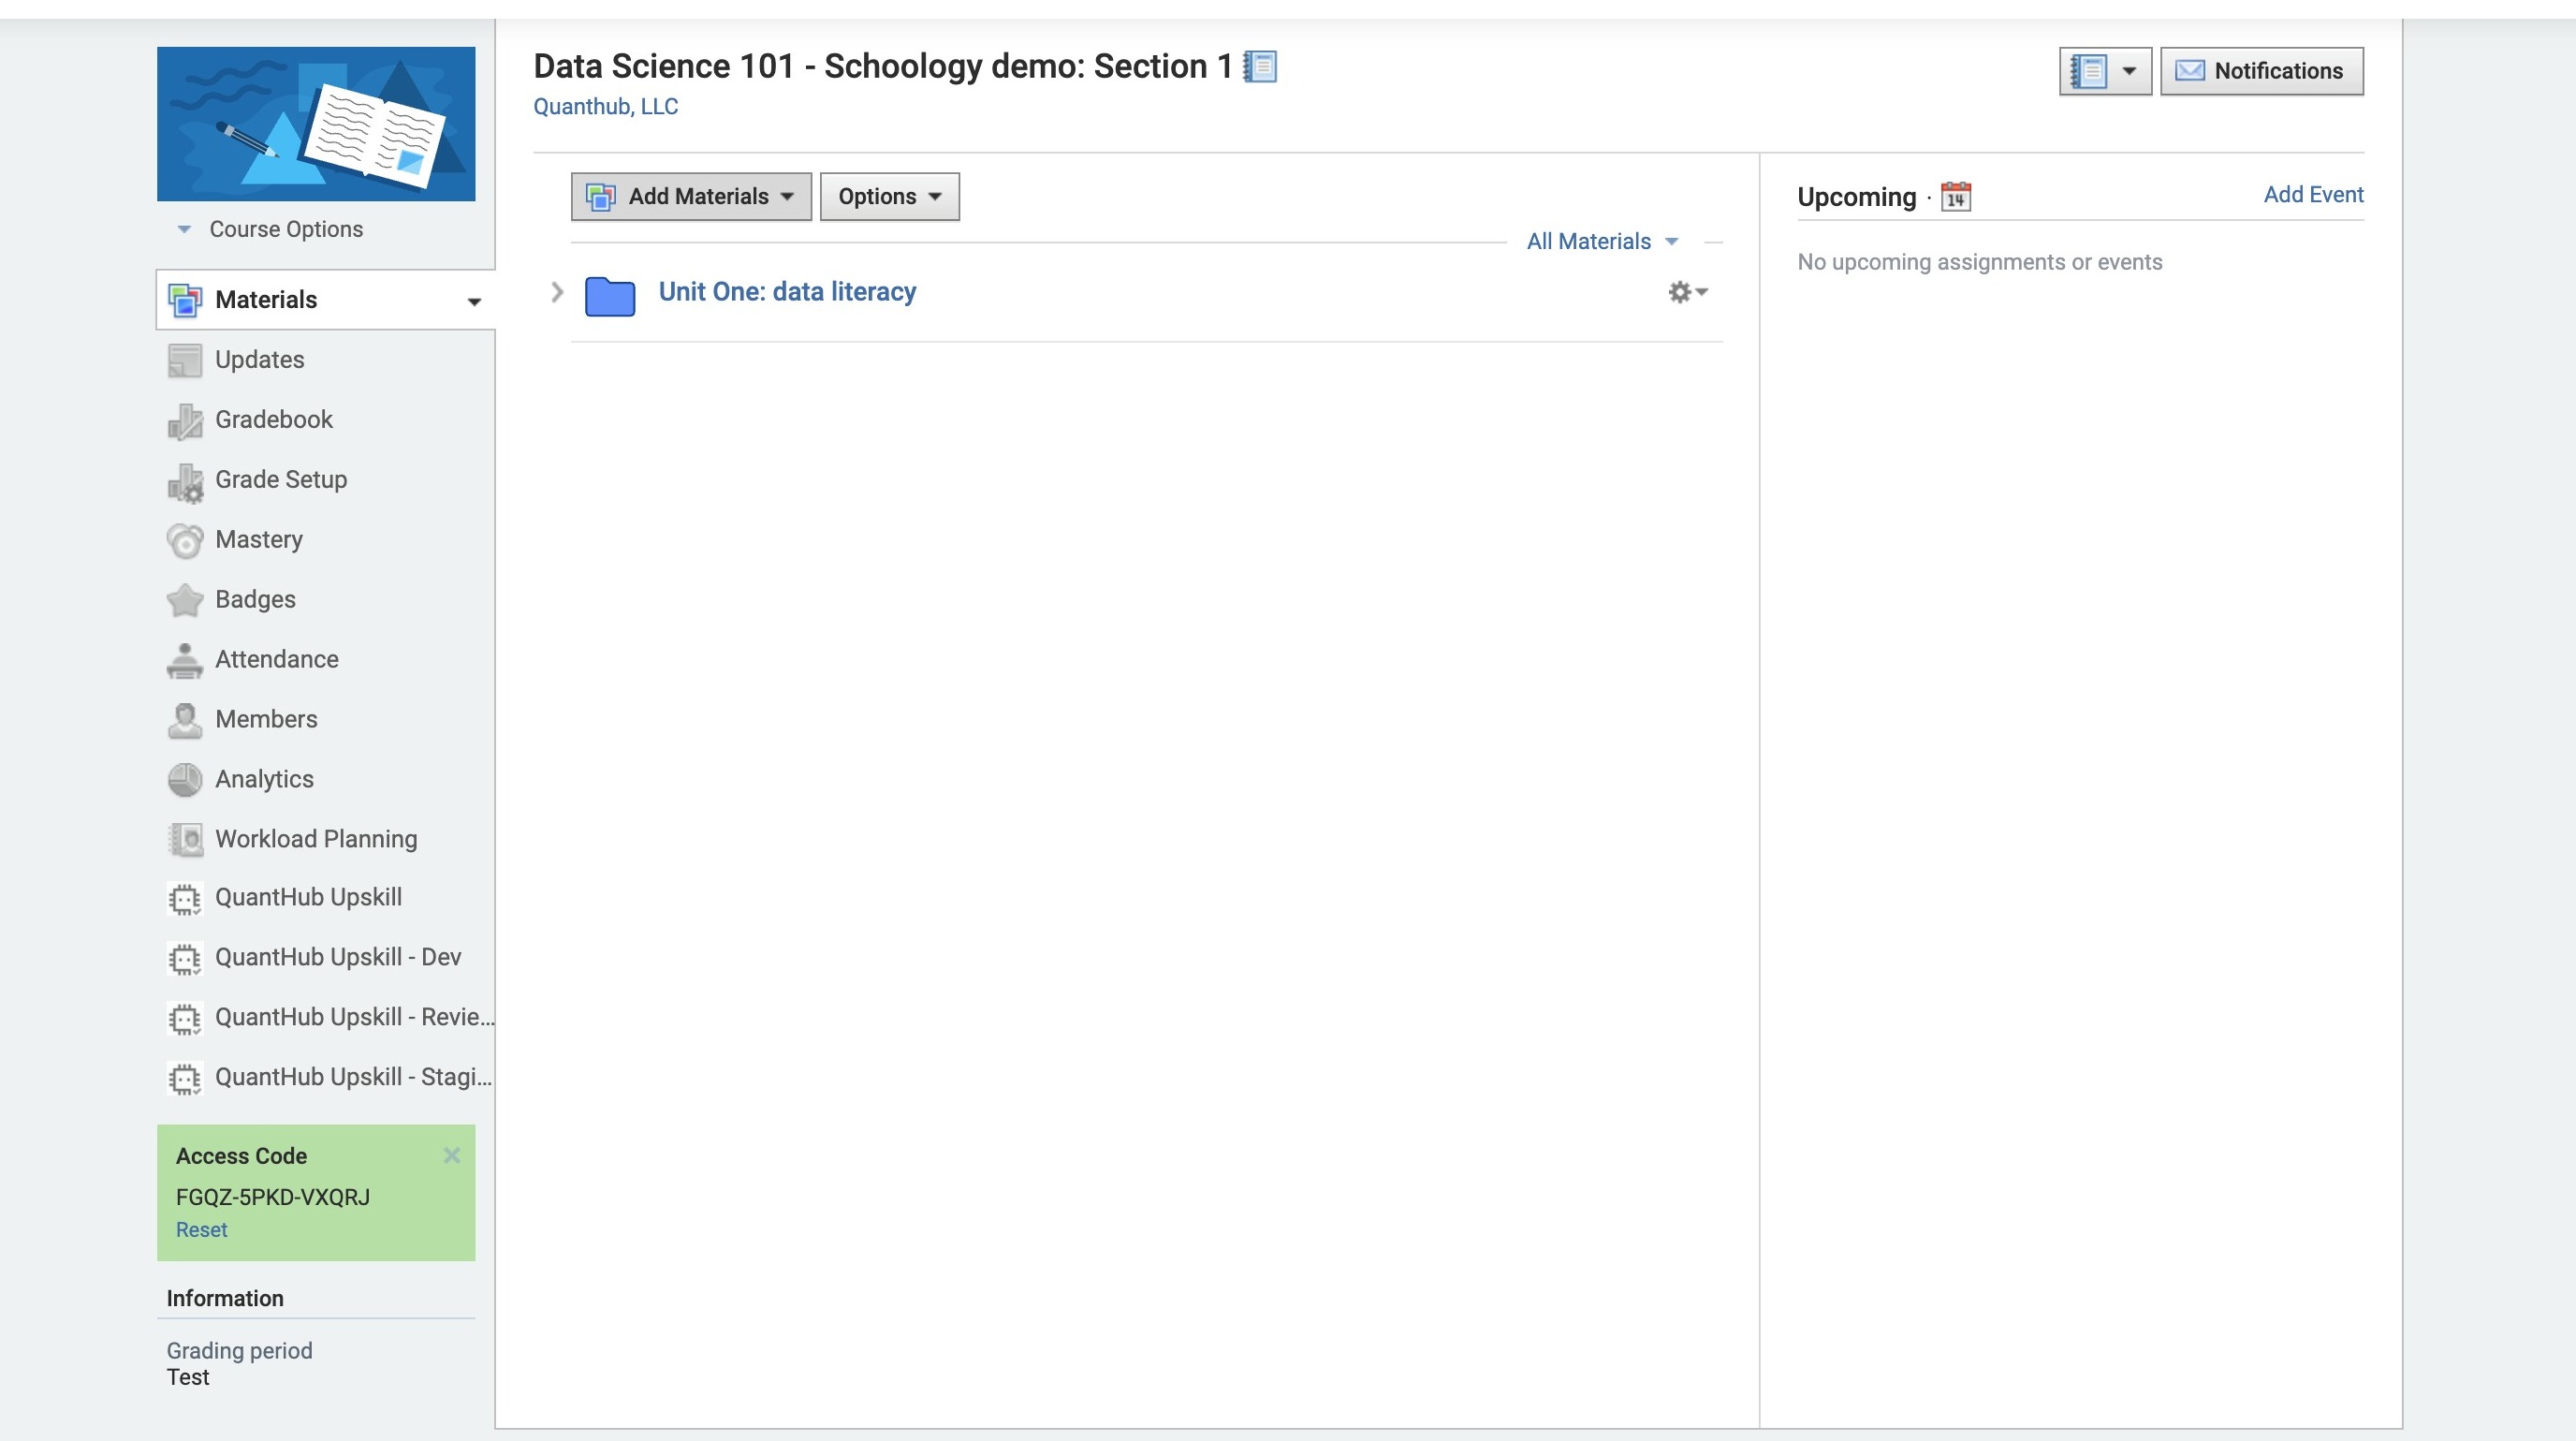
15. In Schoology, navigate to the desired course.
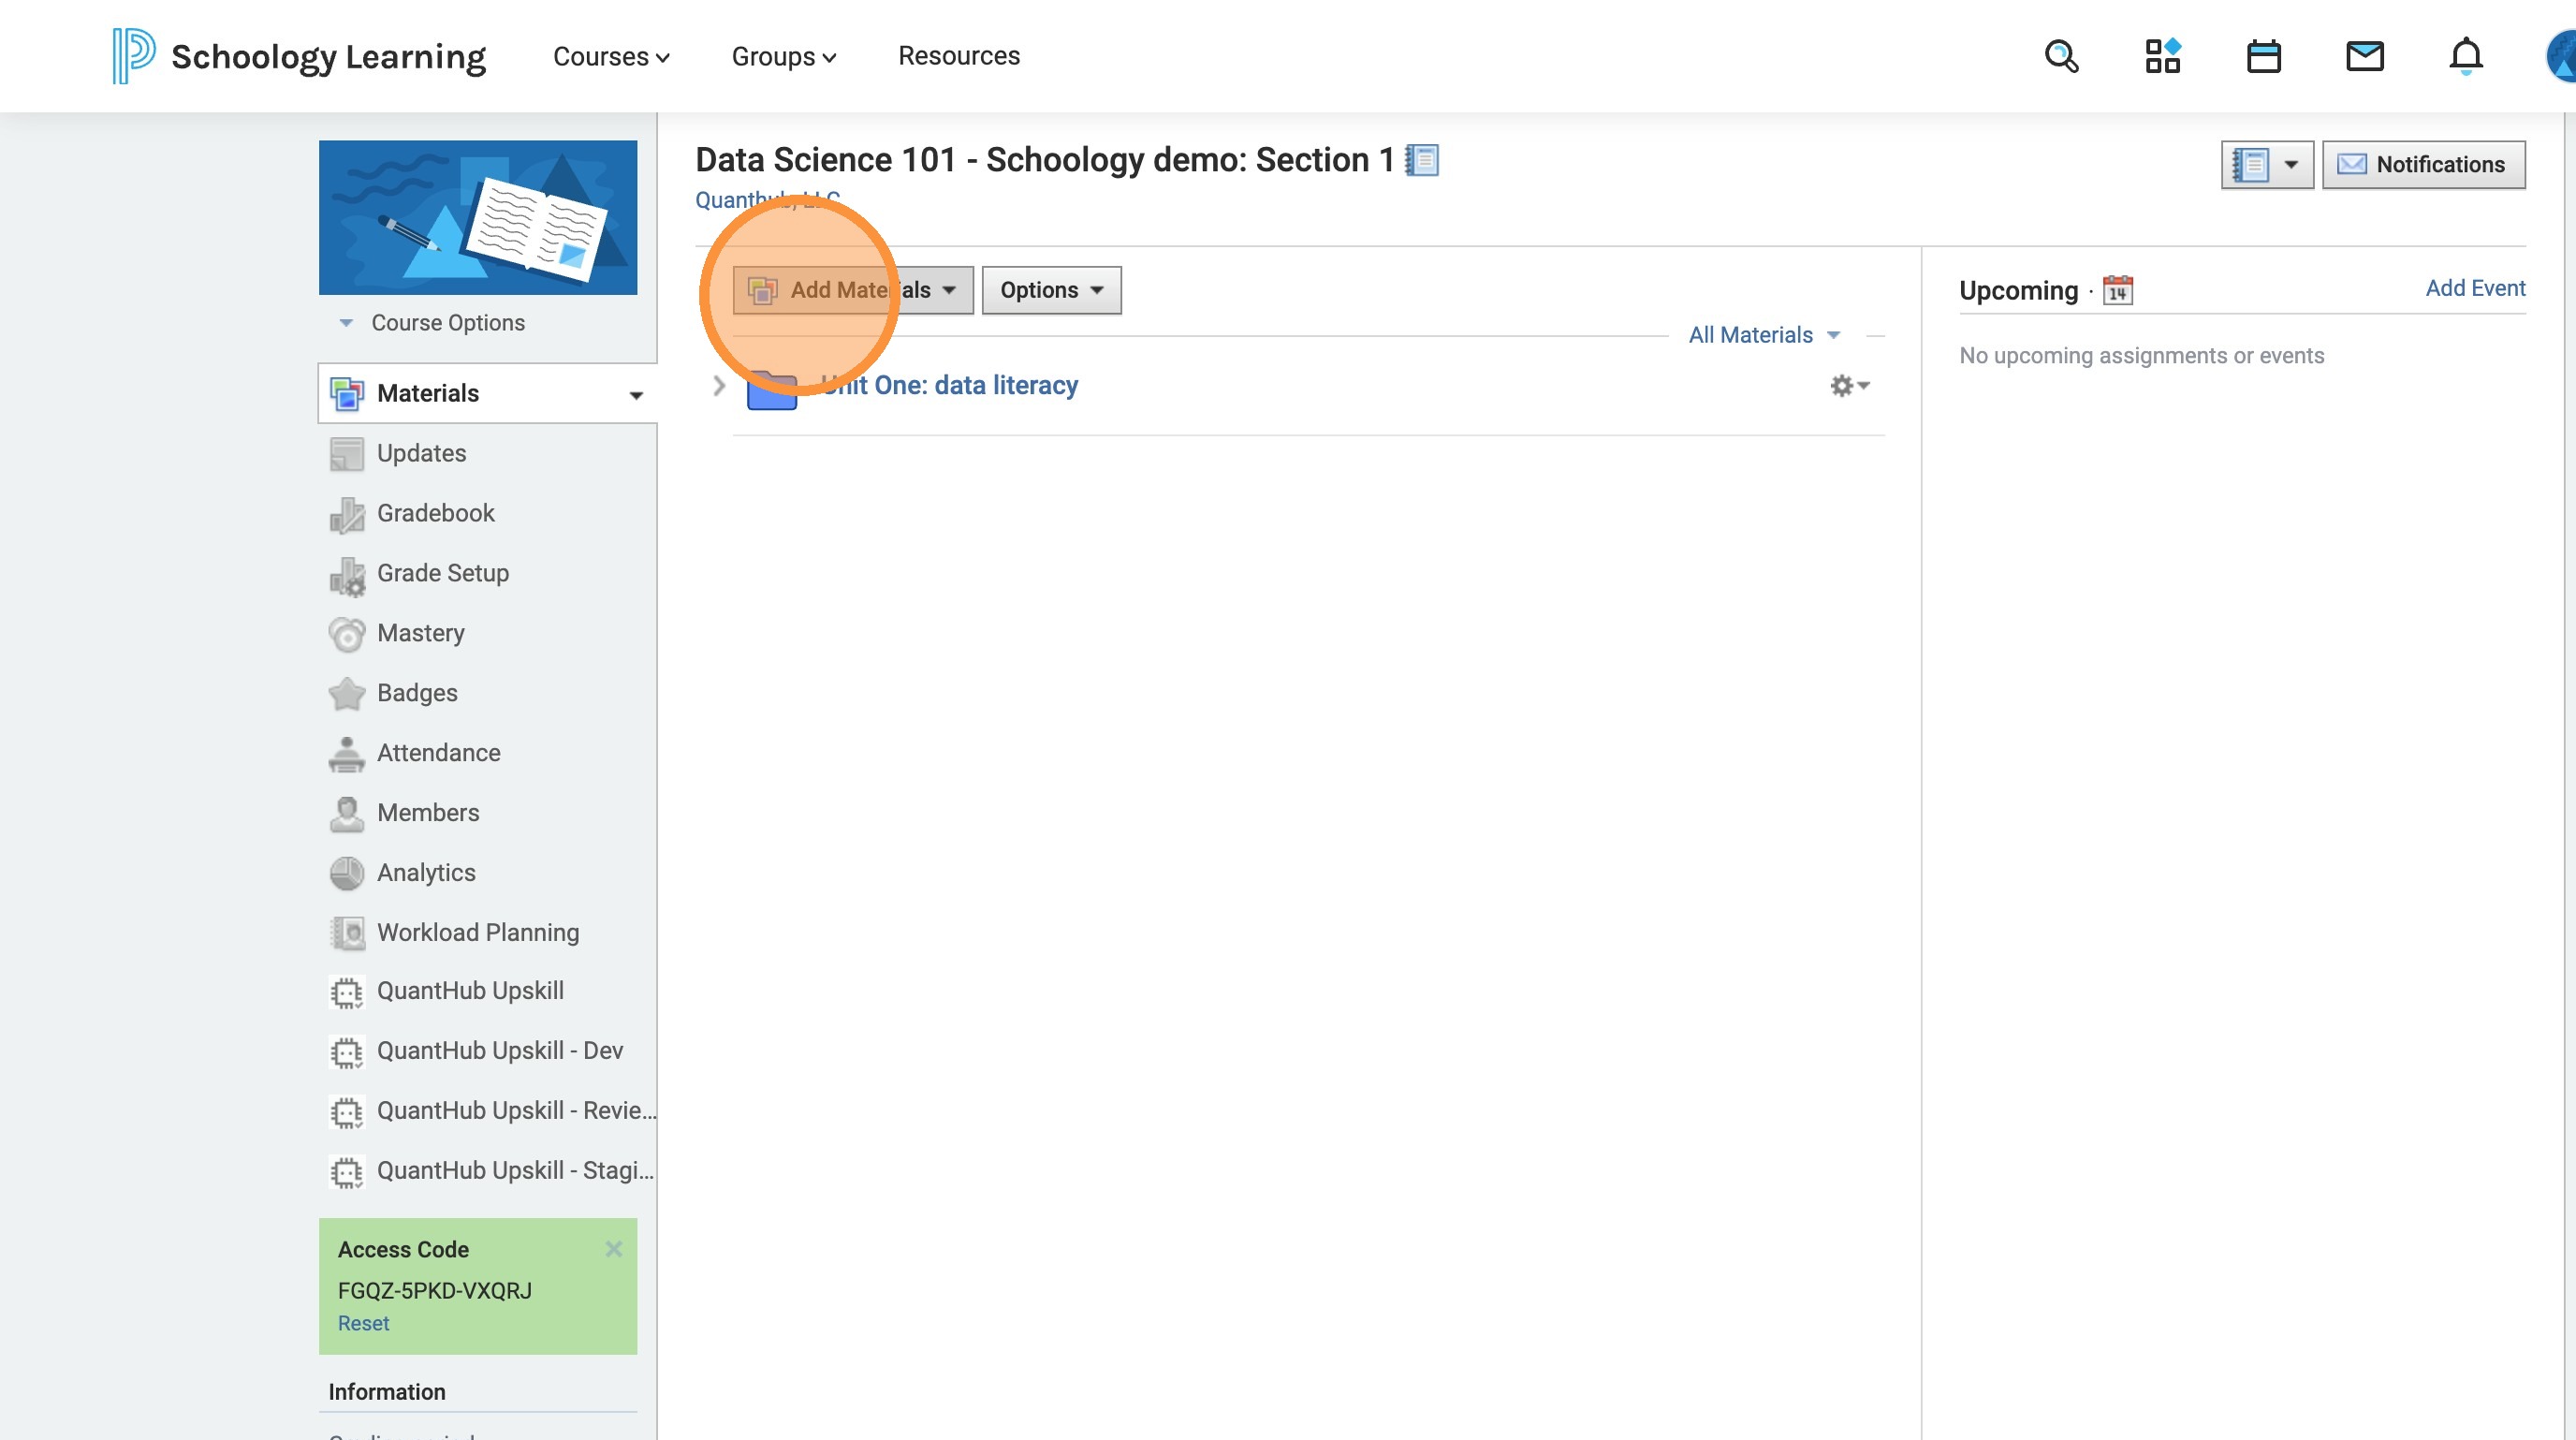
16. Select "Add Materials"
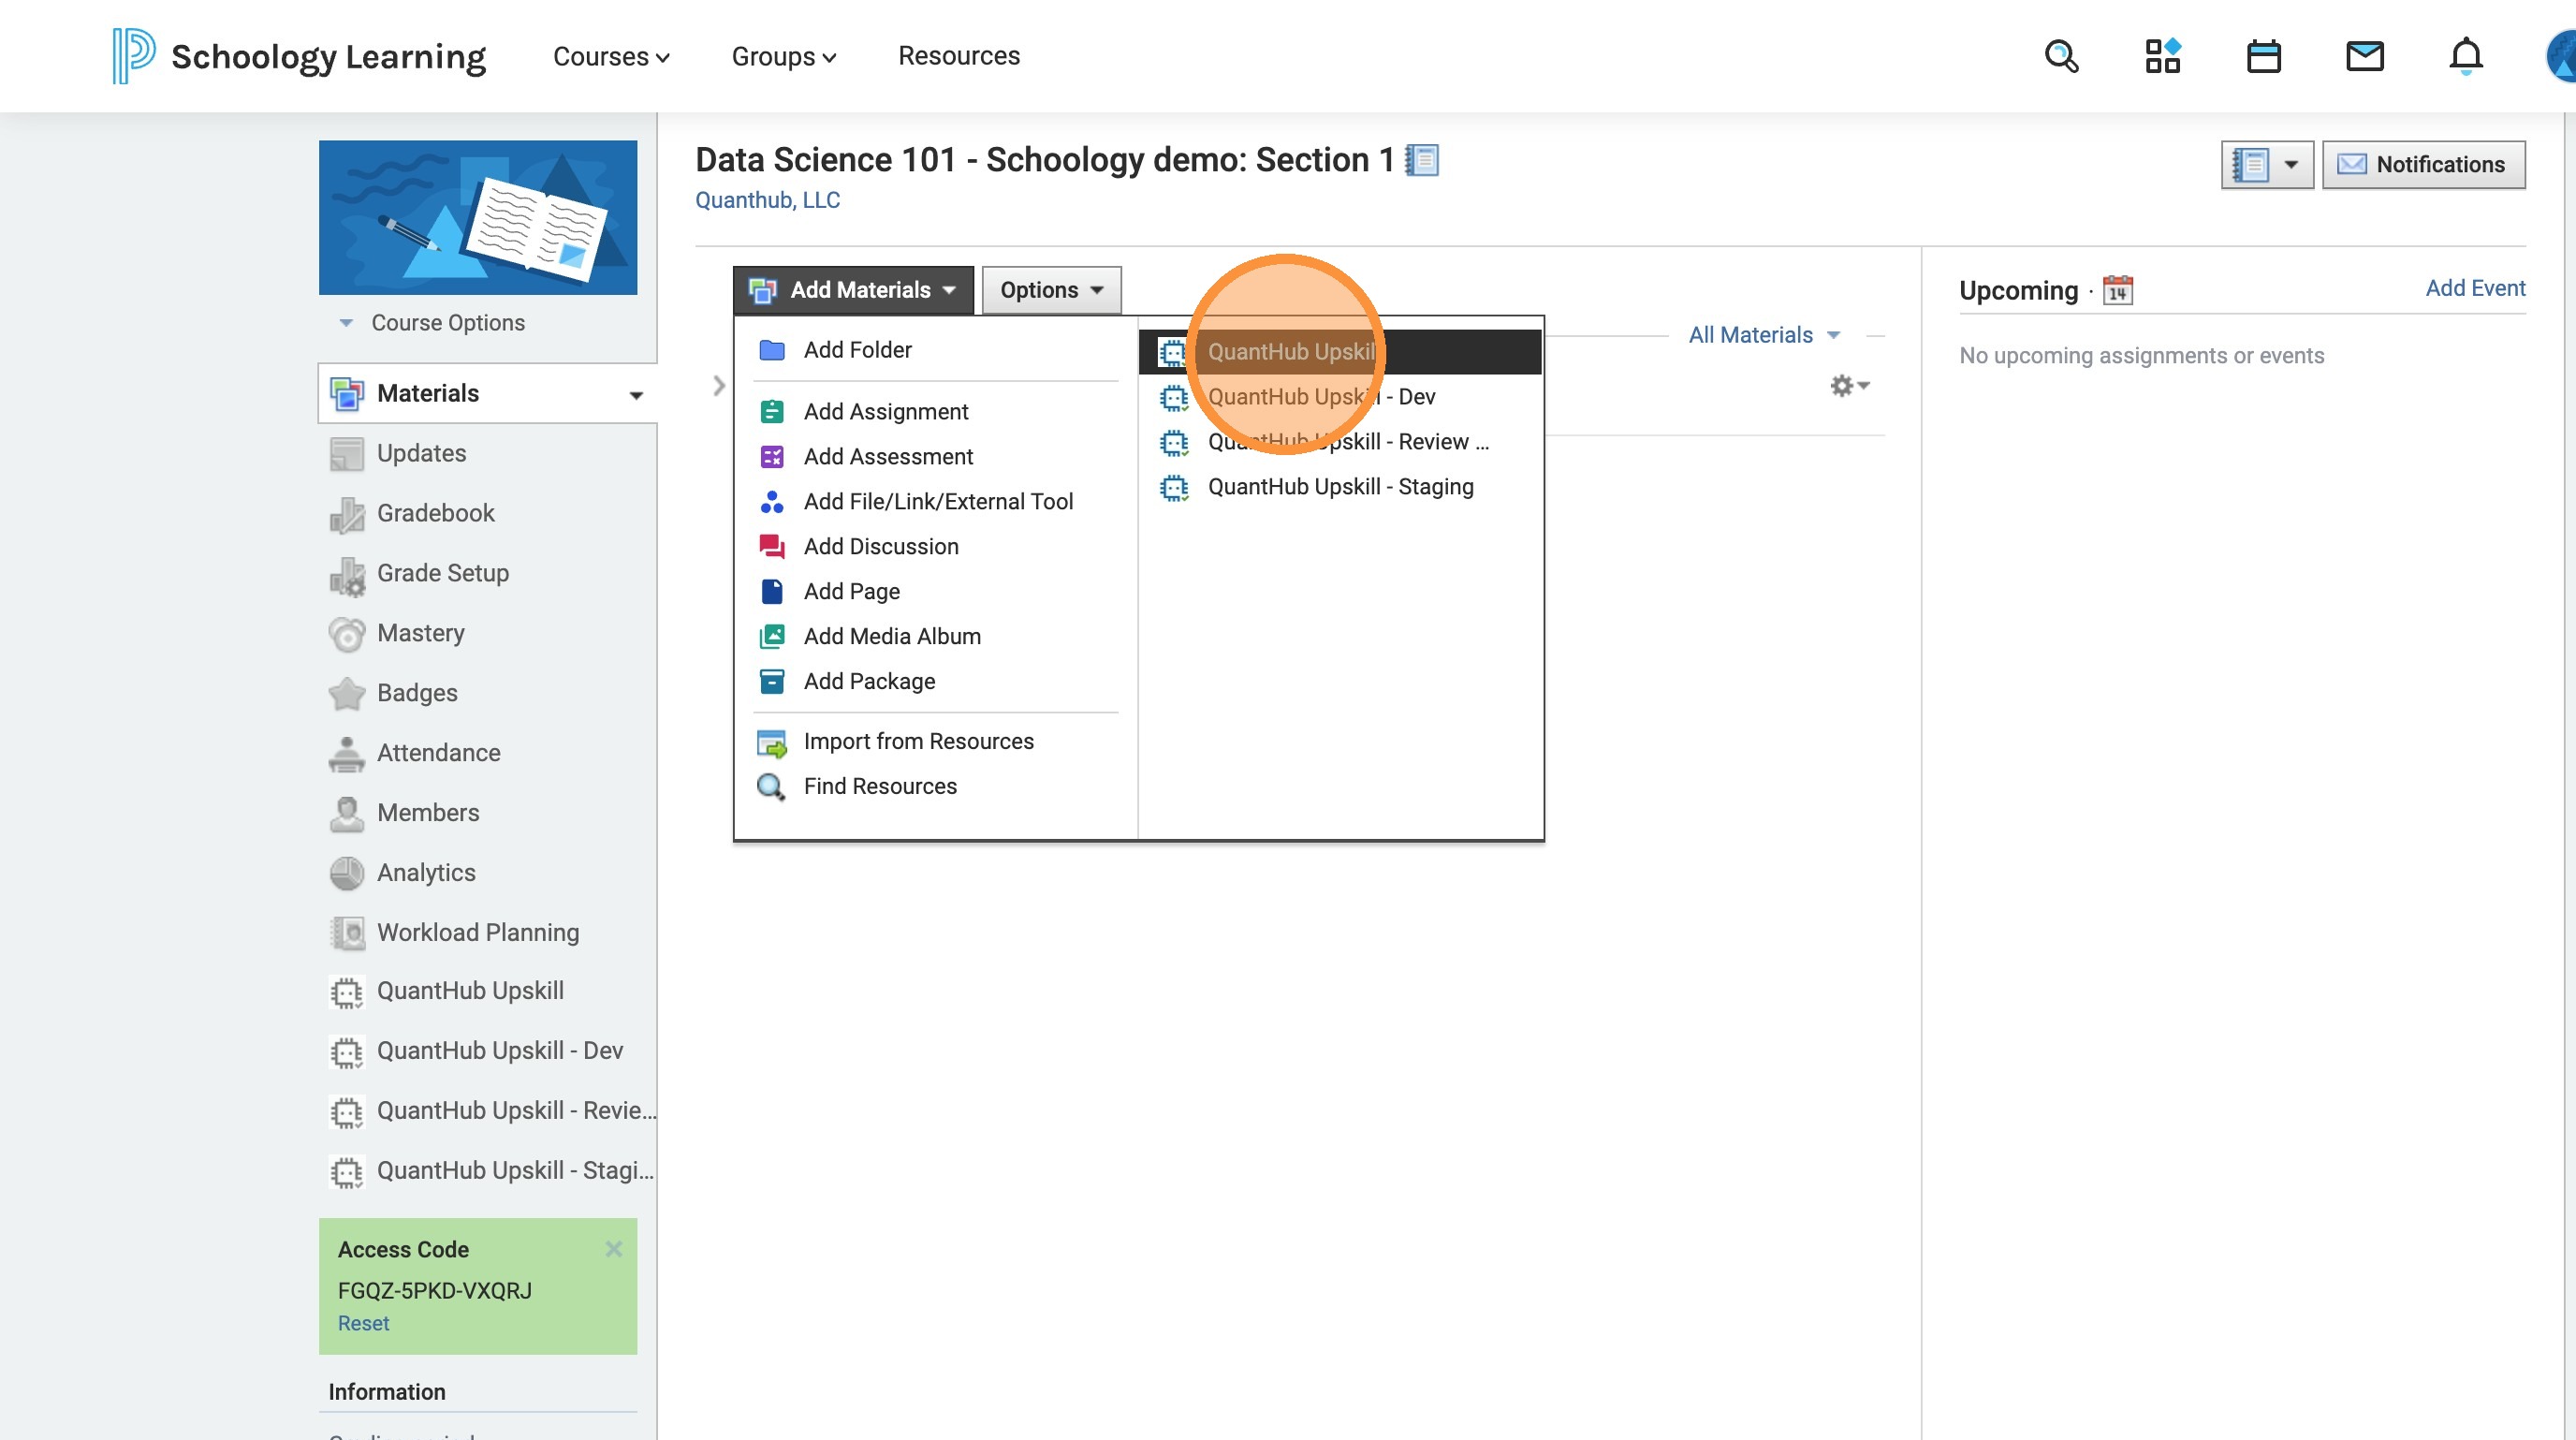
17. Select the "QuantHub Upskill" or "Quanthub" app button in the apps section.
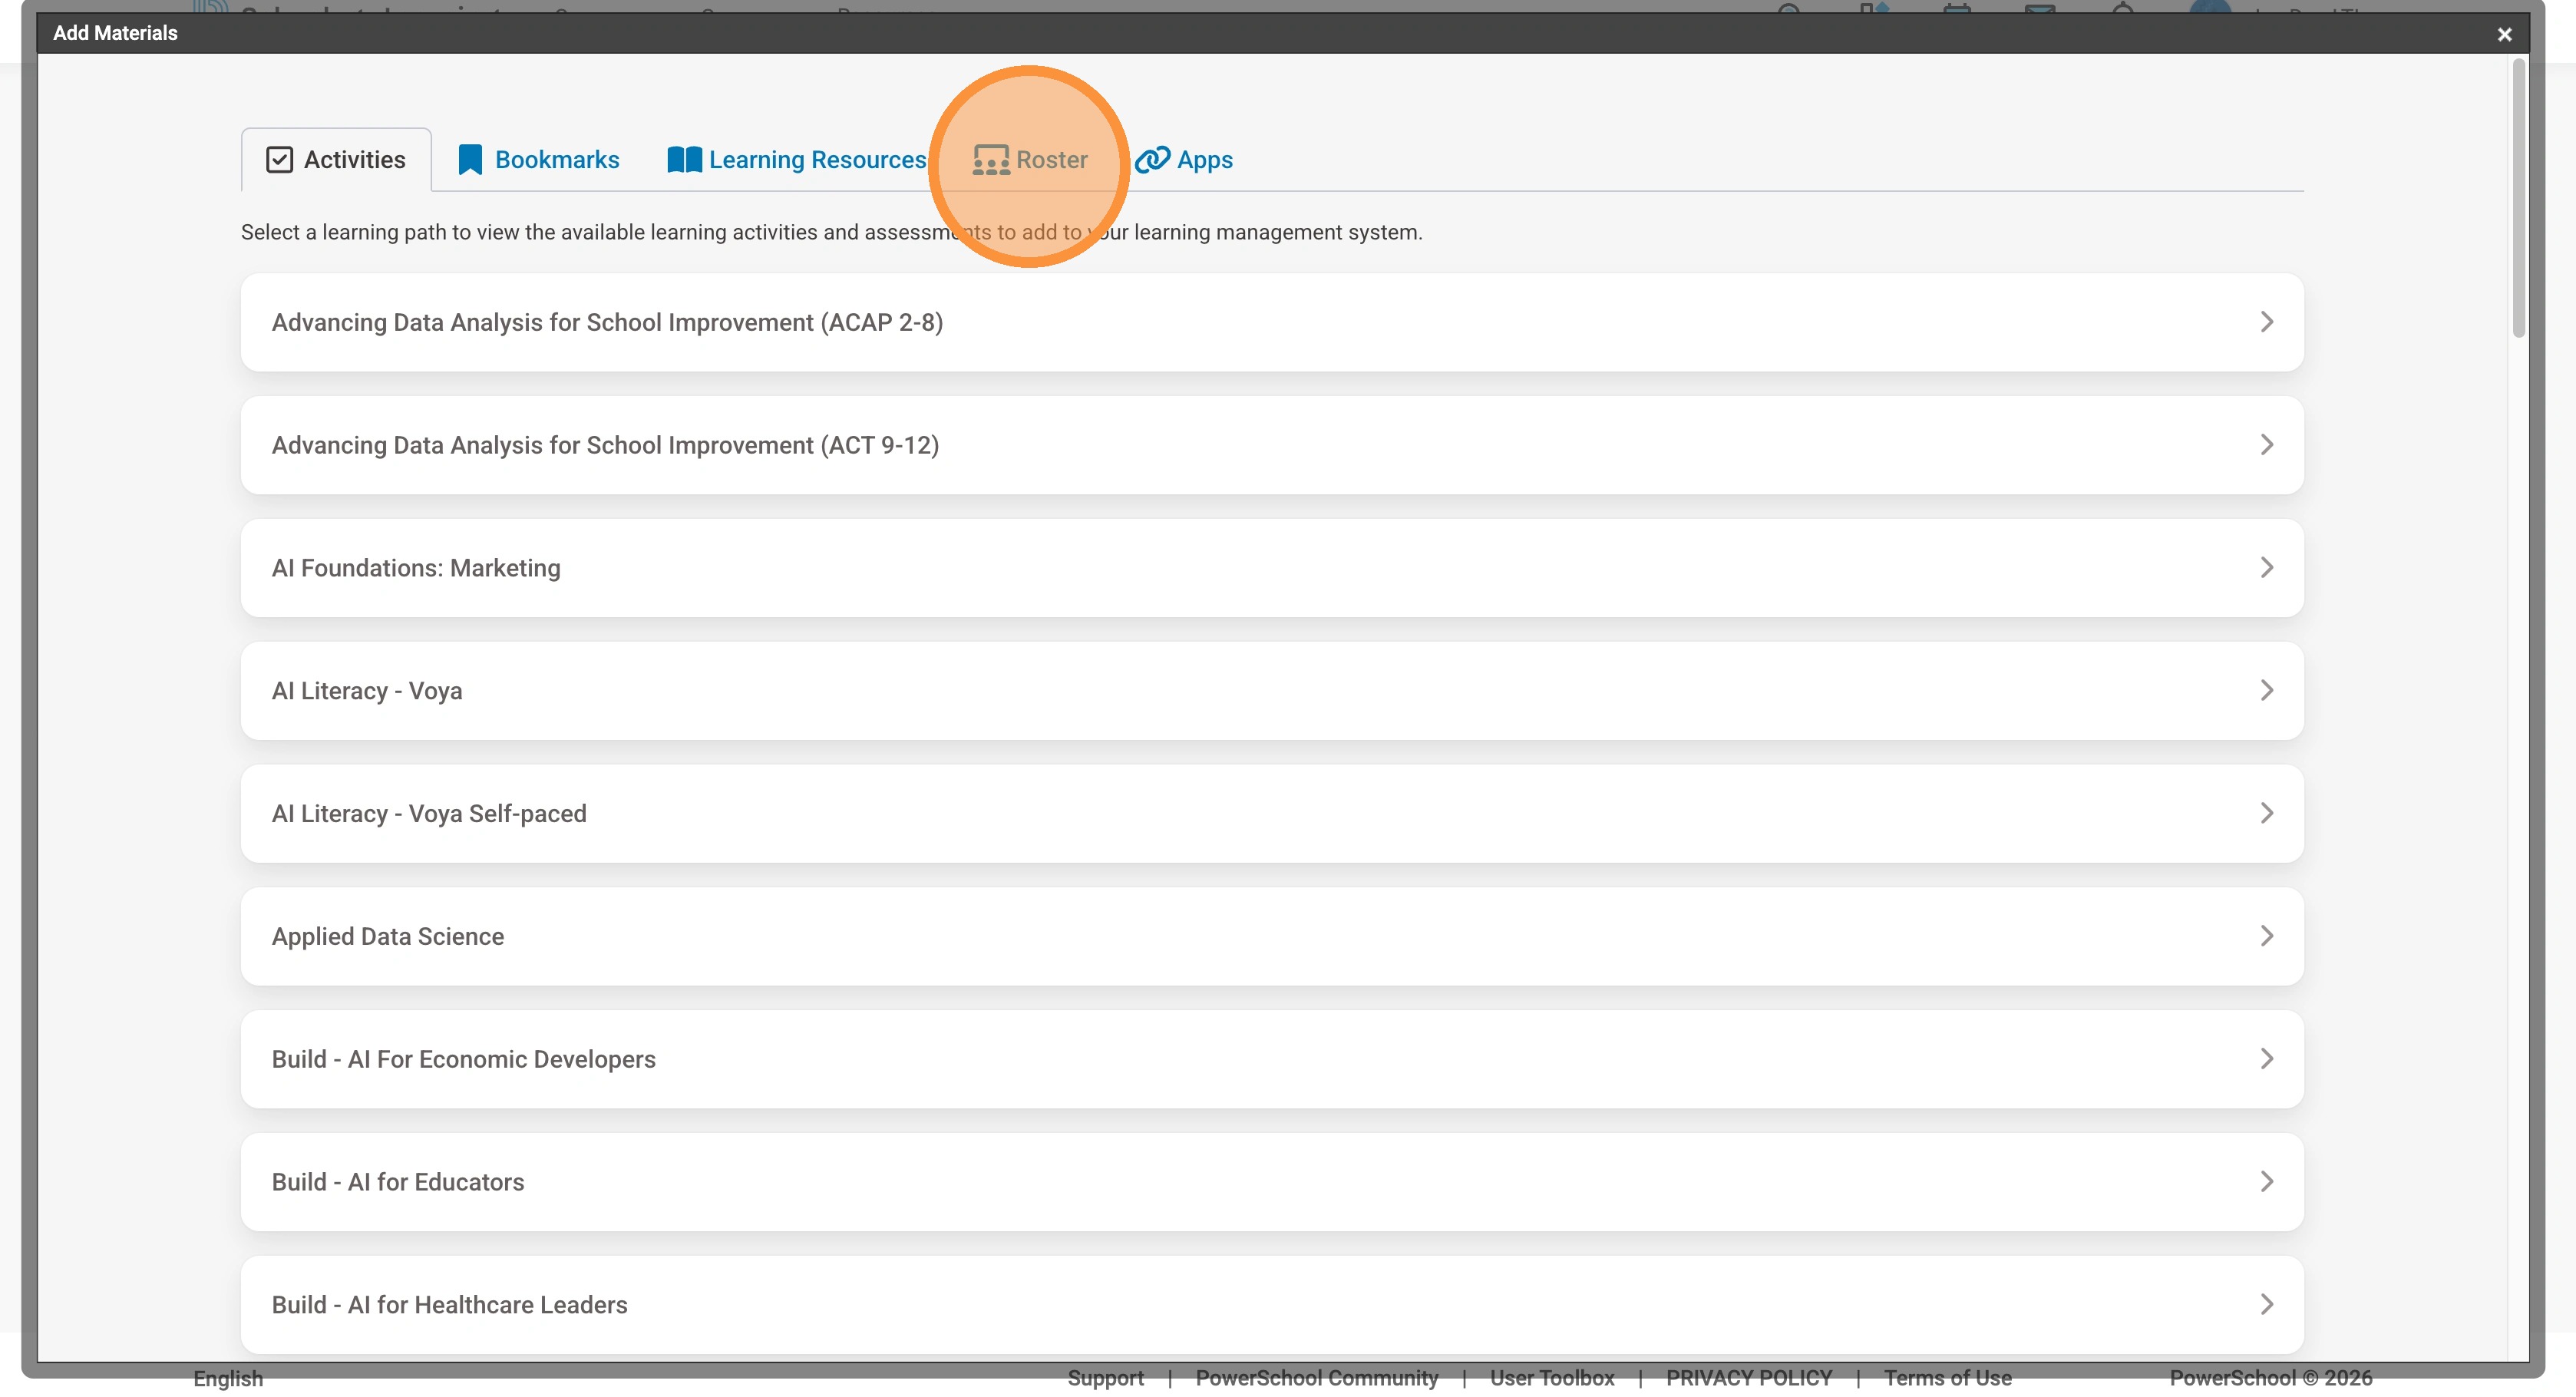
18. Select "Roster" within the popup
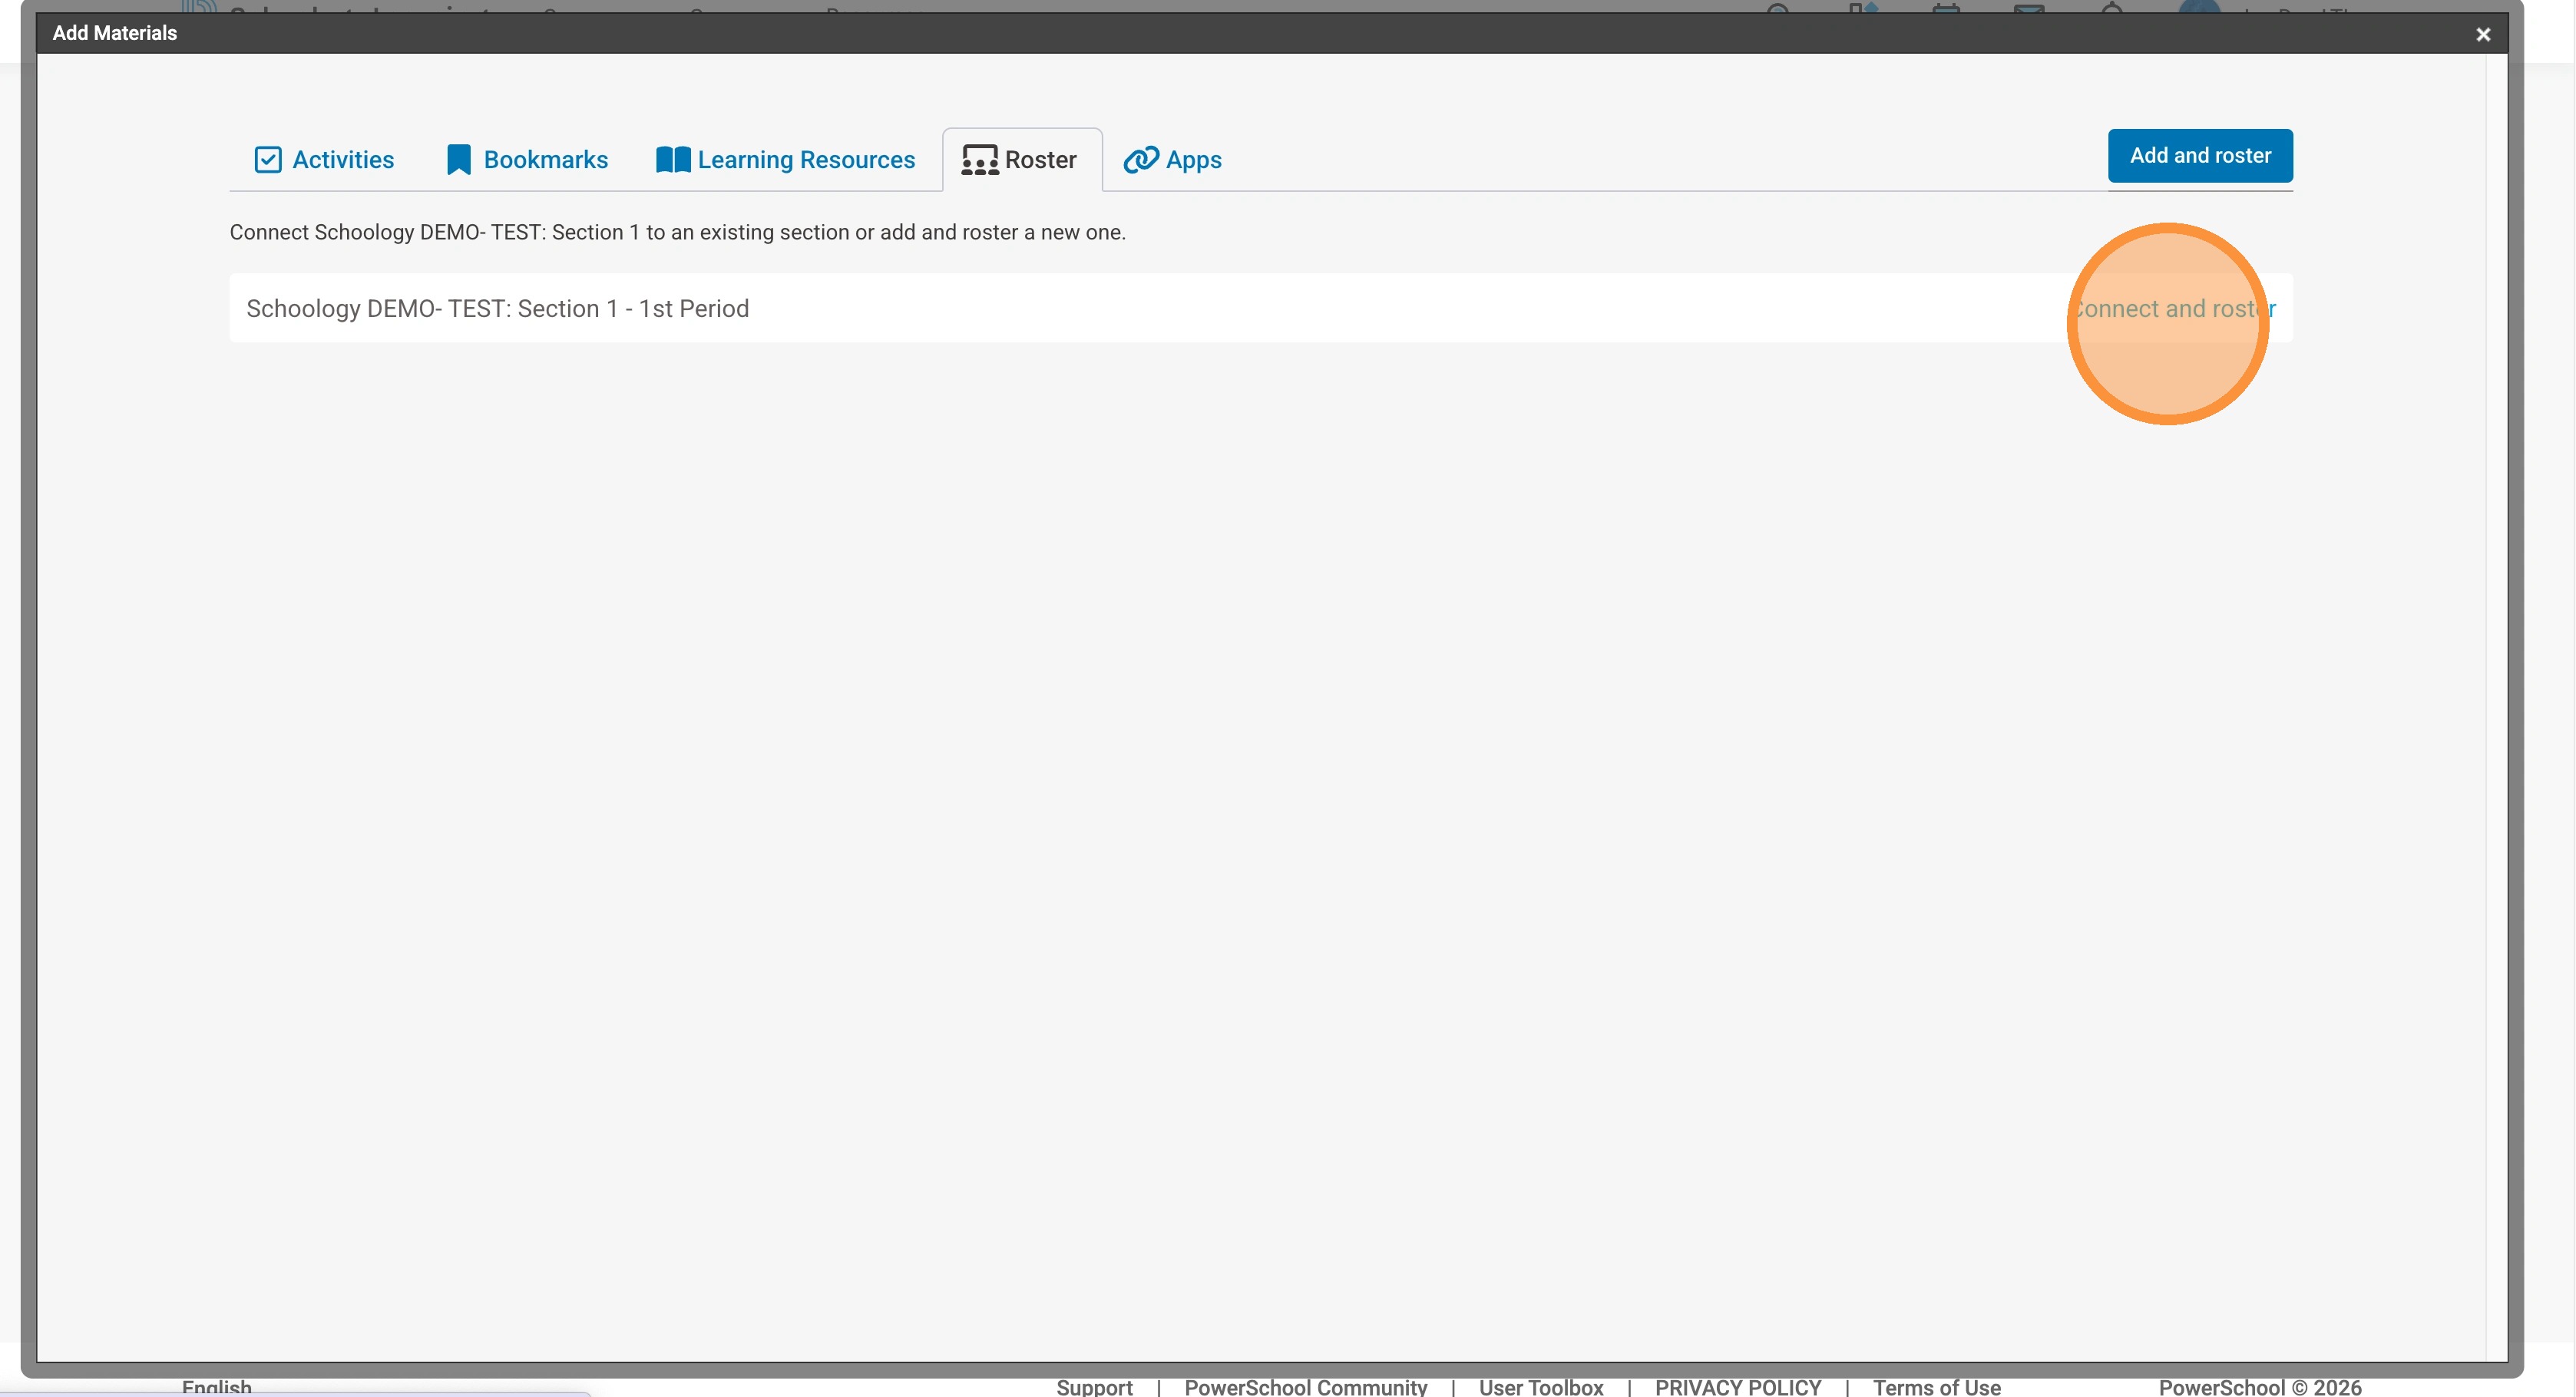
19. Find the class you just created in QuantHub and select the "Connect and Roster" toward the right of the name.
***For Class-linked sections, only the students from the "parent" class will be rostered. You must have the rest of the remaining students join via join code. See instructions below for those steps. If you need assistance, submit a support ticket at support.quanthub.com ***
Class-Linked Sections
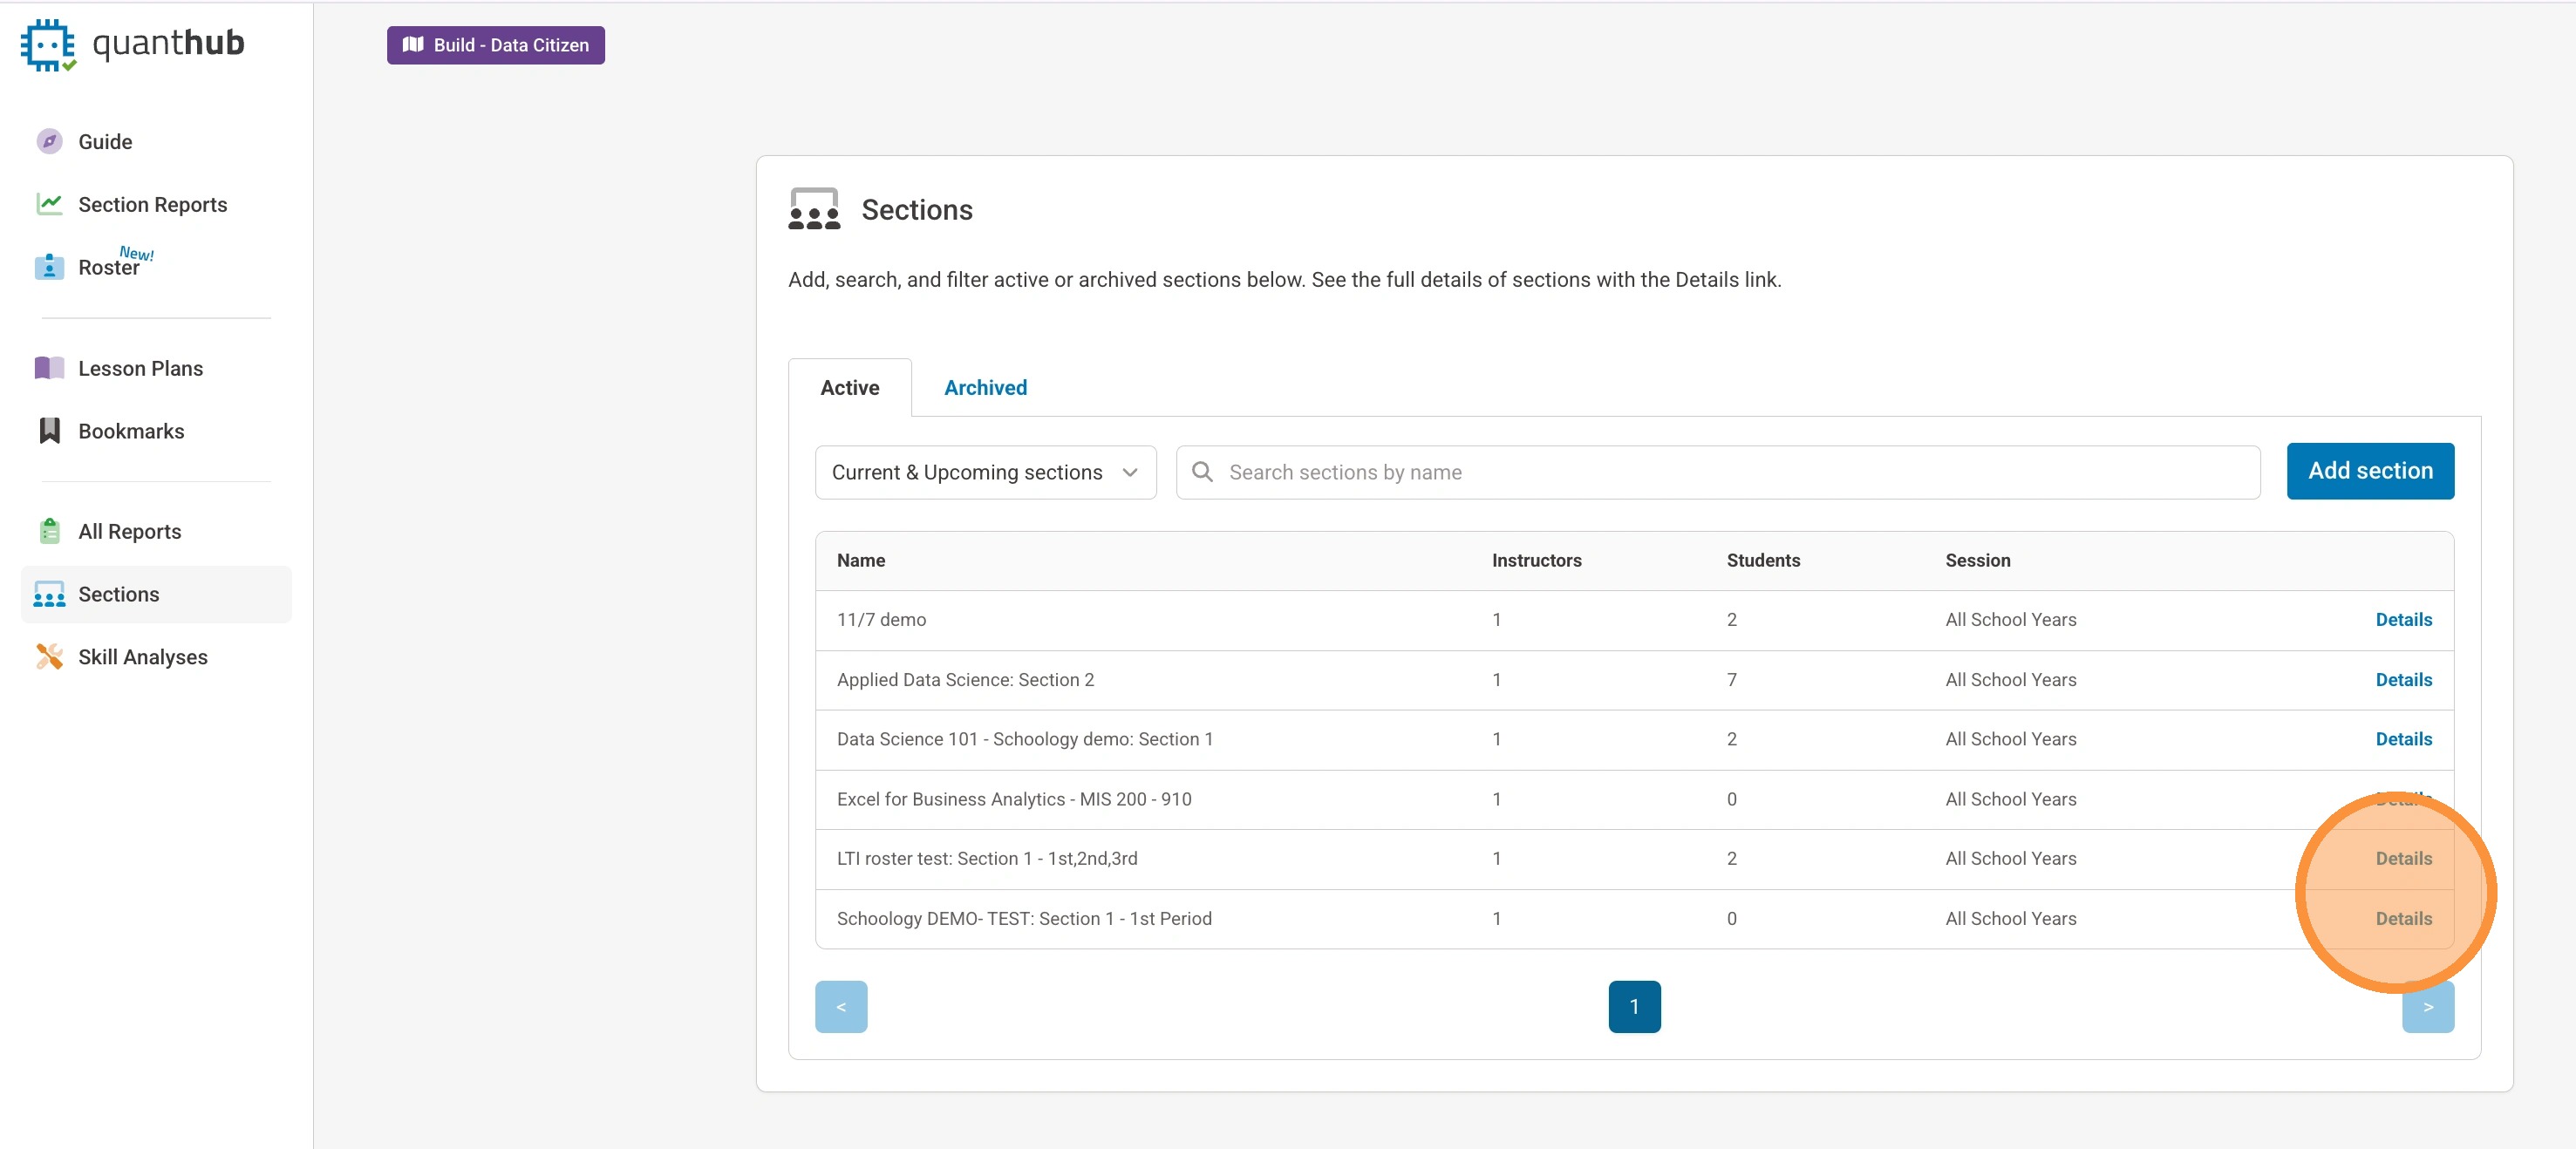
20. In QuantHub, navigate back to "Classes" and select "Details" for the class with multiple sections
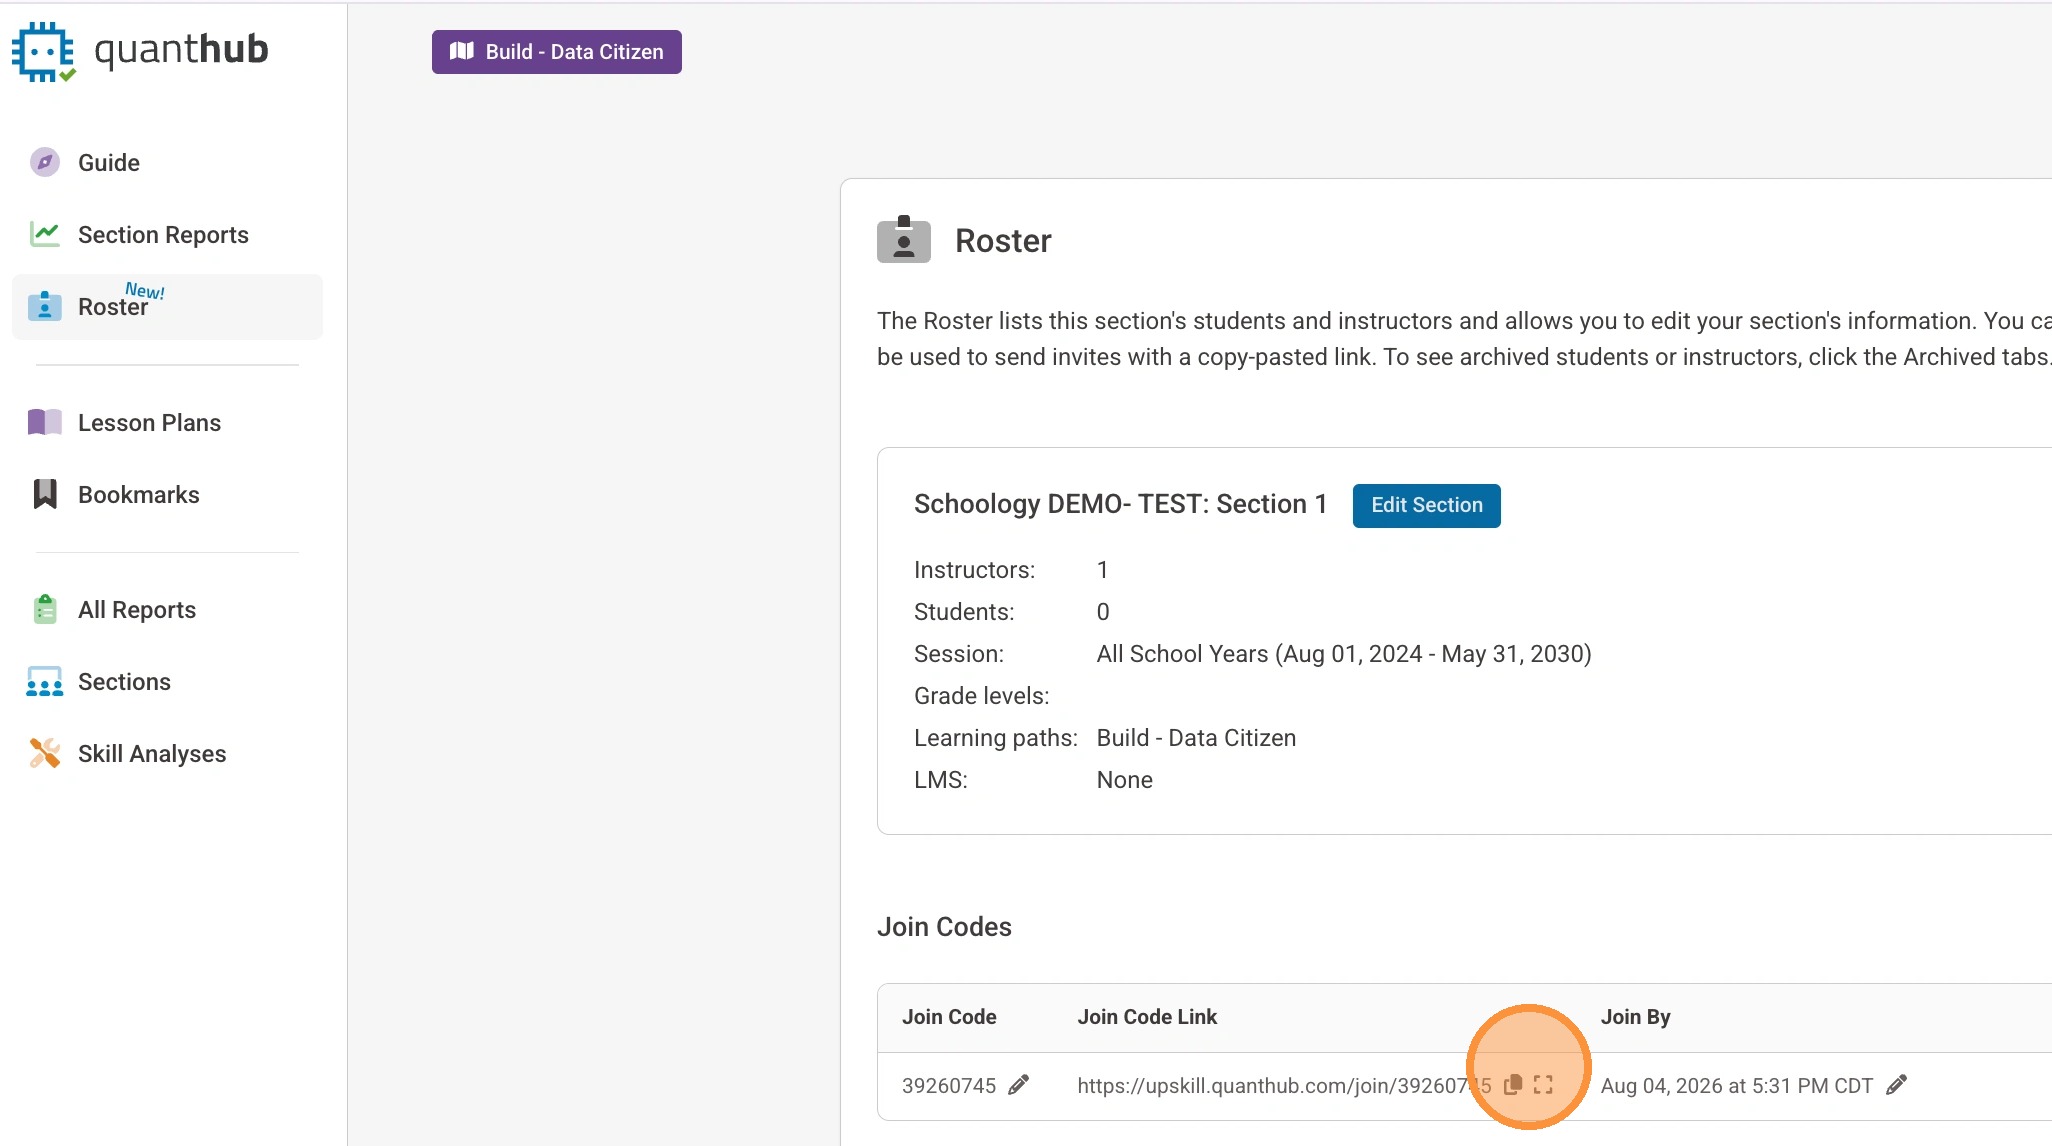
21. Copy the join code link by selecting the copy icon next to it
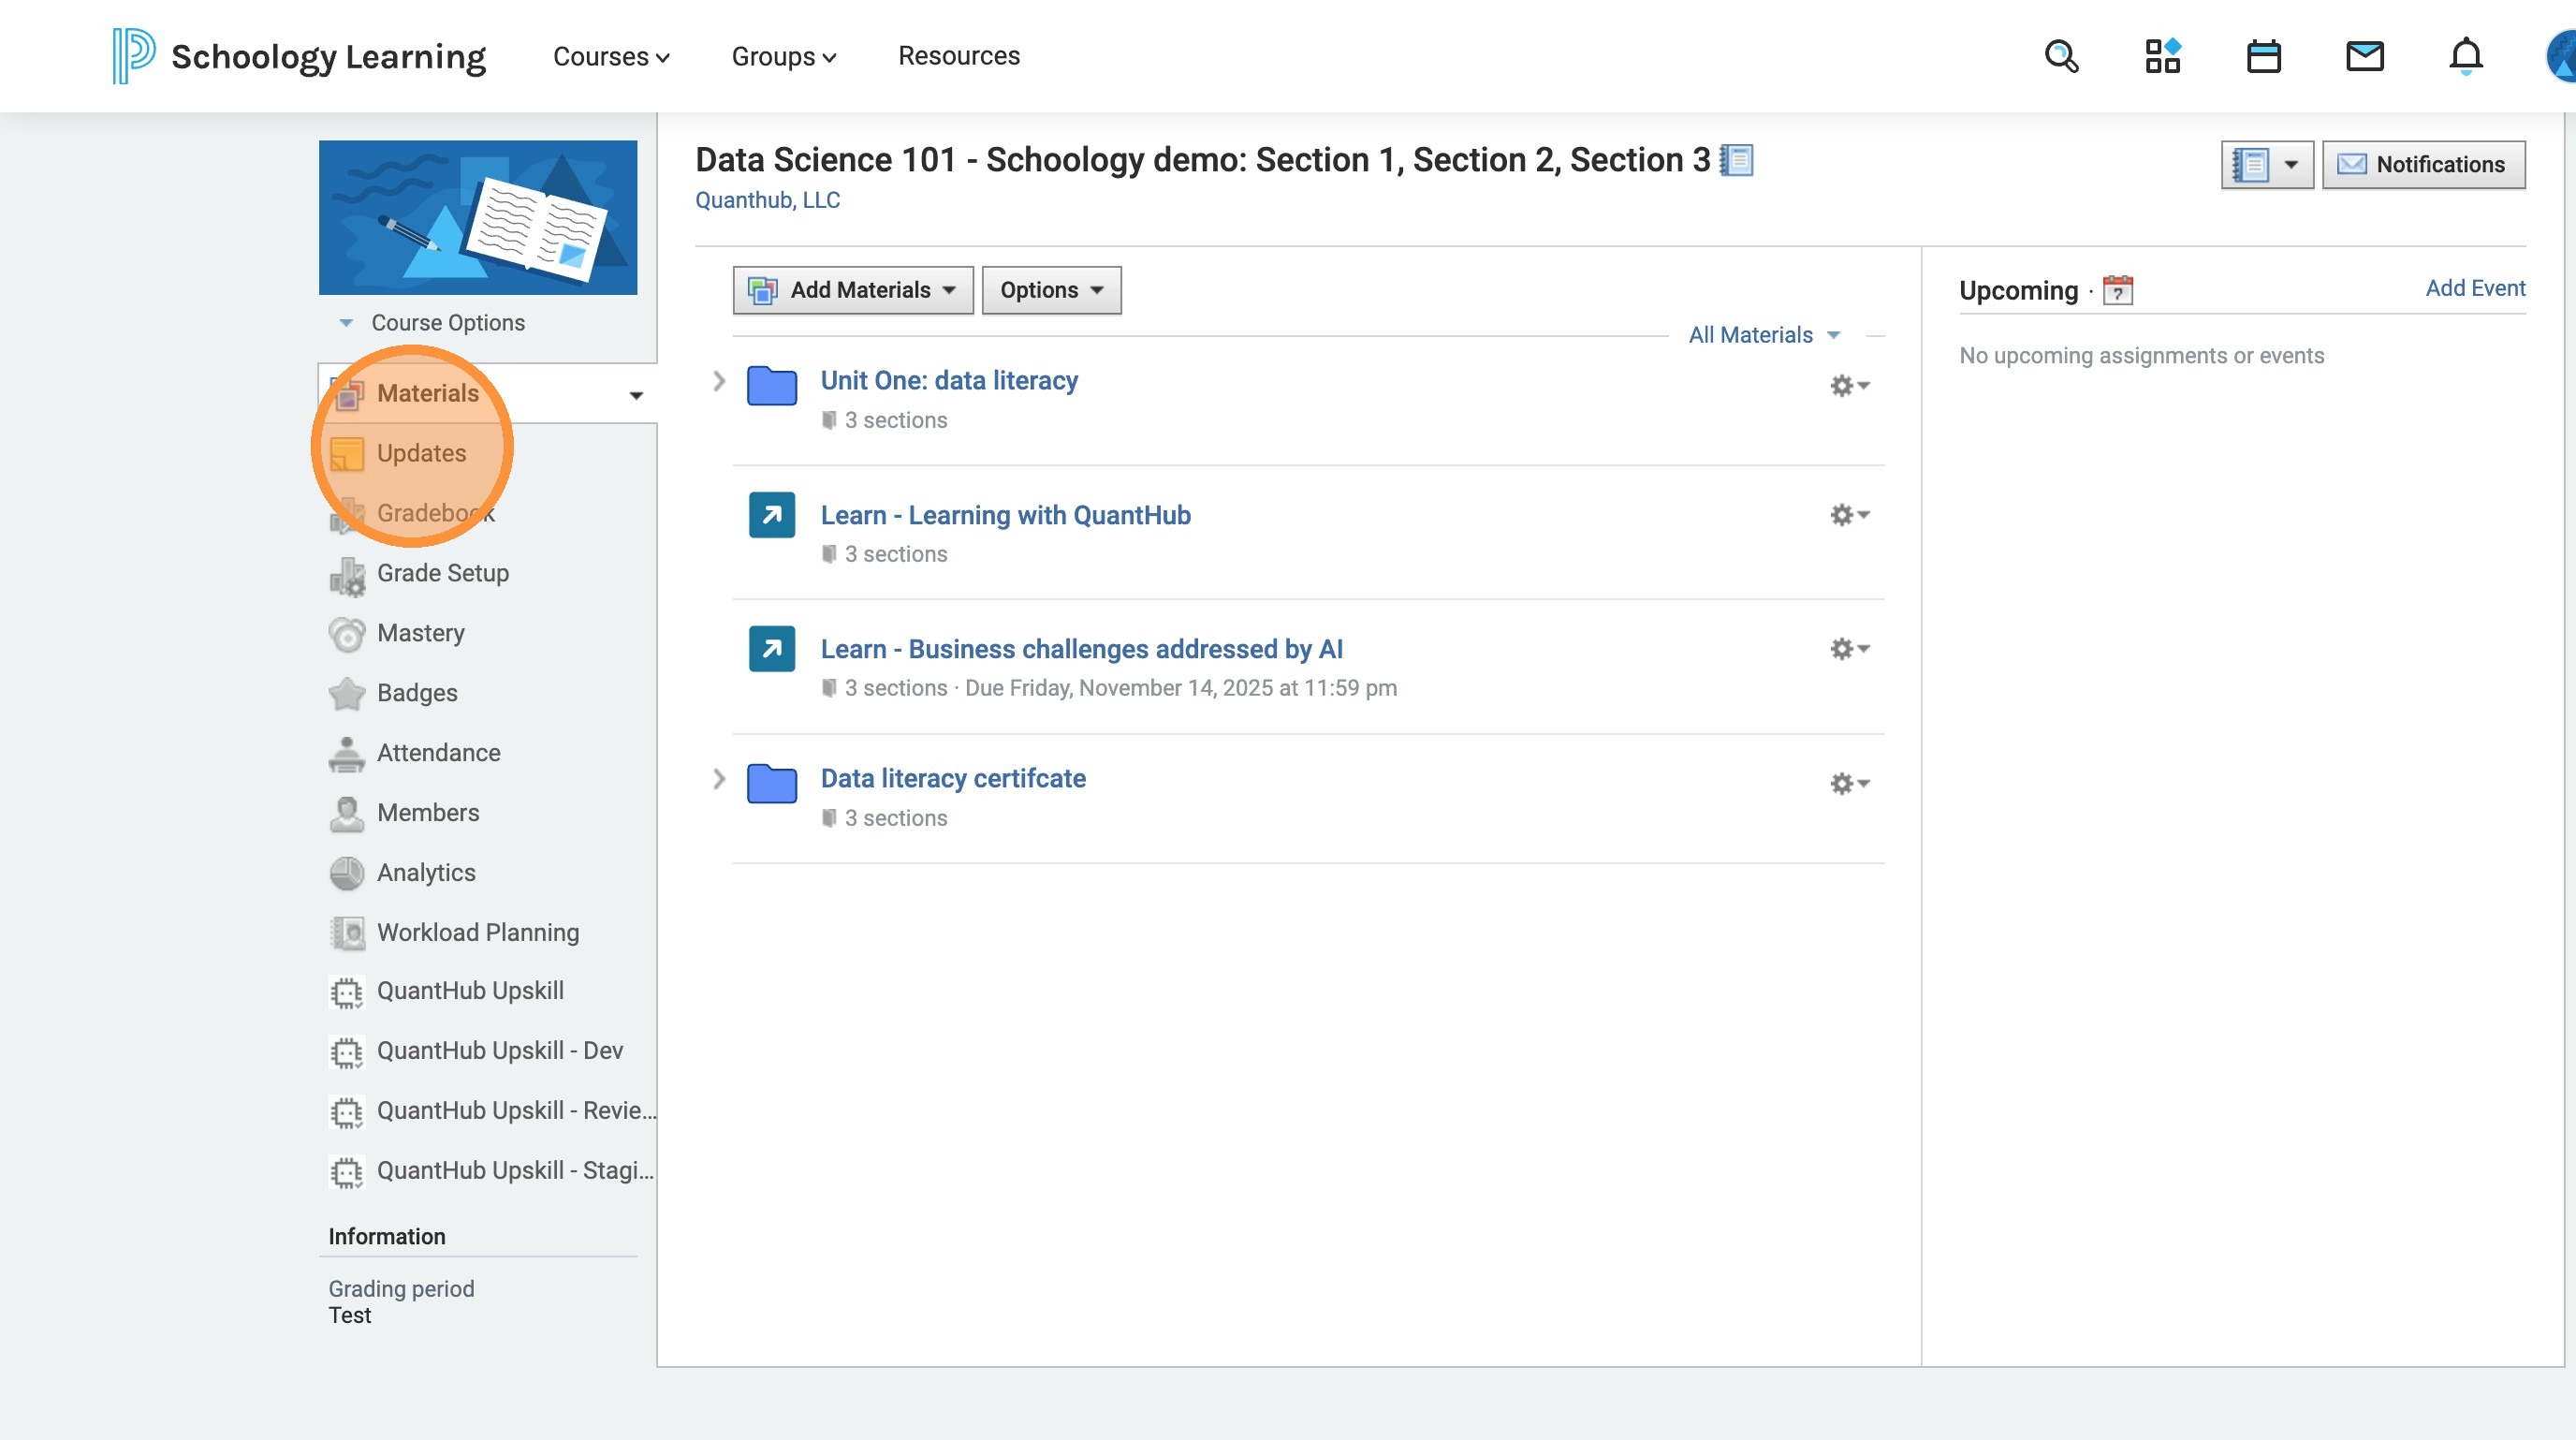
22. Go back to desired course with multiple sections: Select "Updates"
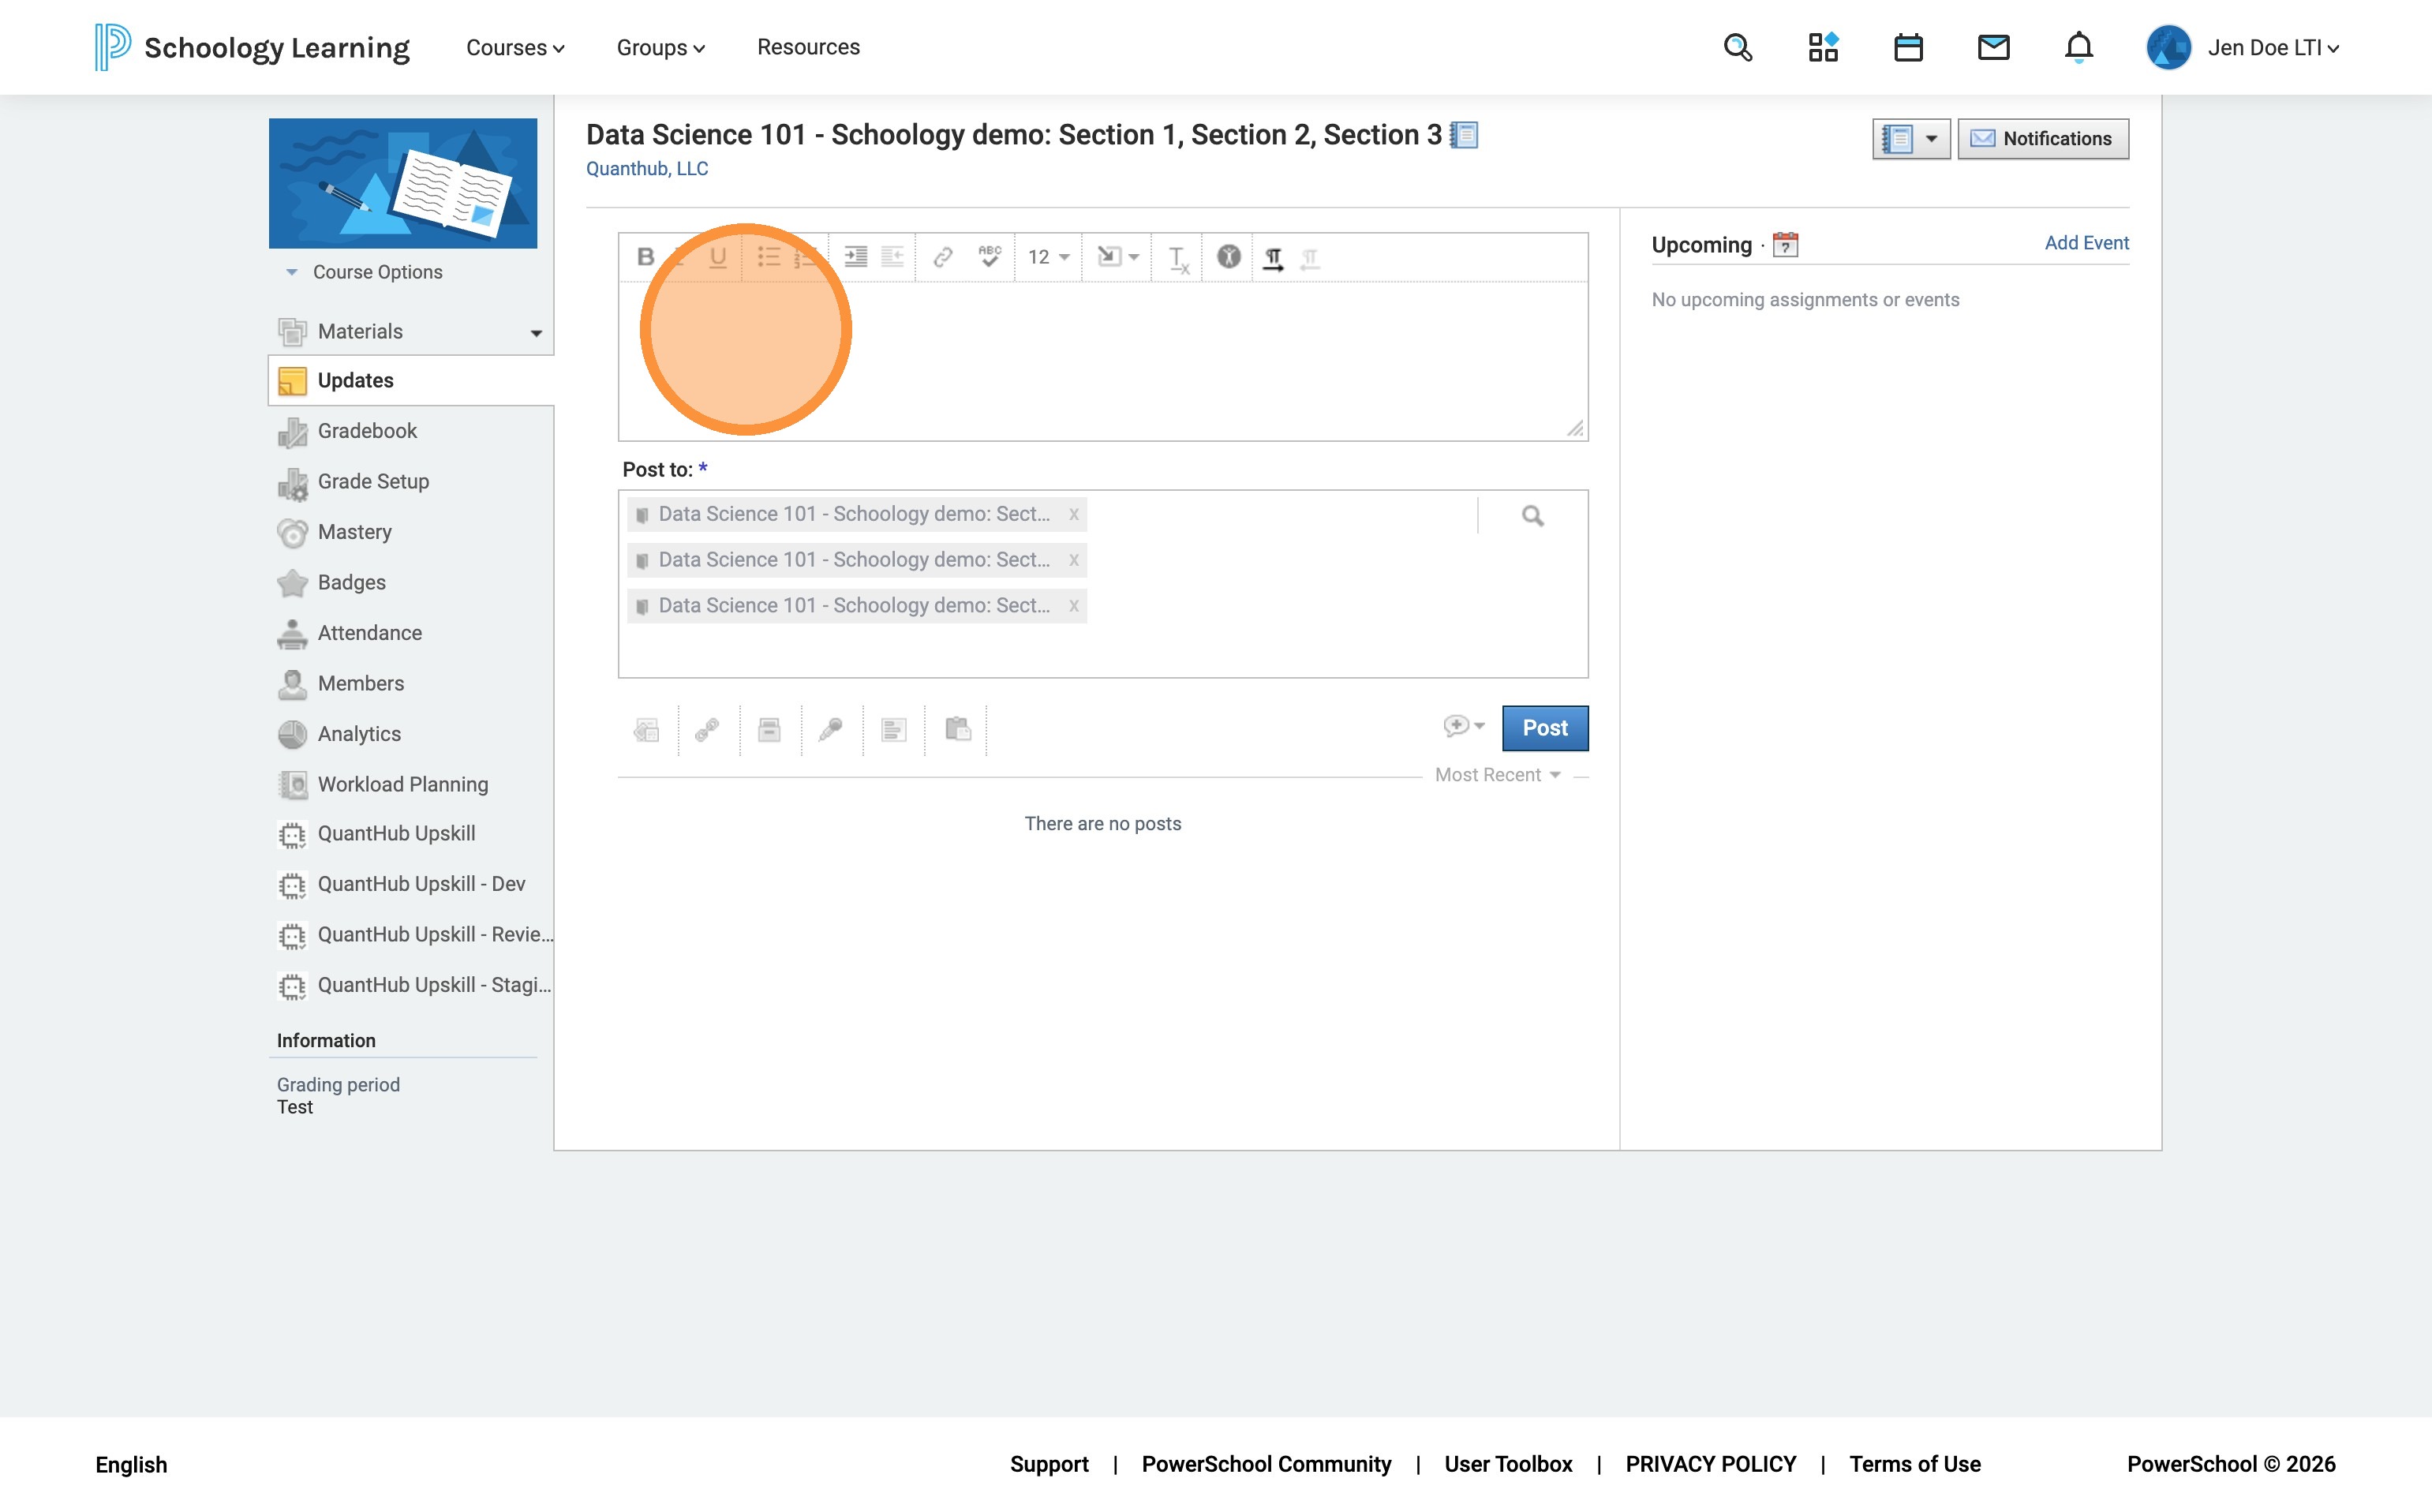
23. Select here and paste join codes and invite students to join
Was this article helpful?
That’s Great!
Thank you for your feedback
Sorry! We couldn't be helpful
Thank you for your feedback
Feedback sent
We appreciate your effort and will try to fix the article