Watch the video below OR scroll down to view the steps listed out instead.
TABLE OF CONTENTS
Video Tutorial:
Step By Step Guide:
Navigate to Sections
1. Select your nine dot menu
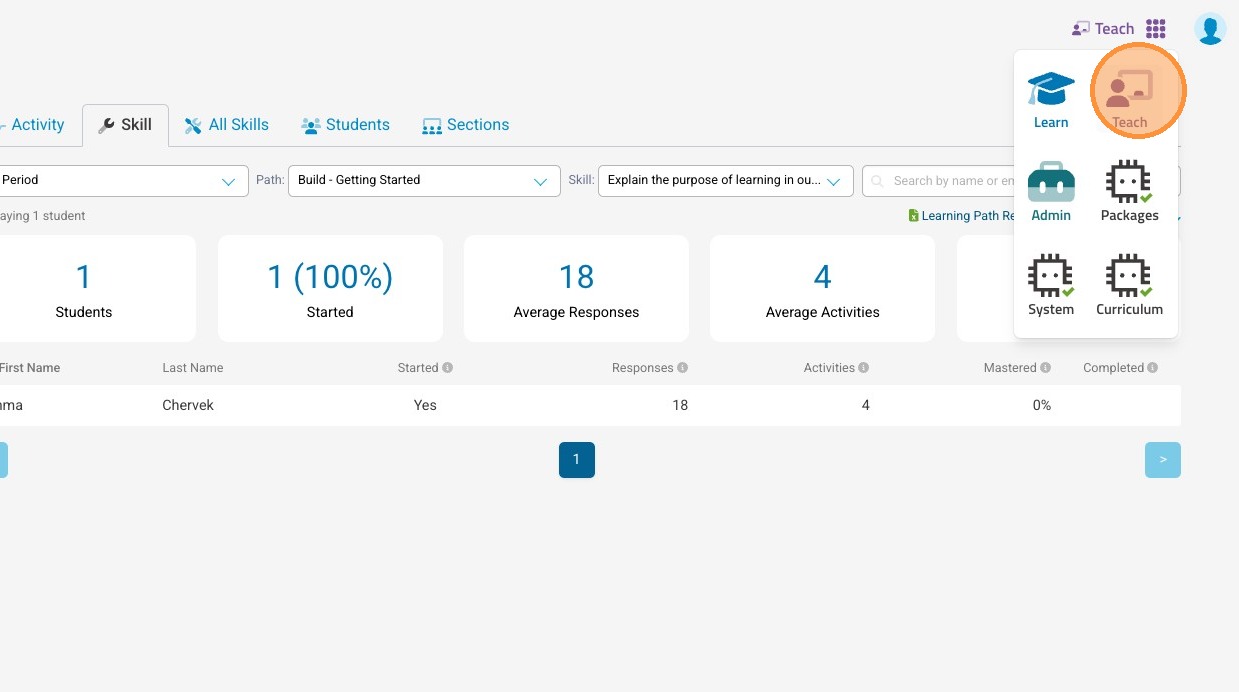
2. Select the "Teach" app
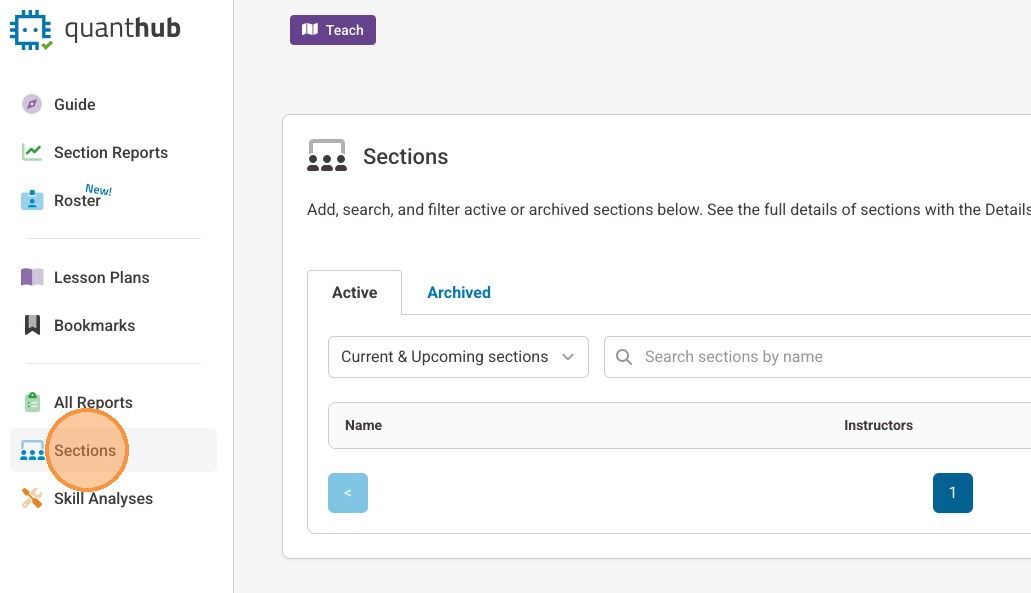
3. Select "Sections" in the left-side menu. Note: If you are a K12 user you will see "Classes" and if you are a corporate user you will see "Teams".
Create a new section
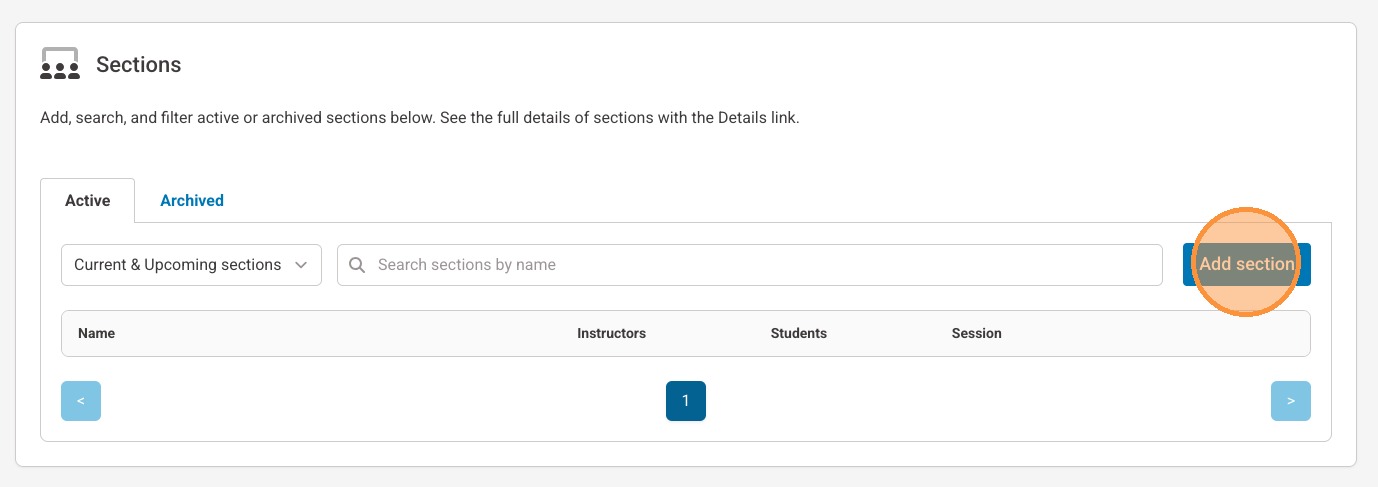
4. Select "Add section". Note: If you are a K12 user you will see "Add class" and if you are a corporate user you will see "Add team".
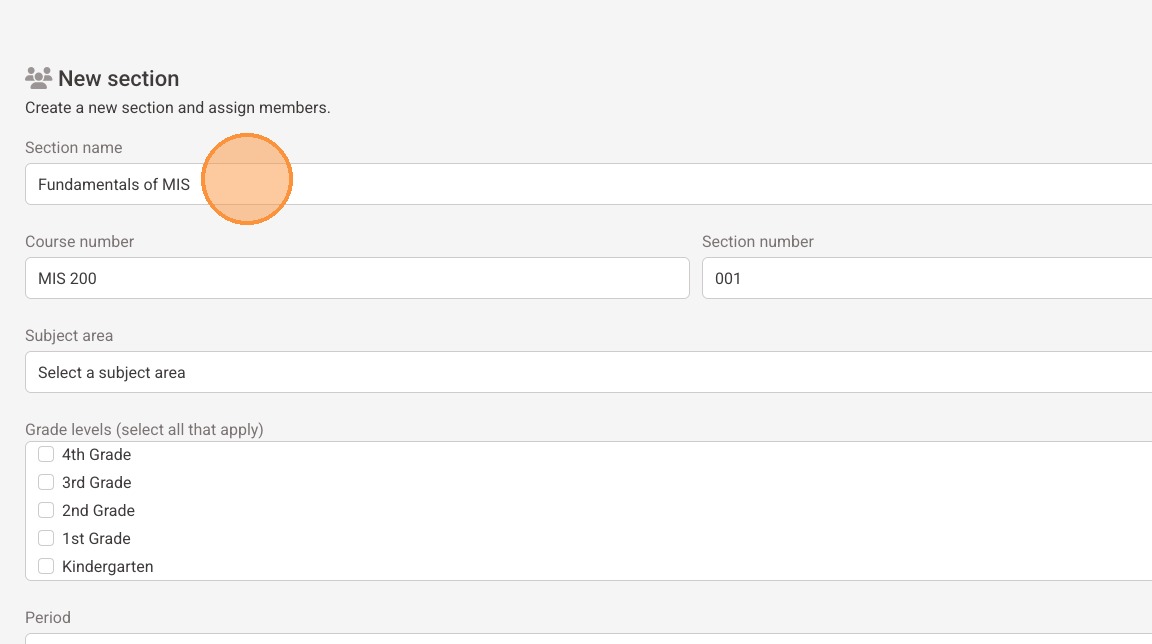
5. Give your section/class/team a name
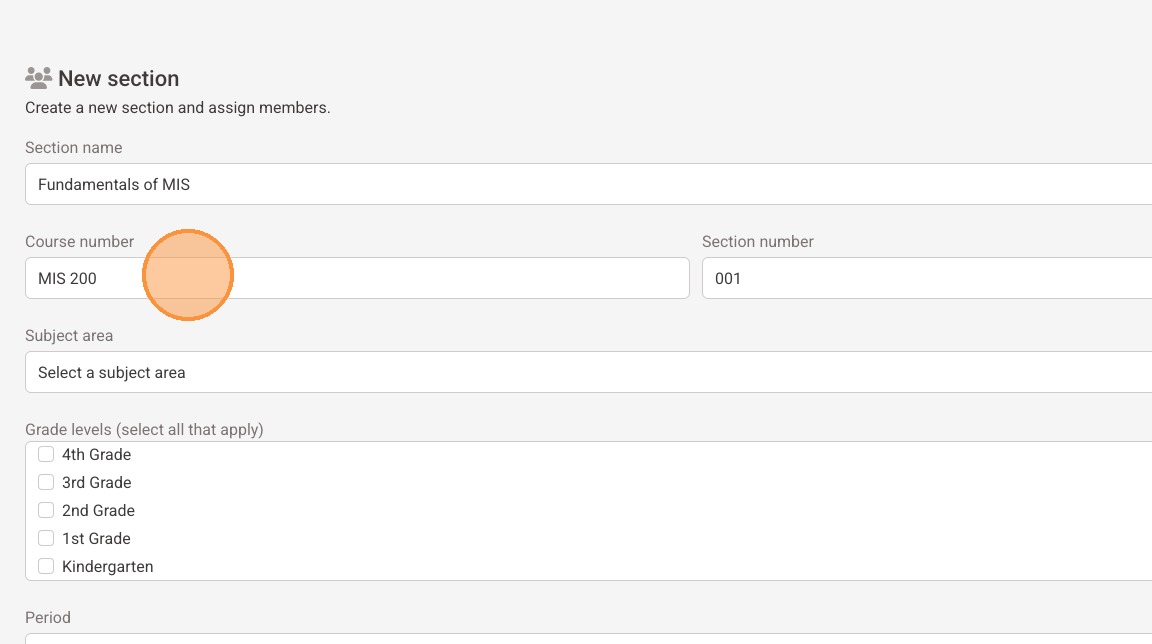
6. For higher education users, enter the course number
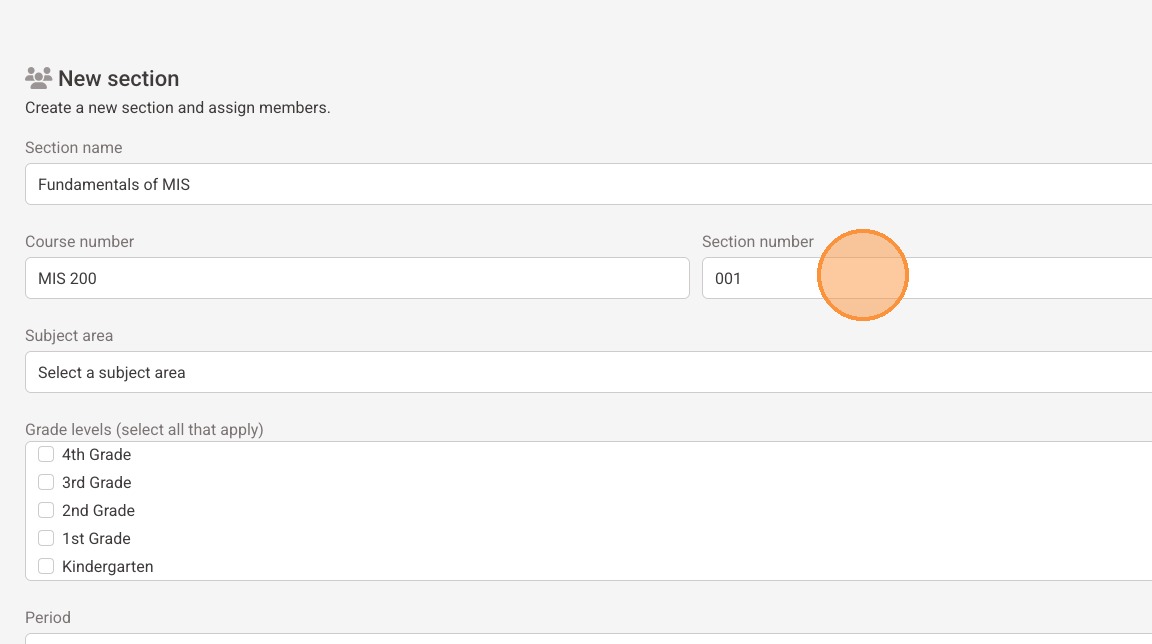
7. For higher education users, enter the section number
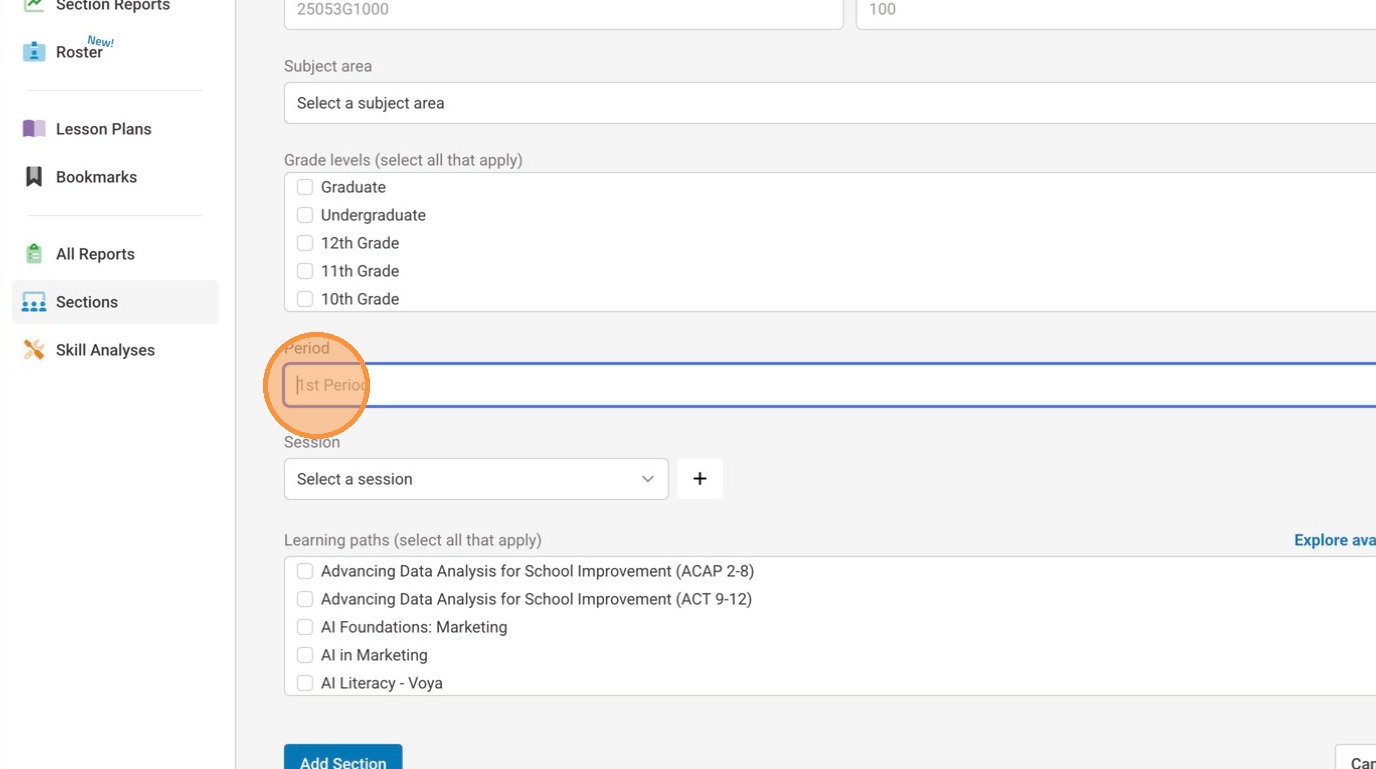
8. For K12 users, enter your period or block information
Set up a session
9. Select a session, if one exists
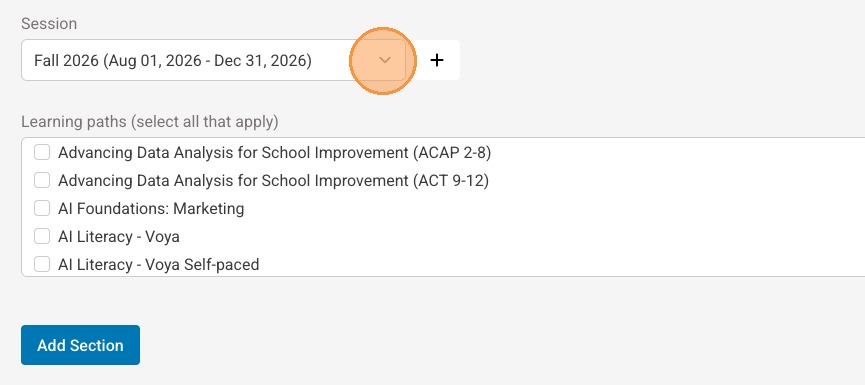
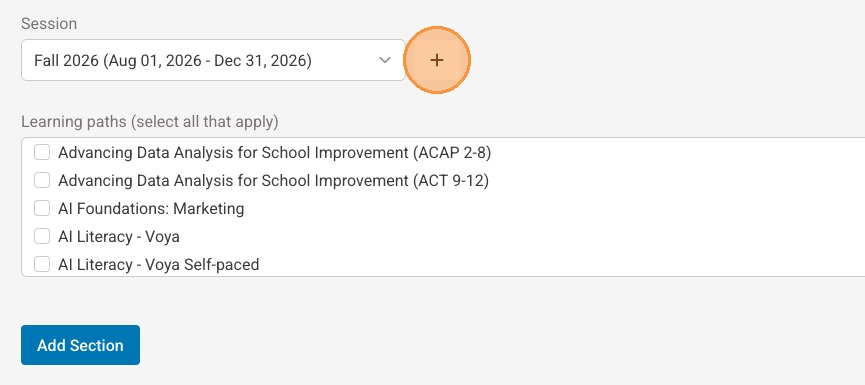
10. If a session does not already exist, select "+"
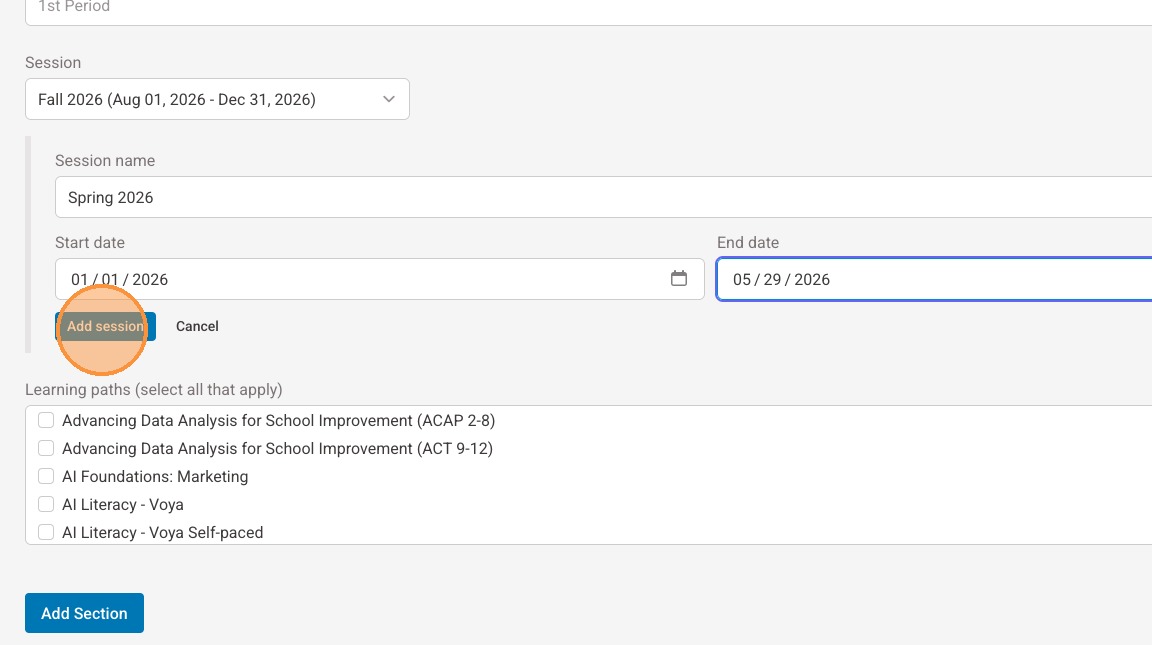
11. Enter a name for the session
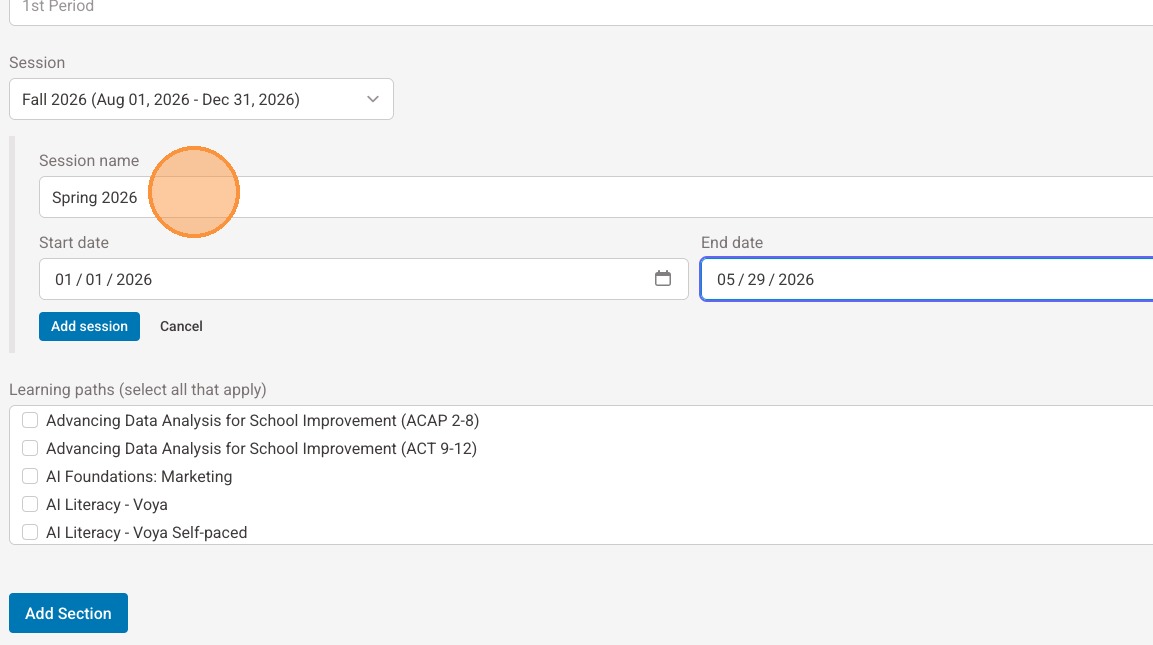
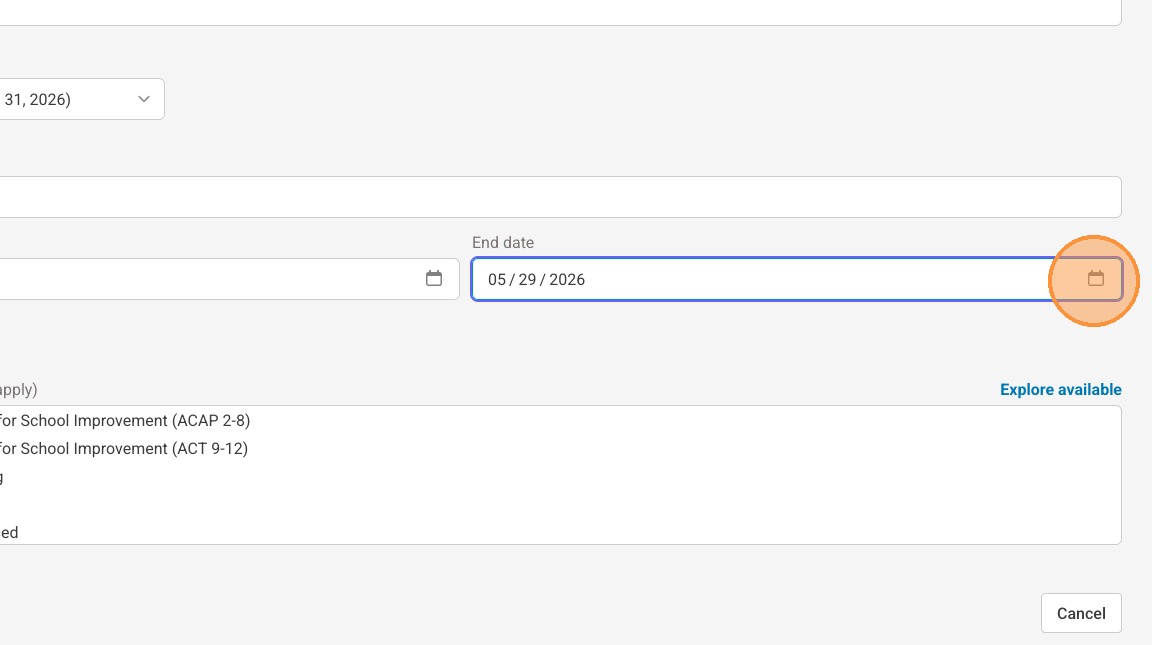
12. Use the date picker to select the start date for the session
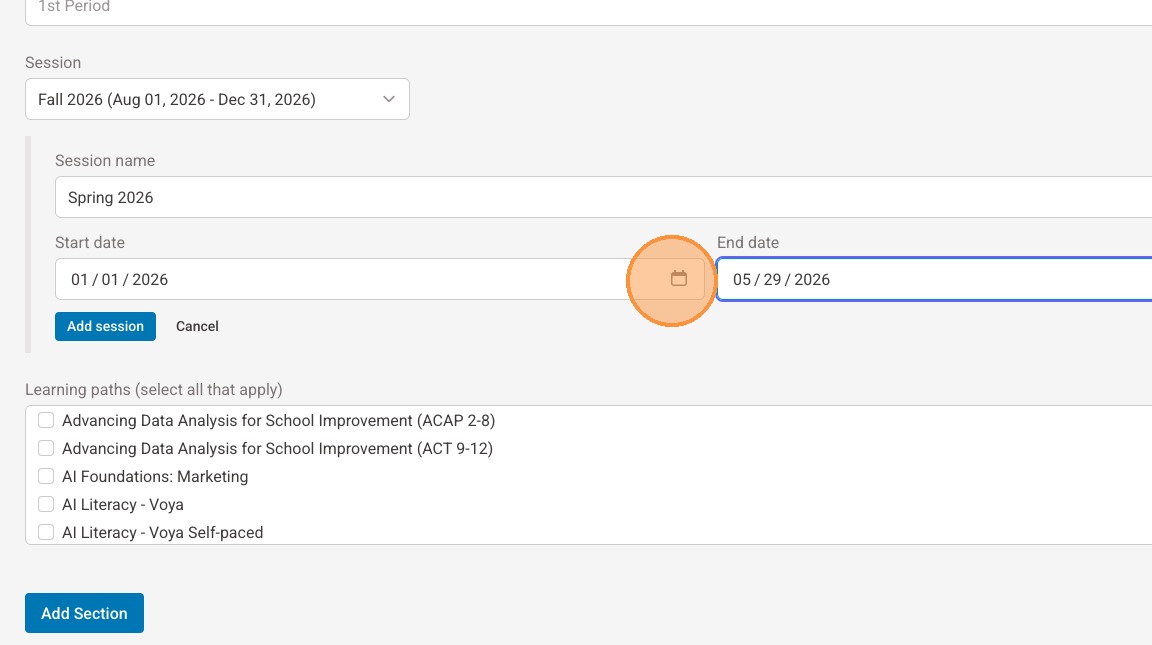
13. Use the date picker to select the end date for the session
14. Select "Add session"
Select learning paths and finish
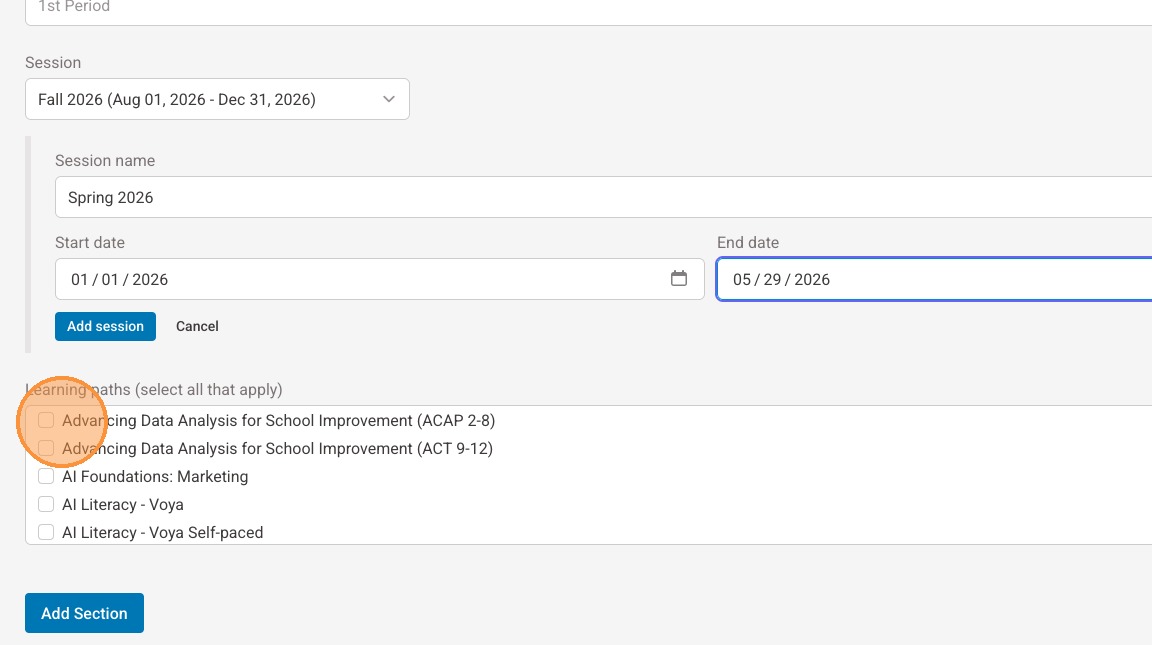
15. Select the appropriate learning path(s) for your course
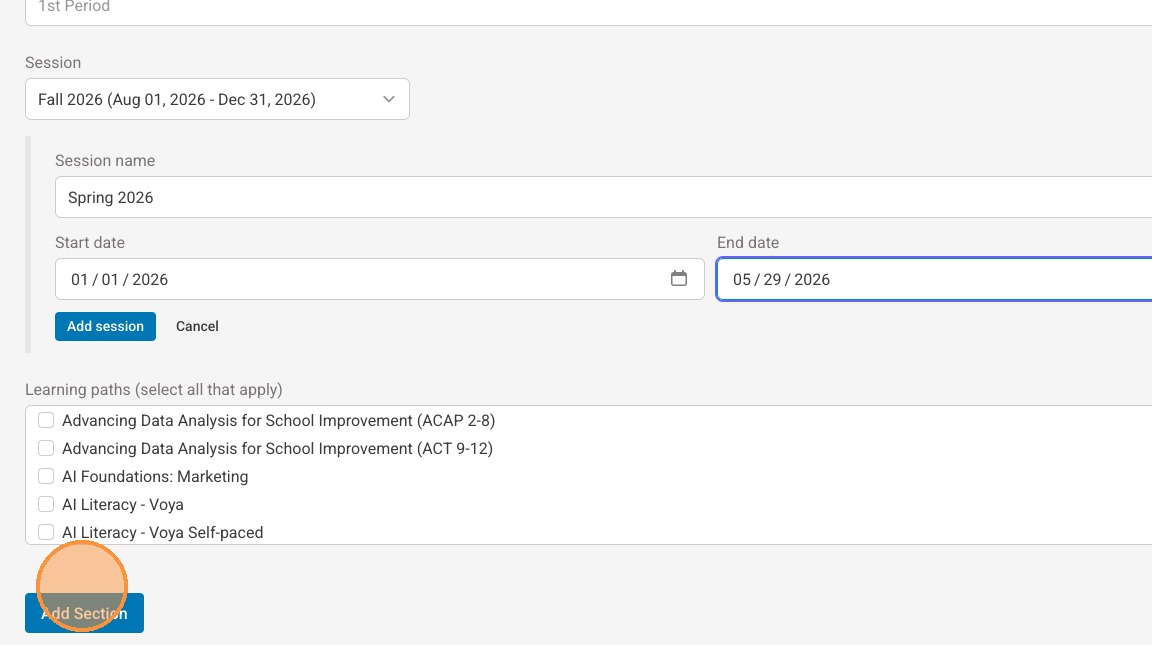
16. Select "Add section"
Was this article helpful?
That’s Great!
Thank you for your feedback
Sorry! We couldn't be helpful
Thank you for your feedback
Feedback sent
We appreciate your effort and will try to fix the article