Watch the video below OR scroll down to view the step by step guide.
TABLE OF CONTENTS
Video Tutorial
Step By Step Guide
1. Navigate to canvas
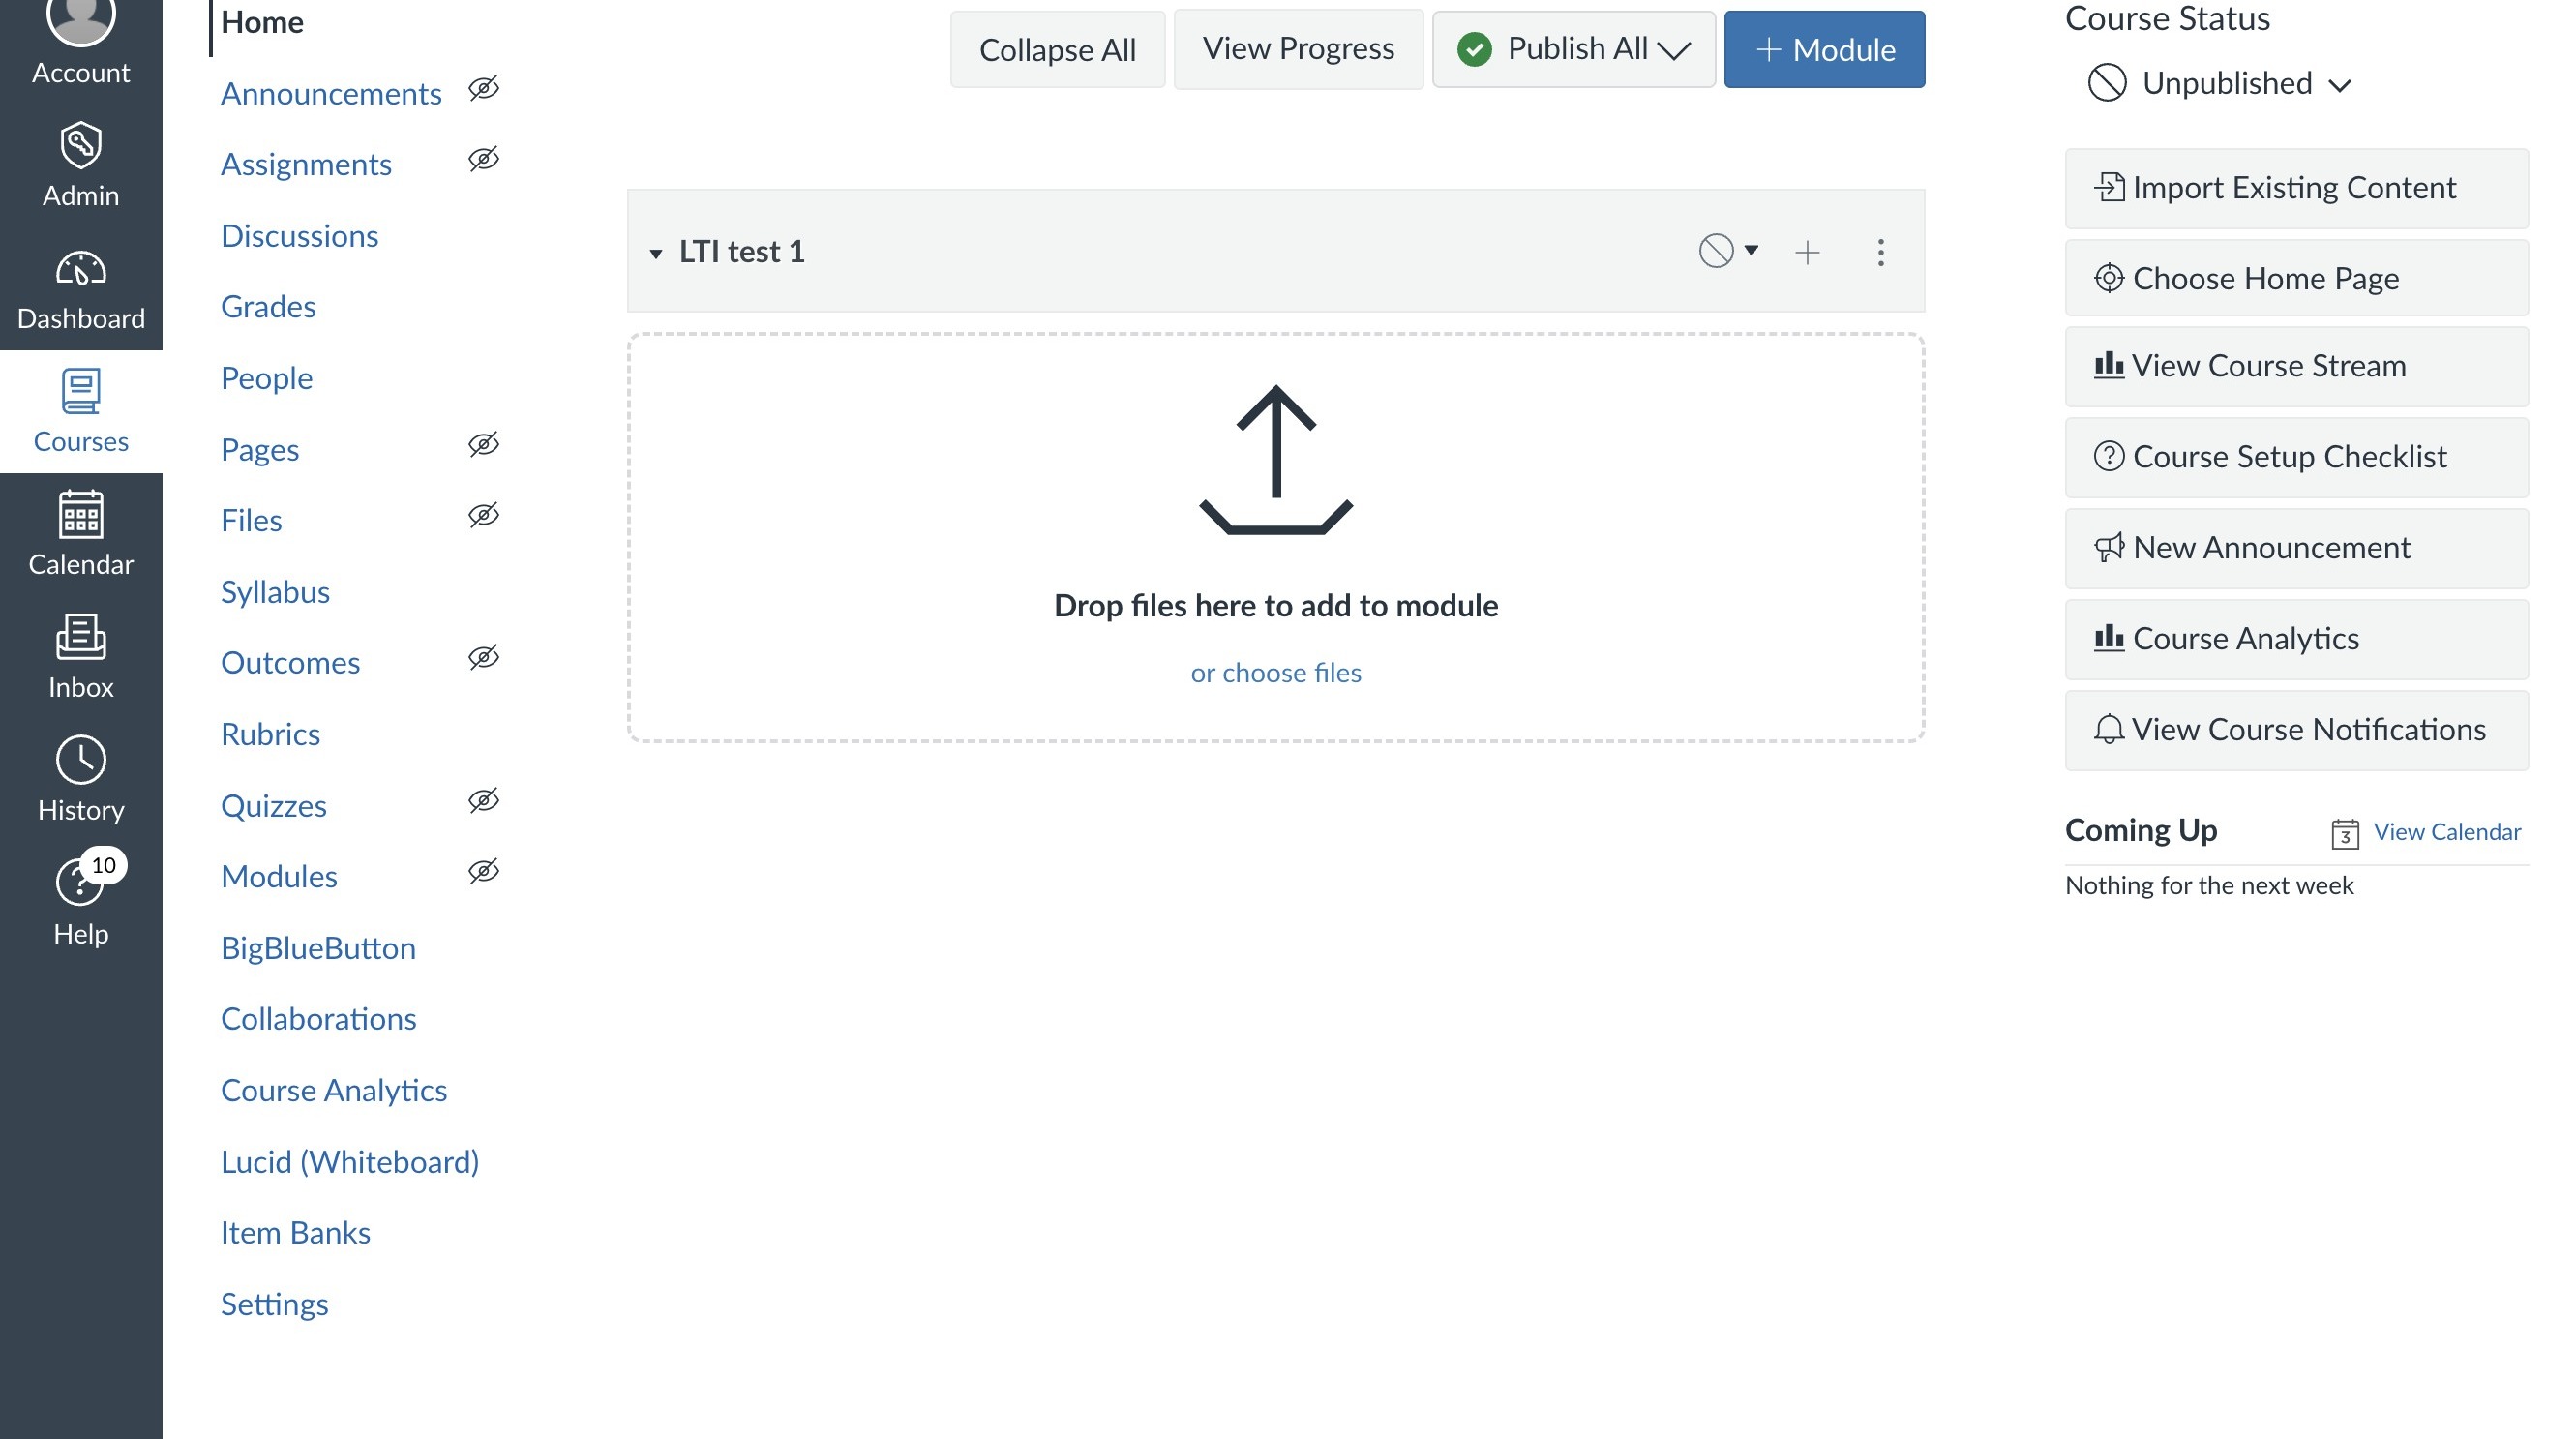
Rostering
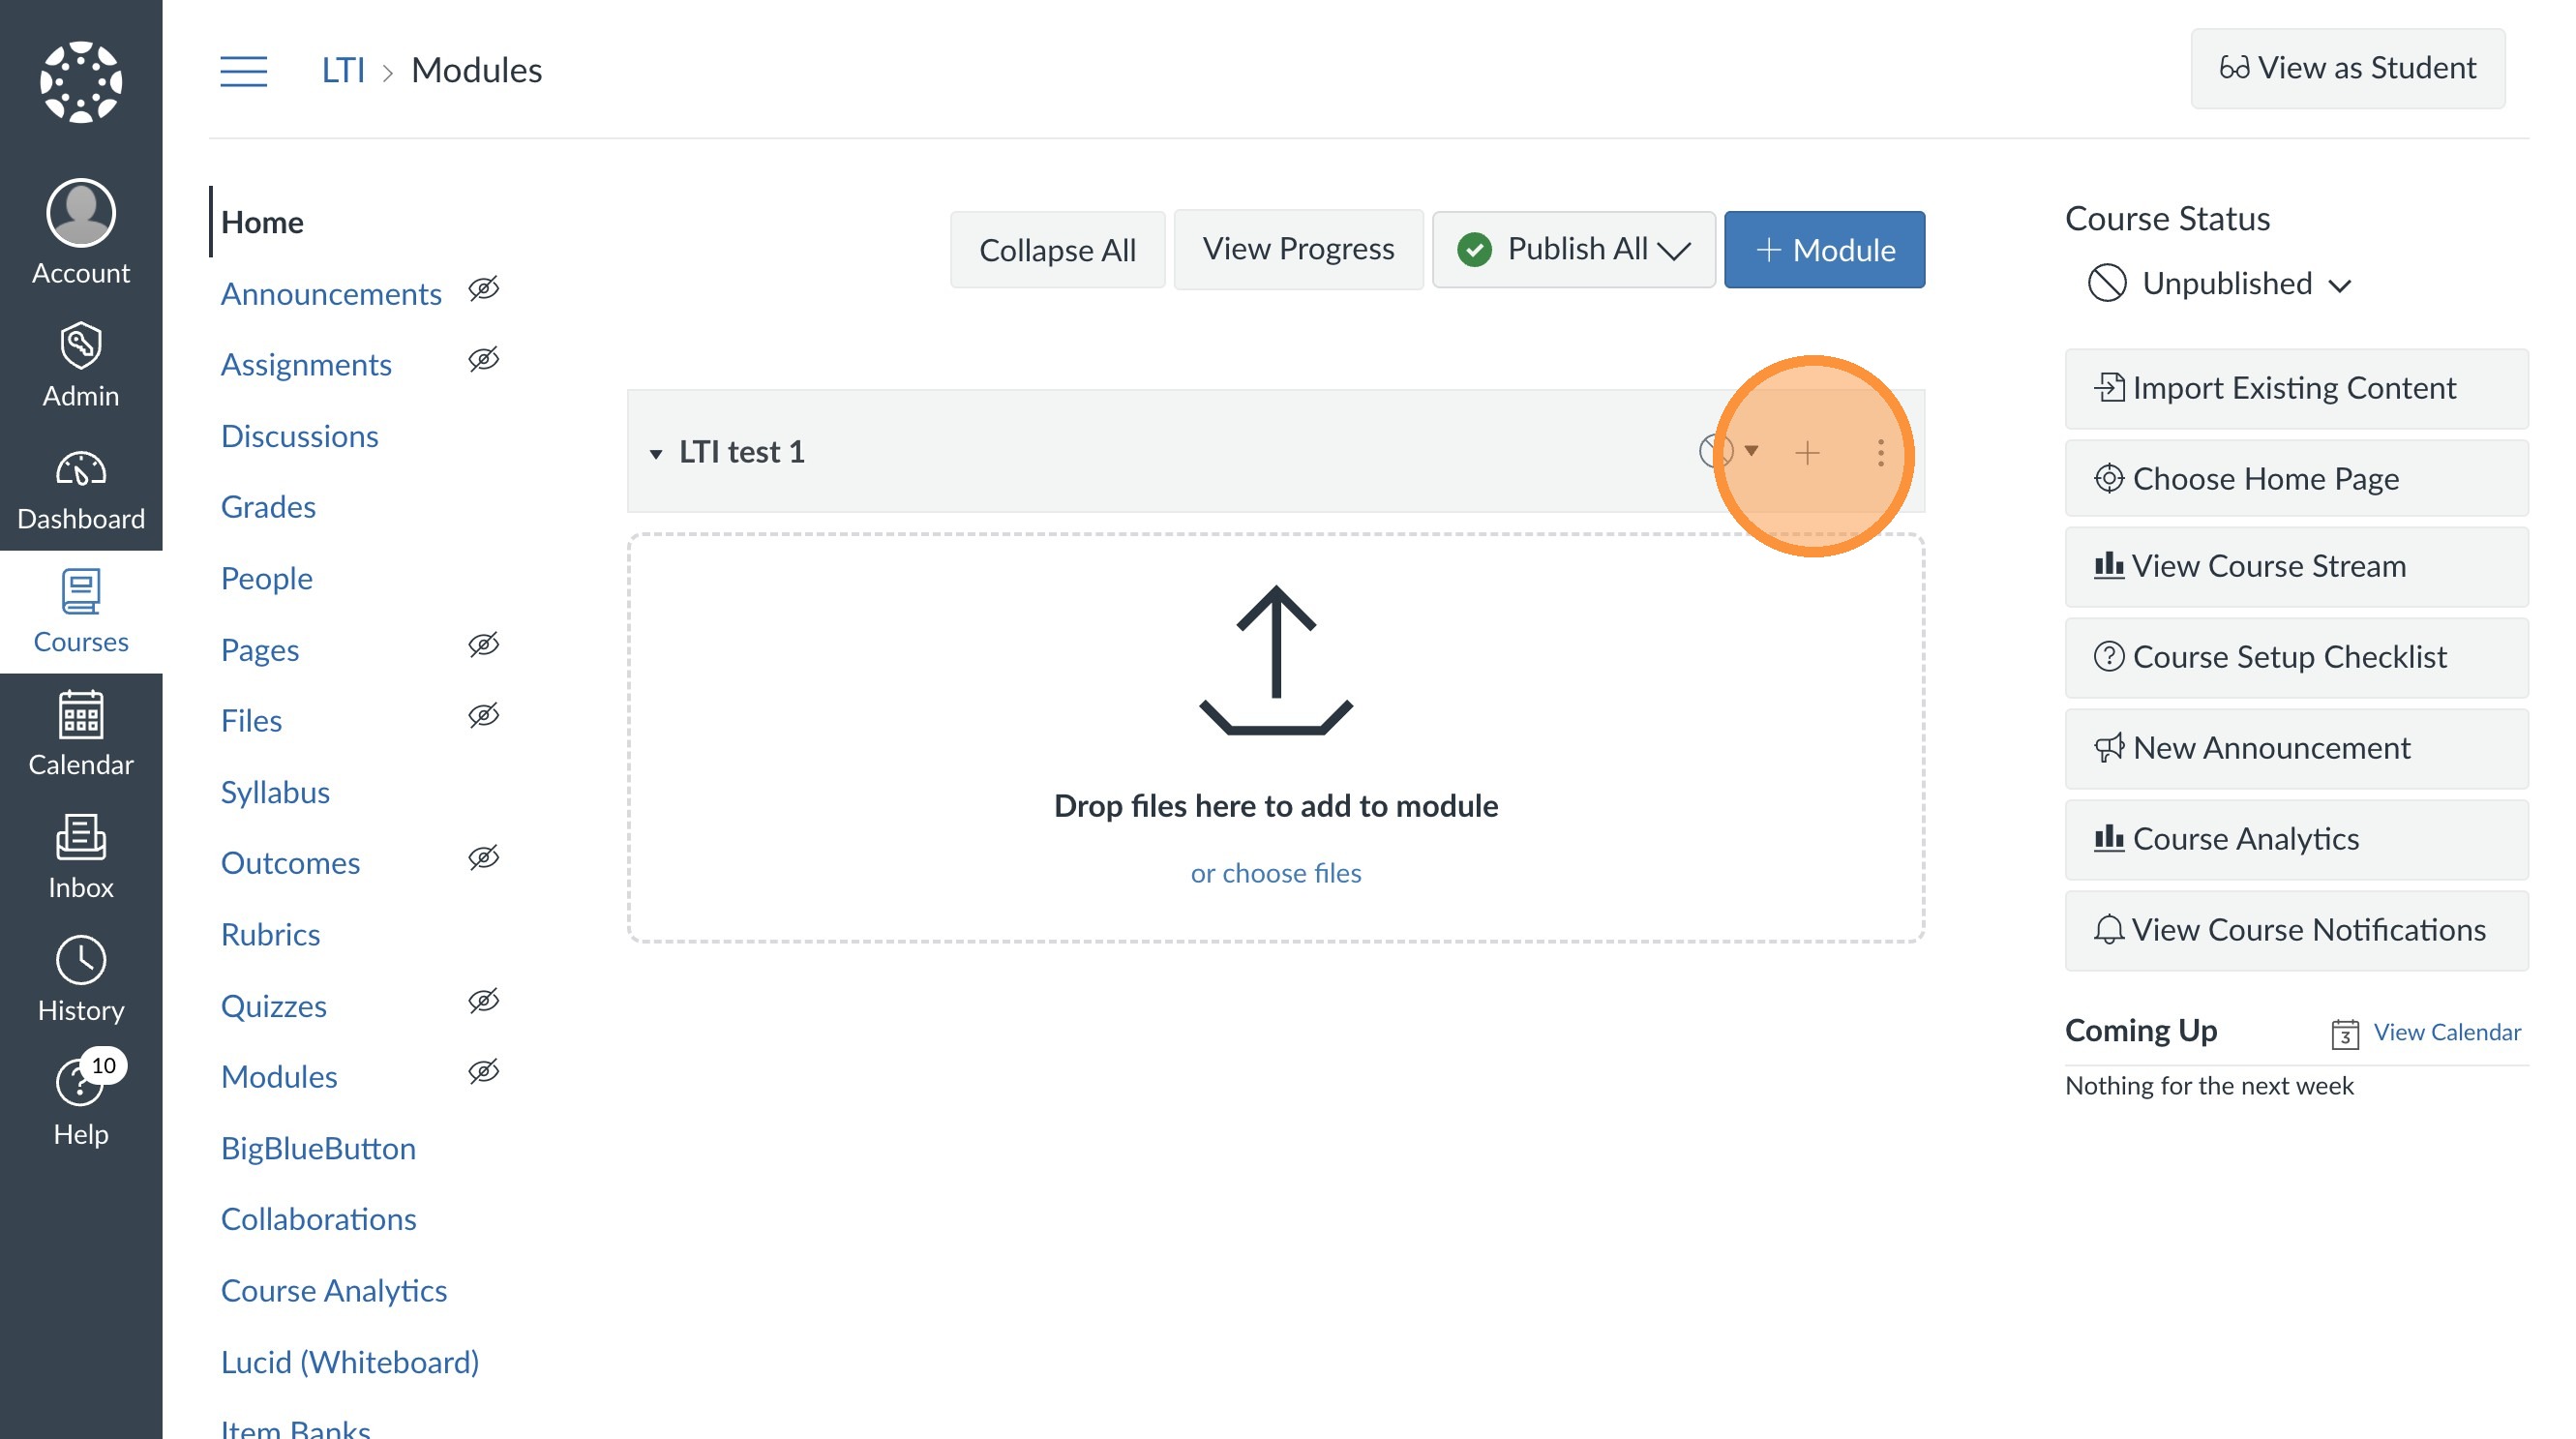
2. Select the plus bottom.
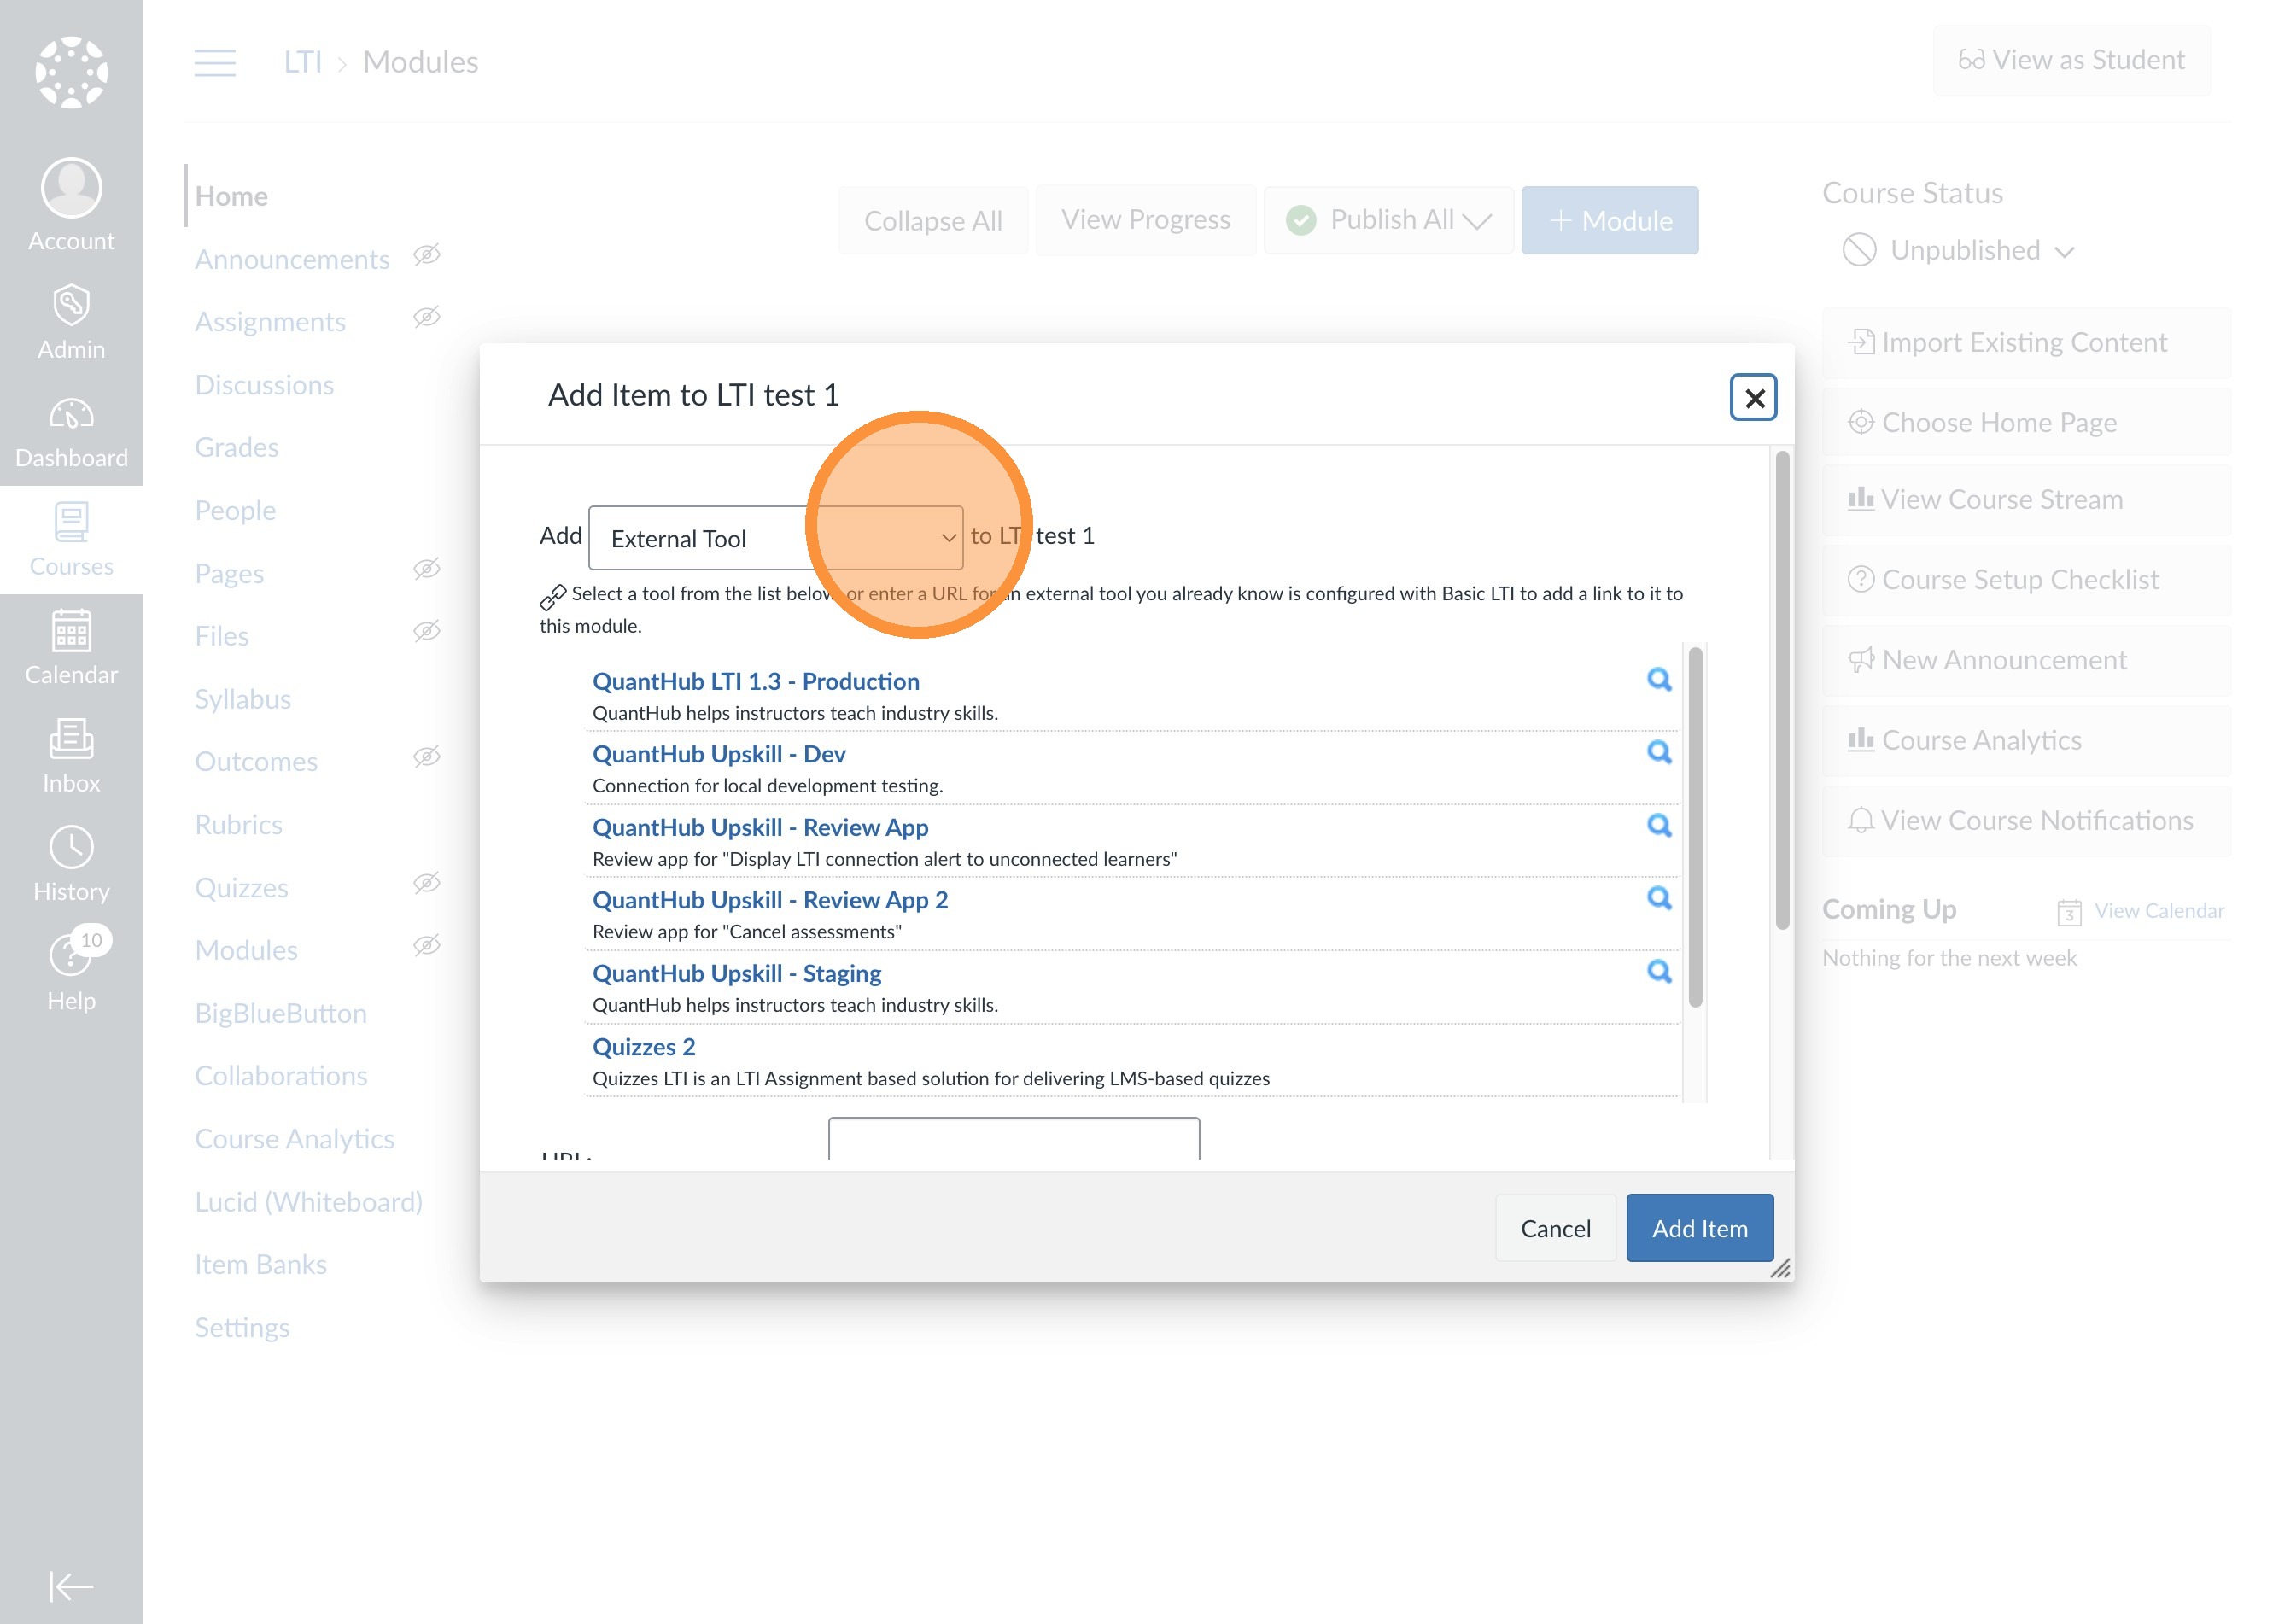
3. Select the "add" dropdown and select "external tool."
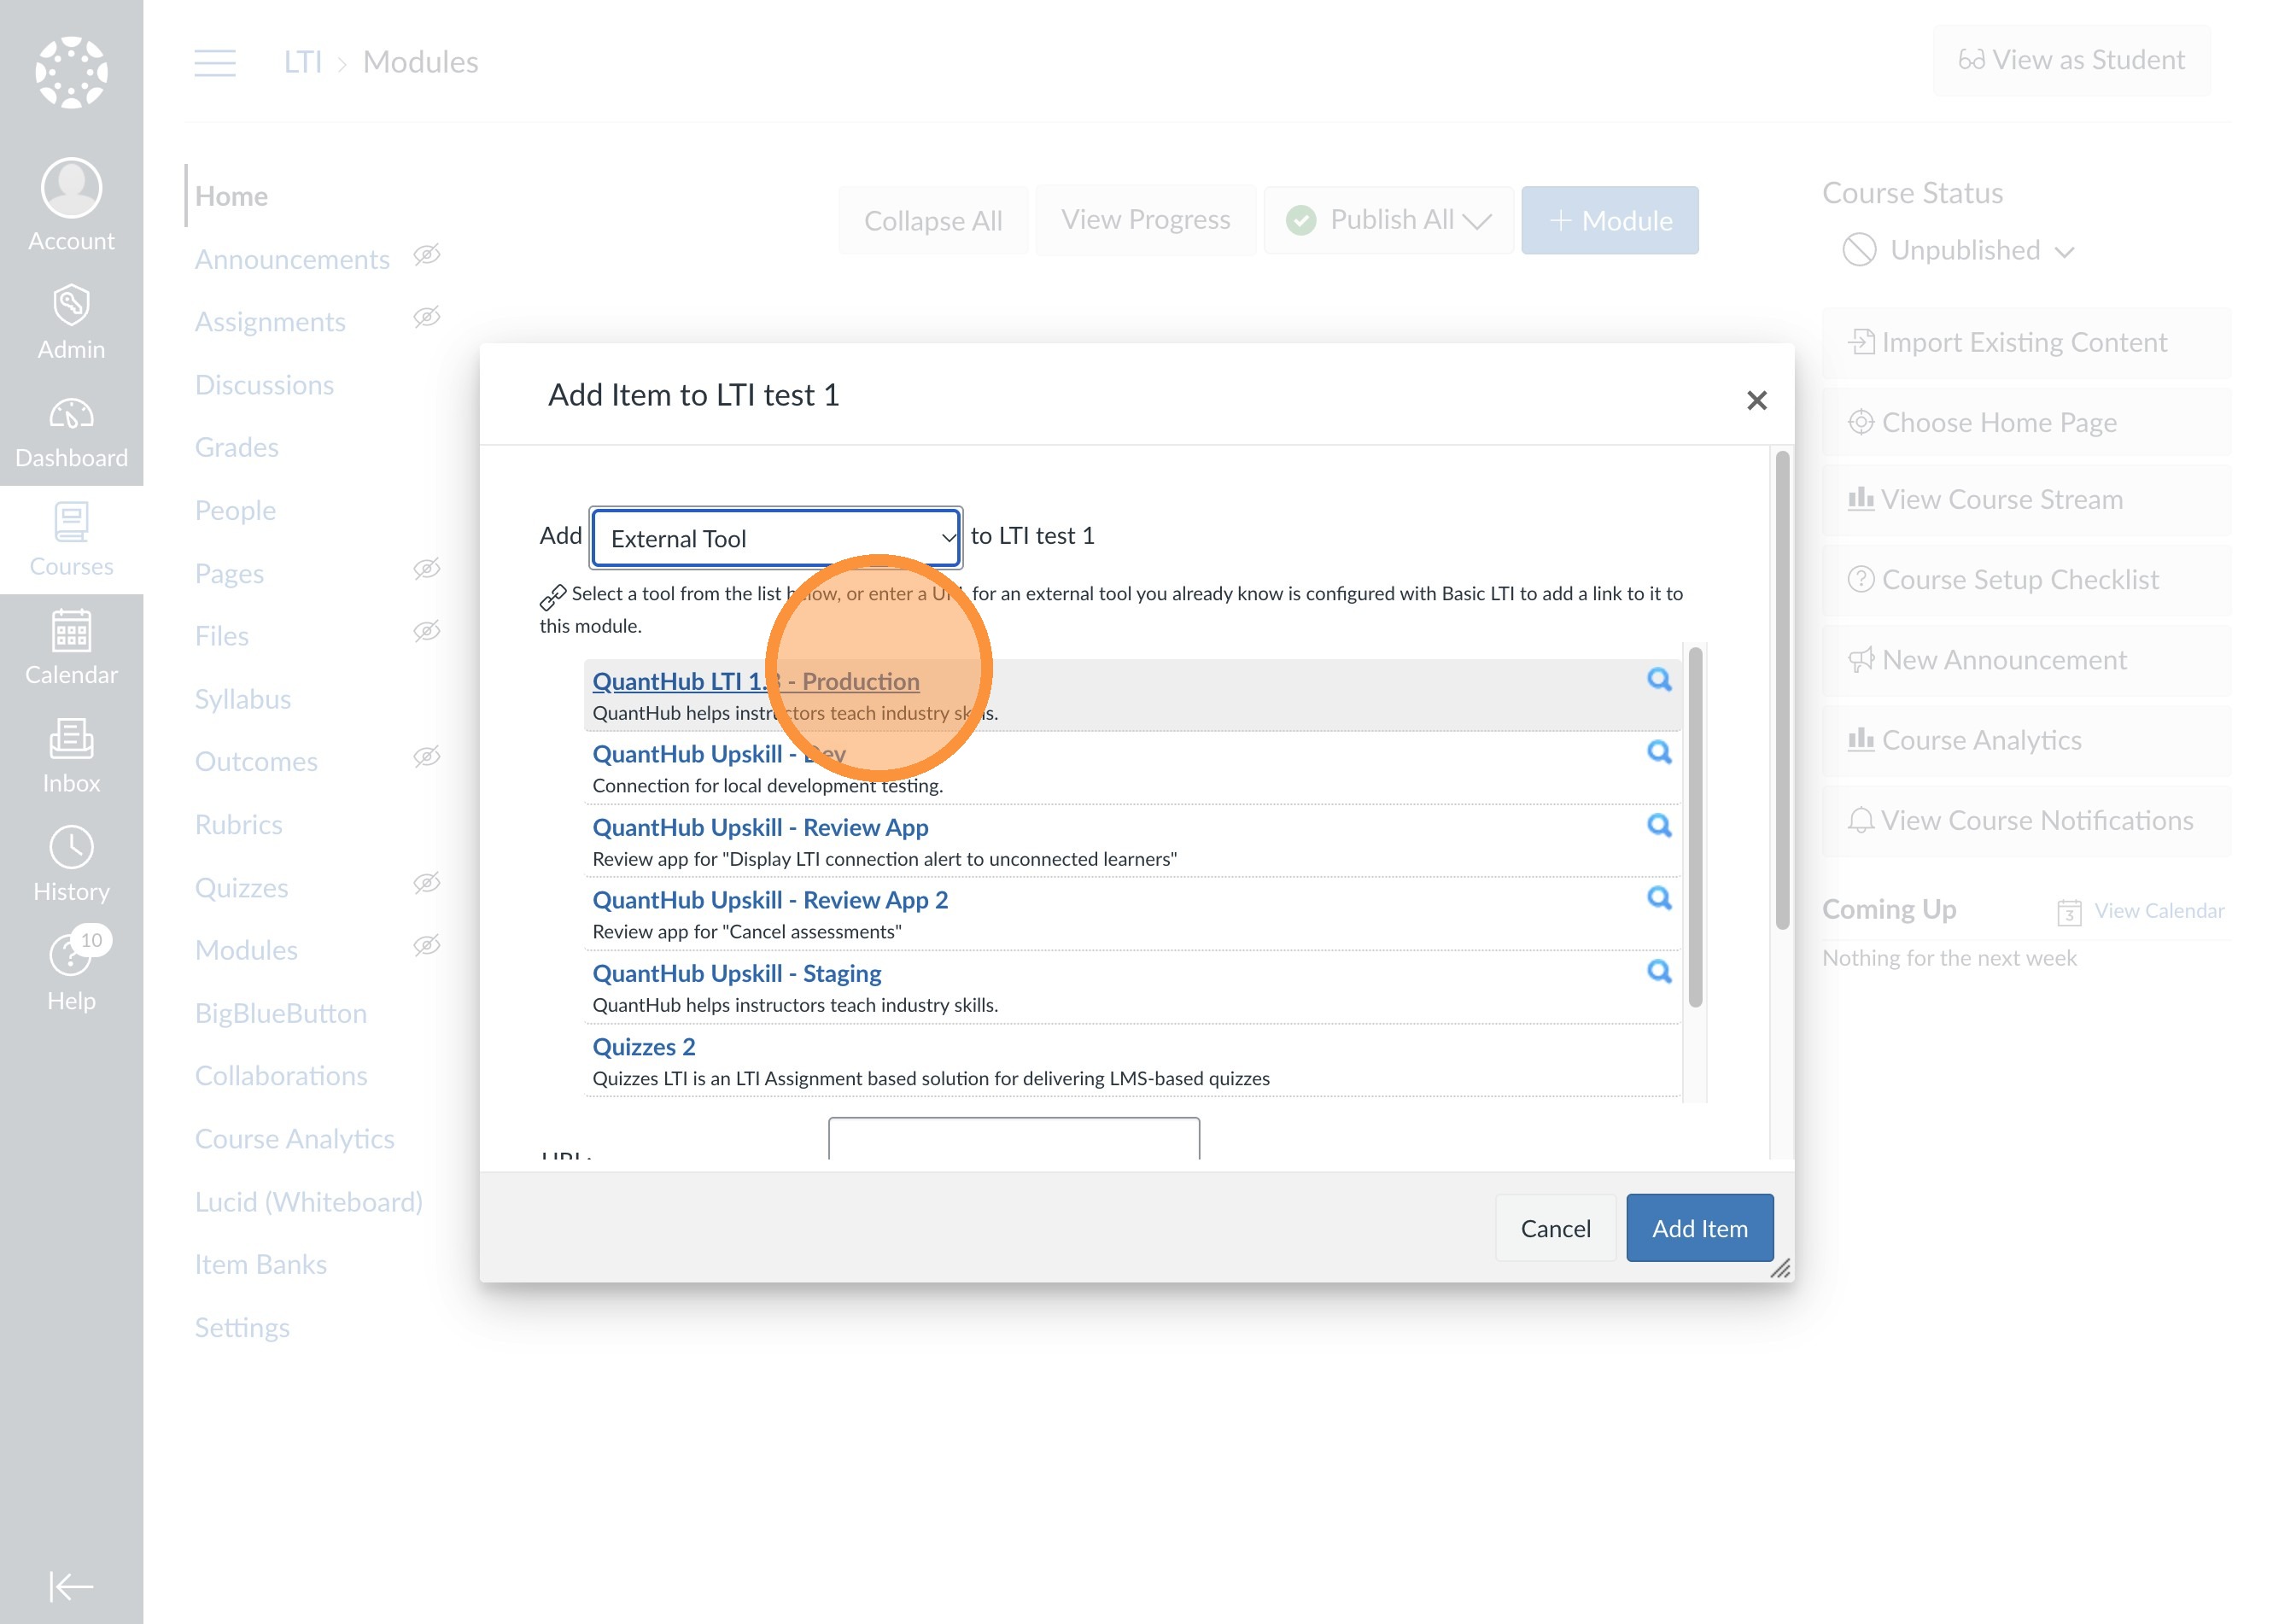
4. Find the "QuantHub LTI 1.3" app.
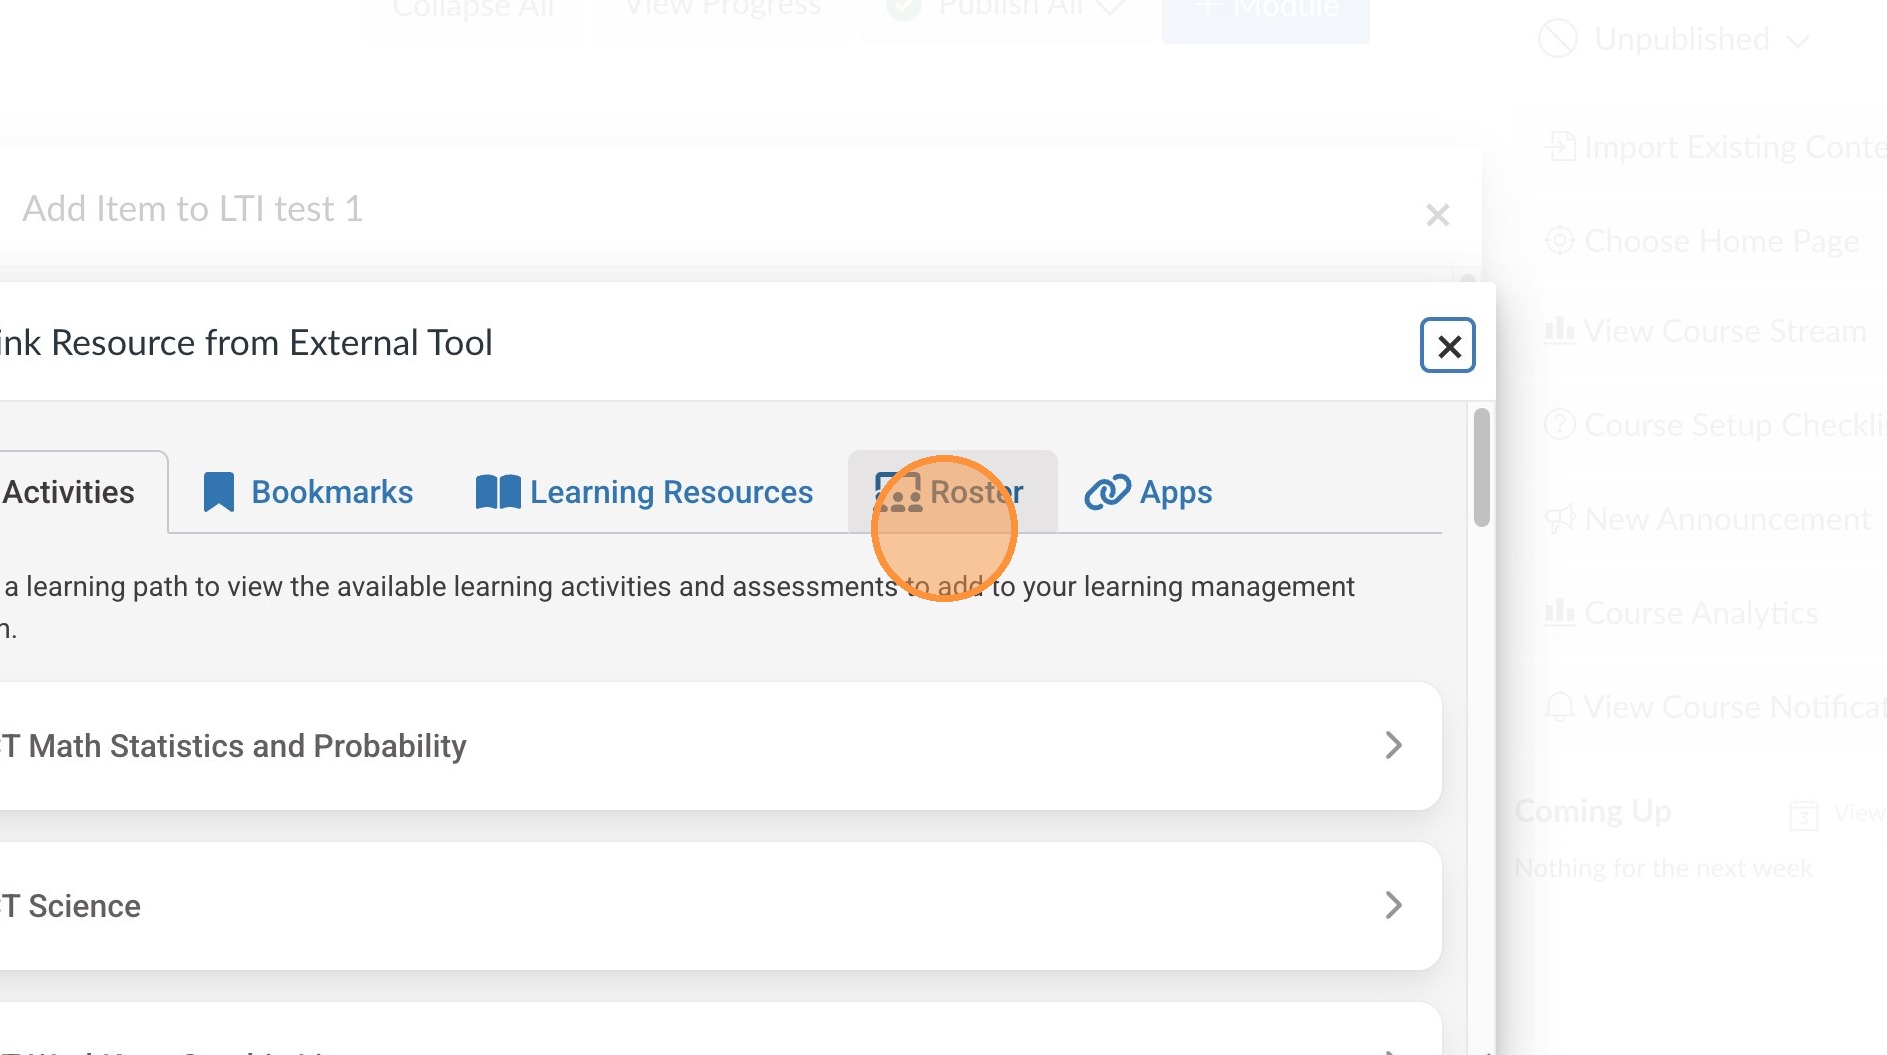
5. Select the "roster" tab.
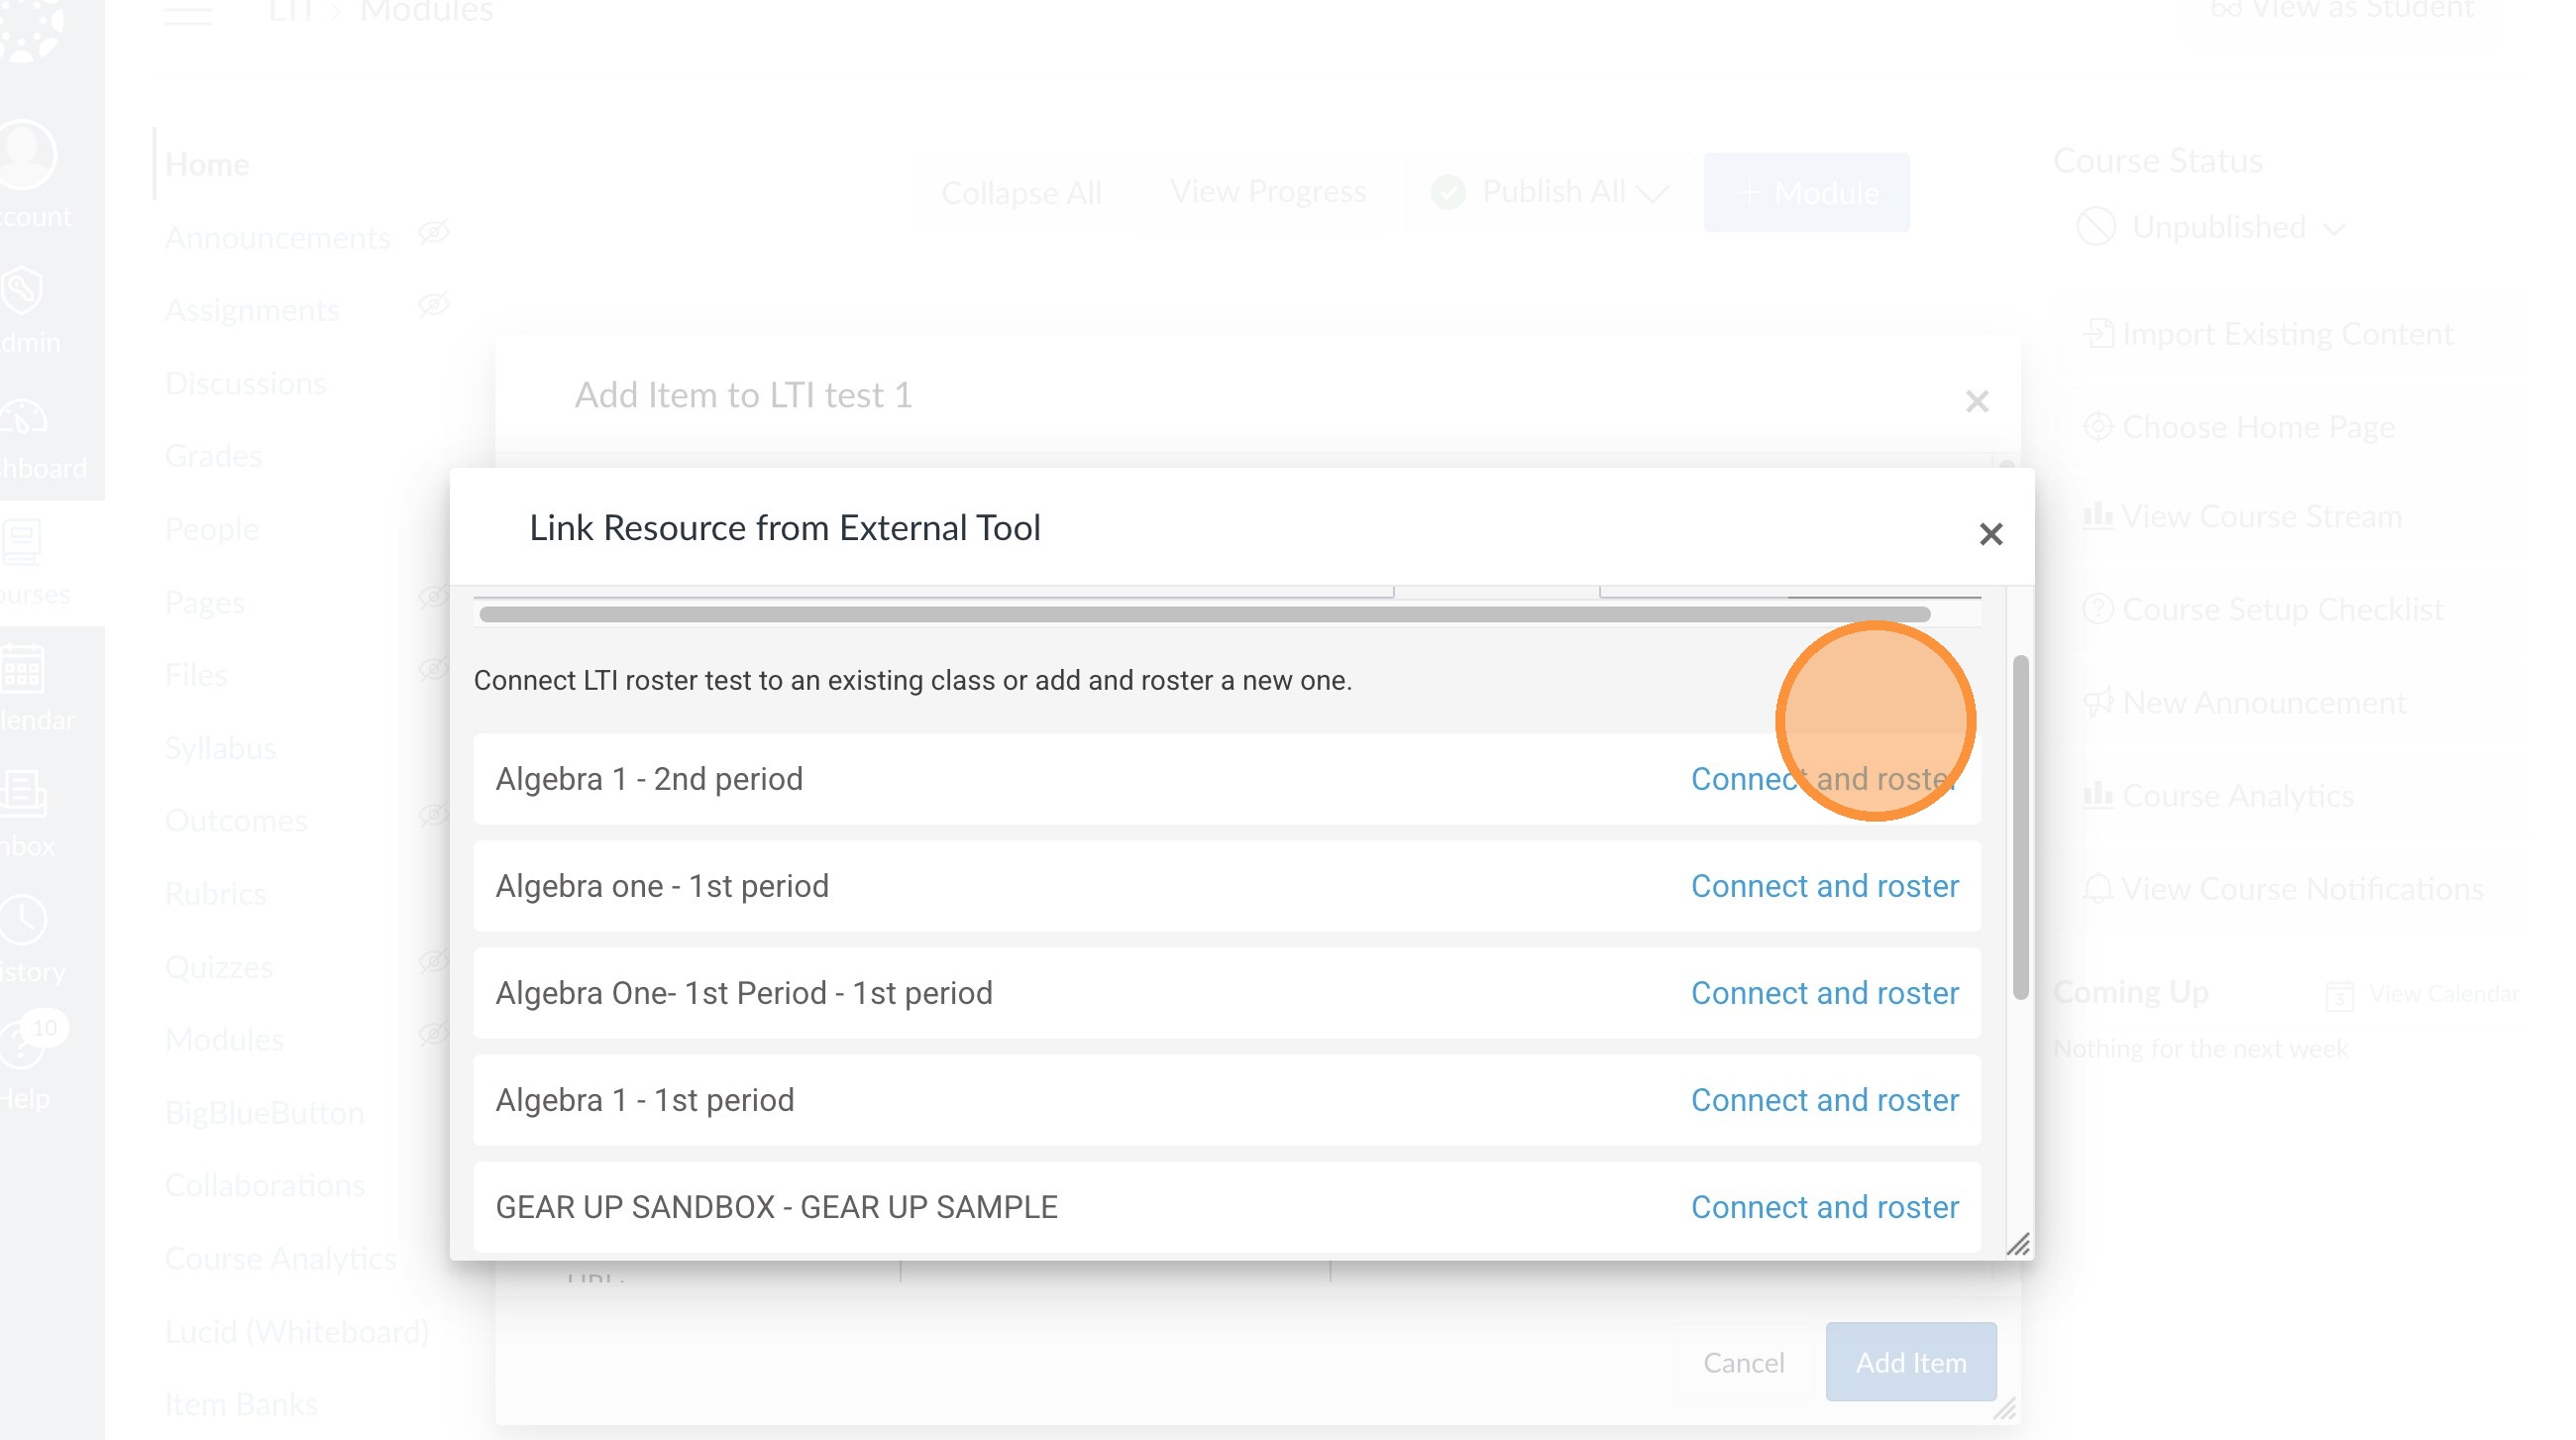
6. You can select "connect and roster" if you've already set up your classes inhttps://upskill.quanthub.com/ to sync your roster to an existing QuantHub class.
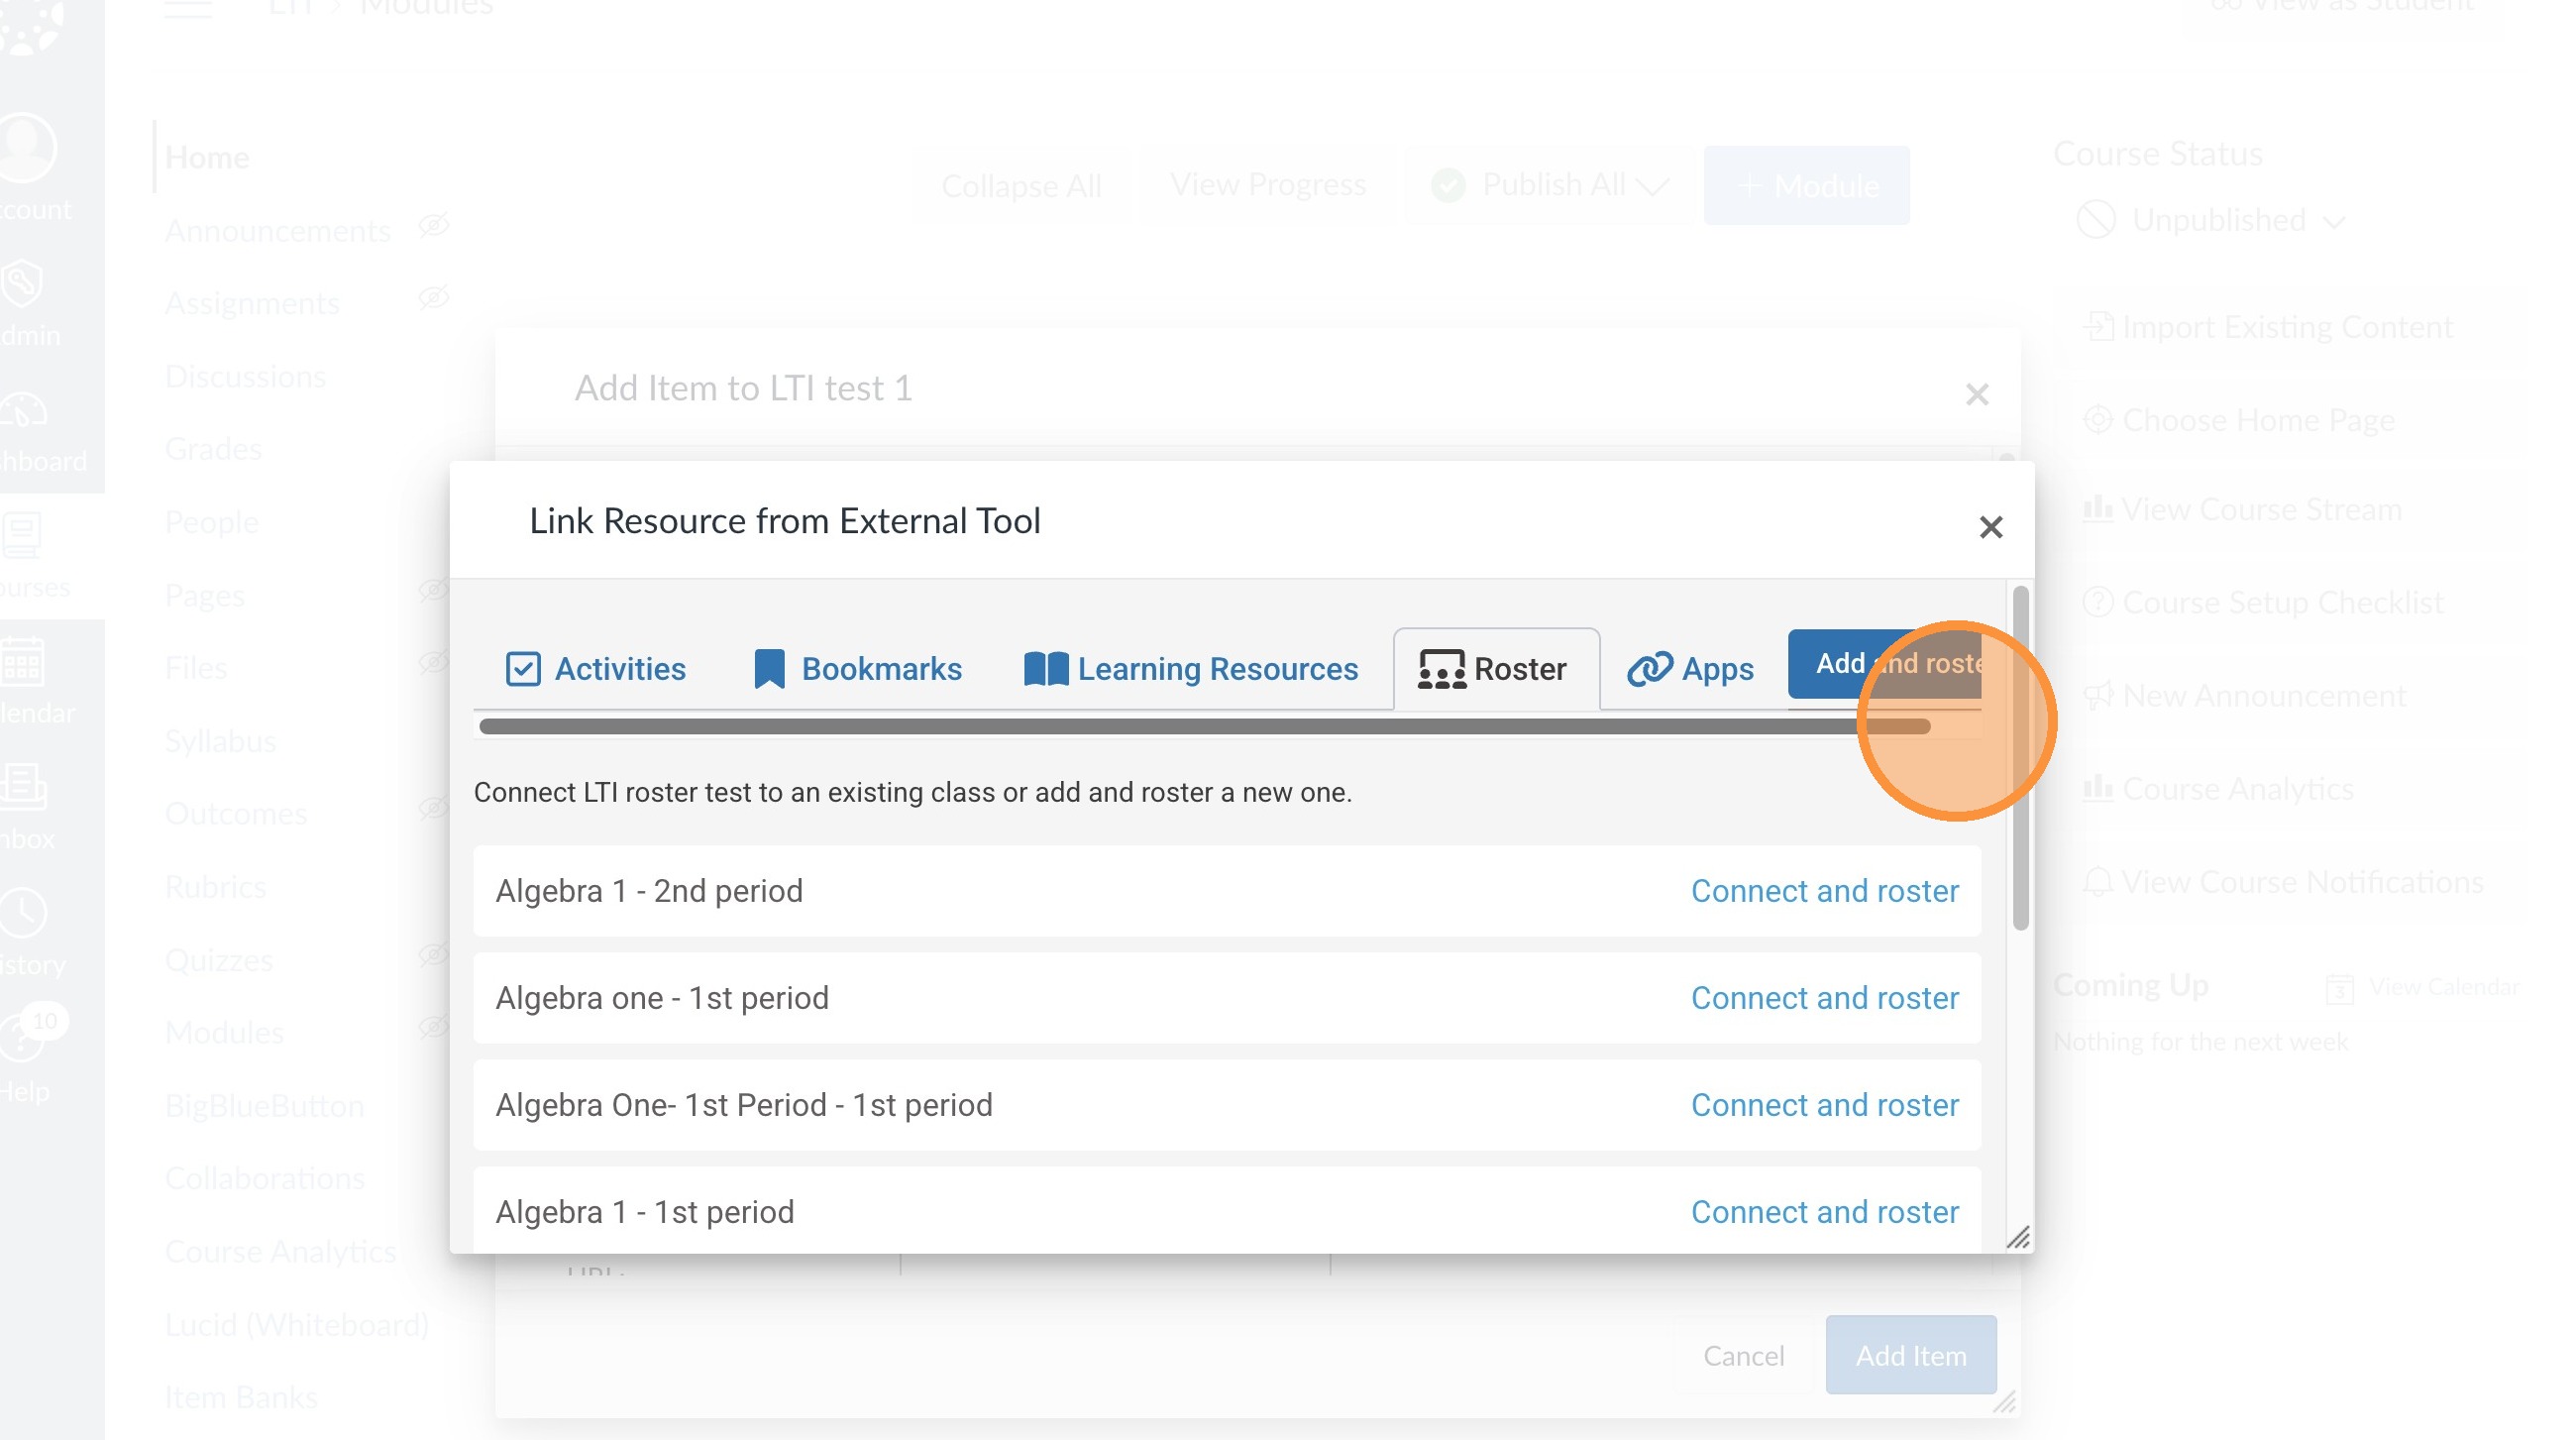
7. Select "add and roster" to create new QuantHub class and sync your students.
Assigning Work
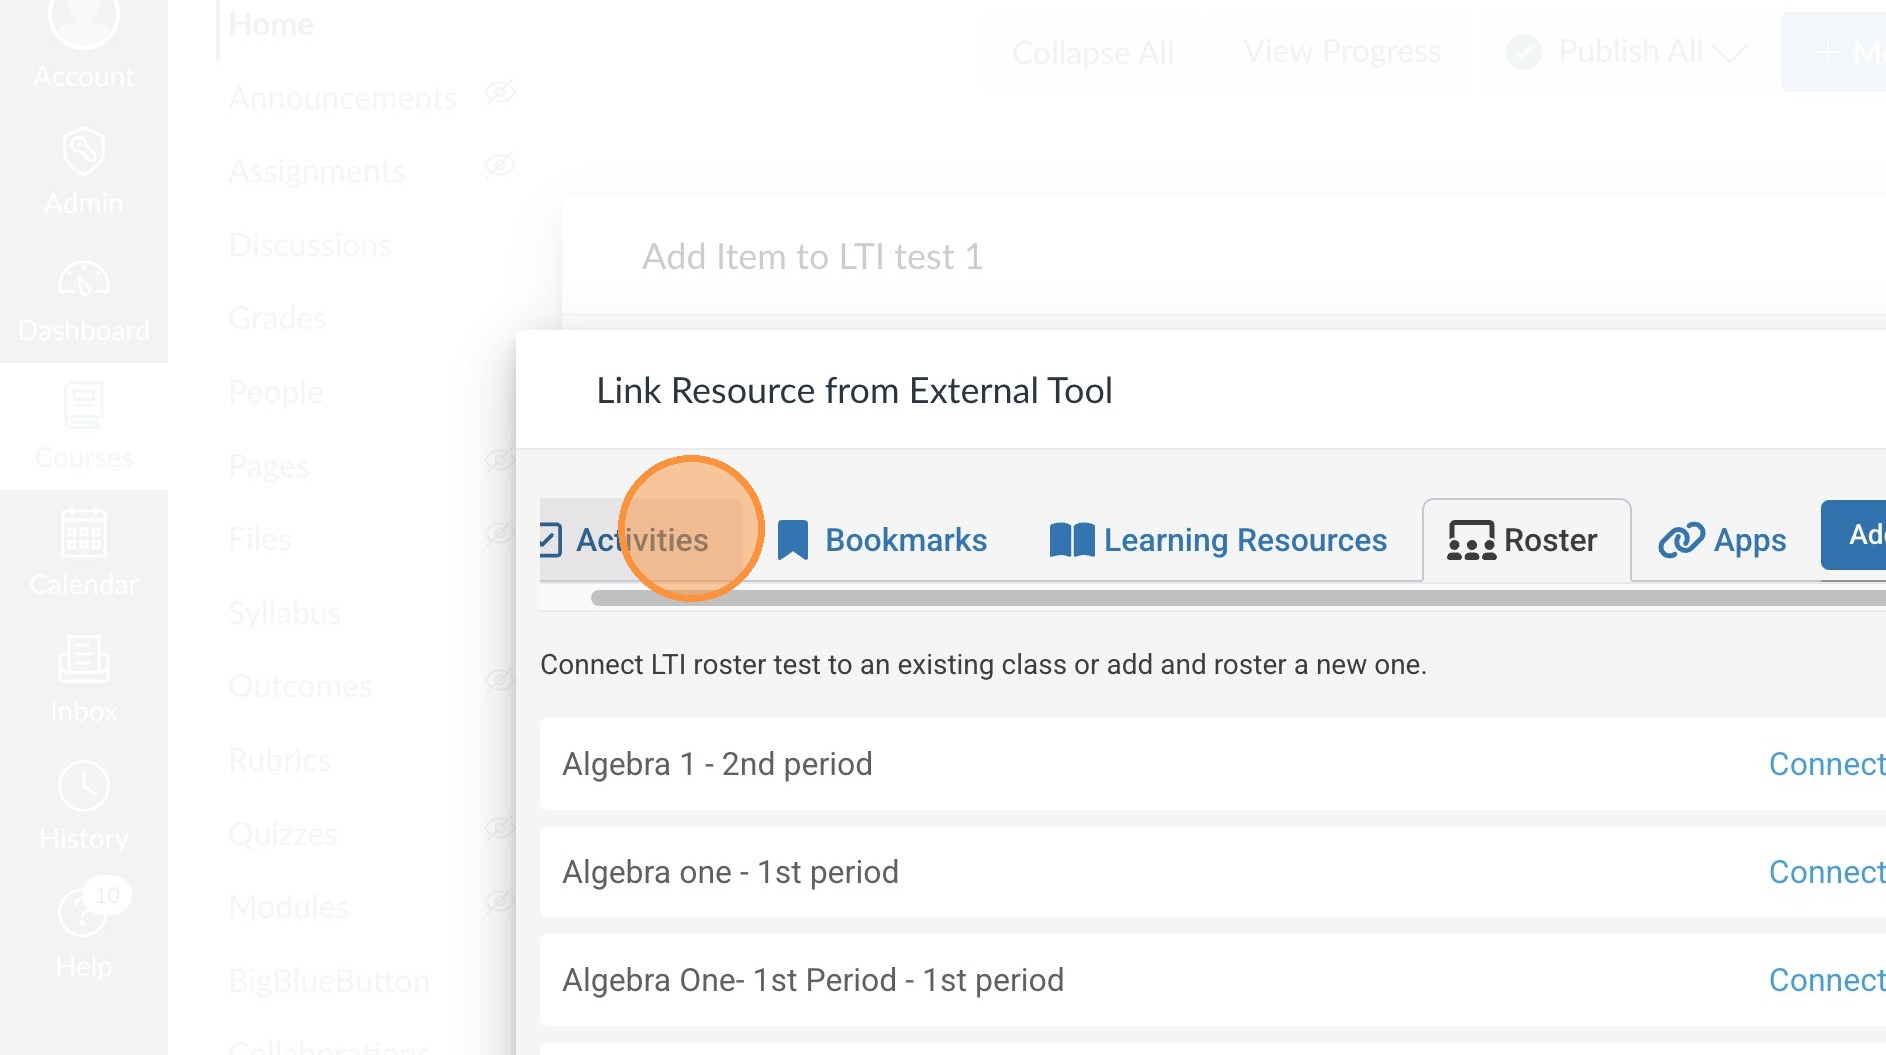
8. Select "Activities" within the LTI 1.3 app.
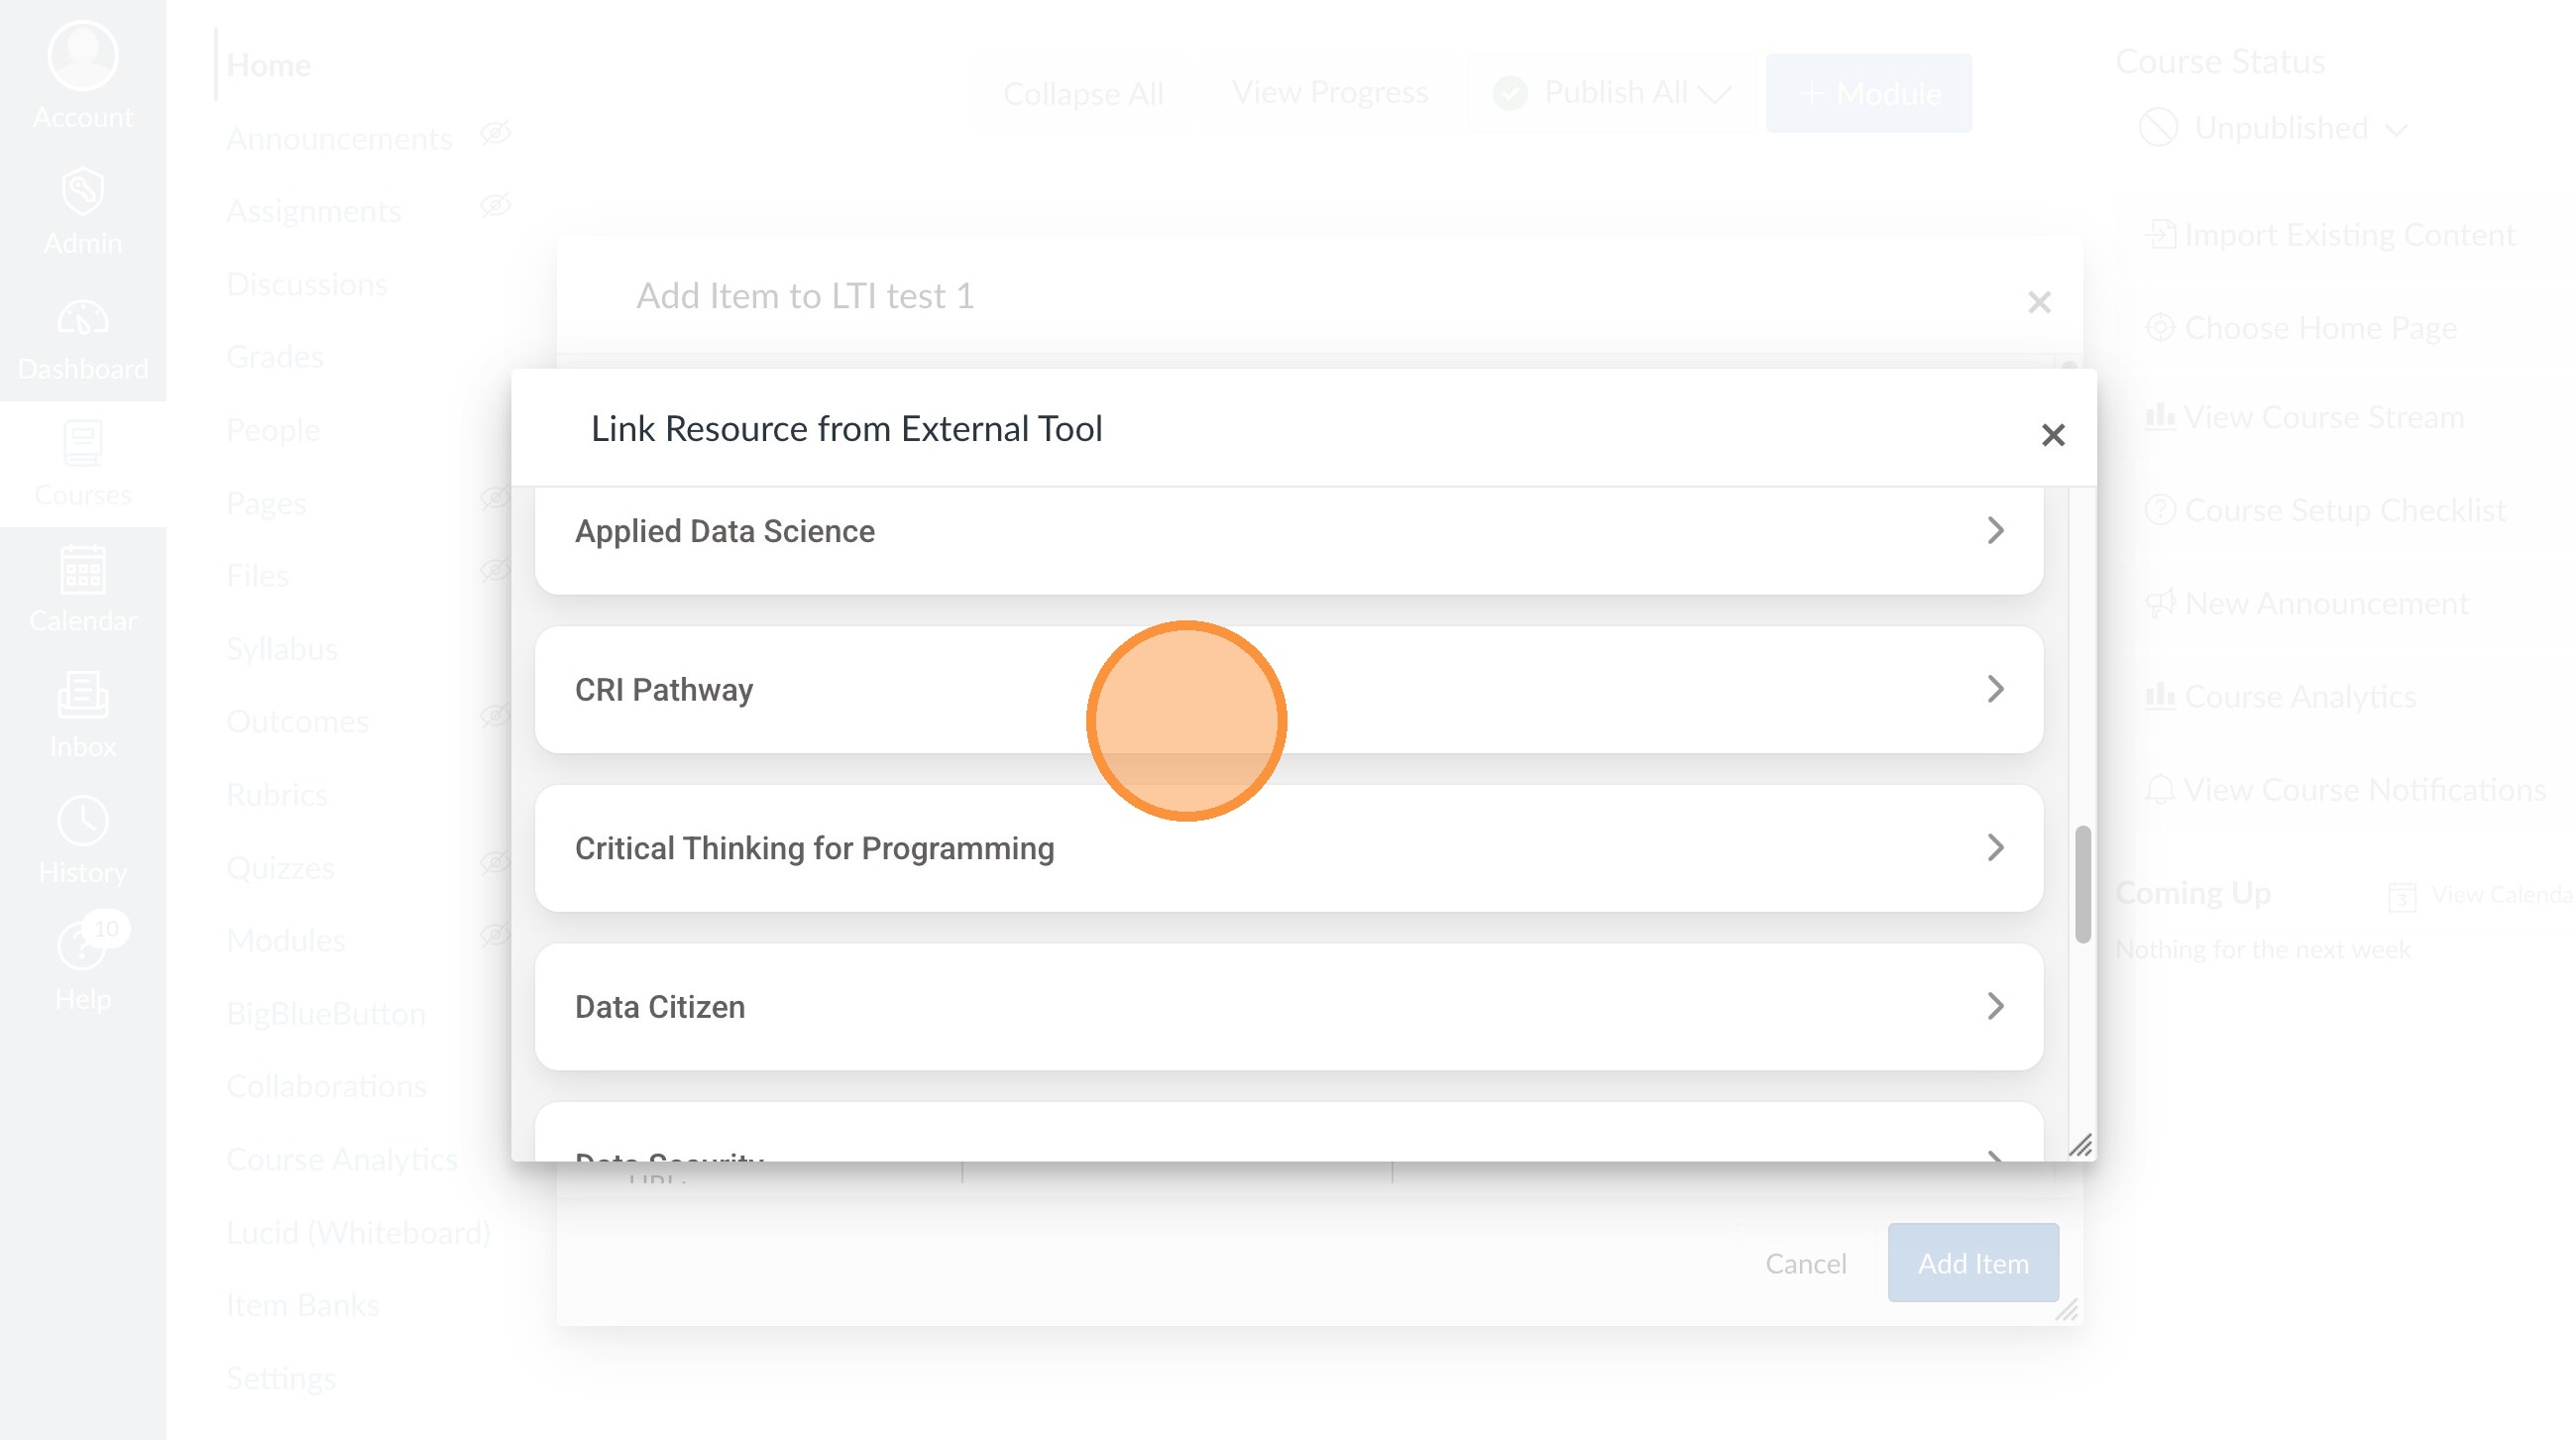
9. Select desired learning pathway.
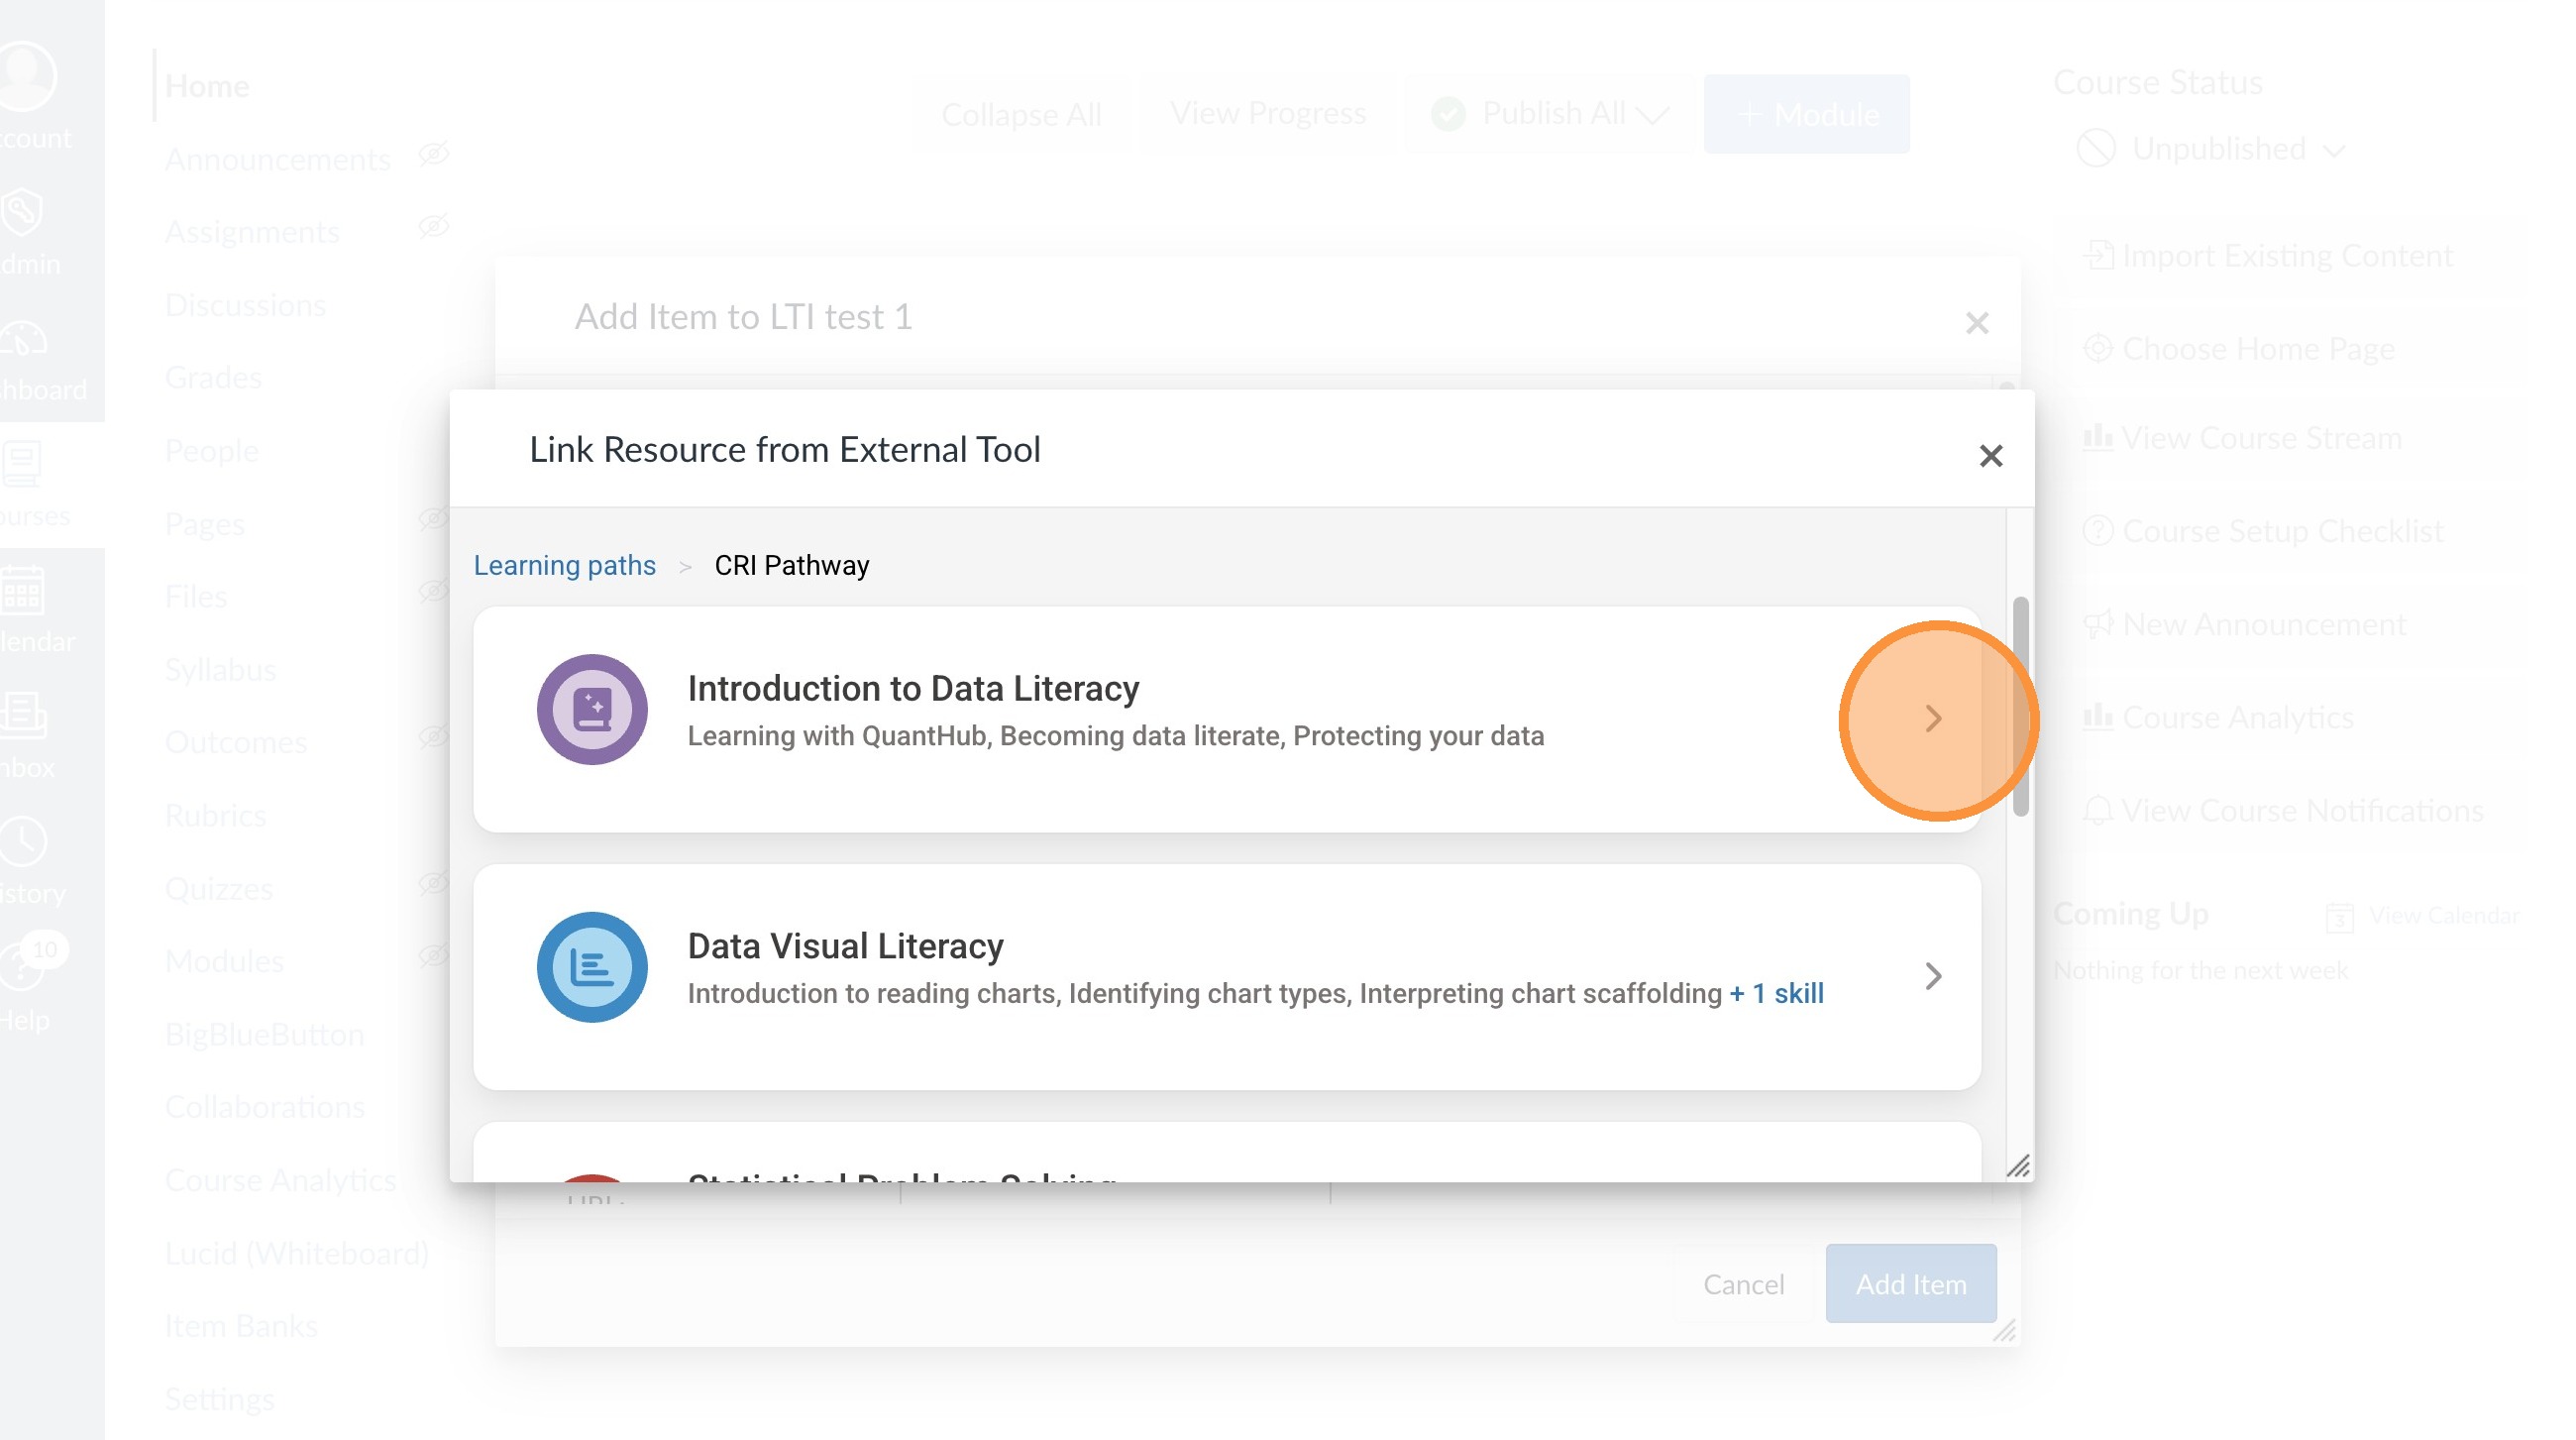
10. Select desired level.
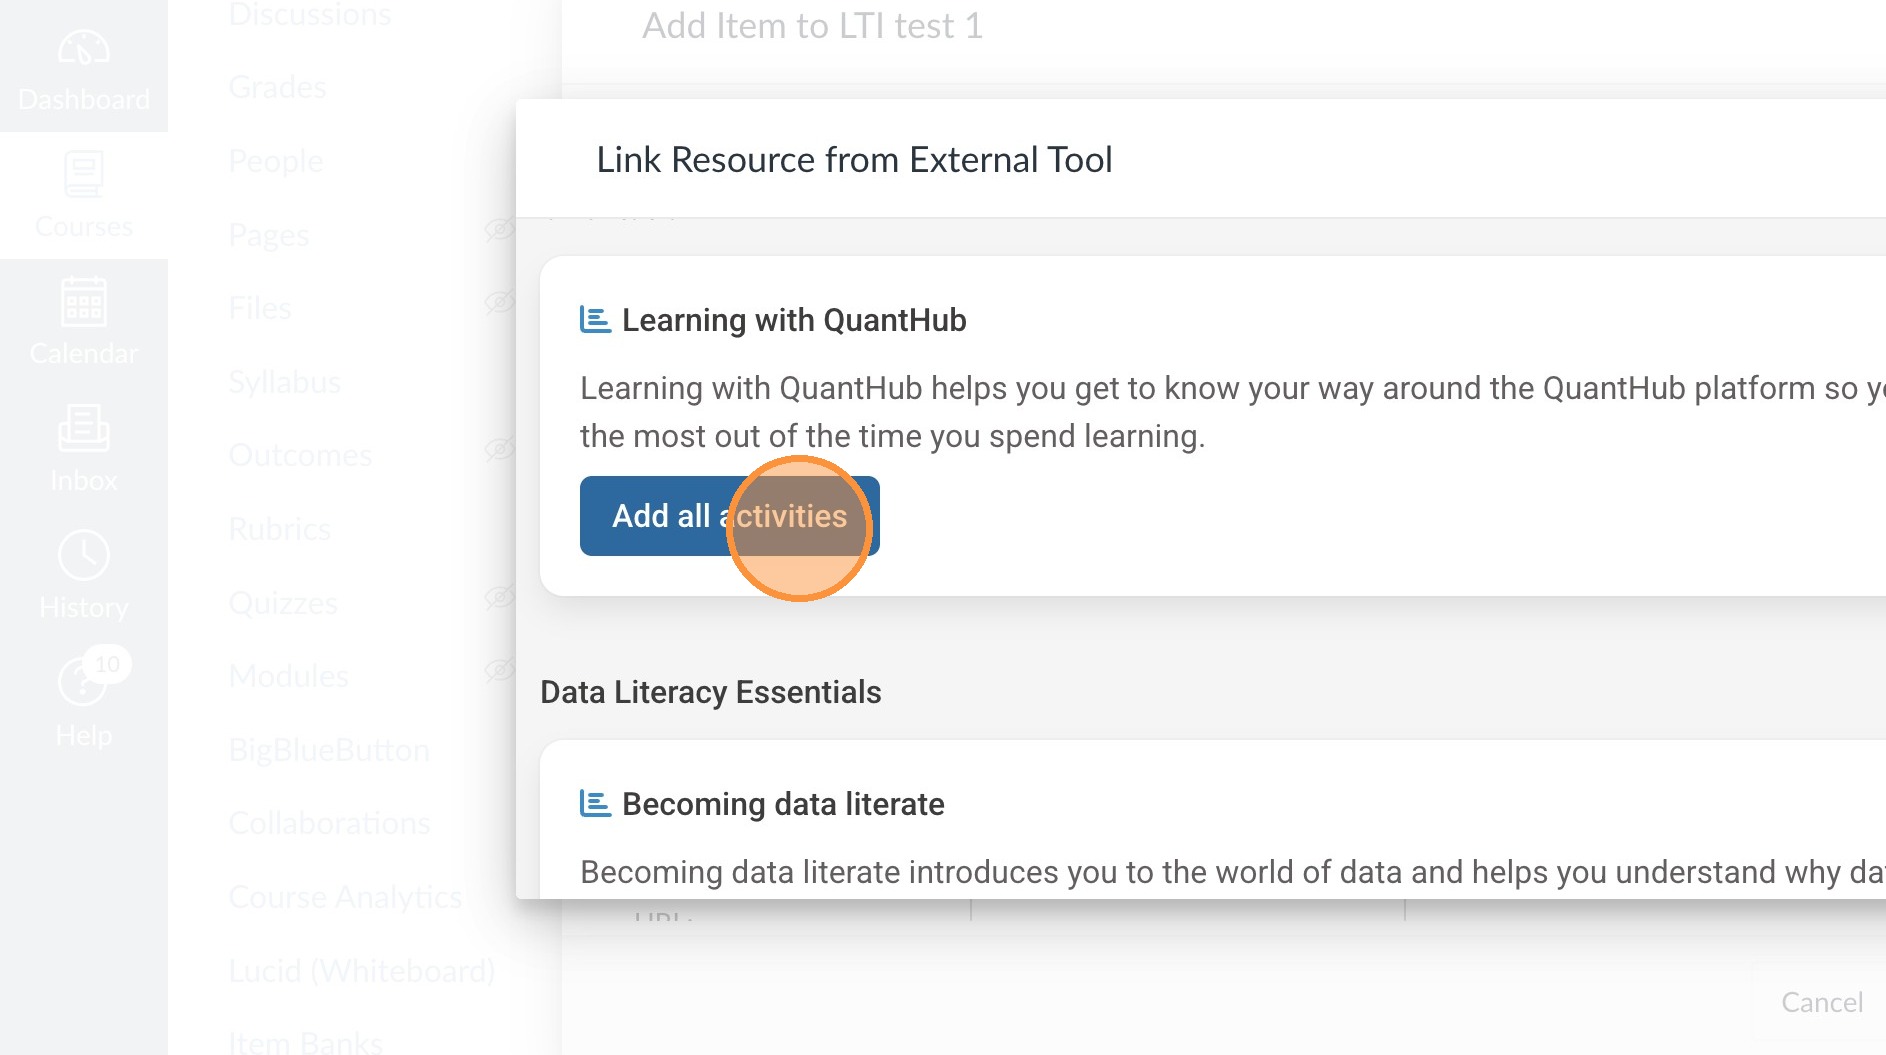
11. Once you've found a learning activity select "Add all activities."
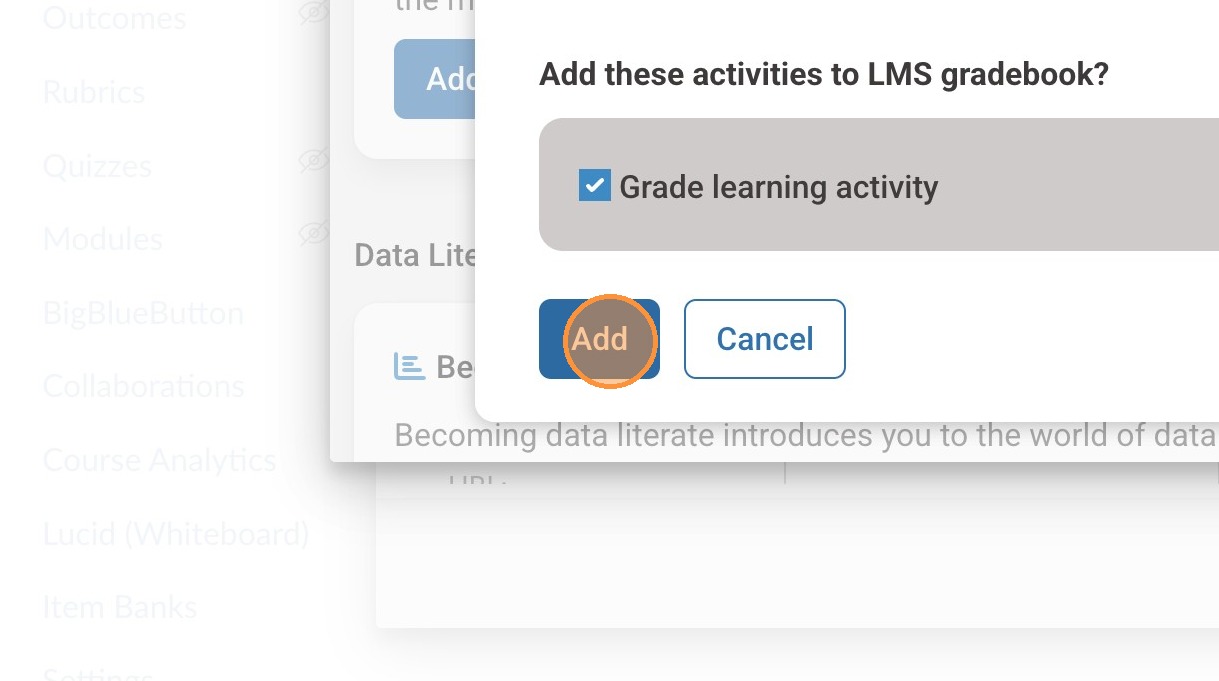
12. Select the "Grade learning activity" field.
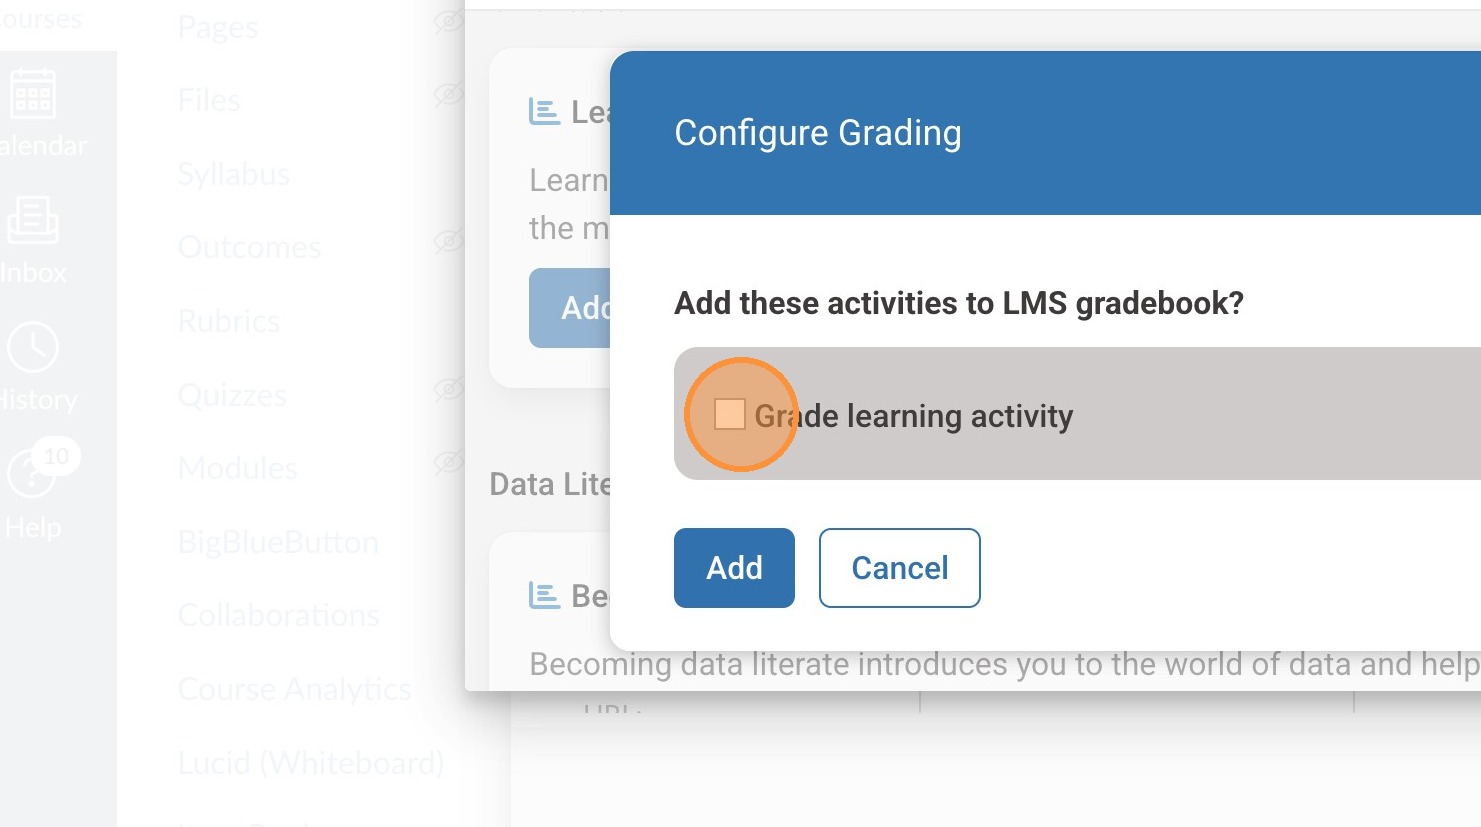
13. Select "add.
14. When you return to your module, you can see the QuantHub assignment created.
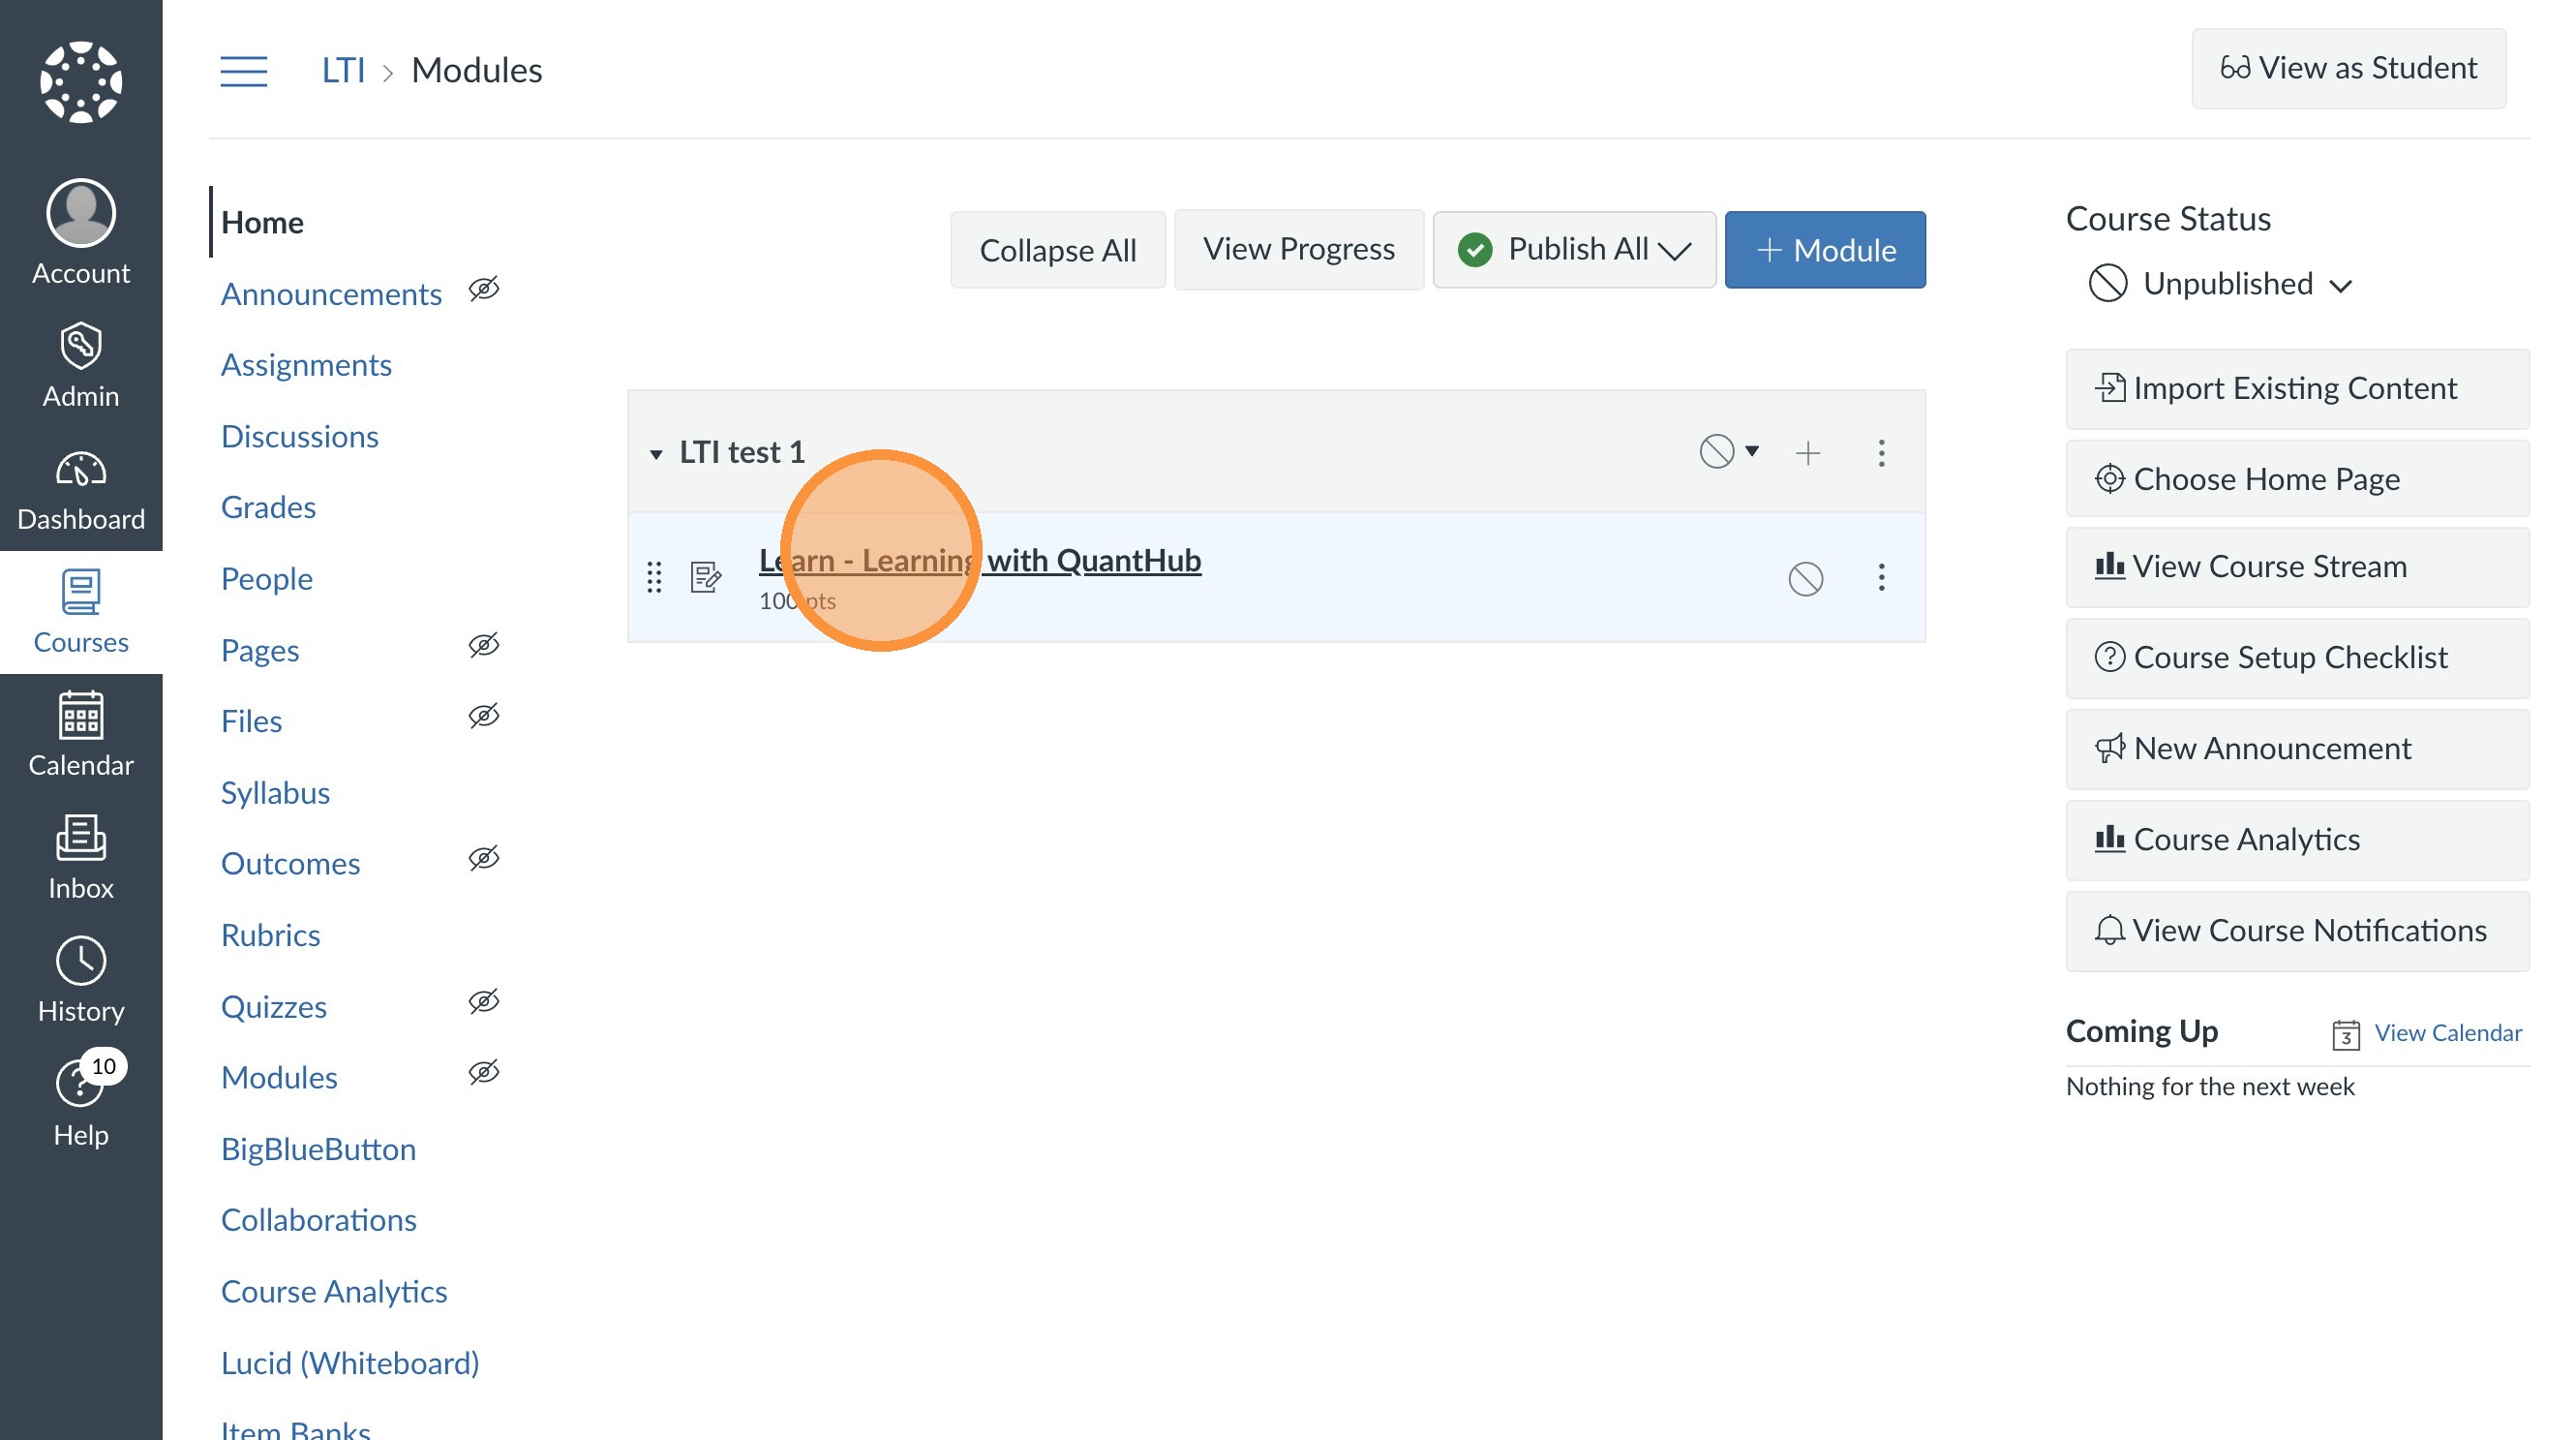
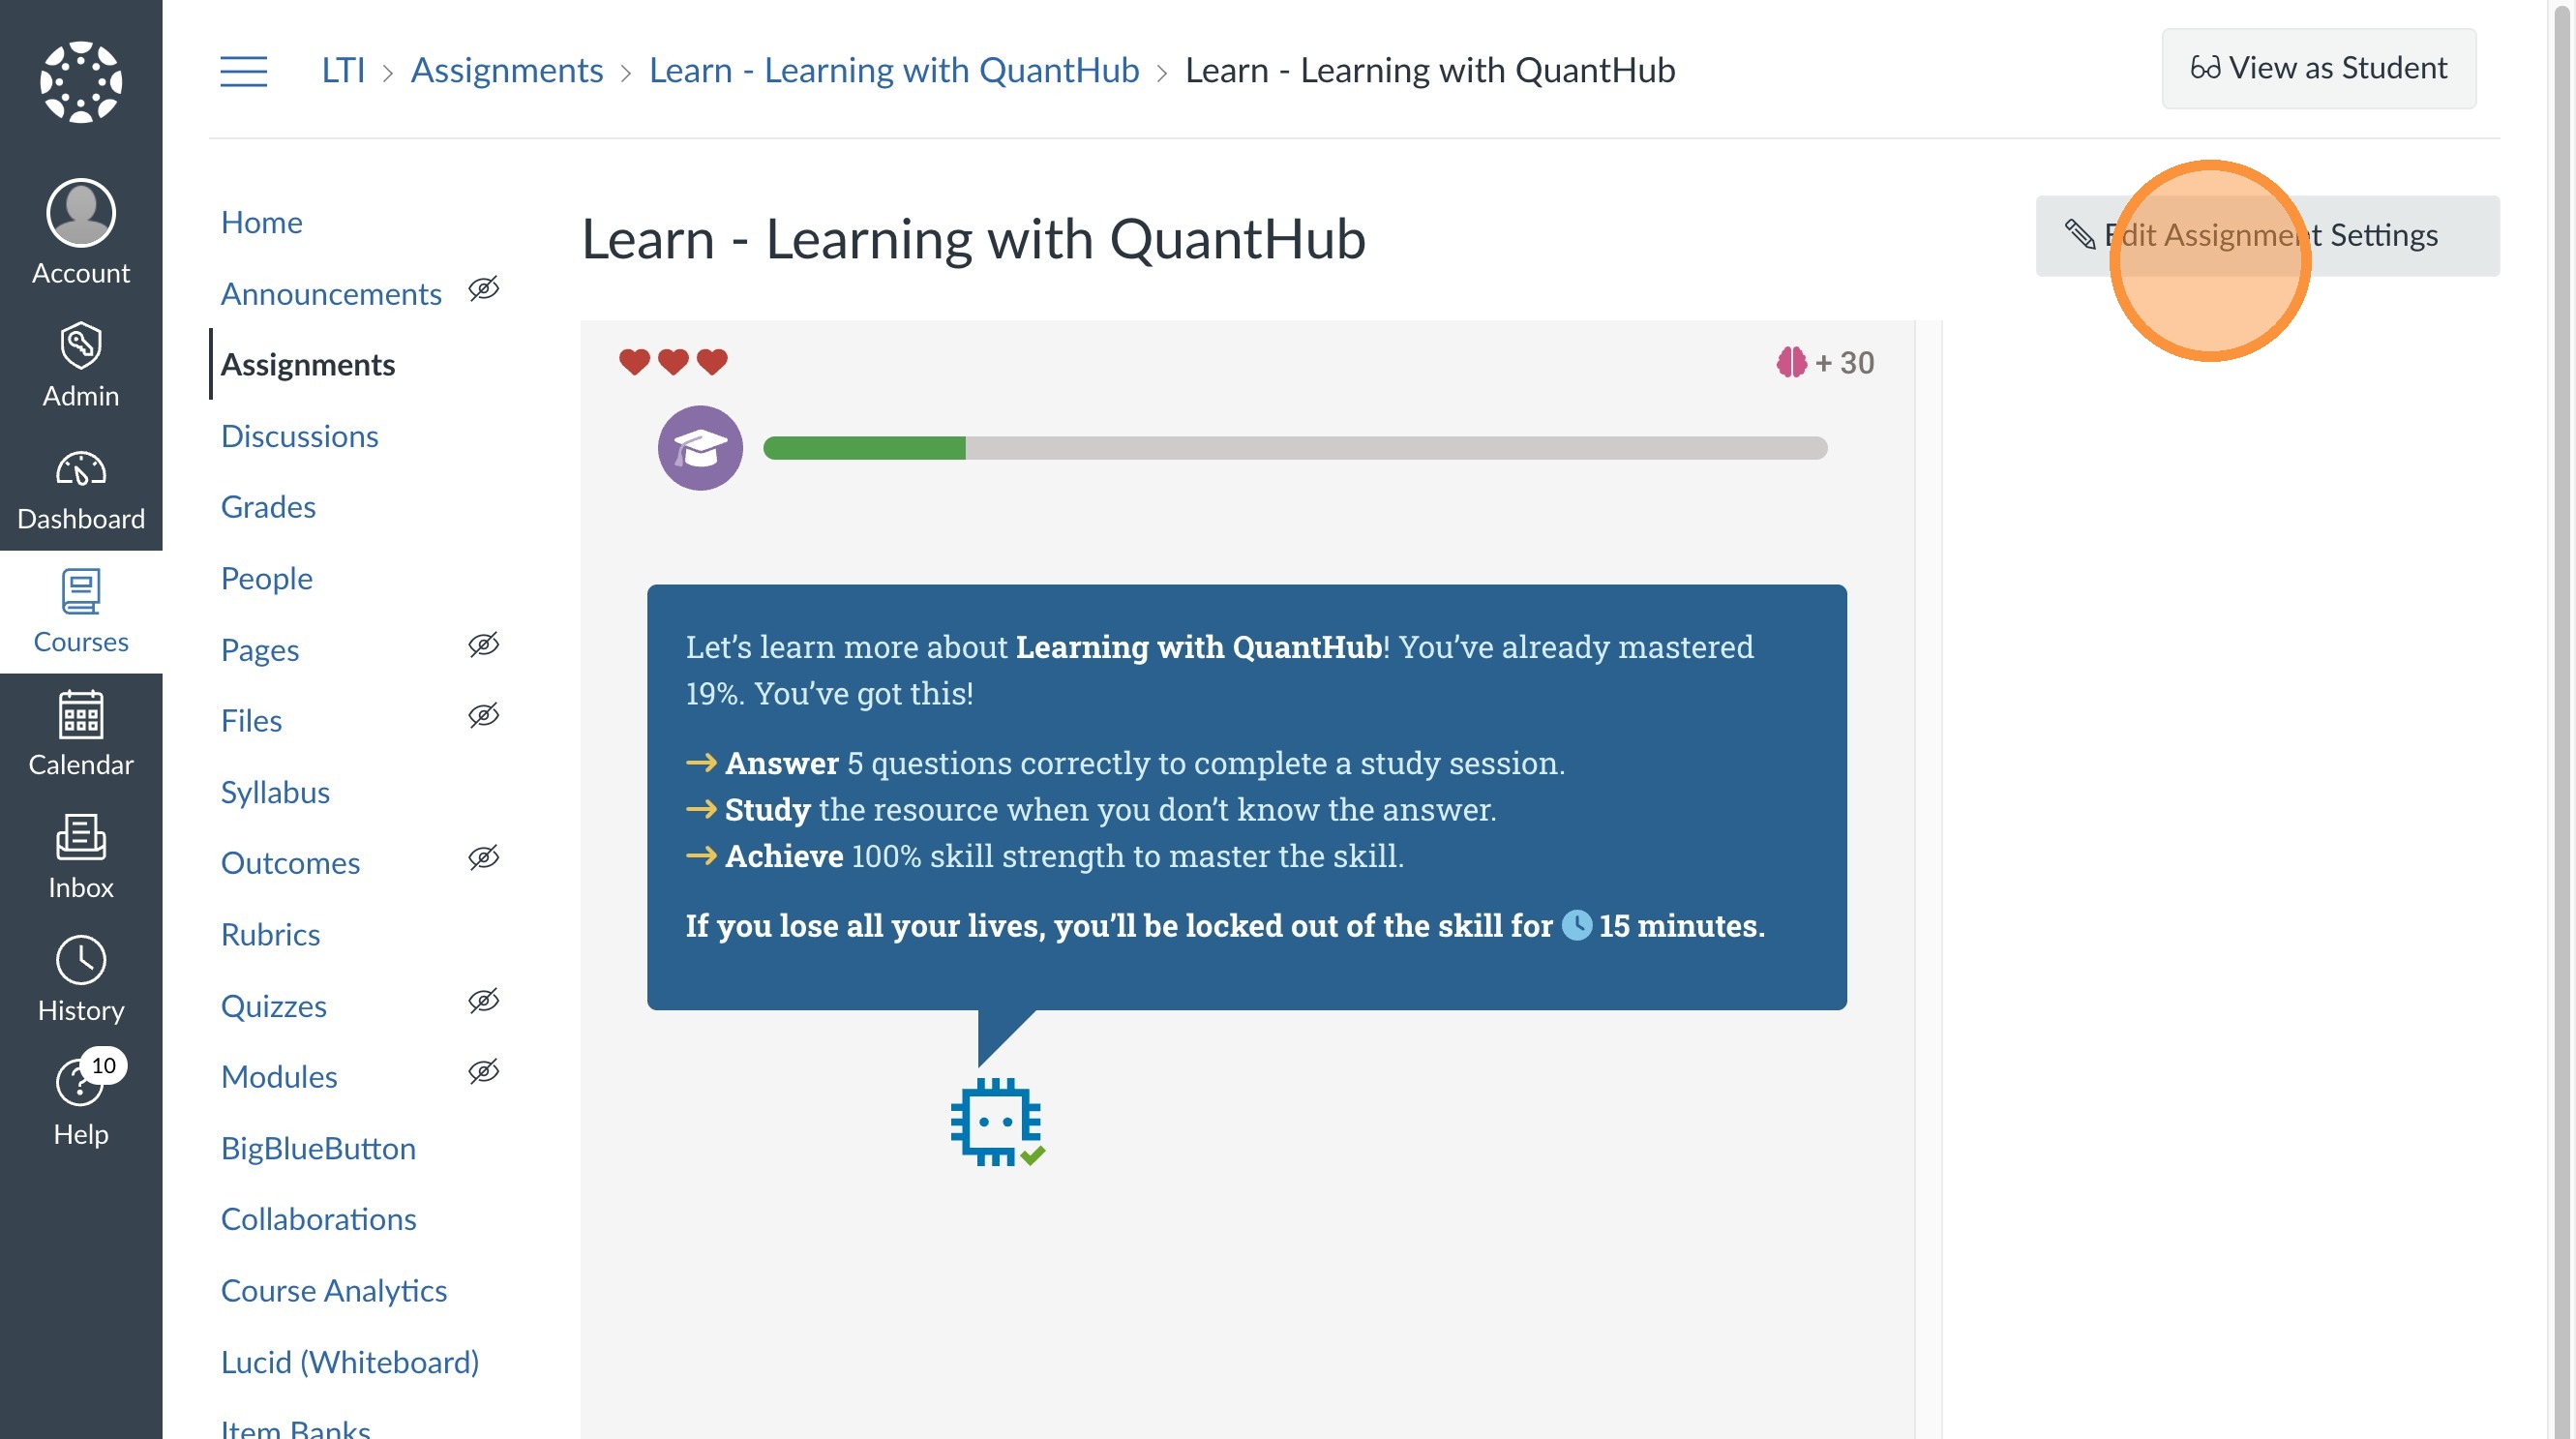
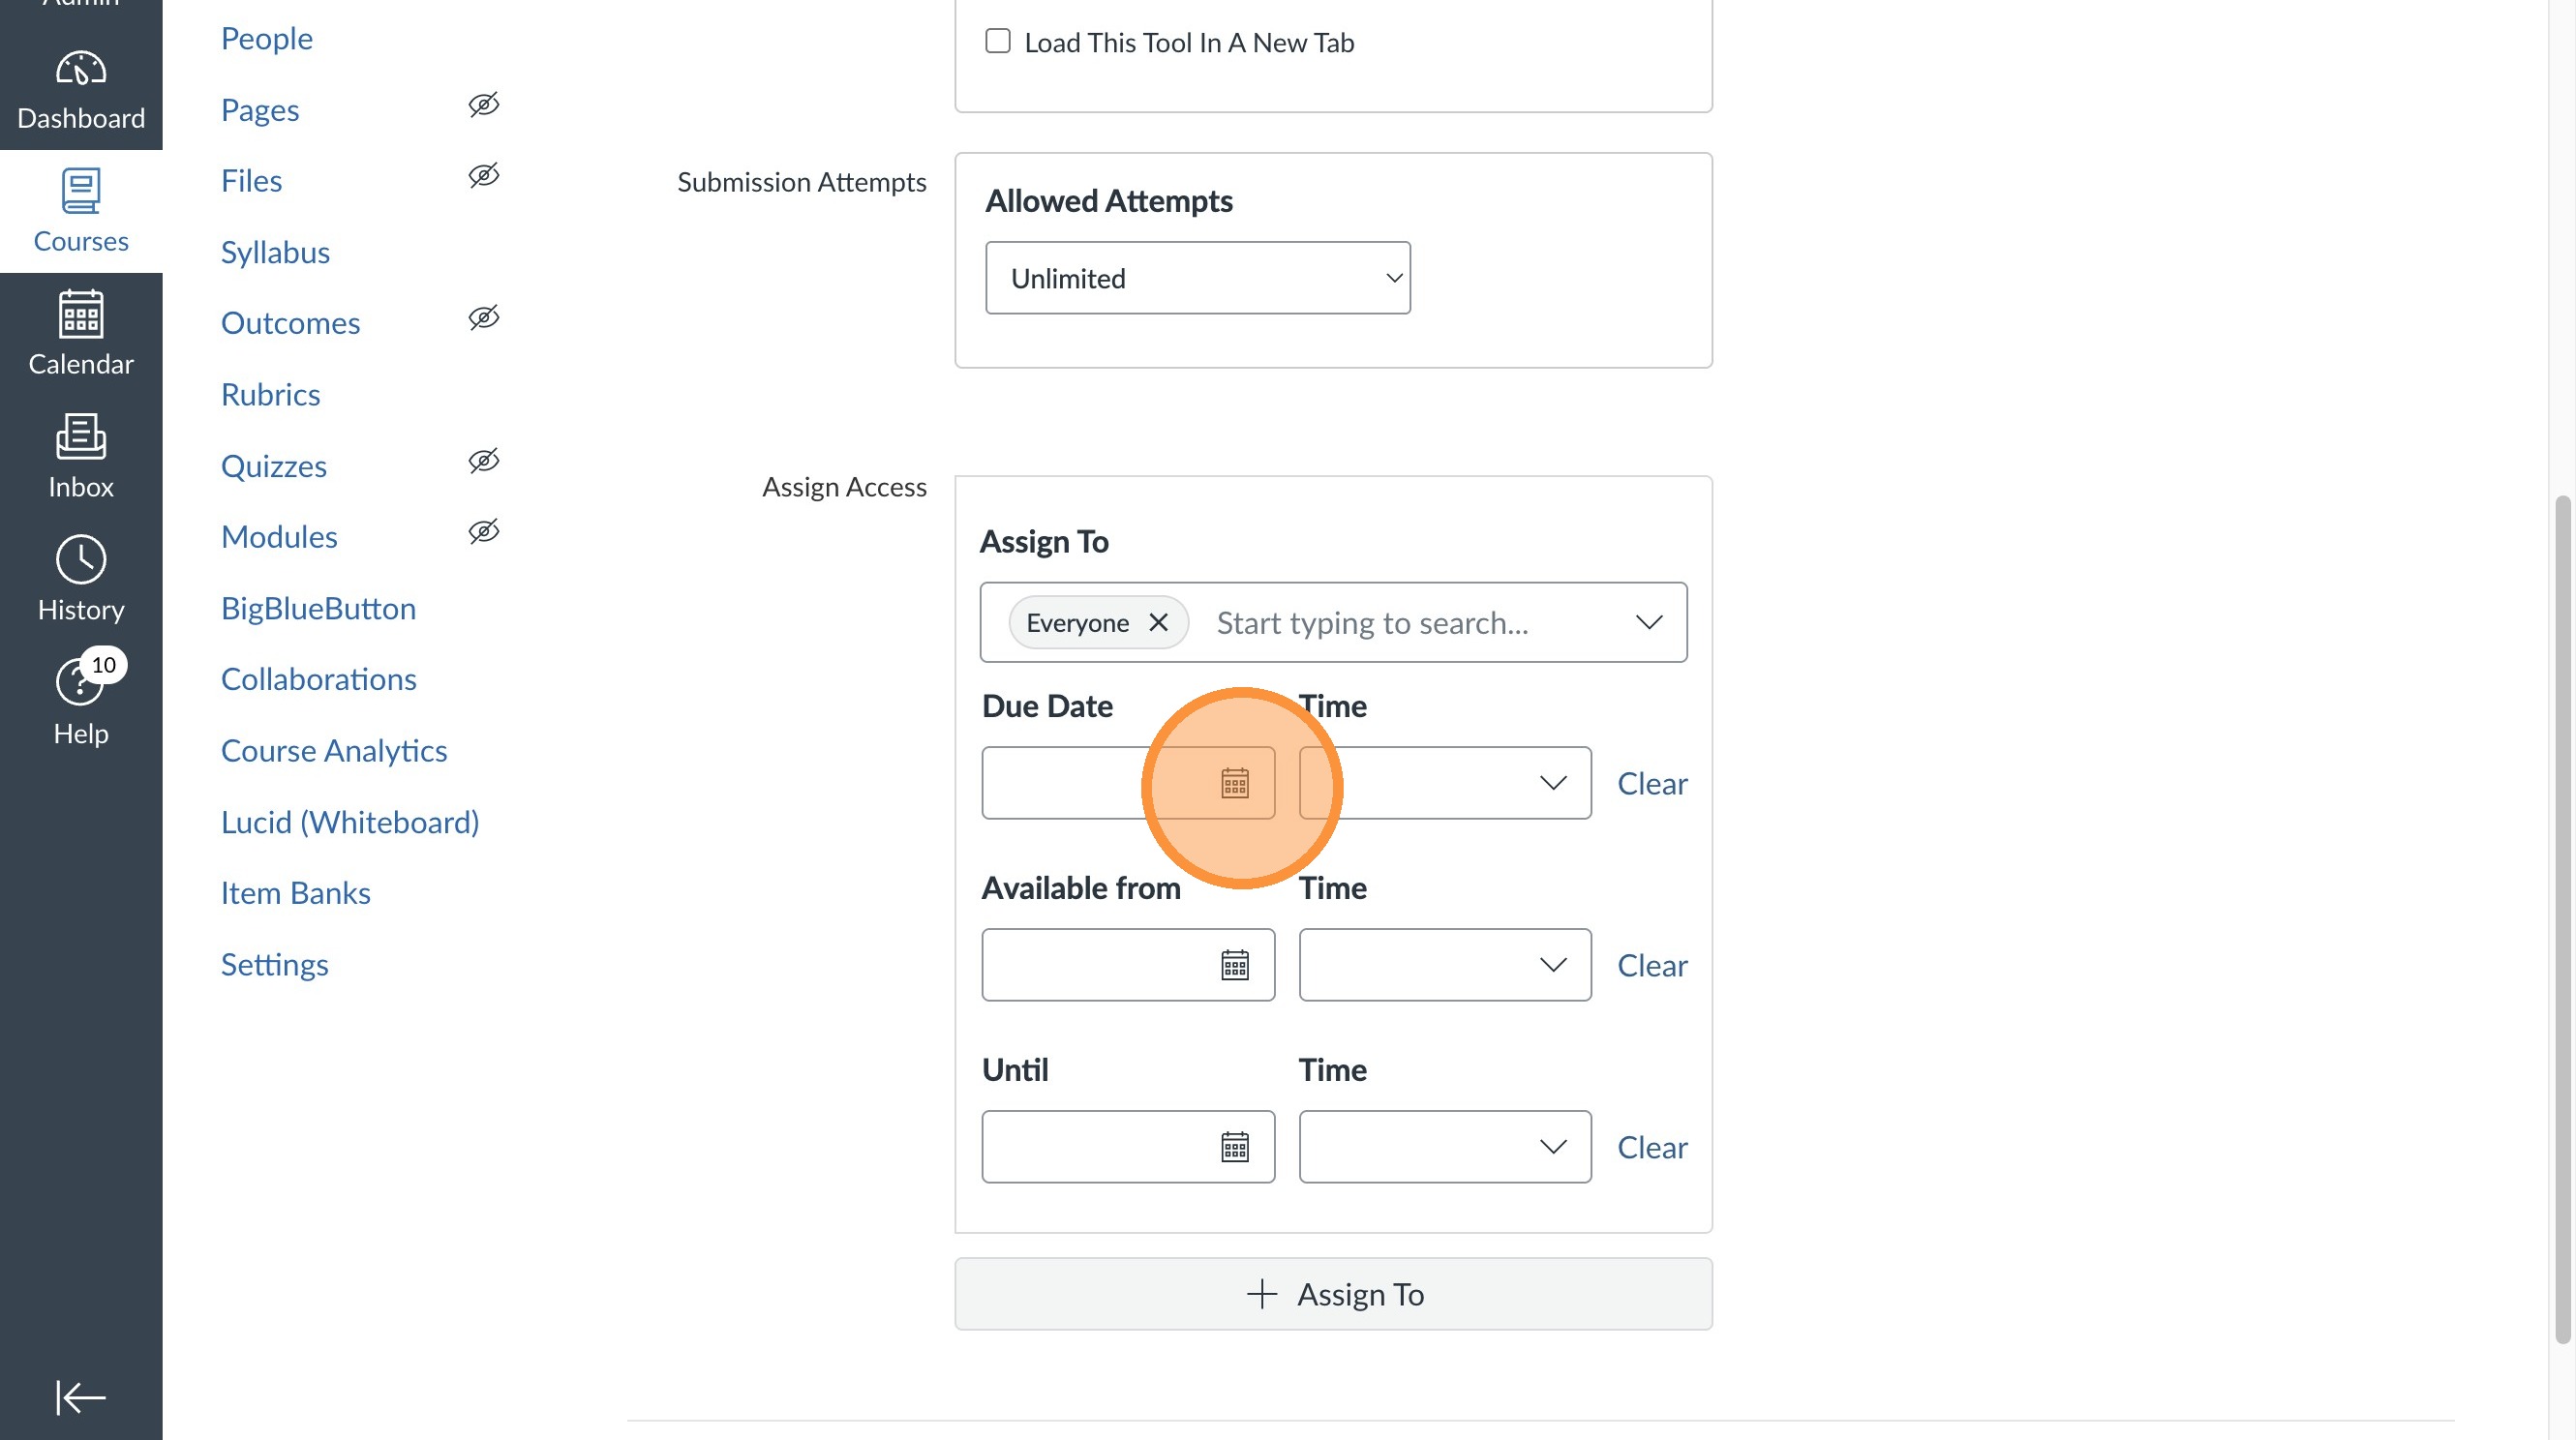
15. Click into the assignment and select "Edit Assignment Settings."
16. Ensure their is a category/assignment group created in this dropdown.
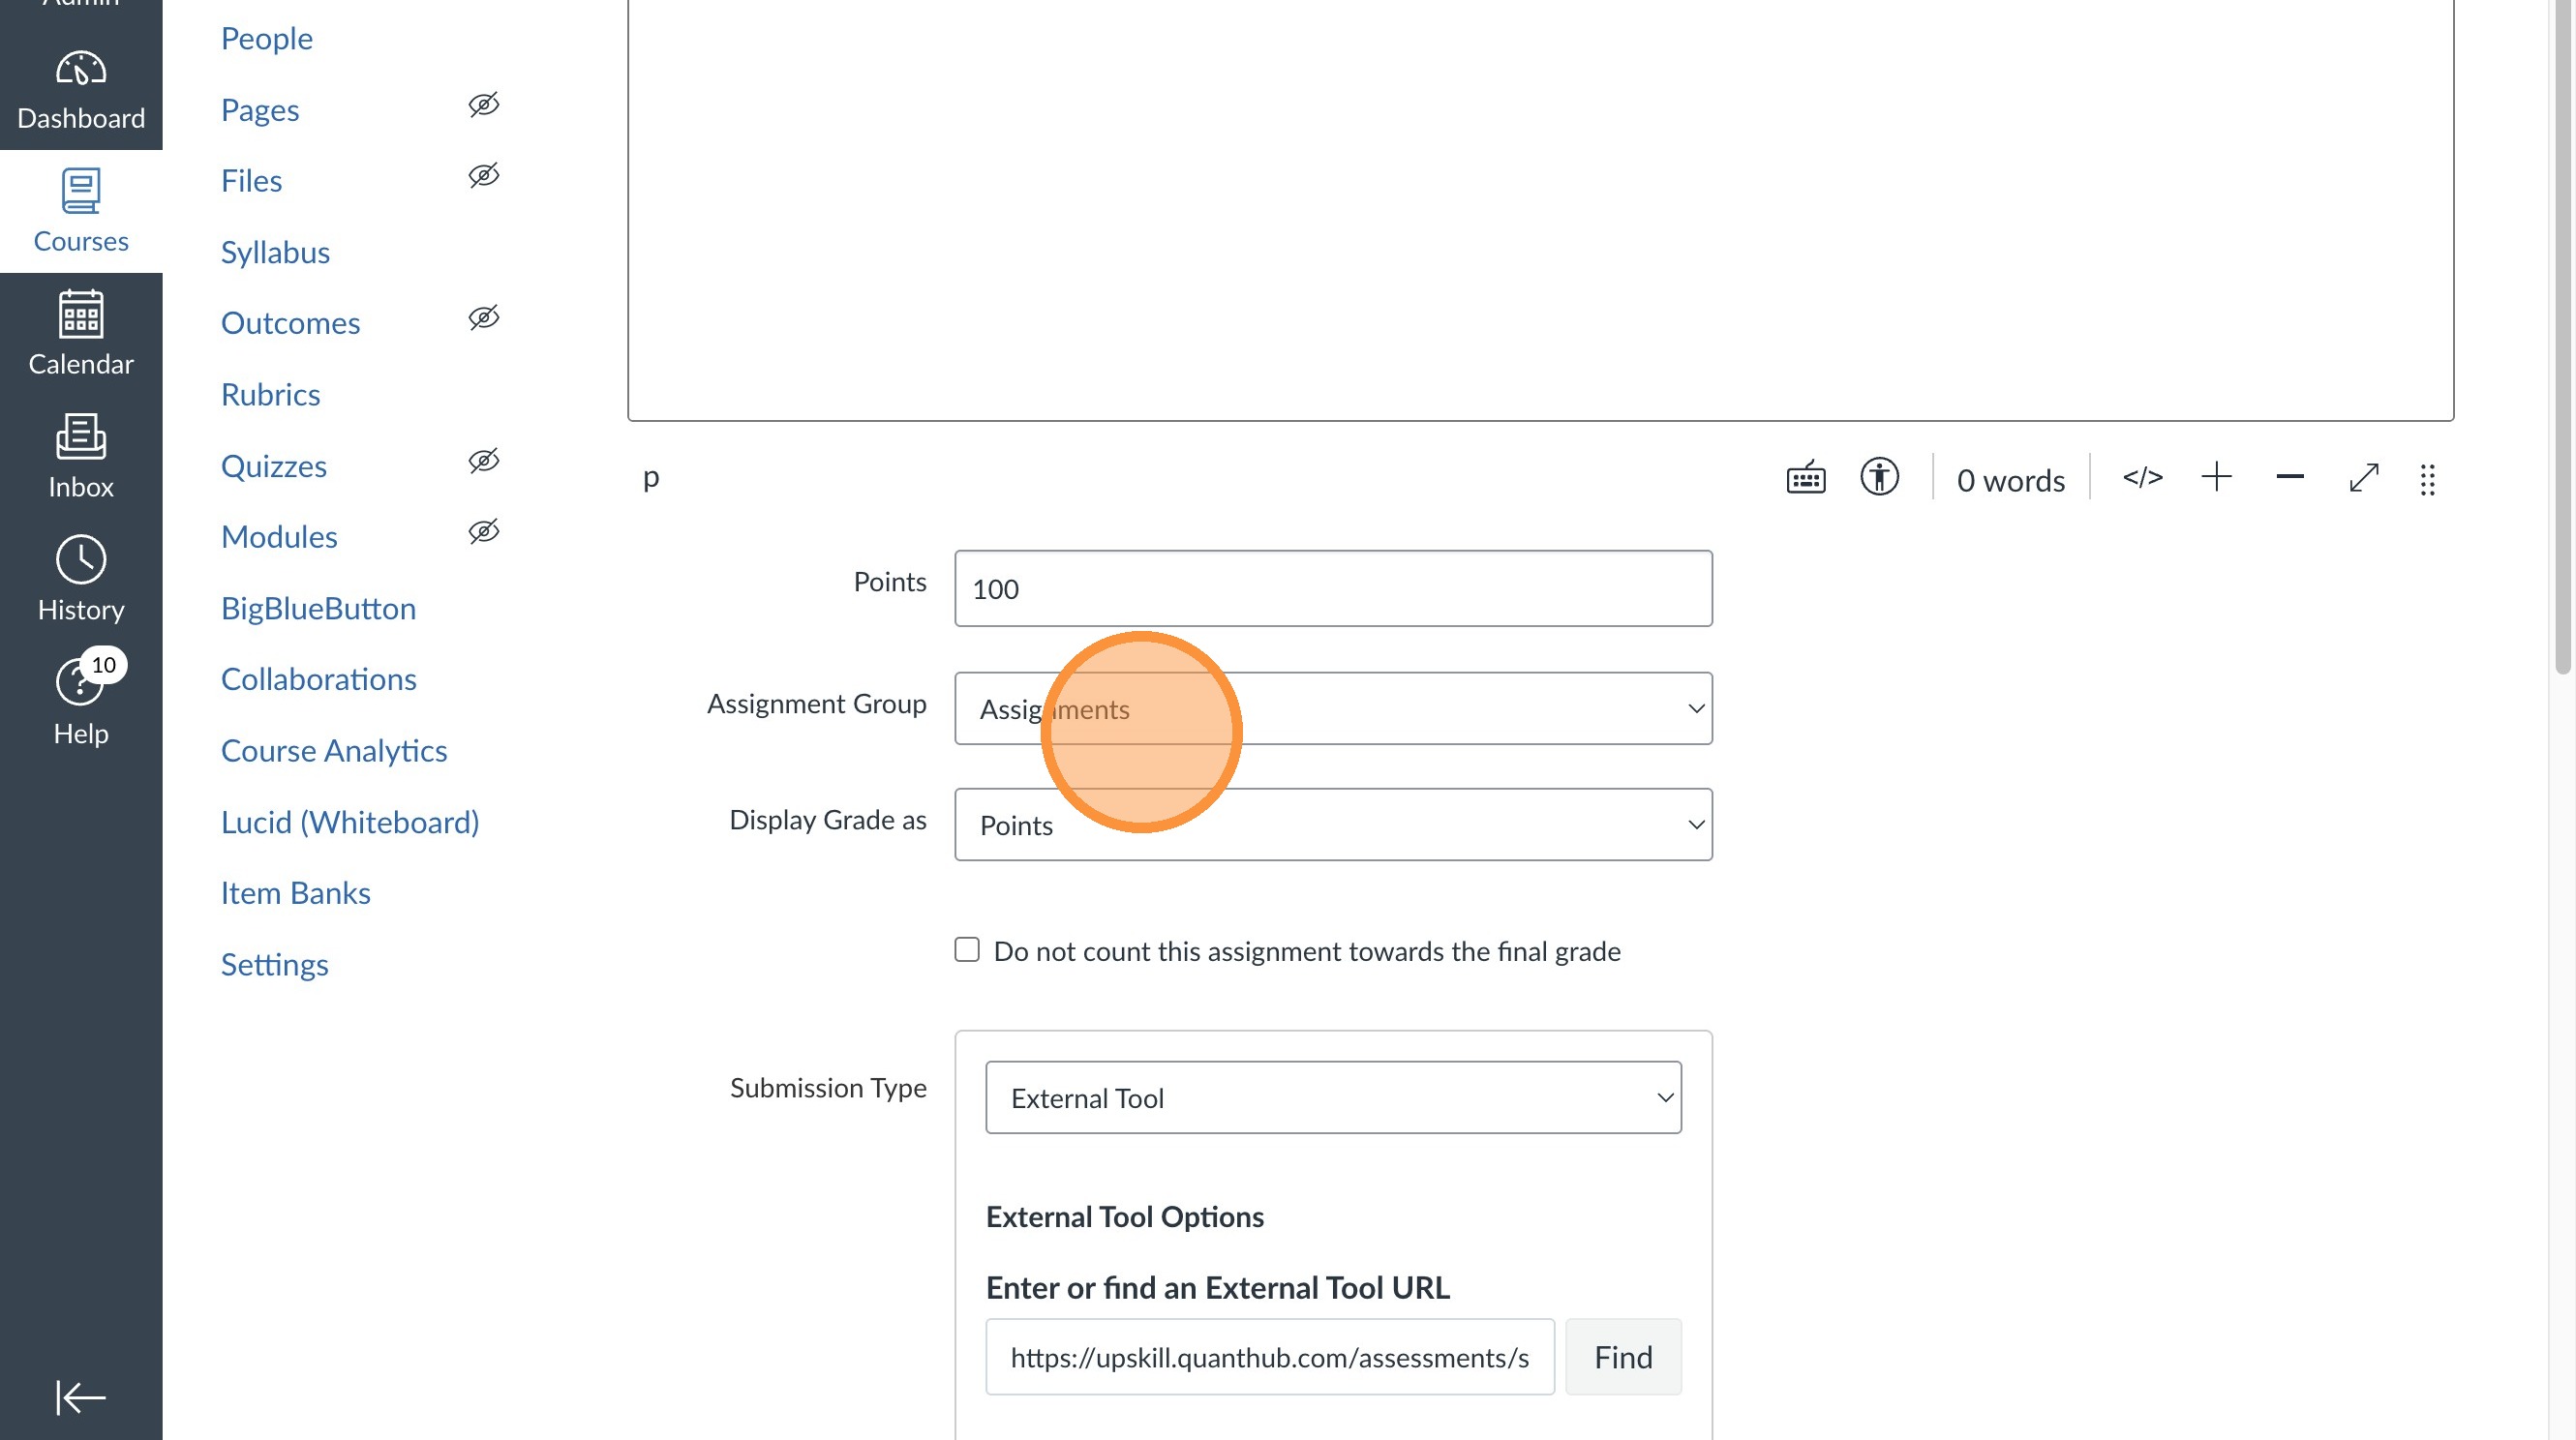
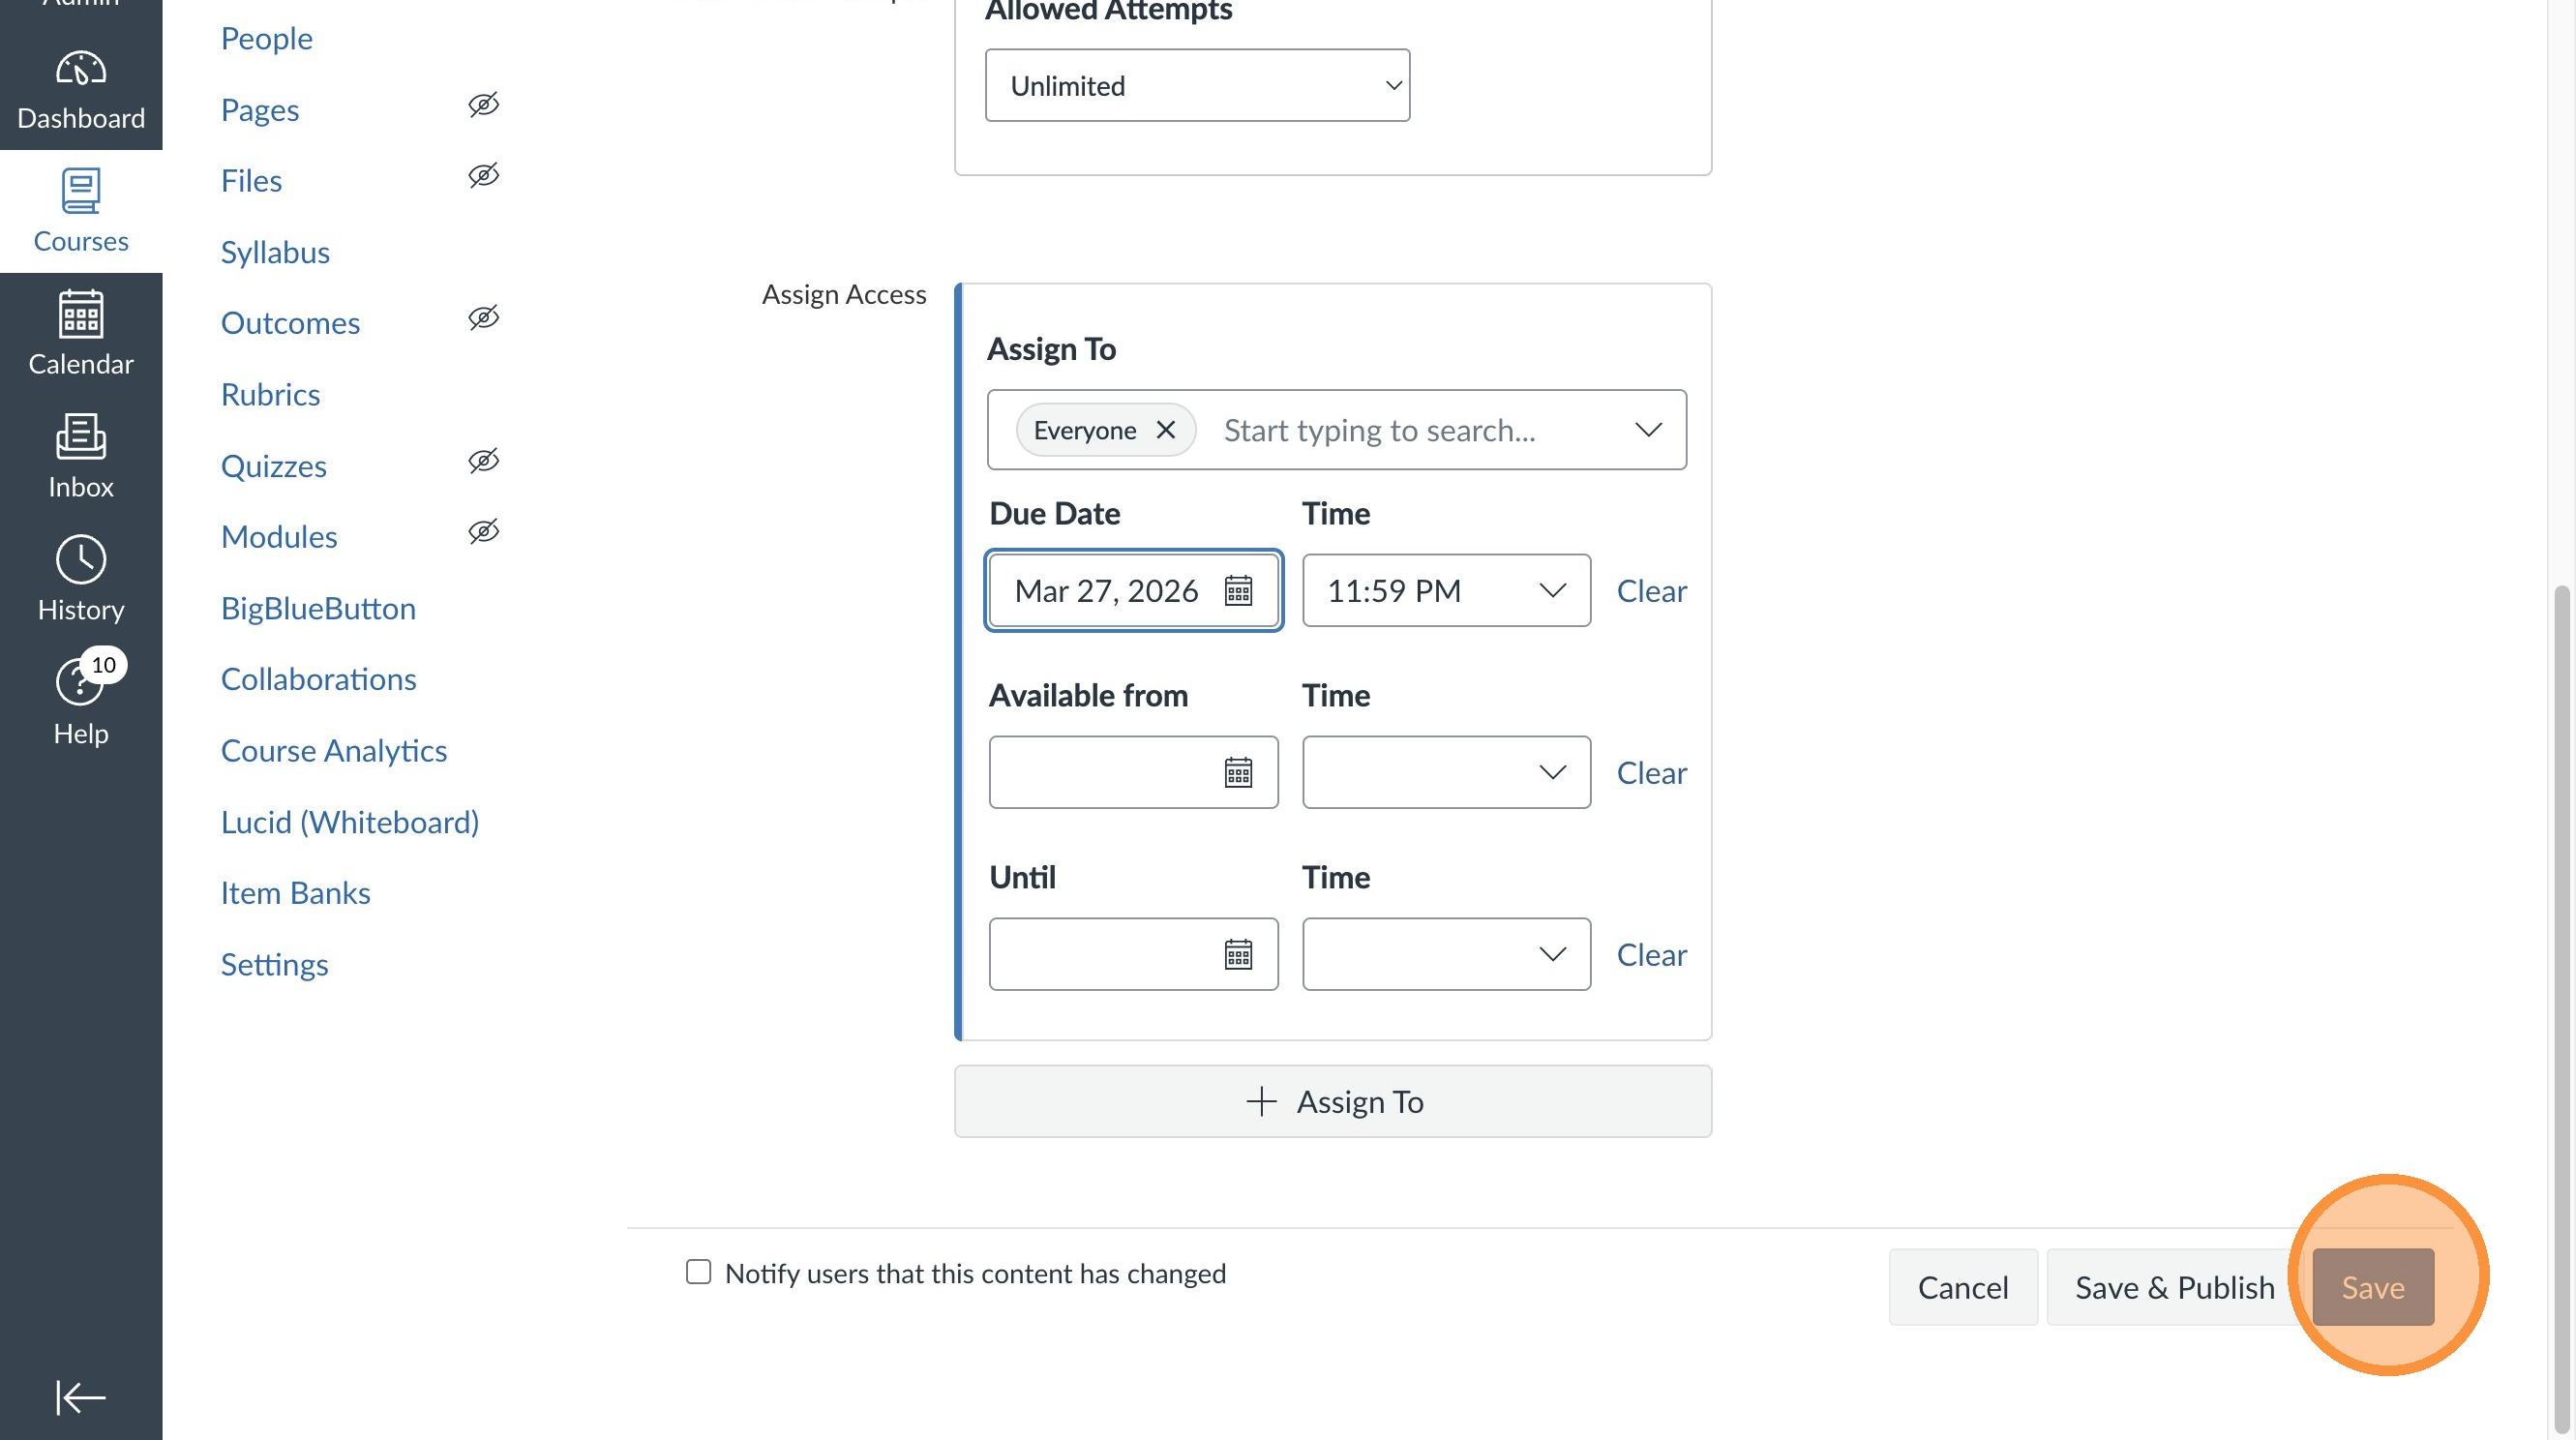
17. Ensure their is a due date correlated to the assignment.
18. Once Assignment details are set select "Save."
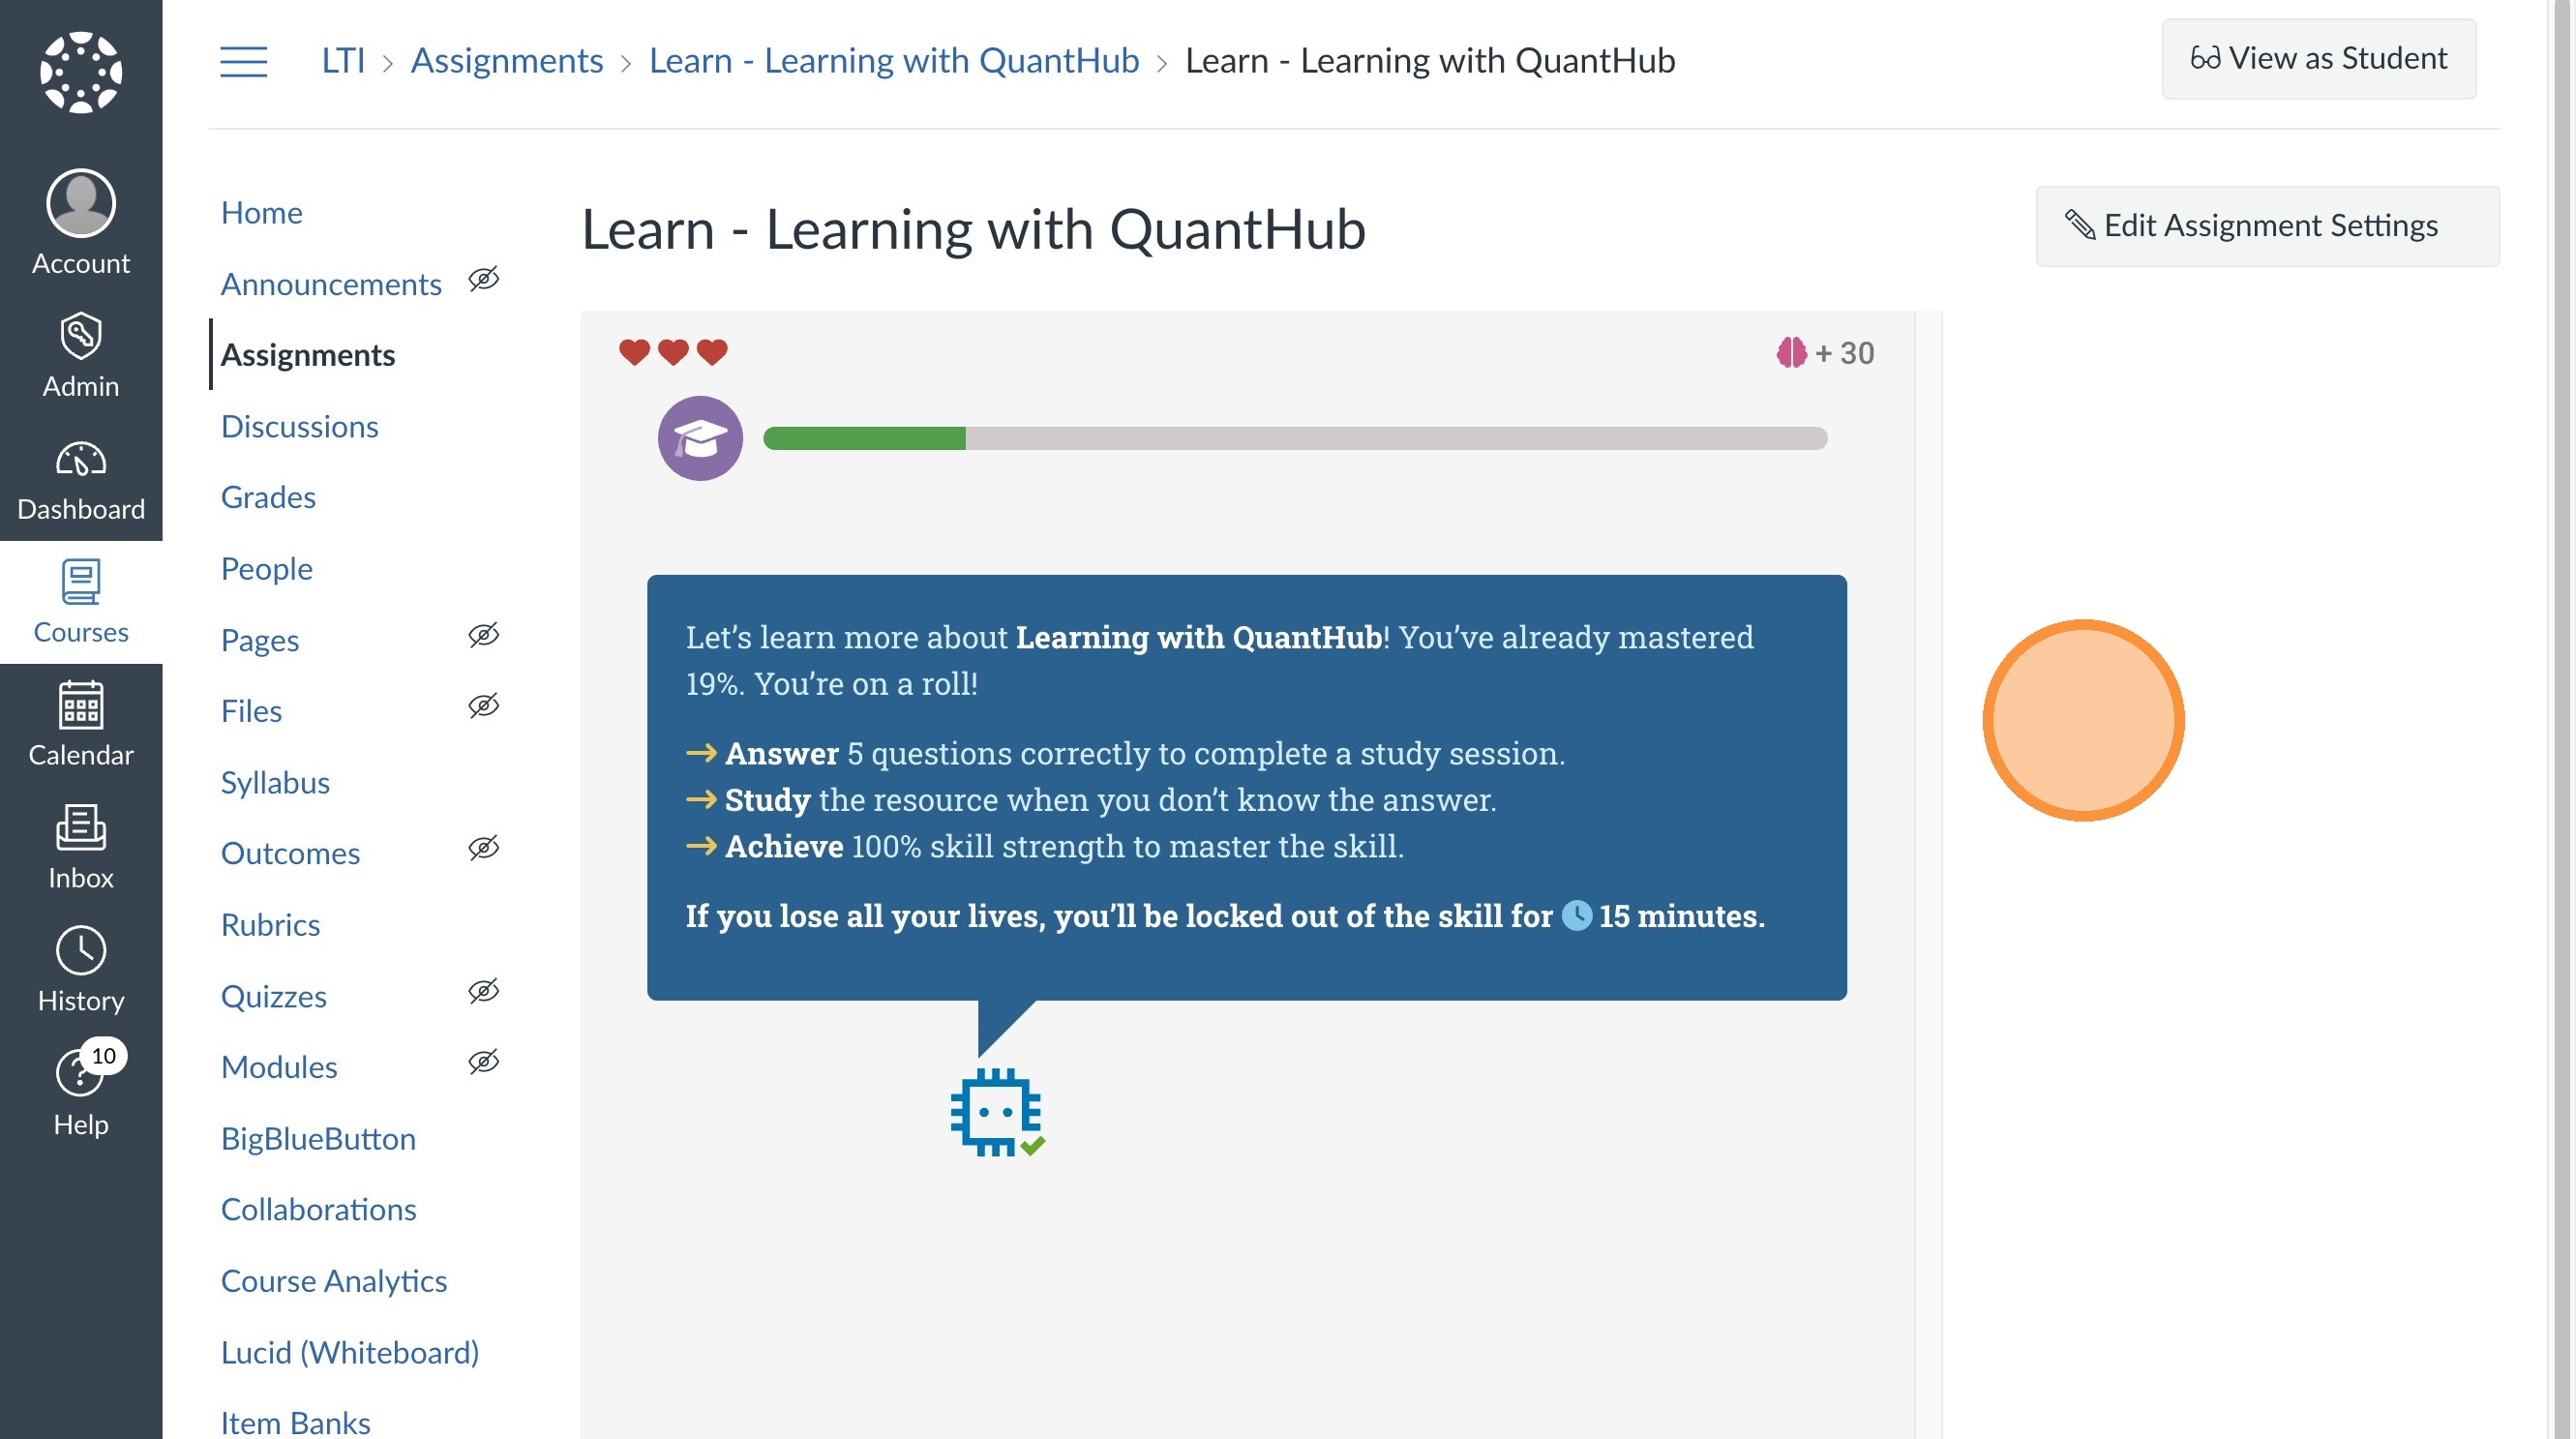
19. The assignment will take students to a pop-up within the canvas platform for them to complete!
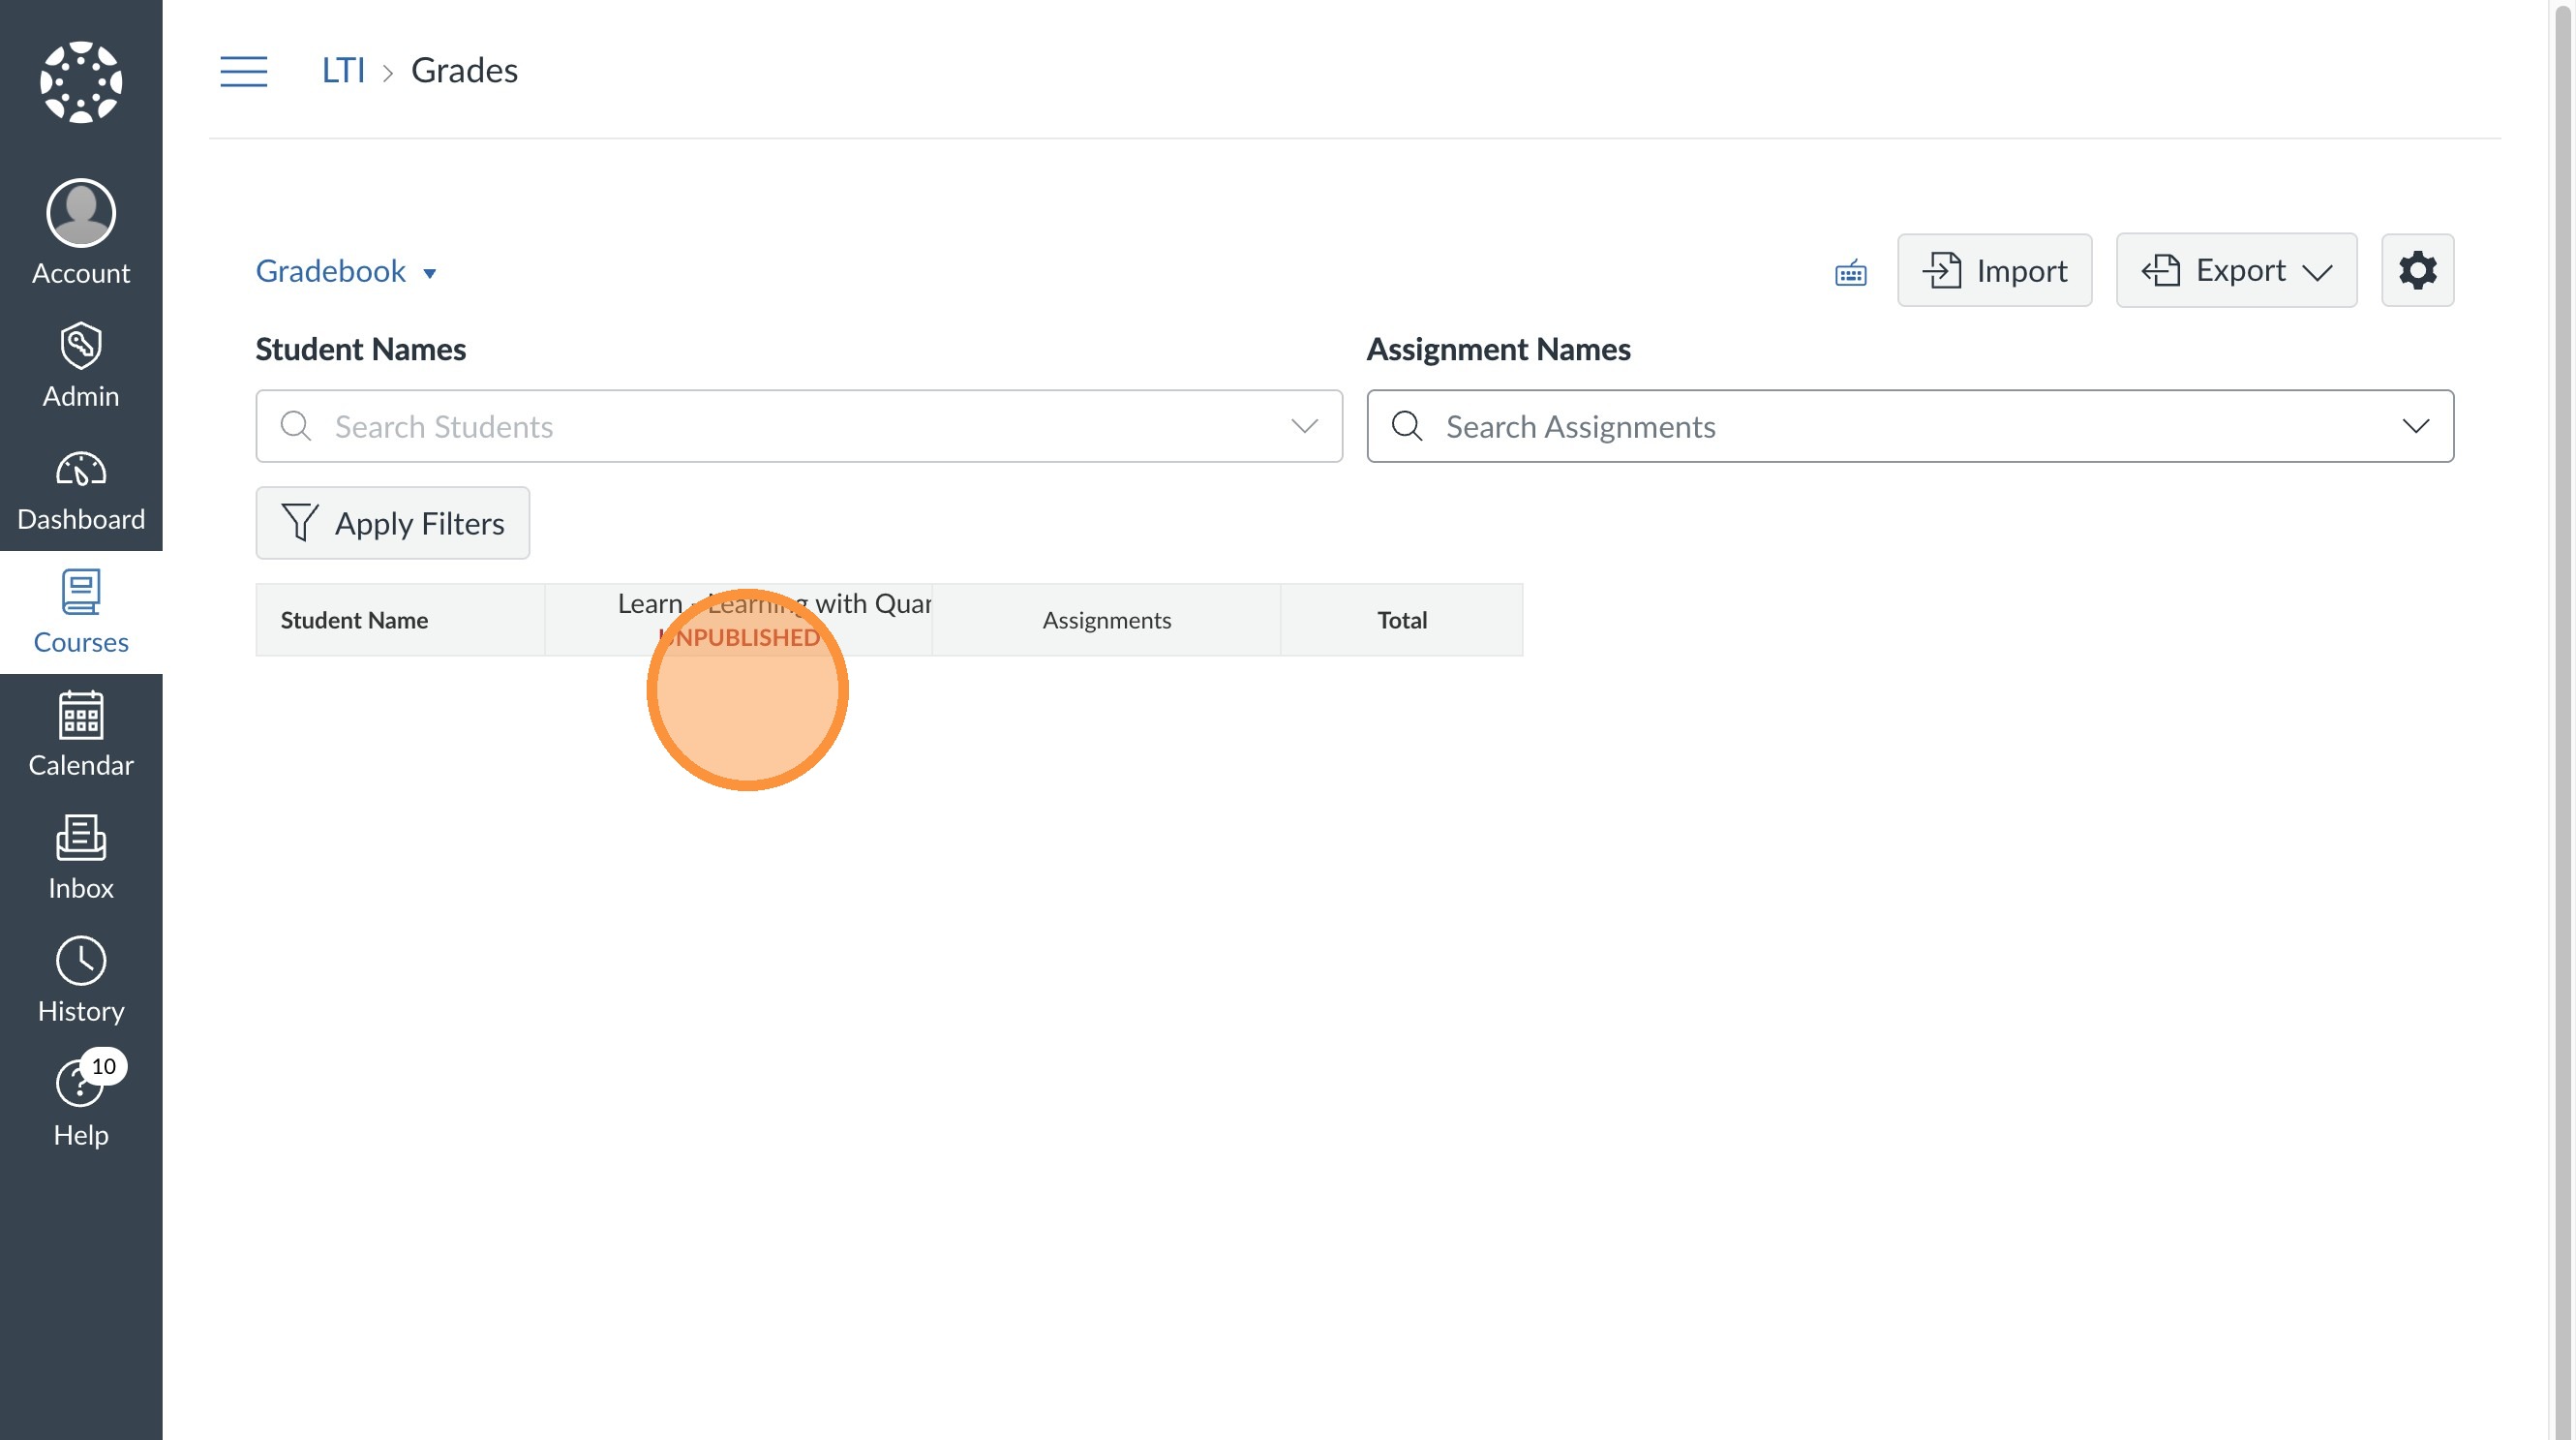
20. Students and teachers will see the grade auto-update within the "grade" section.
Was this article helpful?
That’s Great!
Thank you for your feedback
Sorry! We couldn't be helpful
Thank you for your feedback
Feedback sent
We appreciate your effort and will try to fix the article