Watch the video below OR scroll down to view the steps listed out instead.
TABLE OF CONTENTS
Video Tutorial:
Step By Step Guide:
Blackboard Part 1
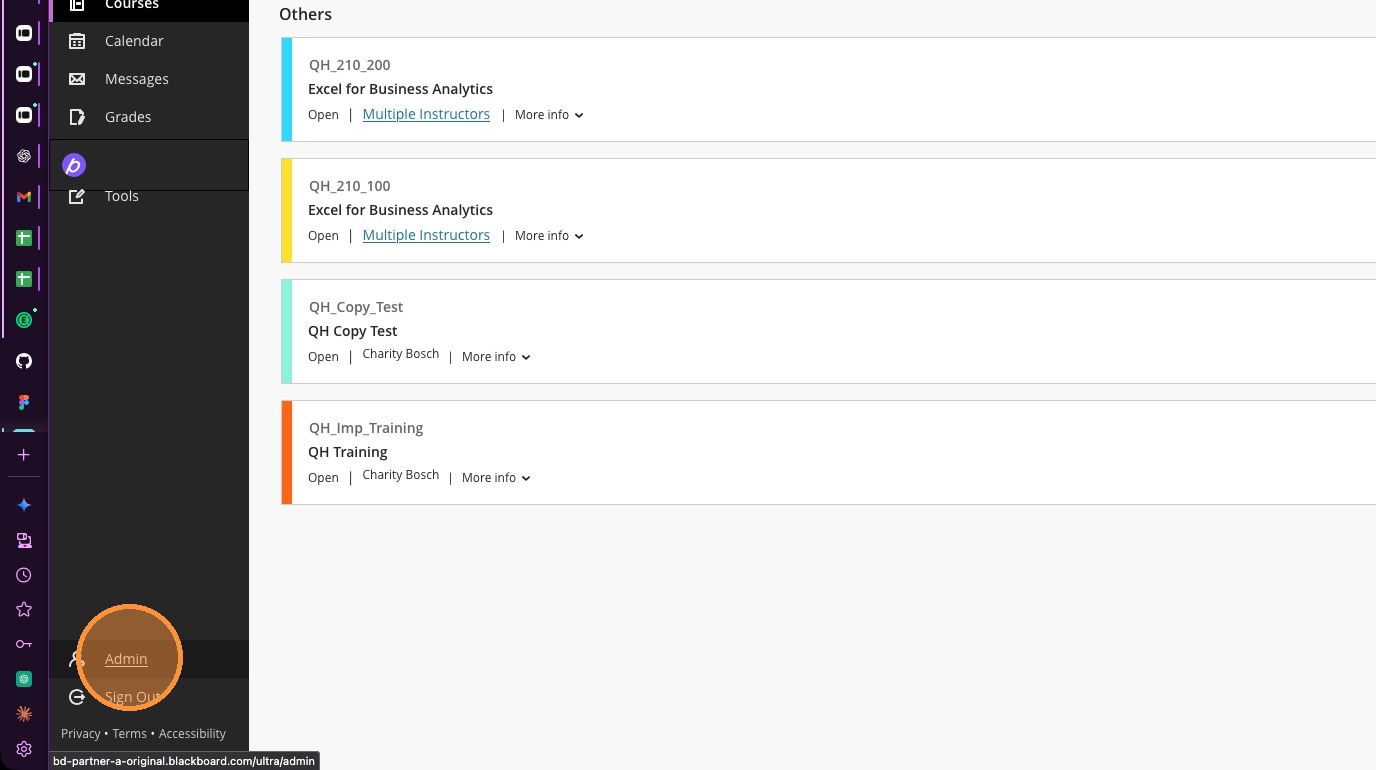
1. Navigate to "Admin"
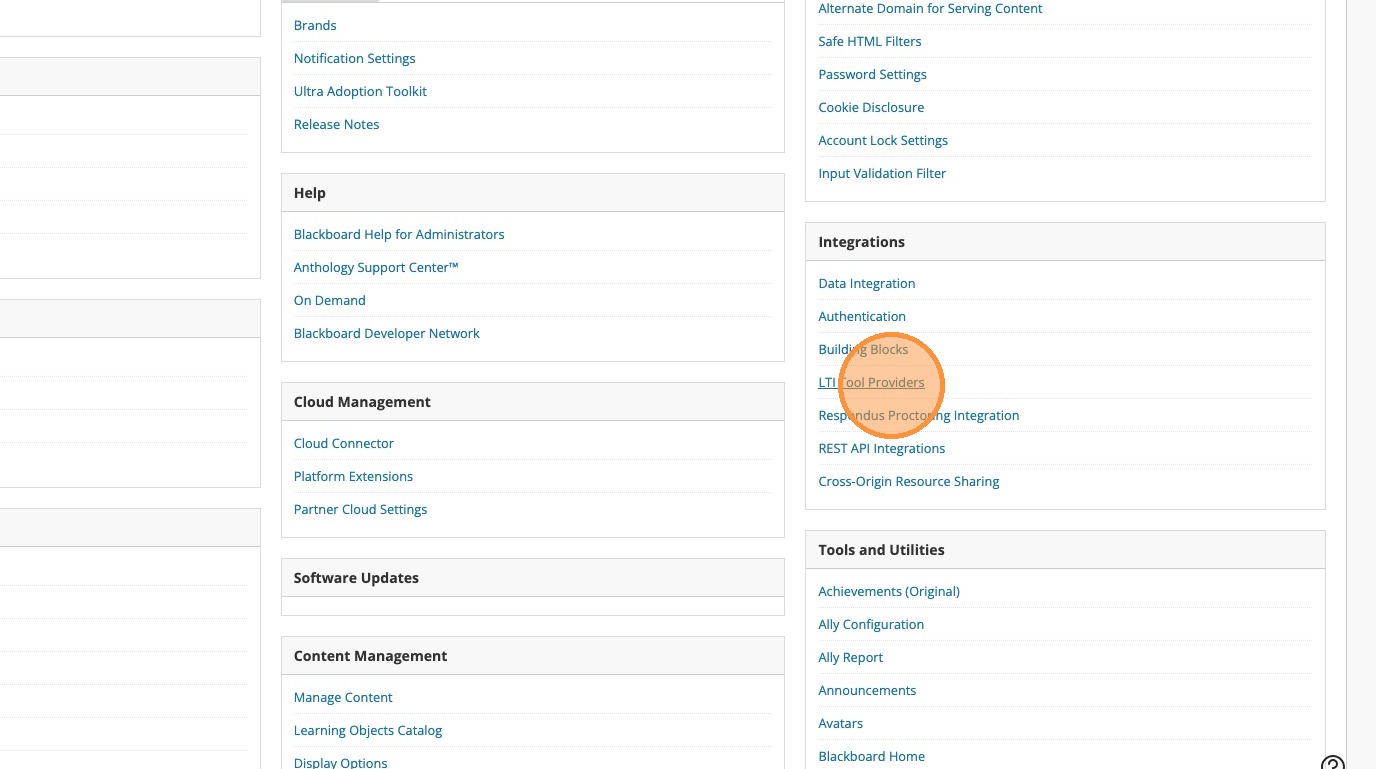
2. Select "LTI Tool Providers" in the Integrations section
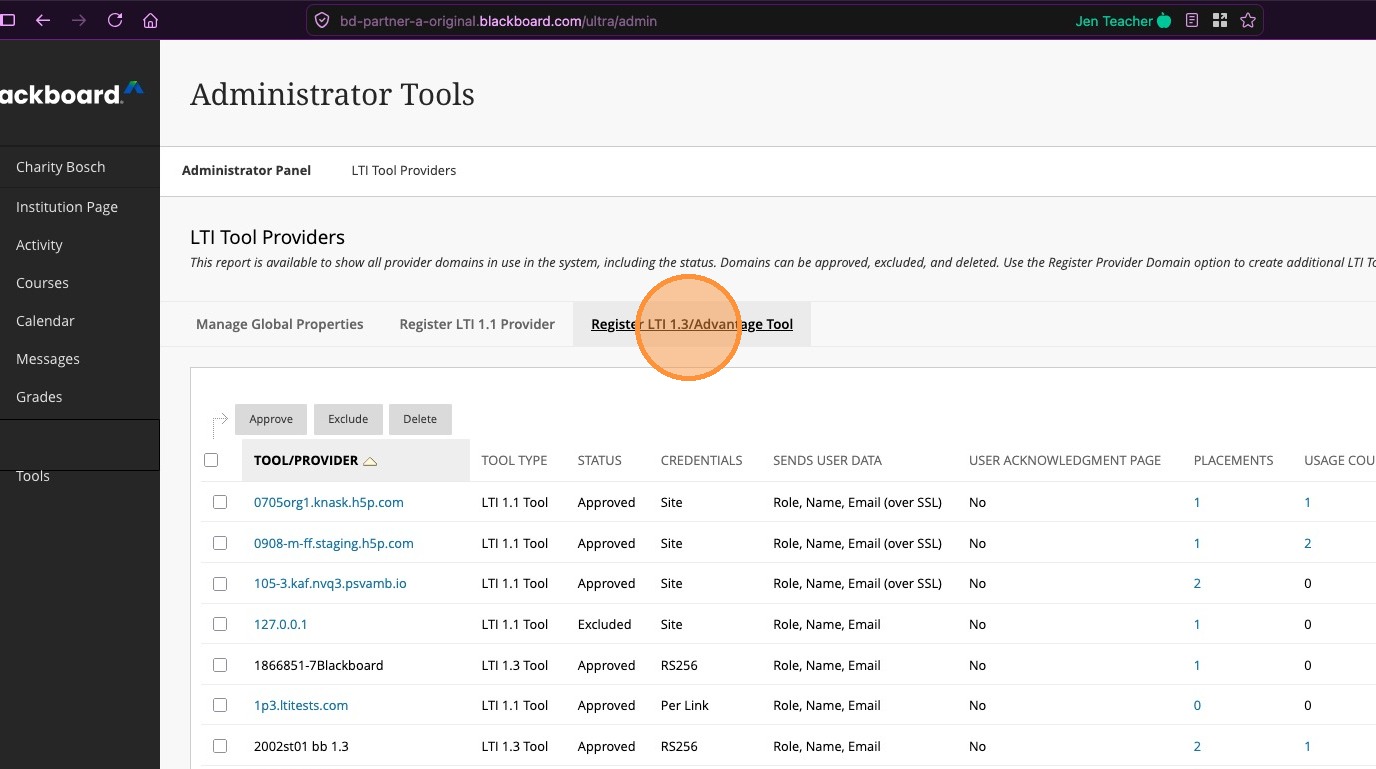
3. Select "Register LTI 1.3/Advantage Tool"
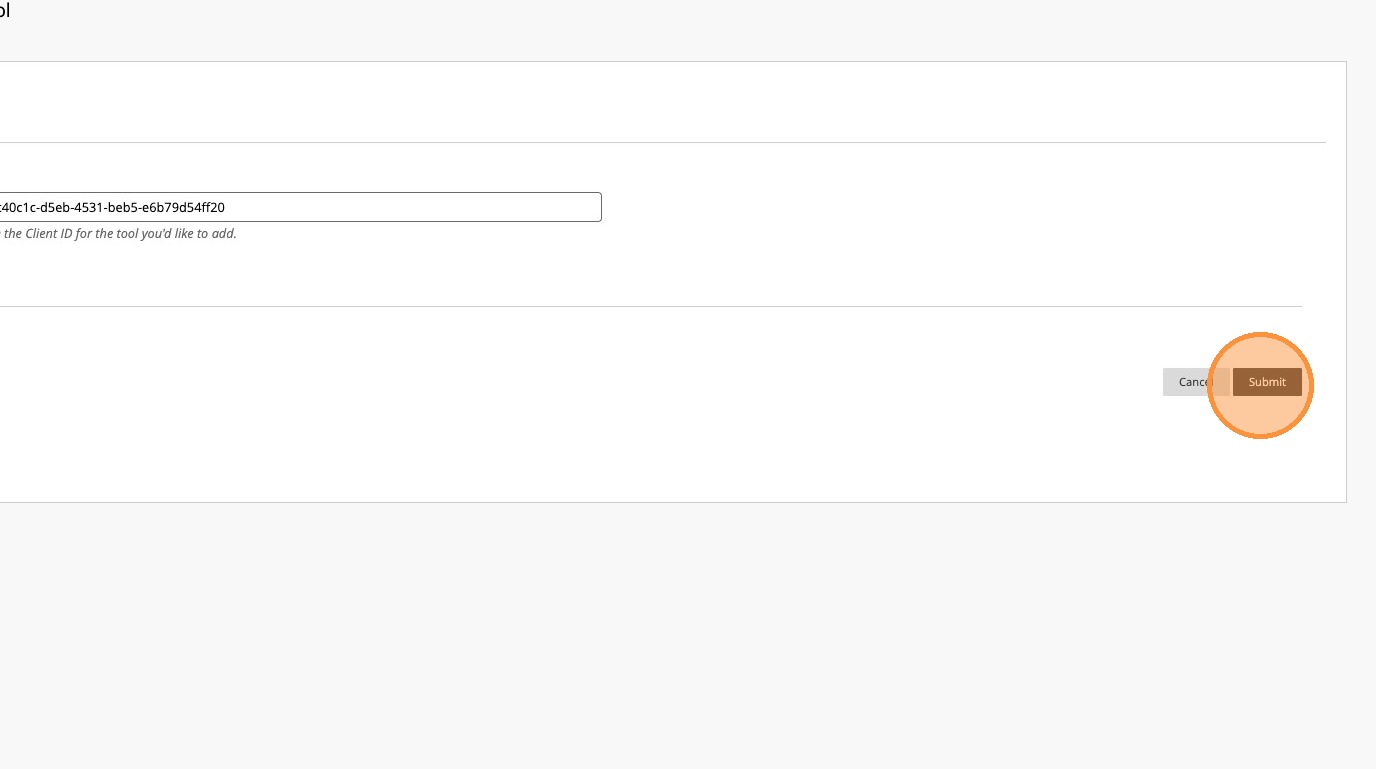
4. Enter 72c40c1c-d5eb-4531-beb5-e6b79d54ff20 in the Client ID field
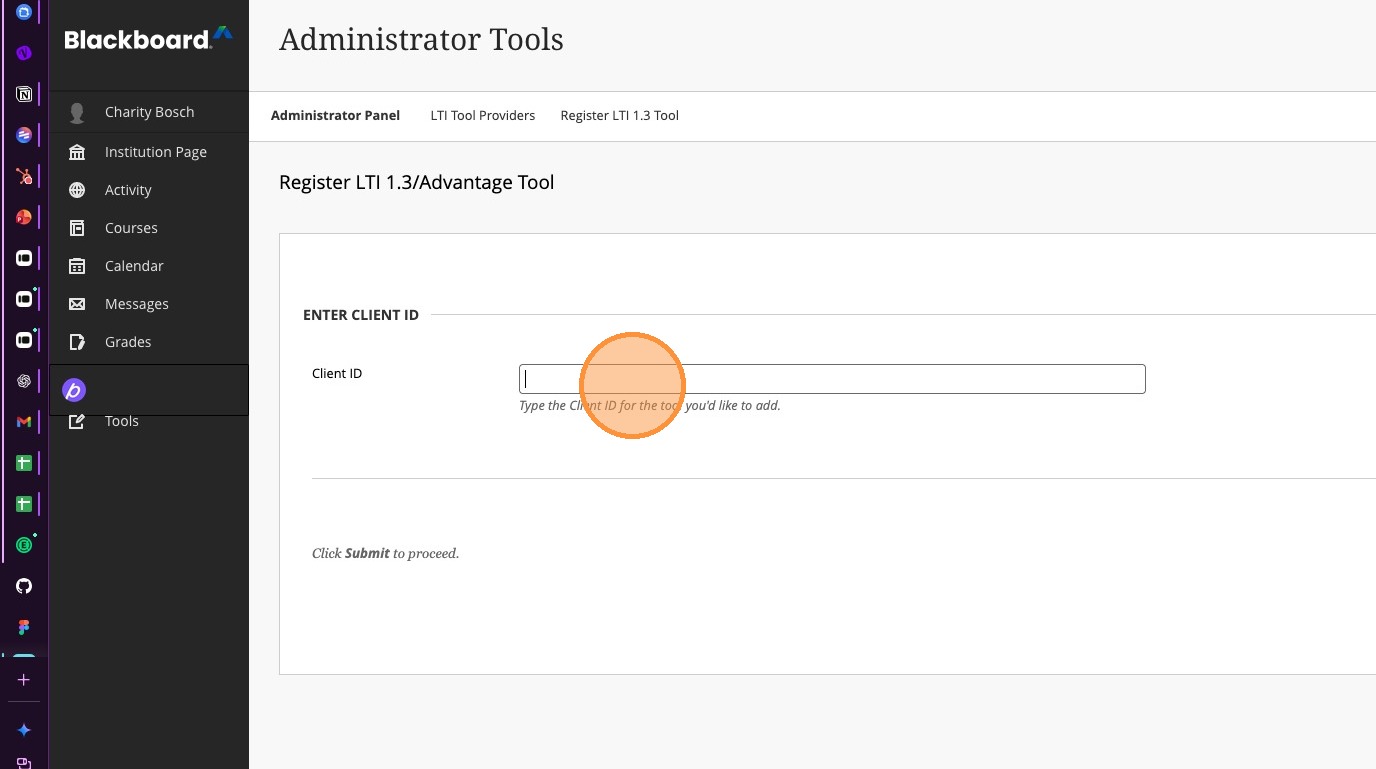
5. Select "Submit".
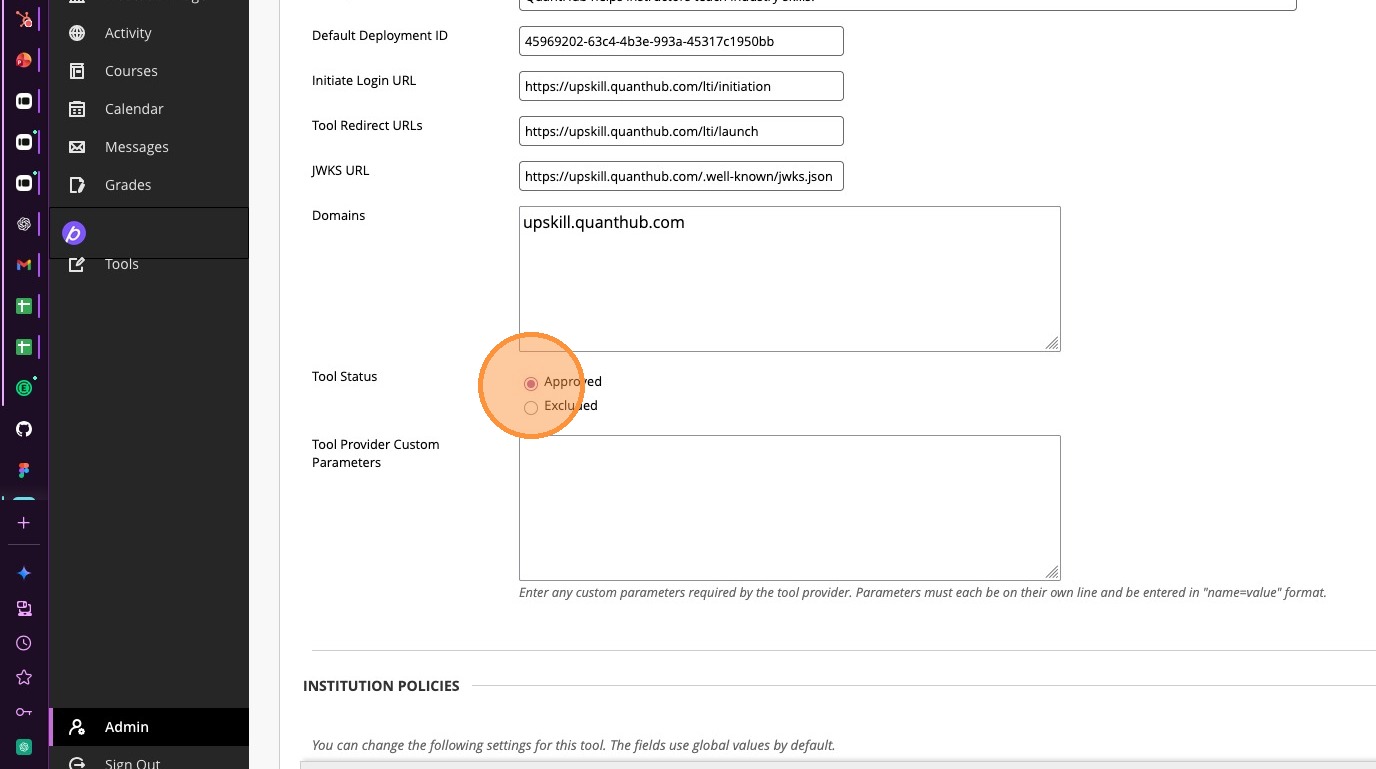
6. Ensure Tool Status shows approved as selected
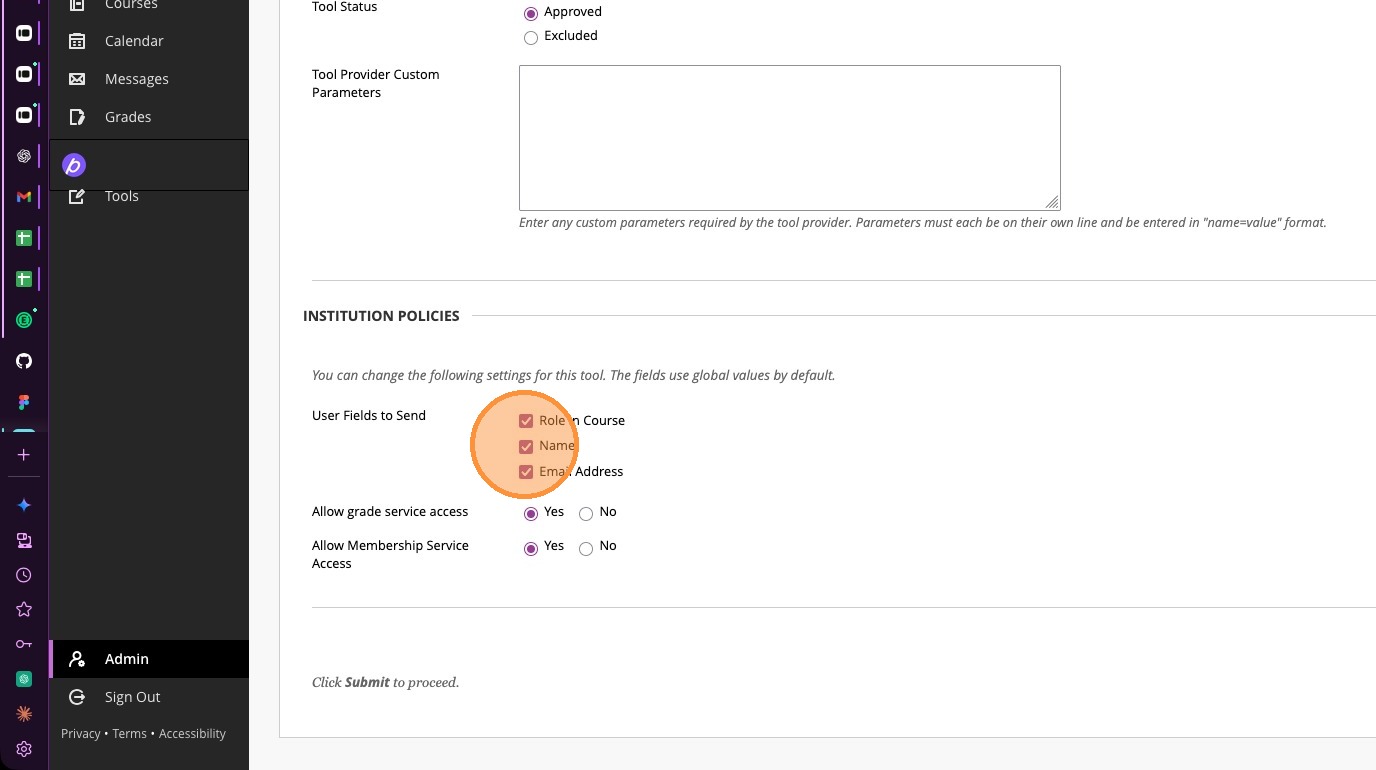
7. Verify all three check boxes in the User Fields to Send section under Institution Policies are checked
8. Verify that "Allow grade services access" and "Allow Membership Service Access" are toggled to Yes
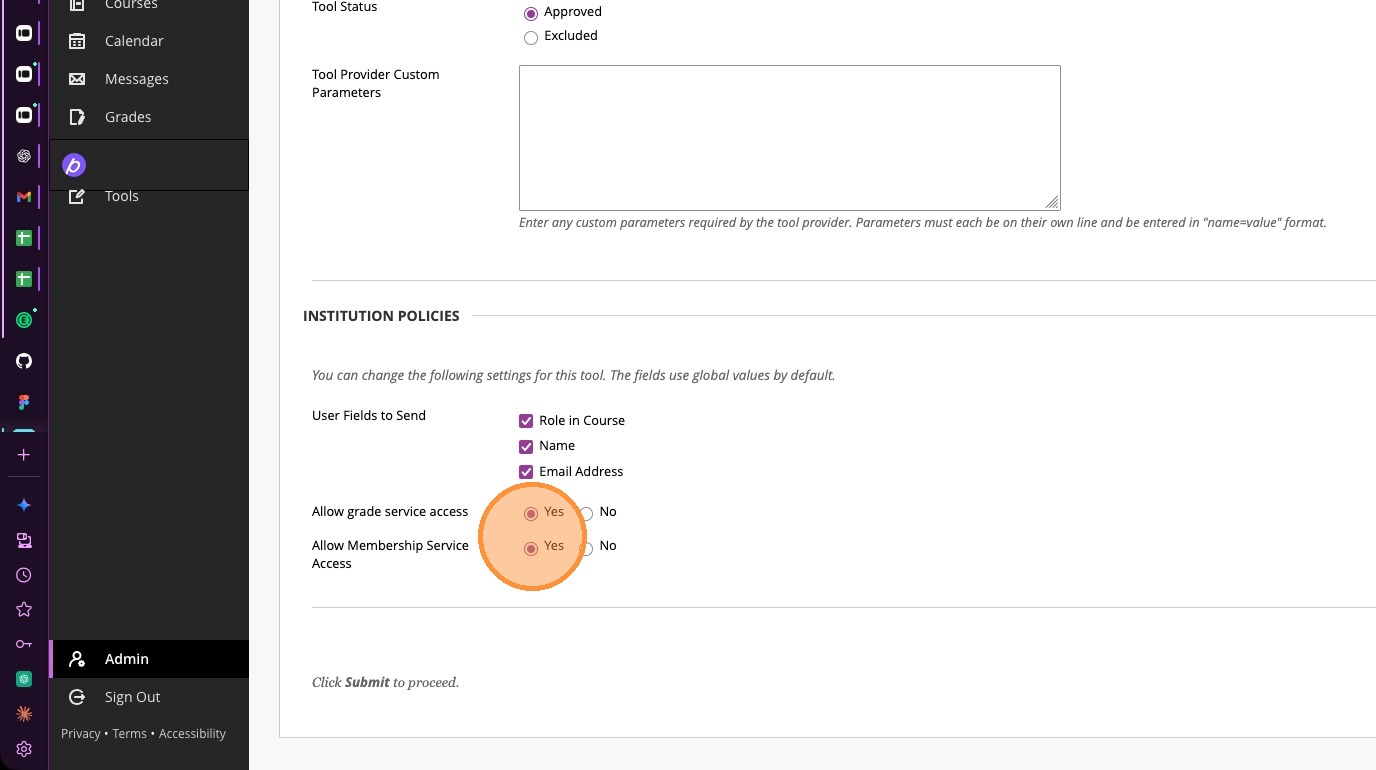
9. Select "Submit"

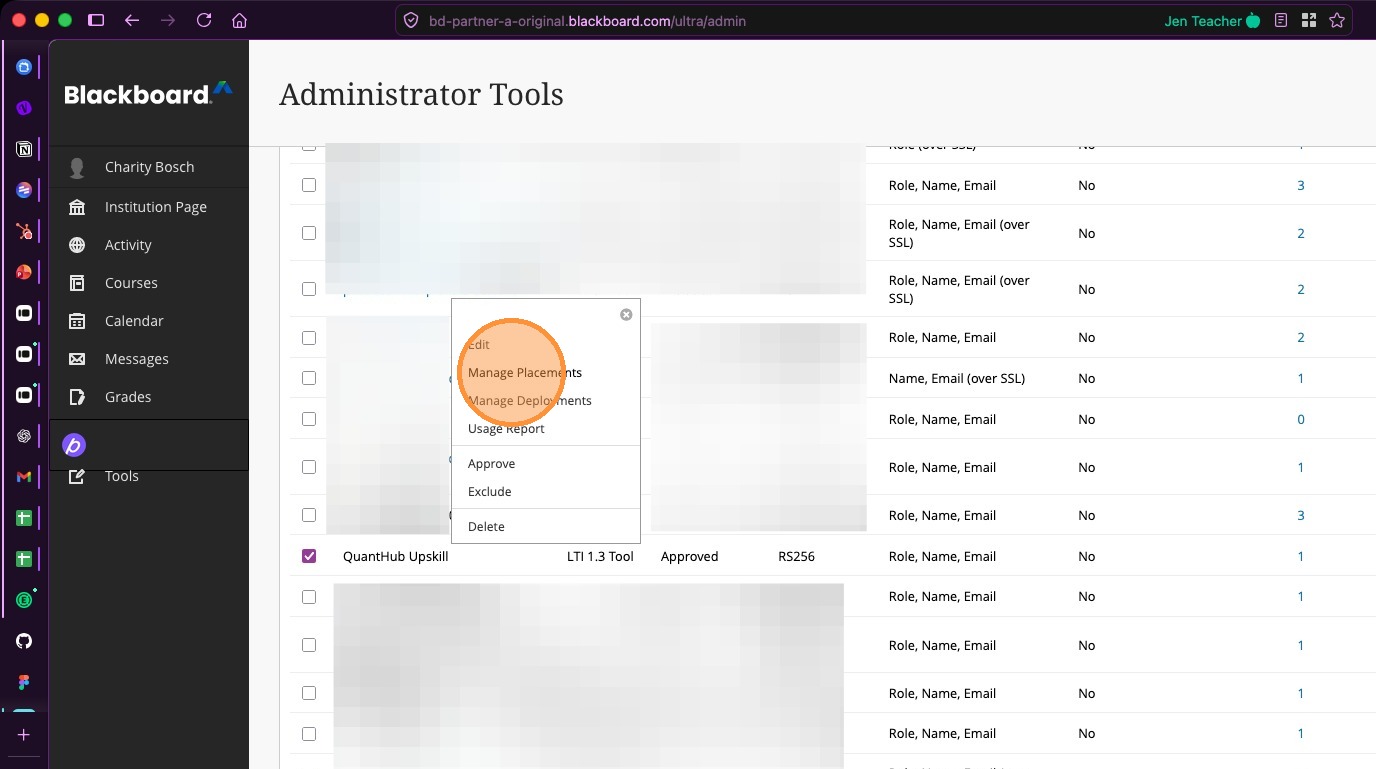
10. Locate QuantHub Upskill tool in the list and select the options menu.
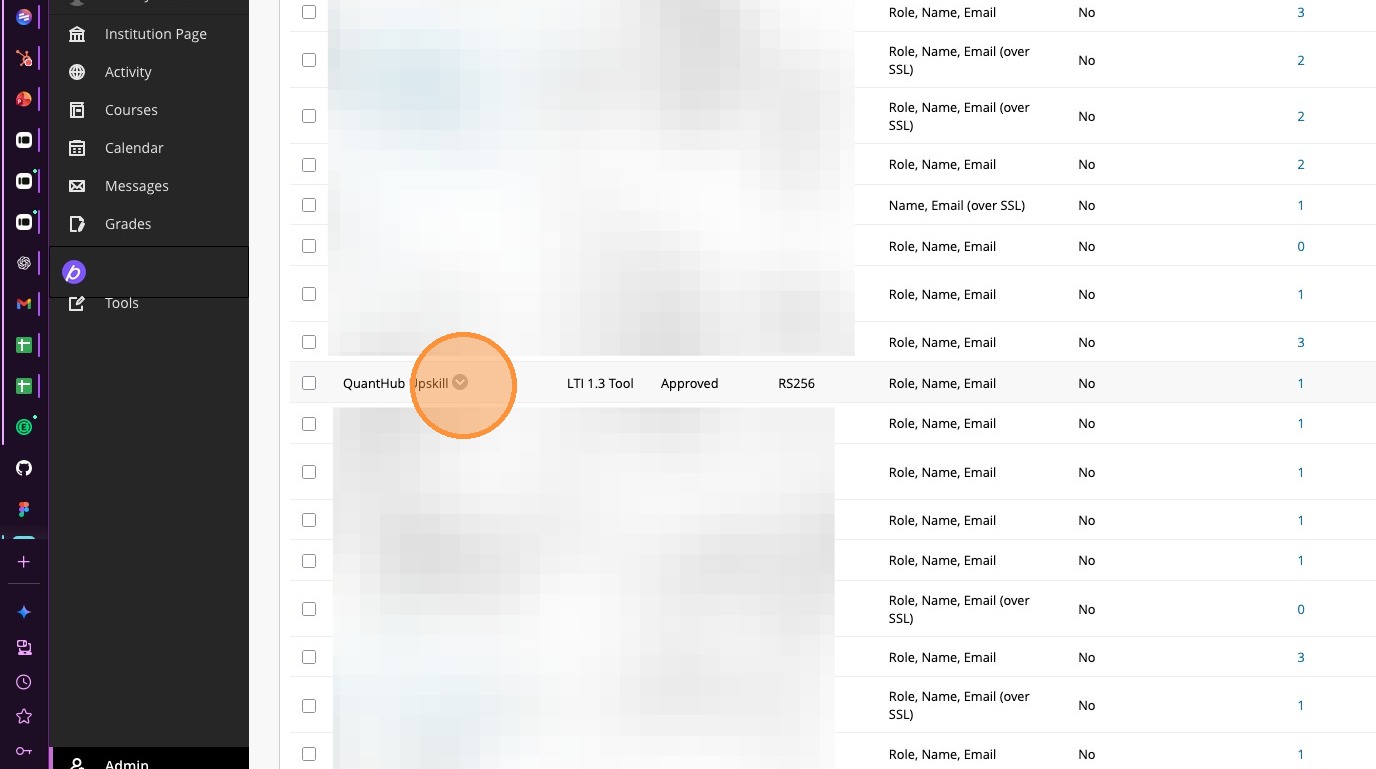
11. Select "Manage Placements"
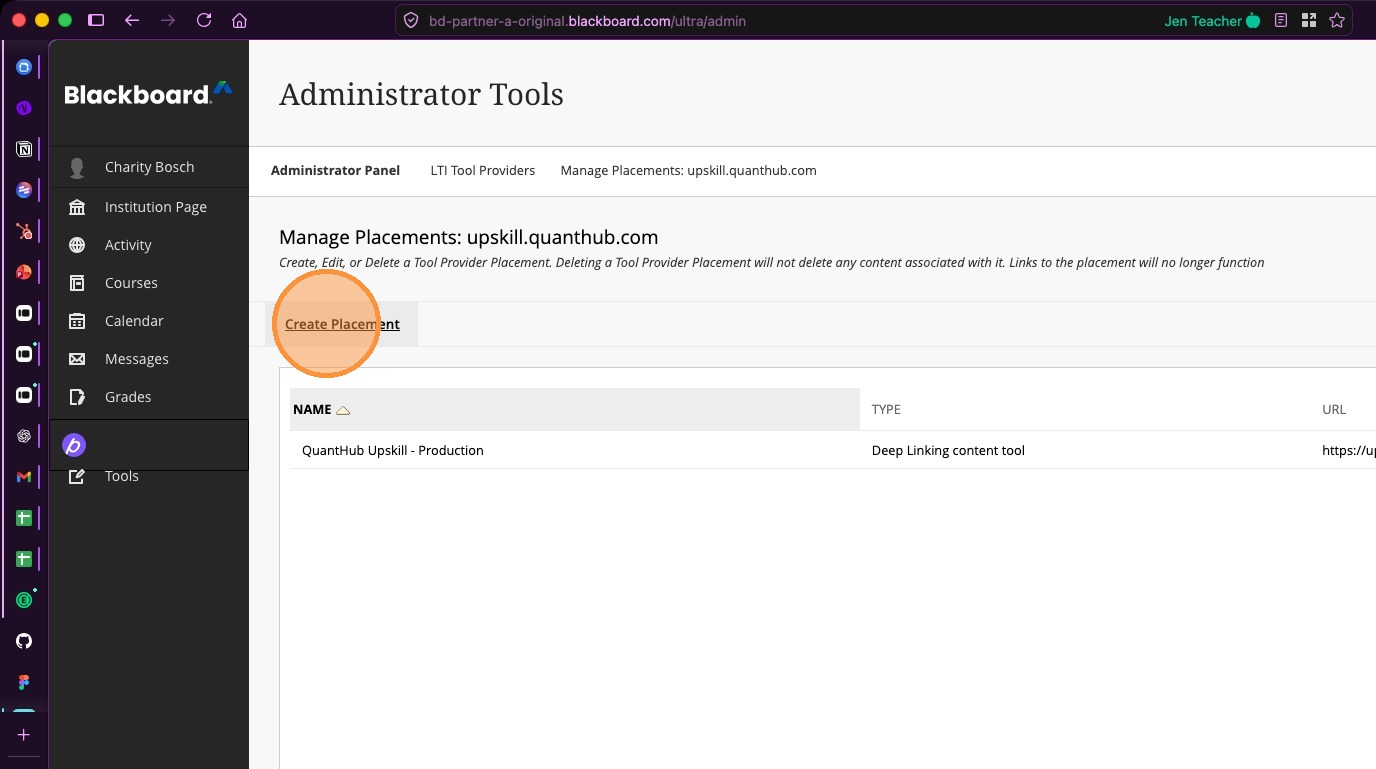
12. Select "Create Placement"
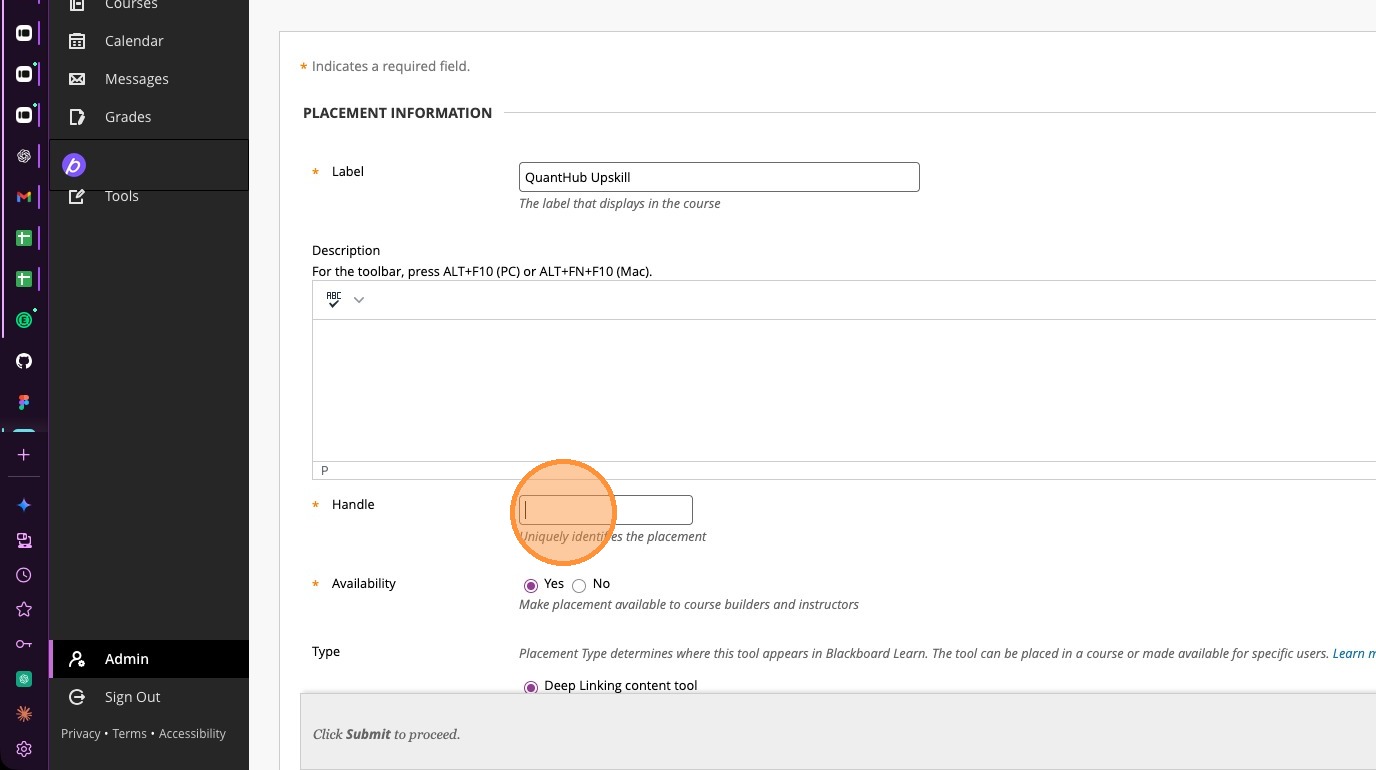
13. Enter QuantHub Upskill in the Label field
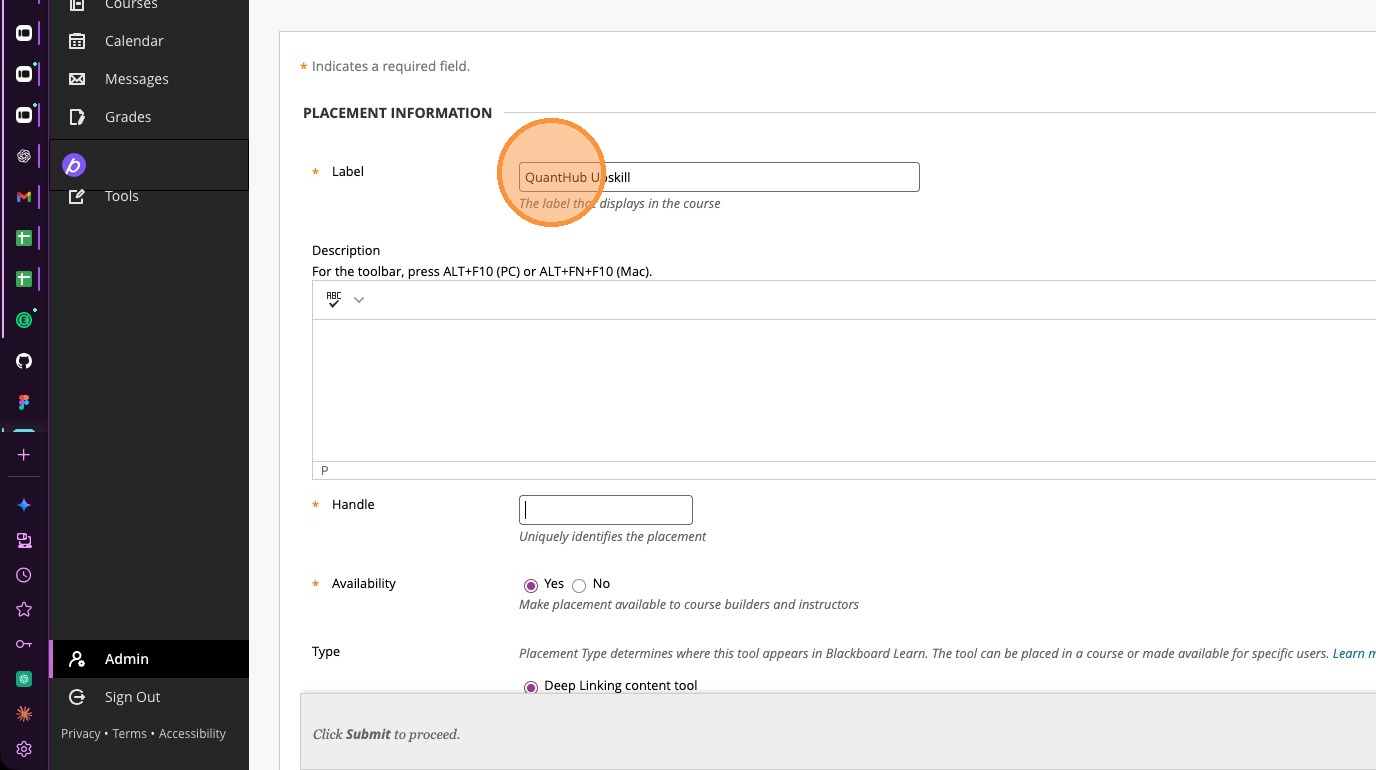
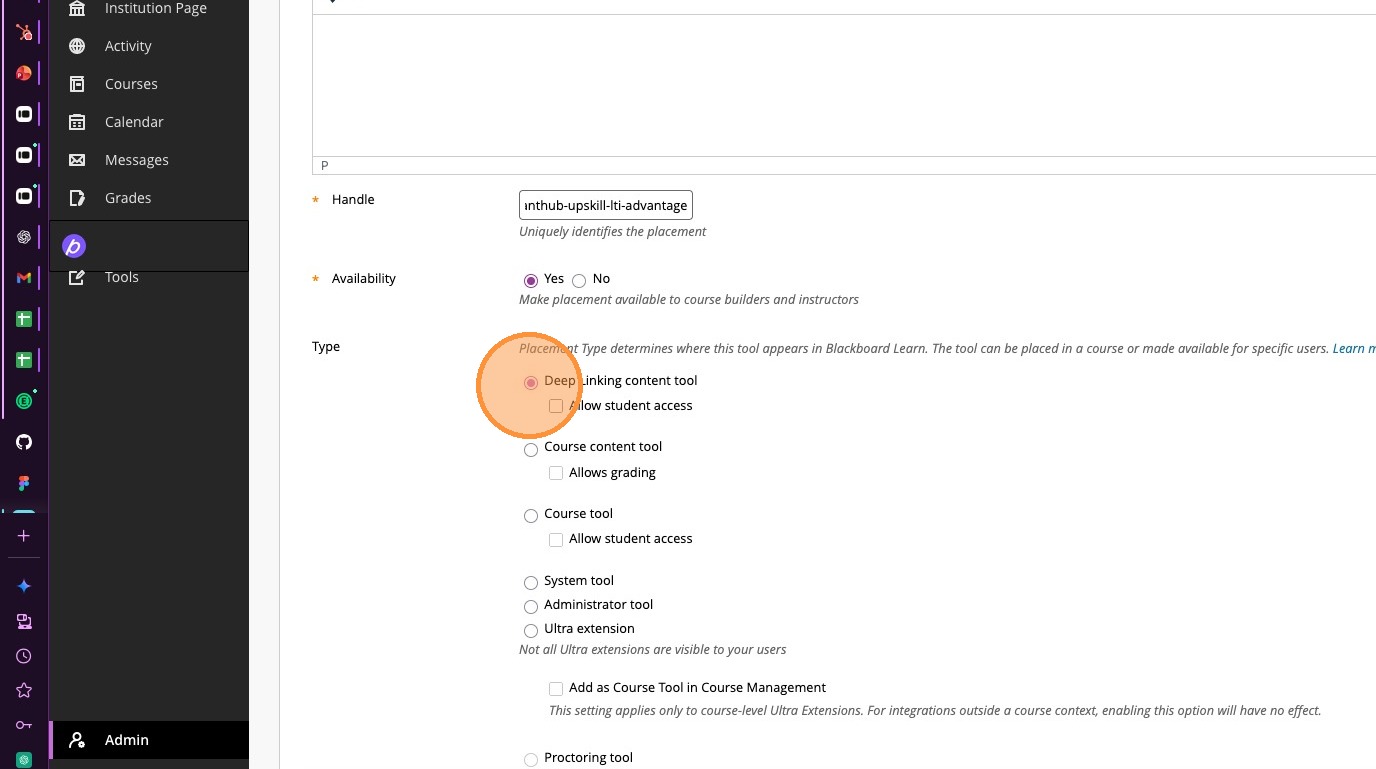
14. Enter quanthub-upskill-lti-advantage in the Handle field
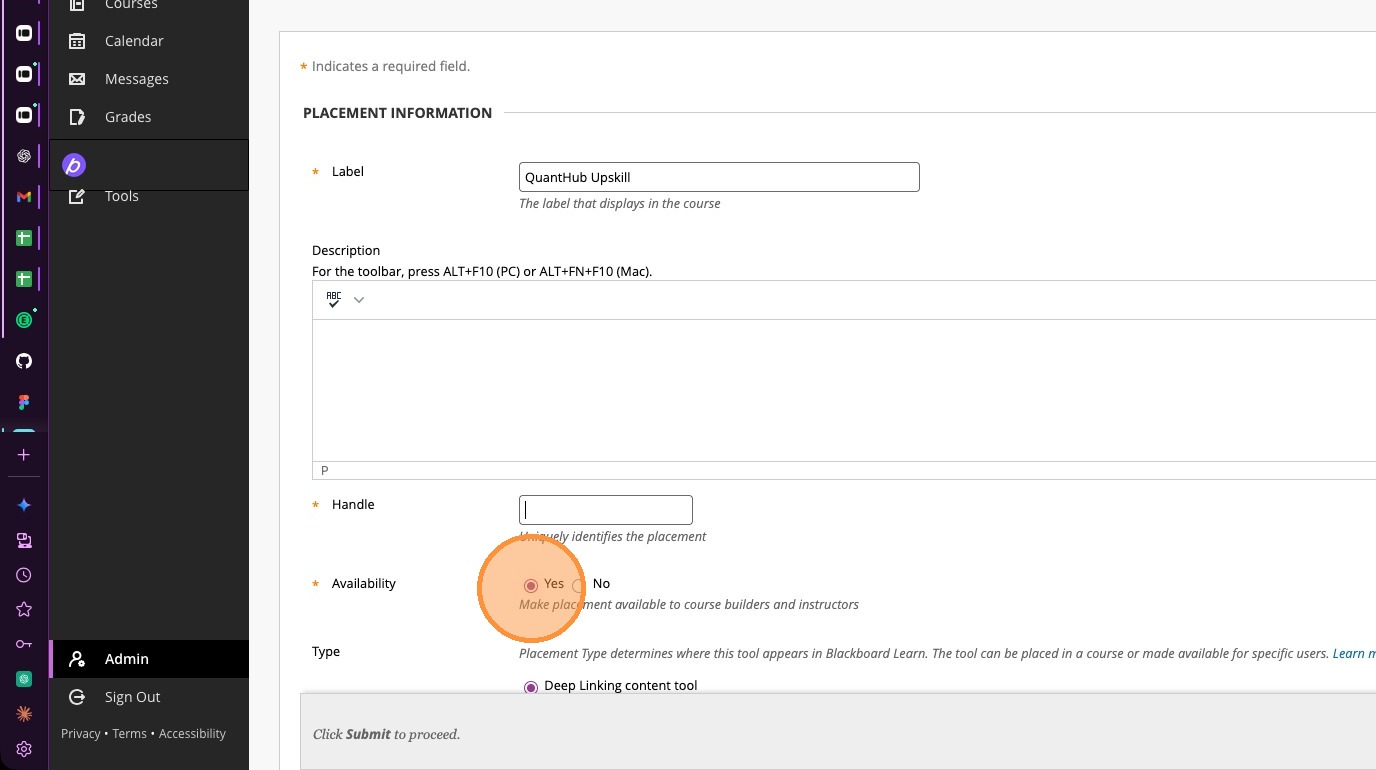
15. Ensure Availability is toggled to Yes
16. Ensure Deep Linking content tool is selected for the type
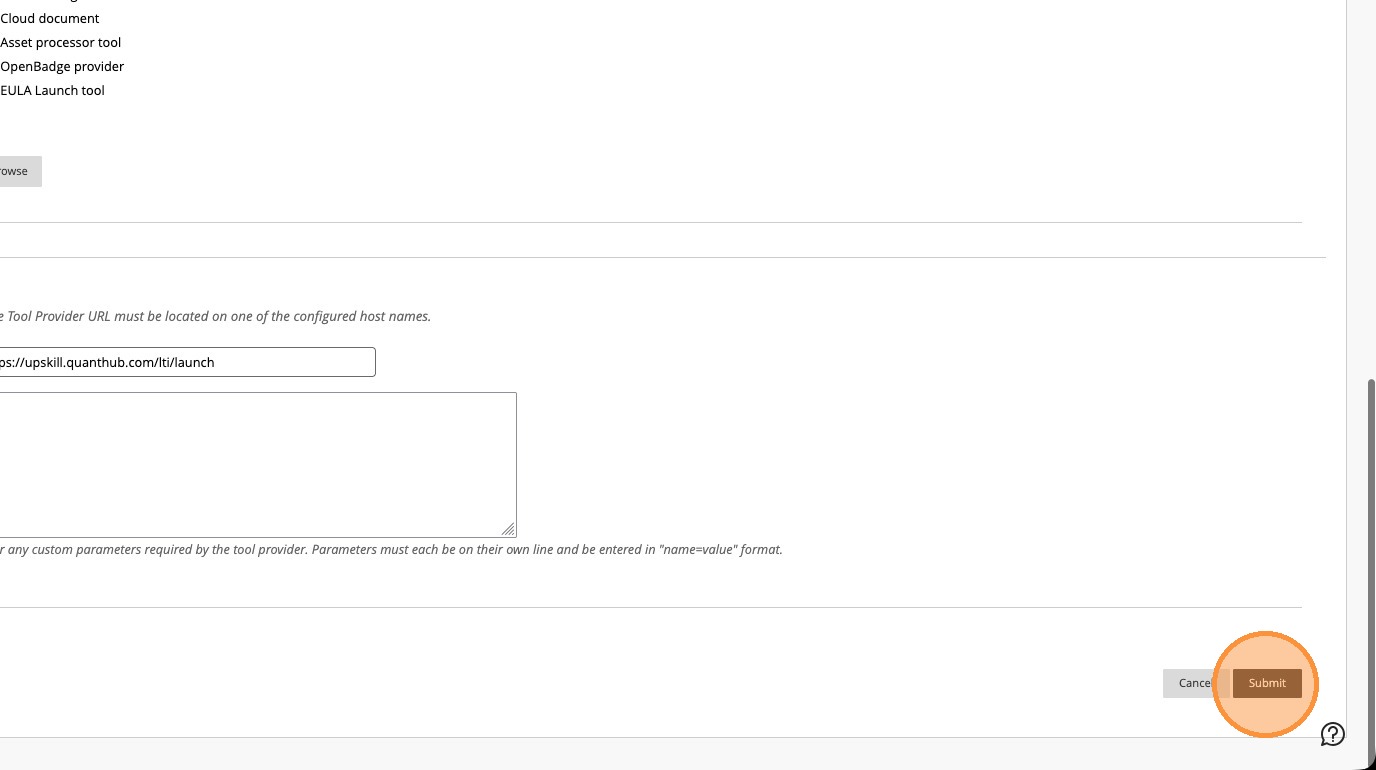
17. Enter https://upskill.quanthub.com/lti/launch in the Target Link URI field
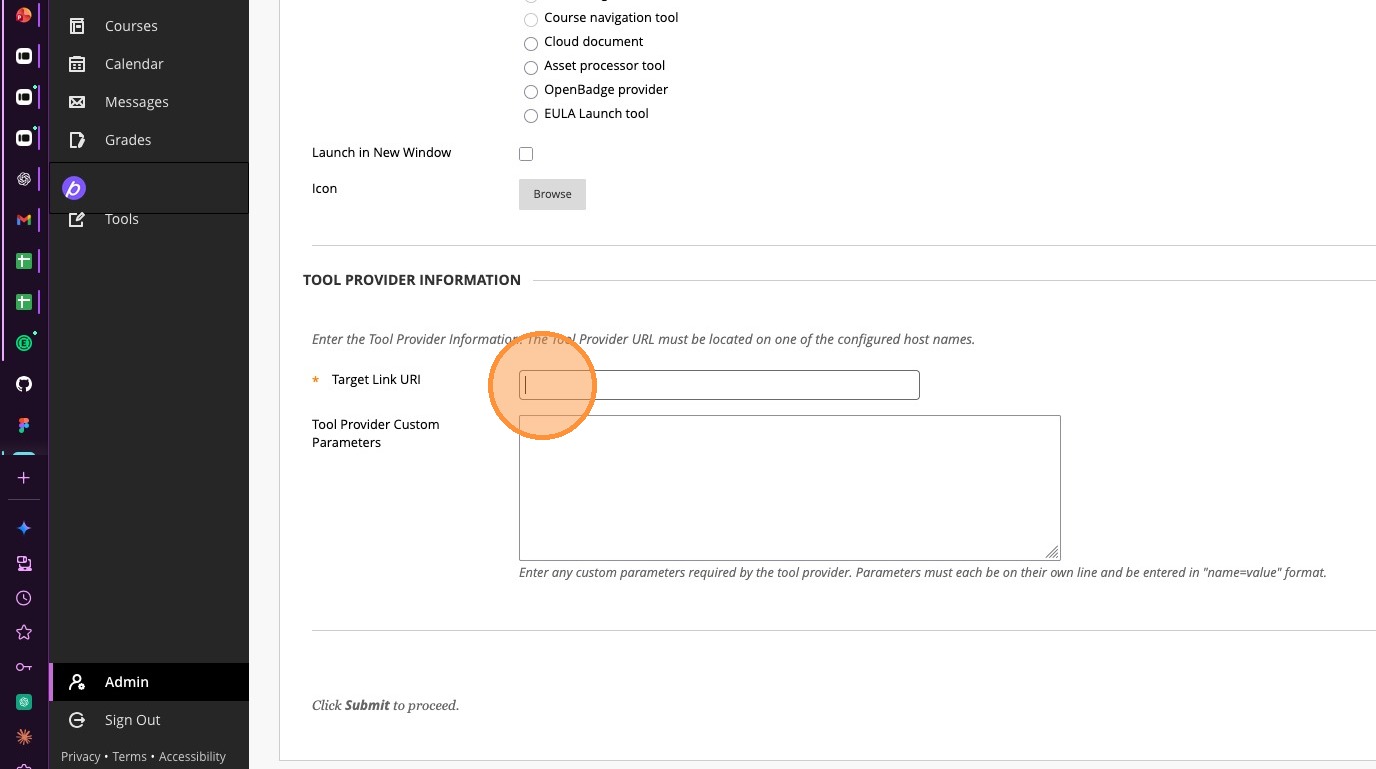
18. Select "Submit"
QuantHub Integration Setup
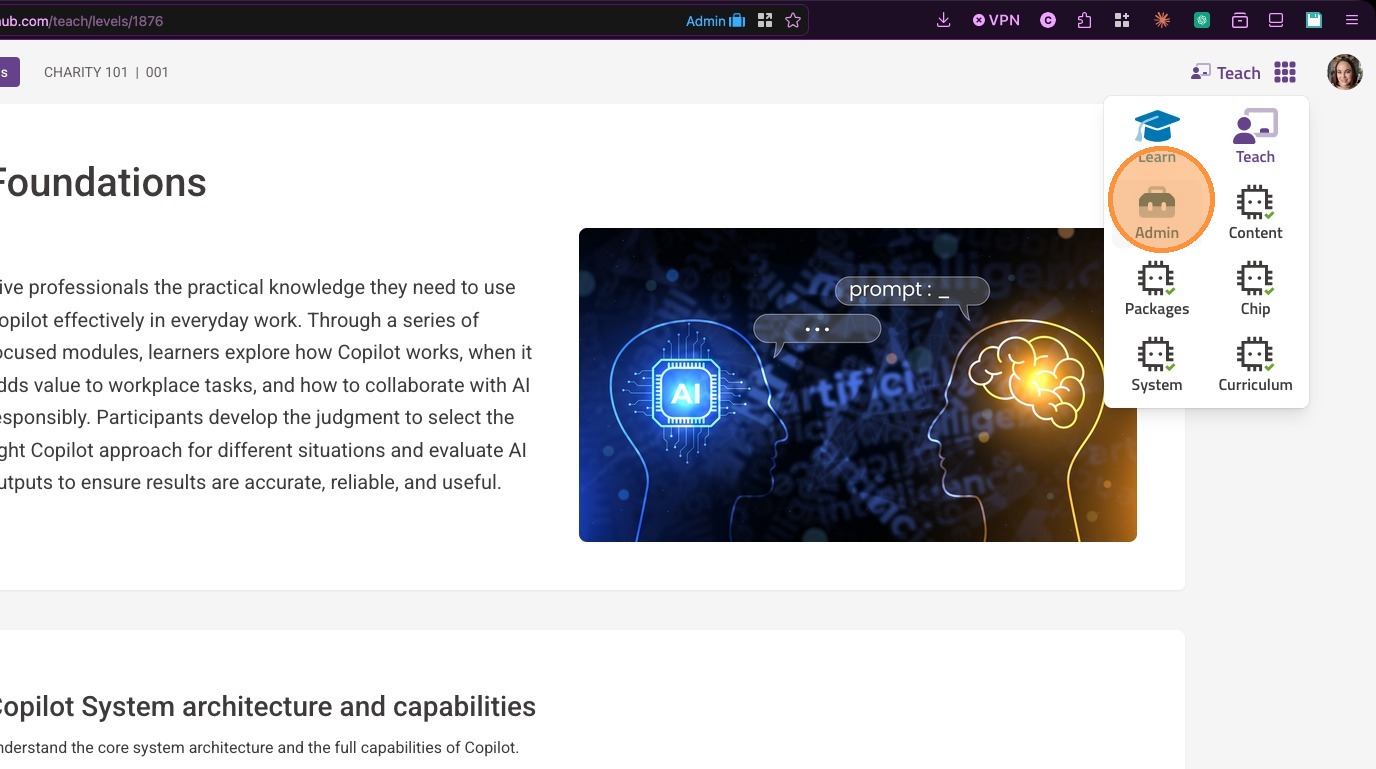
19. In QuantHub select your nine-dot menu
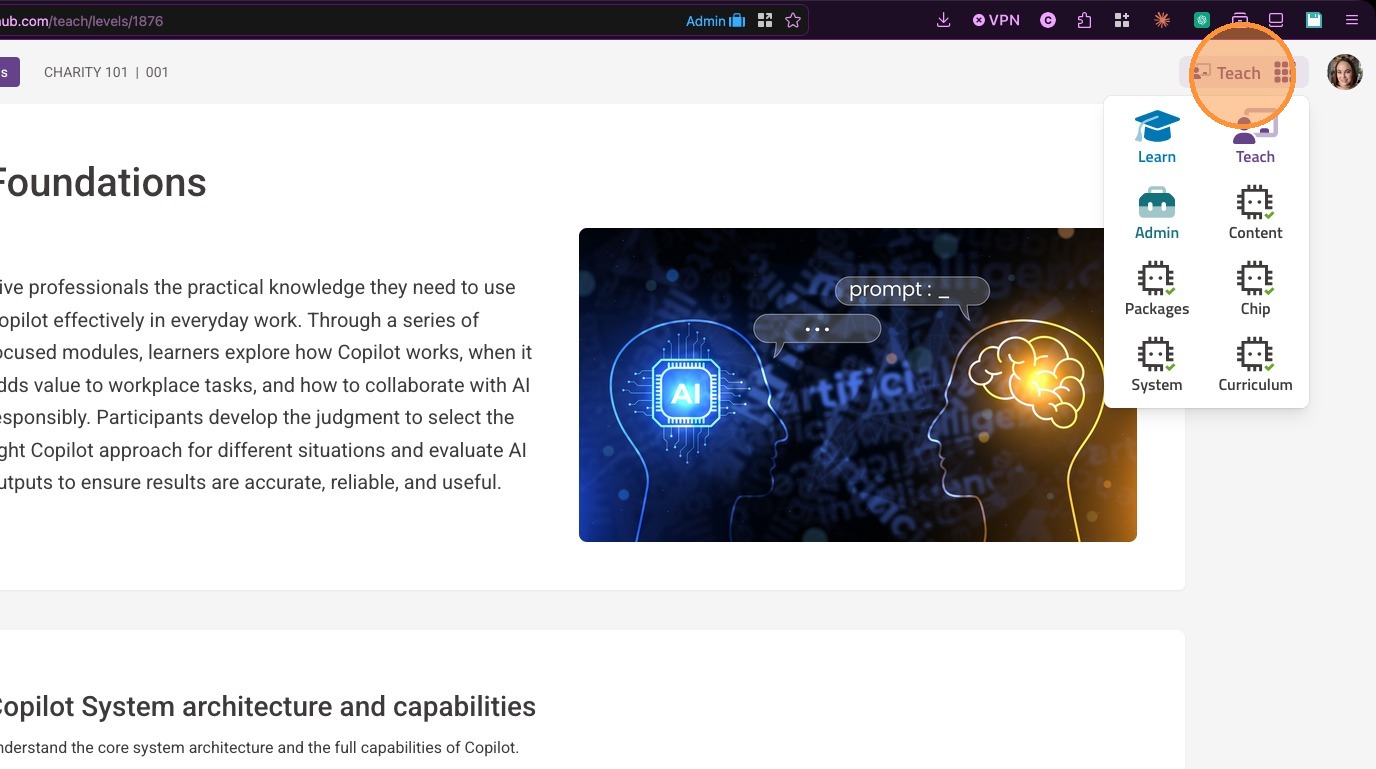
20. Select "Admin"
21. Select LTI Integrations from the left-hand menu
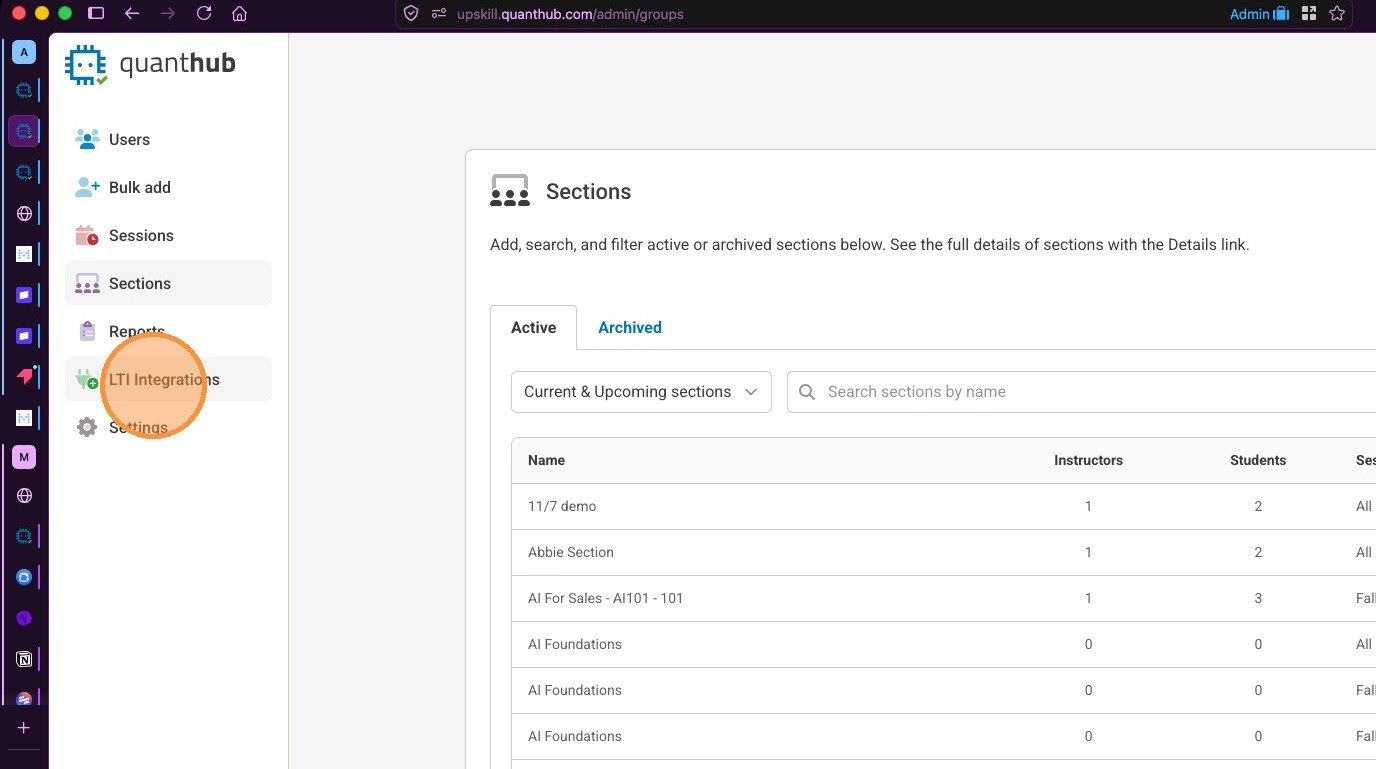
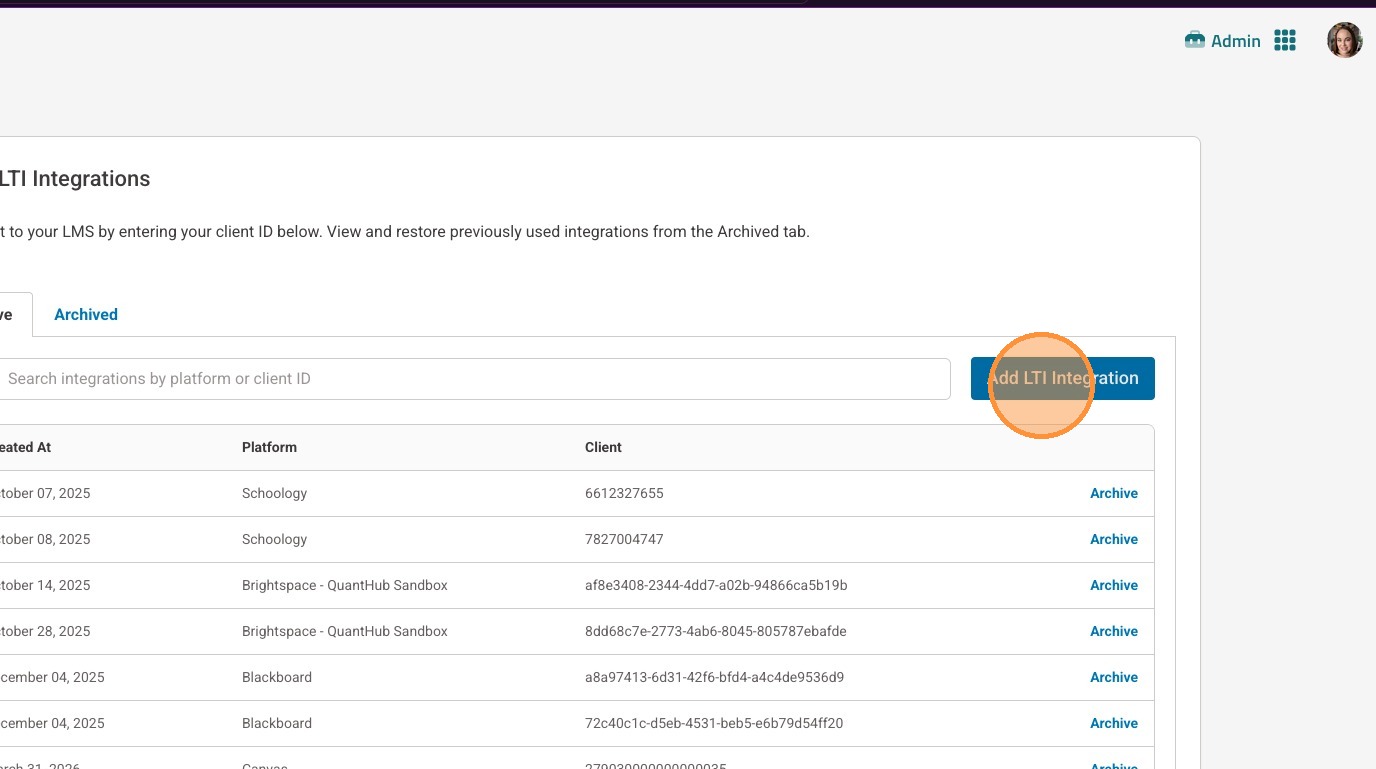
22. Select "Add LTI Integration"
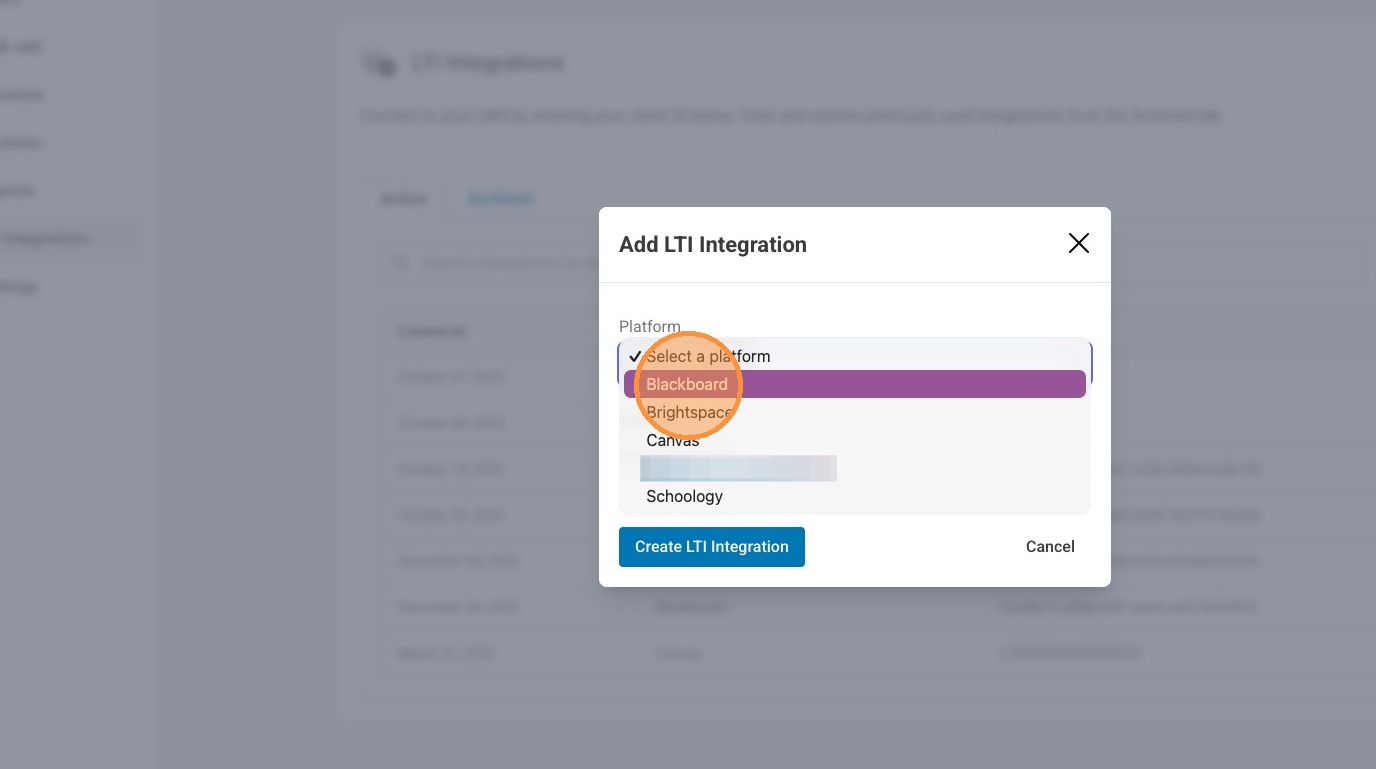
23. Select "Blackboard" from the Platform drop down menu
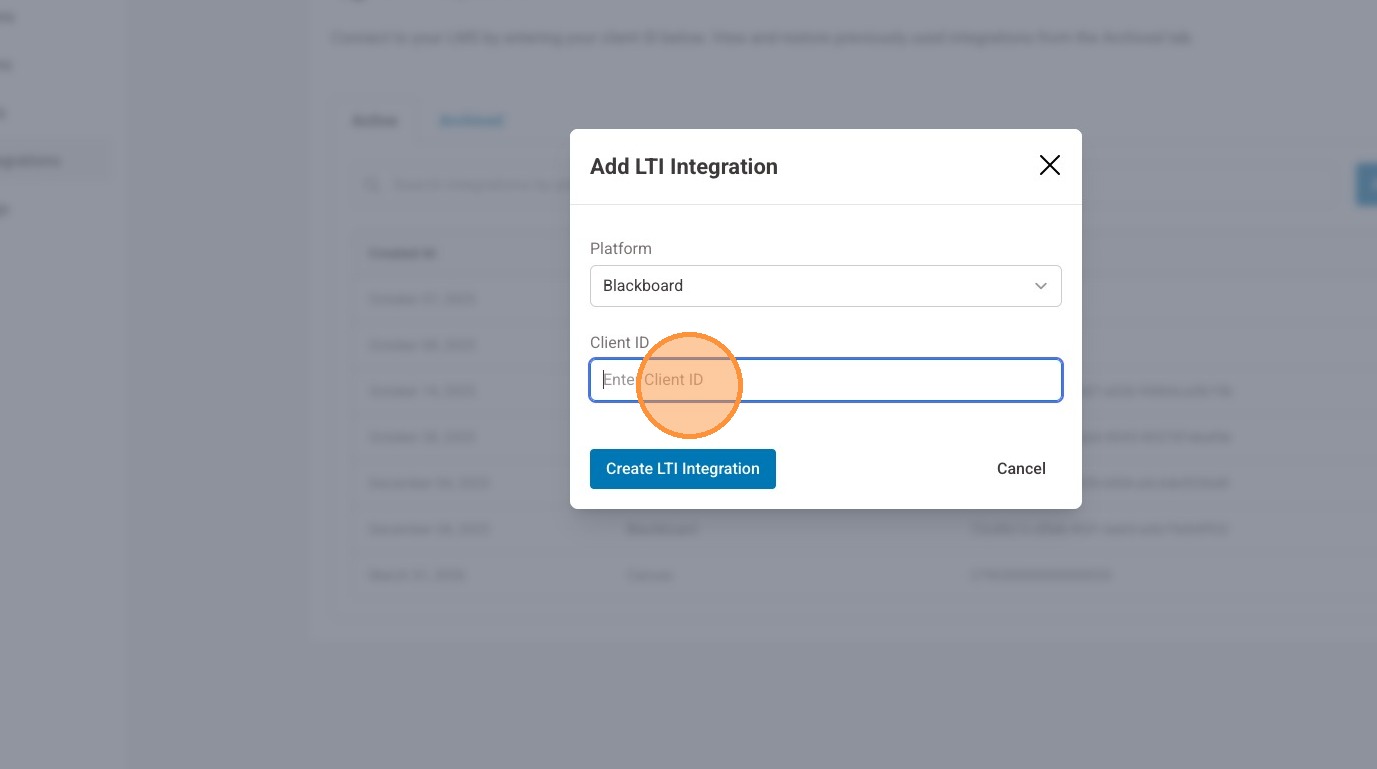
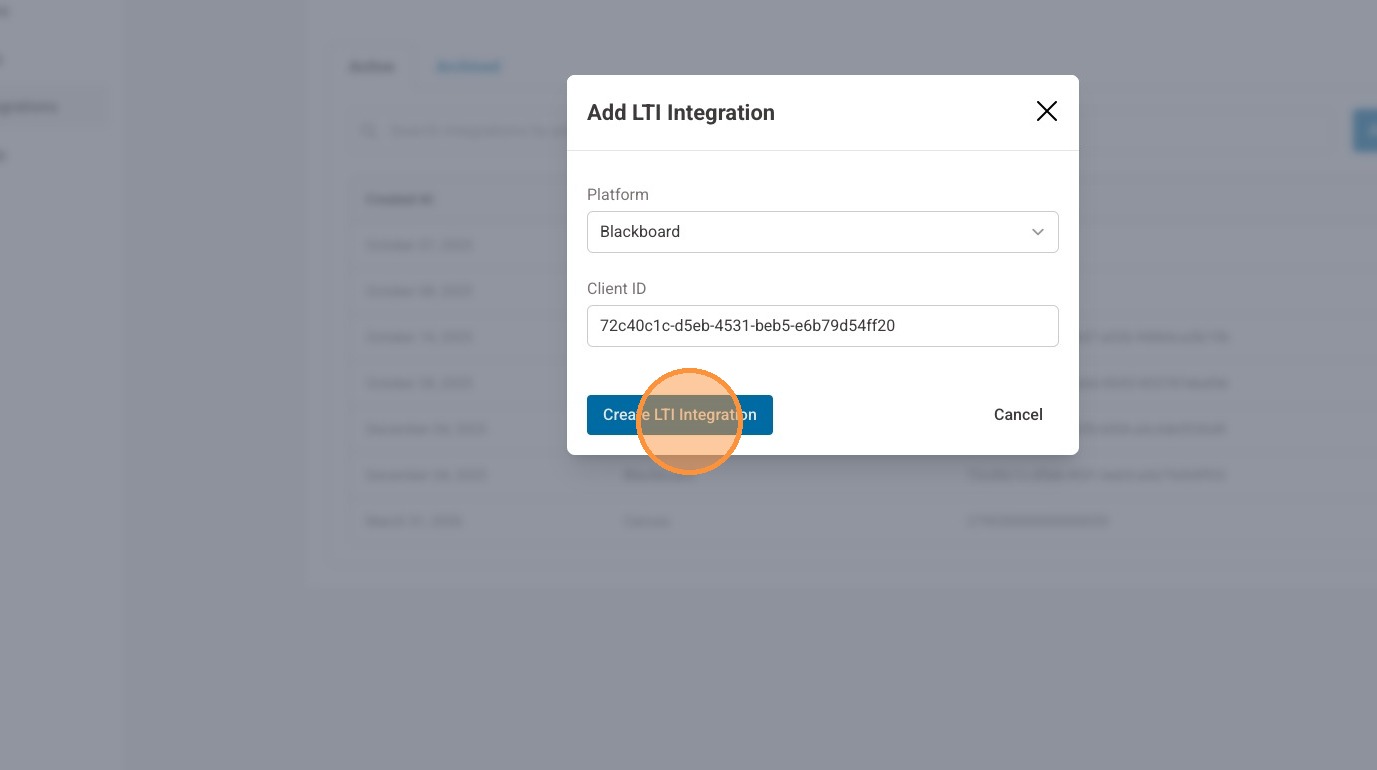
24. Enter 72c40c1c-d5eb-4531-beb5-e6b79d54ff20 for the Client ID field
25. Select "Create LTI Integration"
Blackboard Part 2
26. Select a sandbox course to verify the placement works as intended
27. Open the content market and verify you see QuantHub Upskill

28. Launch the LTI module and ensure it displays correctly
Was this article helpful?
That’s Great!
Thank you for your feedback
Sorry! We couldn't be helpful
Thank you for your feedback
Feedback sent
We appreciate your effort and will try to fix the article